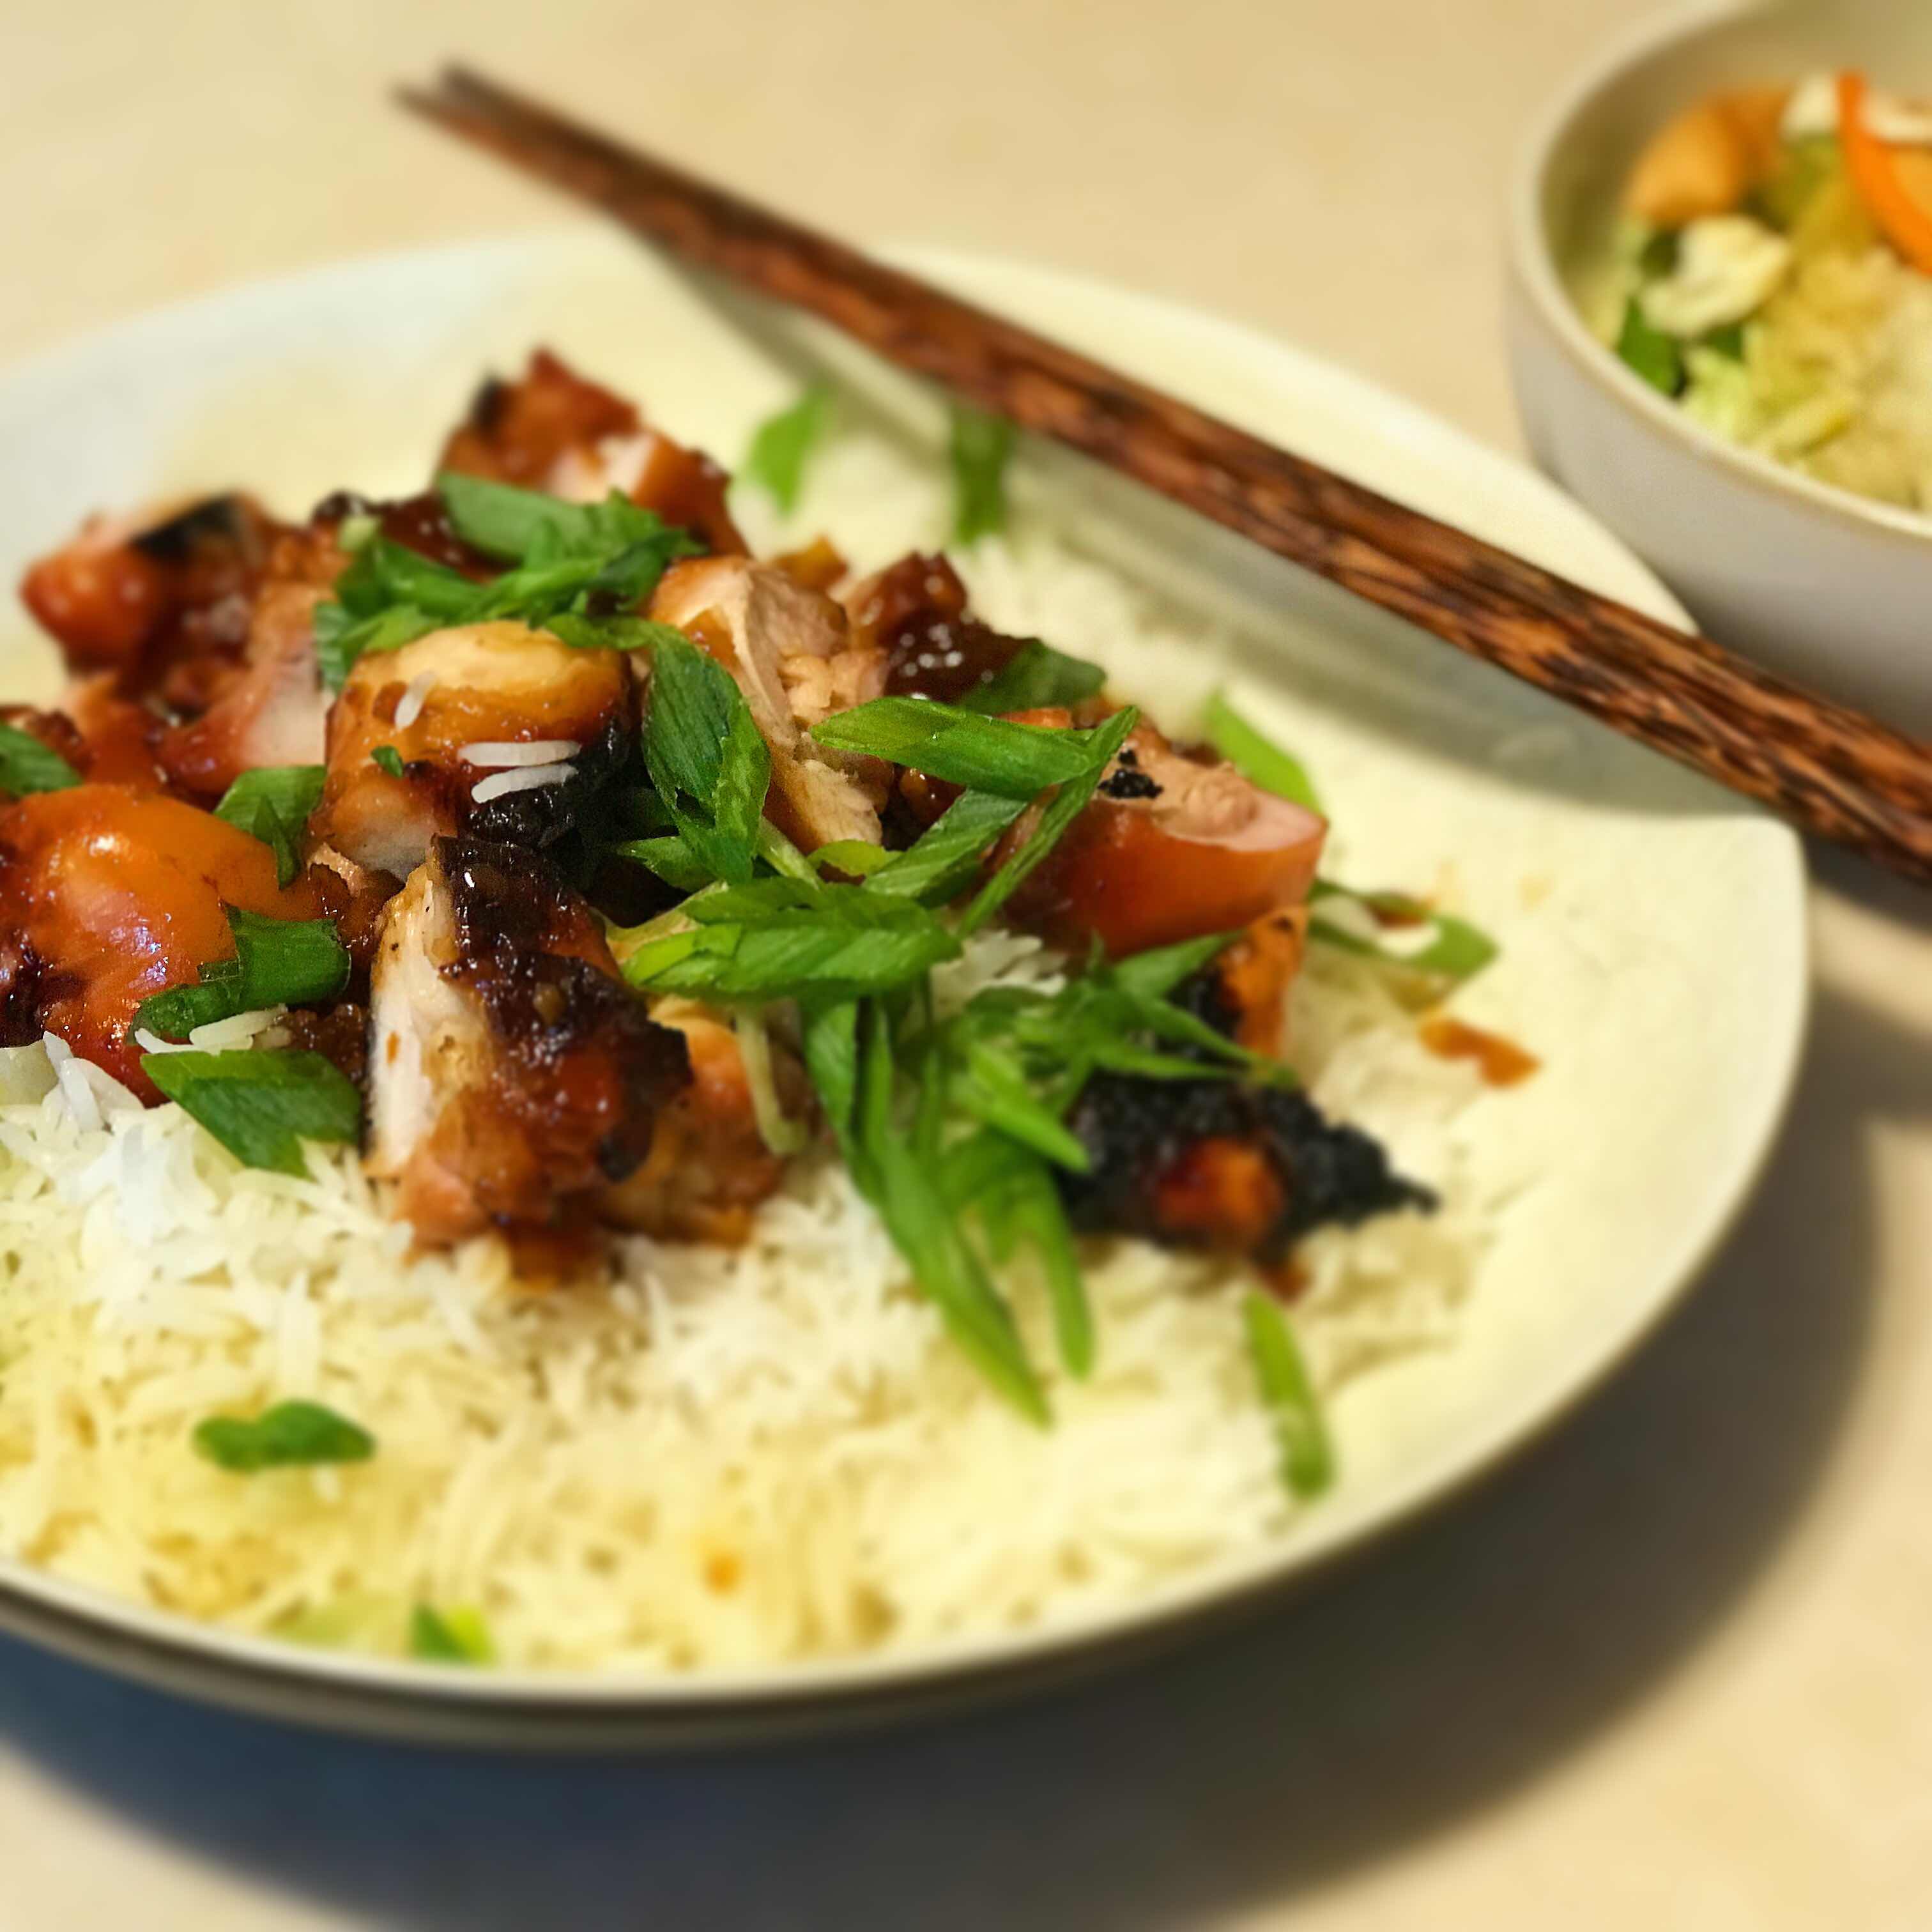
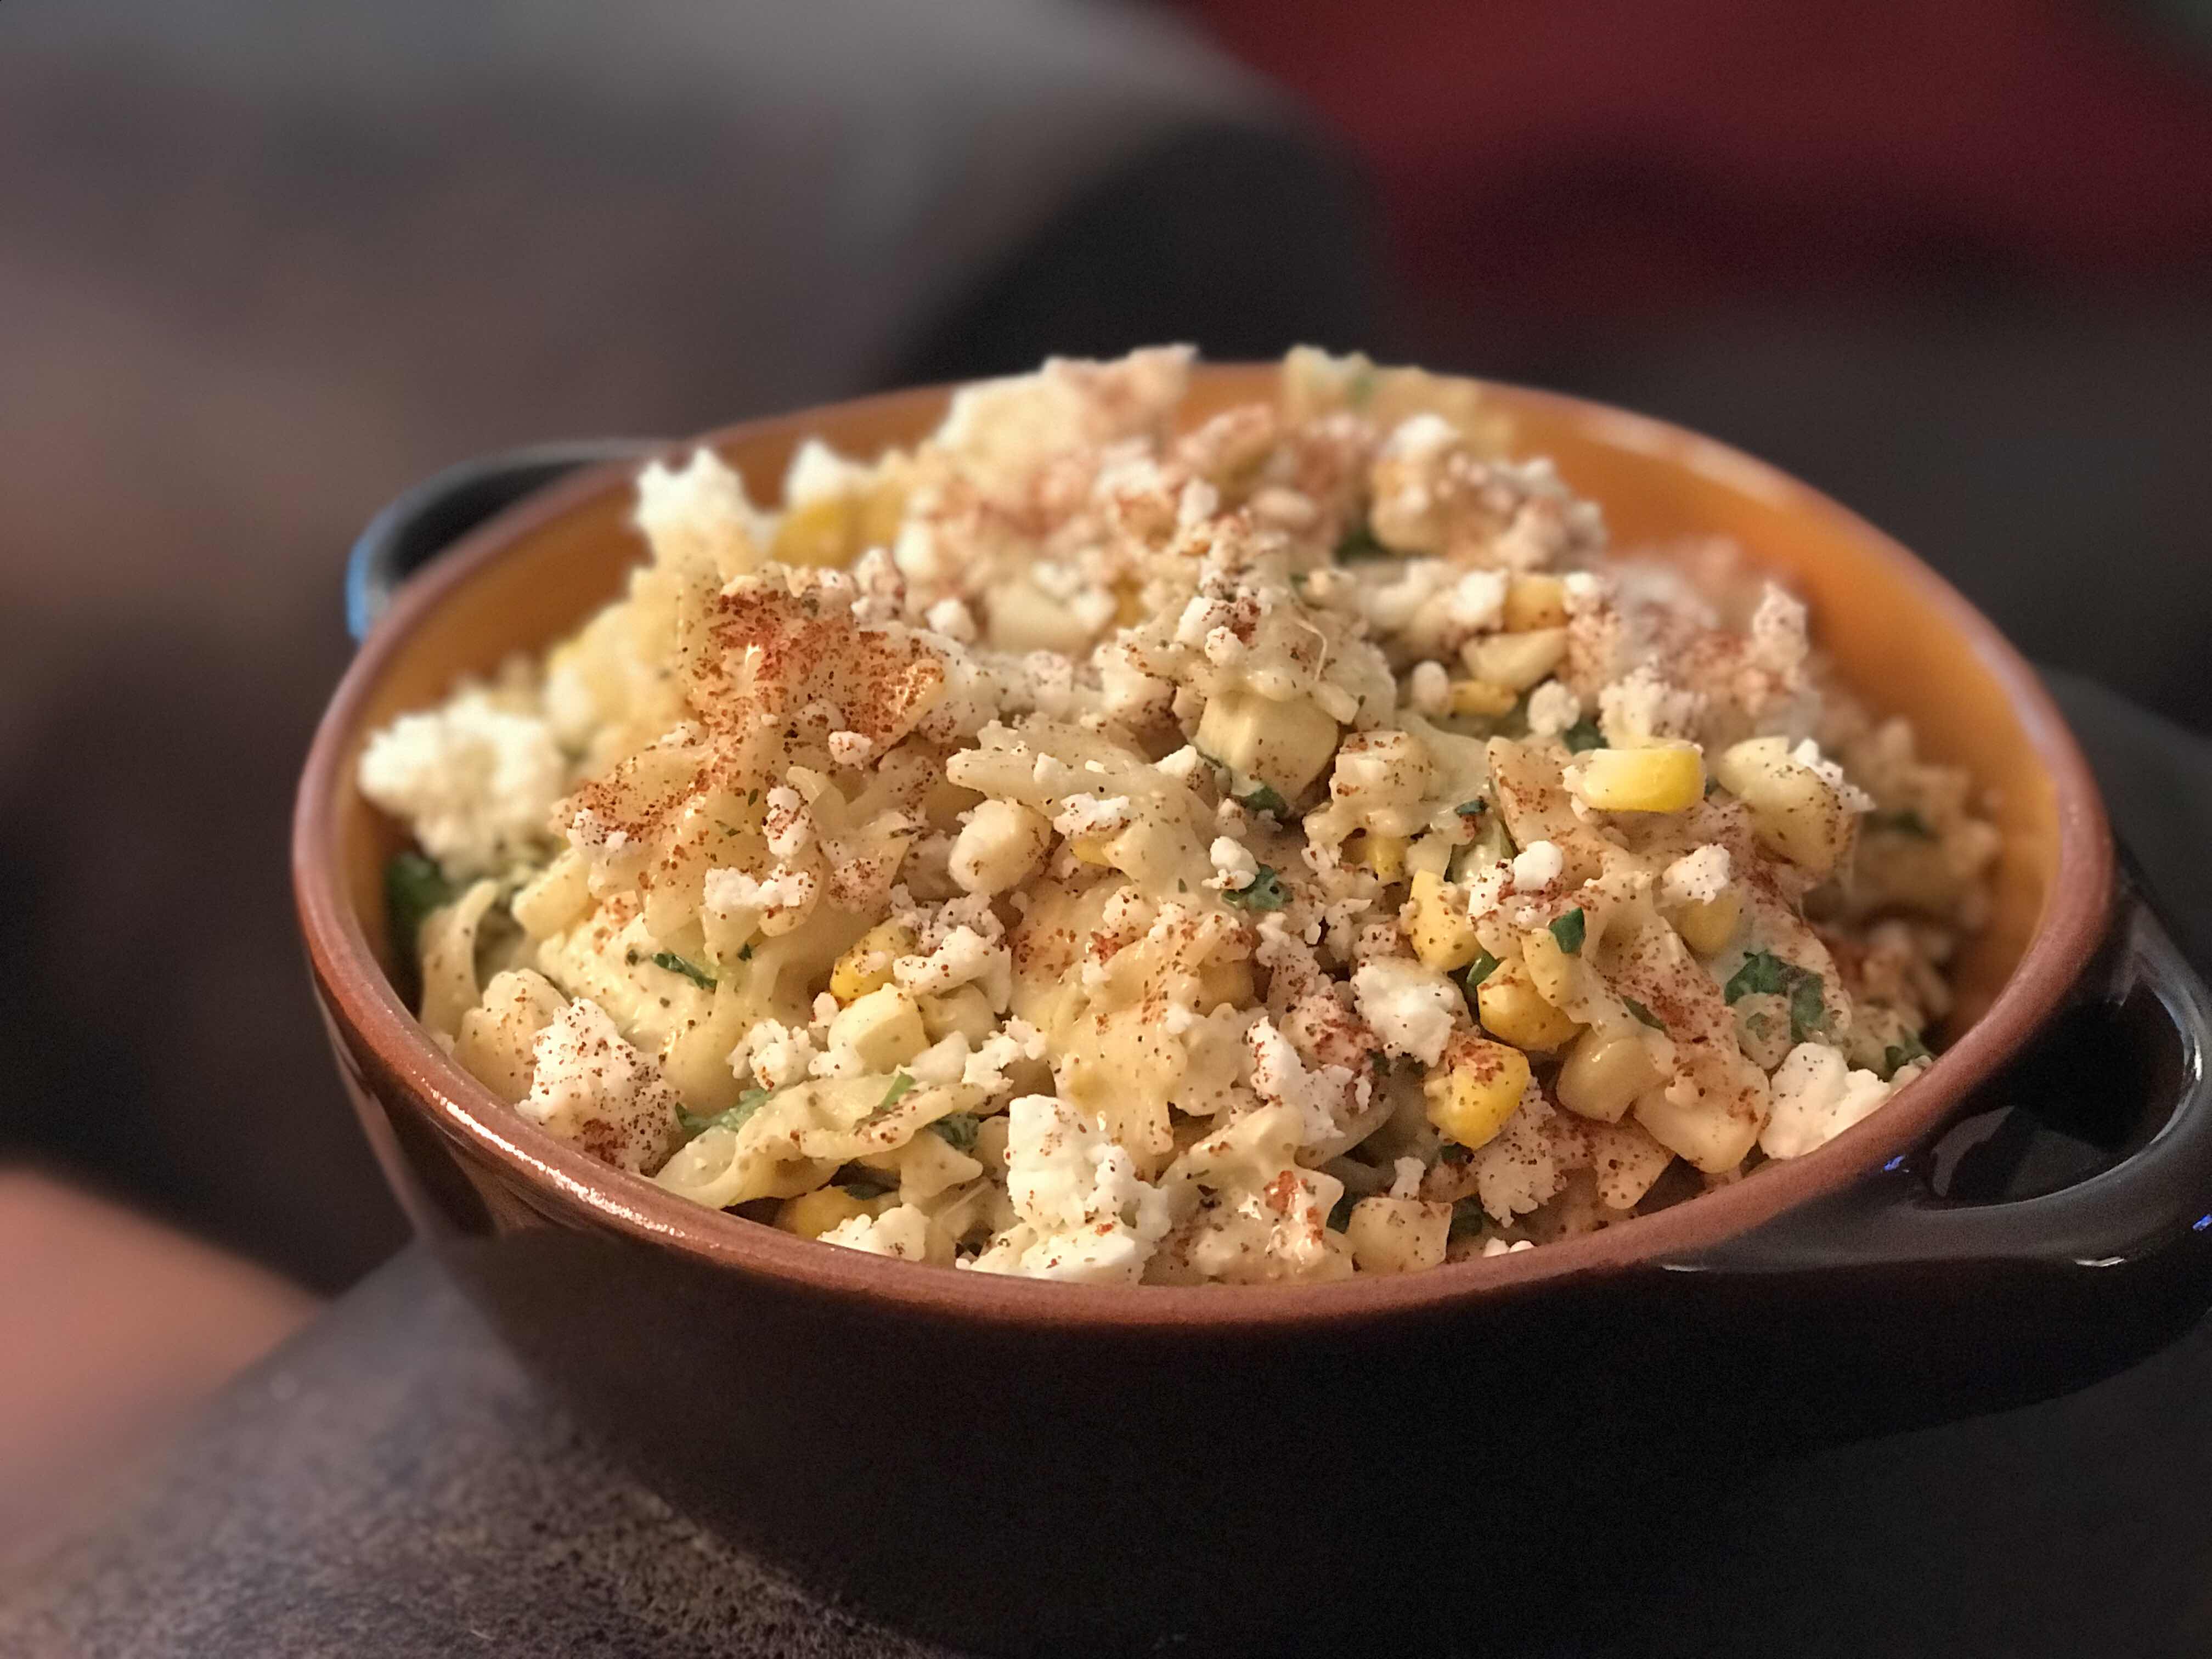
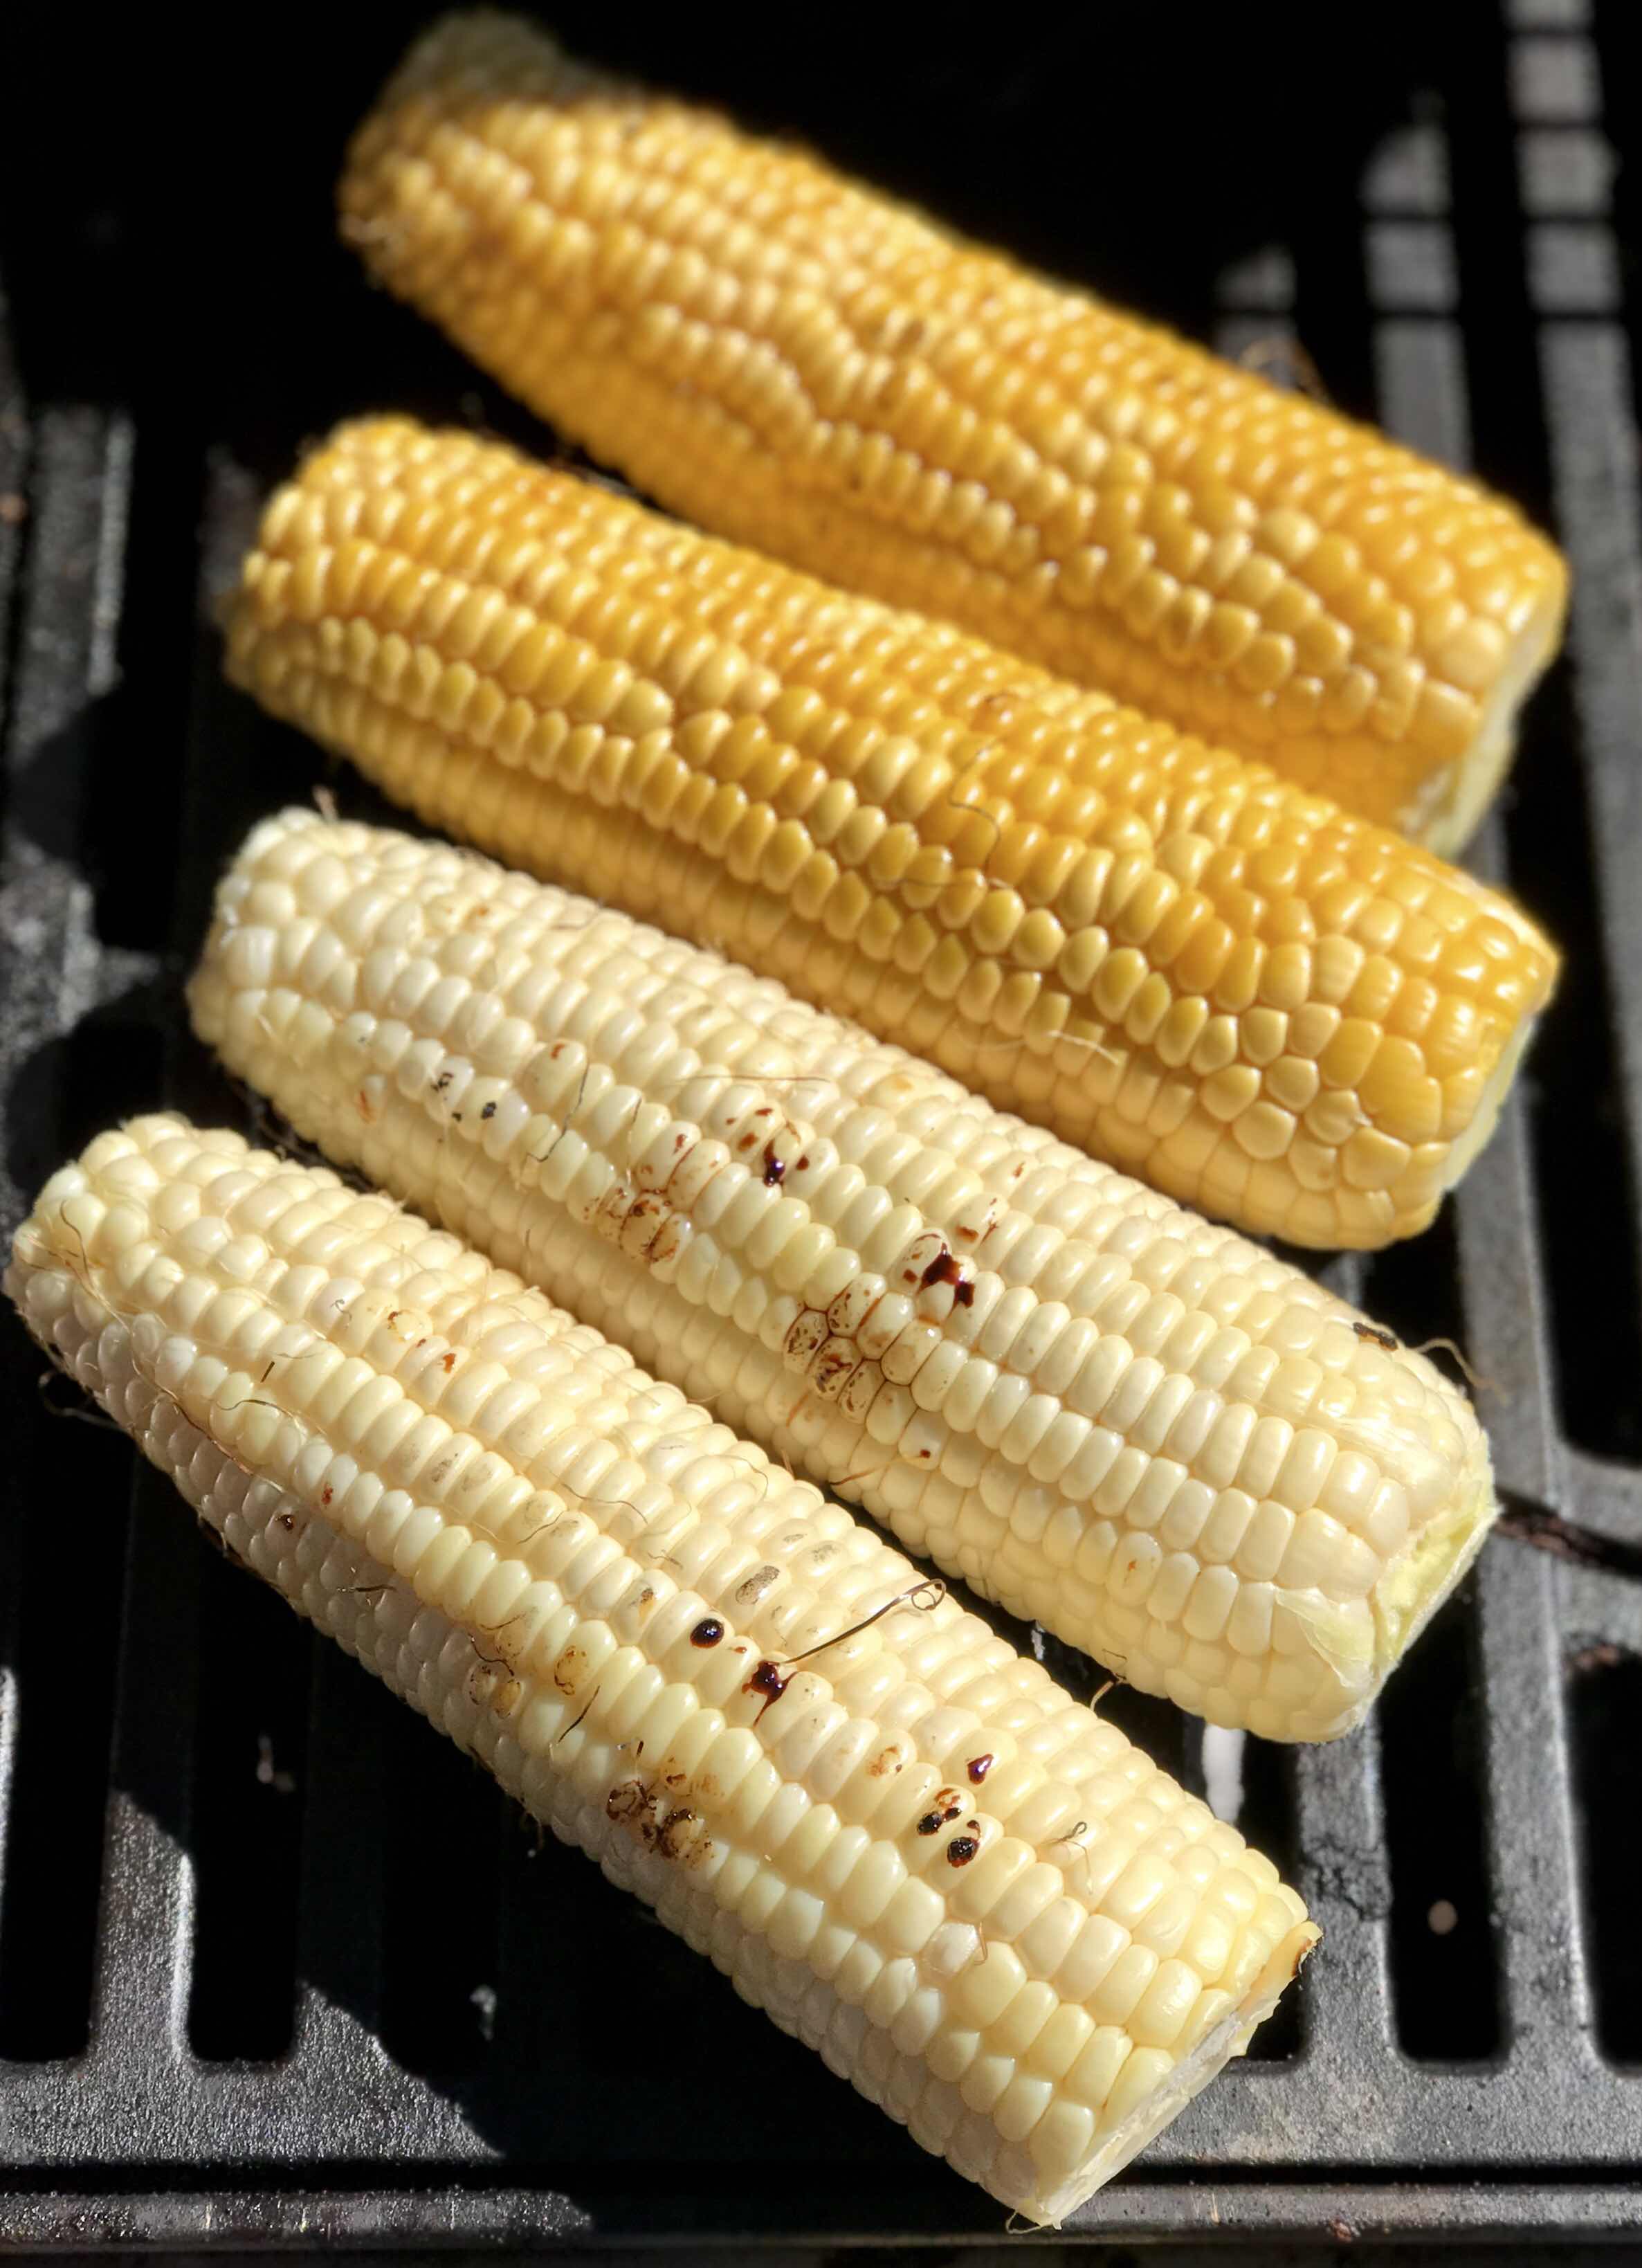
We recently had some great friends come for a visit, now that we’re settled in our new home in Portland. They asked to meet up for dinner, and we recommend that they come to our house. Dinner’s here can be restaurant quality, and it’s a more relaxed environment. One thing is that they don’t eat dairy or gluten. What better to serve than Grilled salmon, corn, zucchini & tomato sauté and a flourless chocolate cake for dessert.
If you remember my post from about a year ago when we visited O’o Farms in Maui, we had a flourless chocolate cake made with ground Cascara, the coffee bean cherry, dried and dehydrated. I wanted to recreate this, but don’t have access to Cascara. This recipe was amazing, and even if you aren’t dairy or gluten free it’s amazing. And you can cut it into portions and it freezes wonderfully.
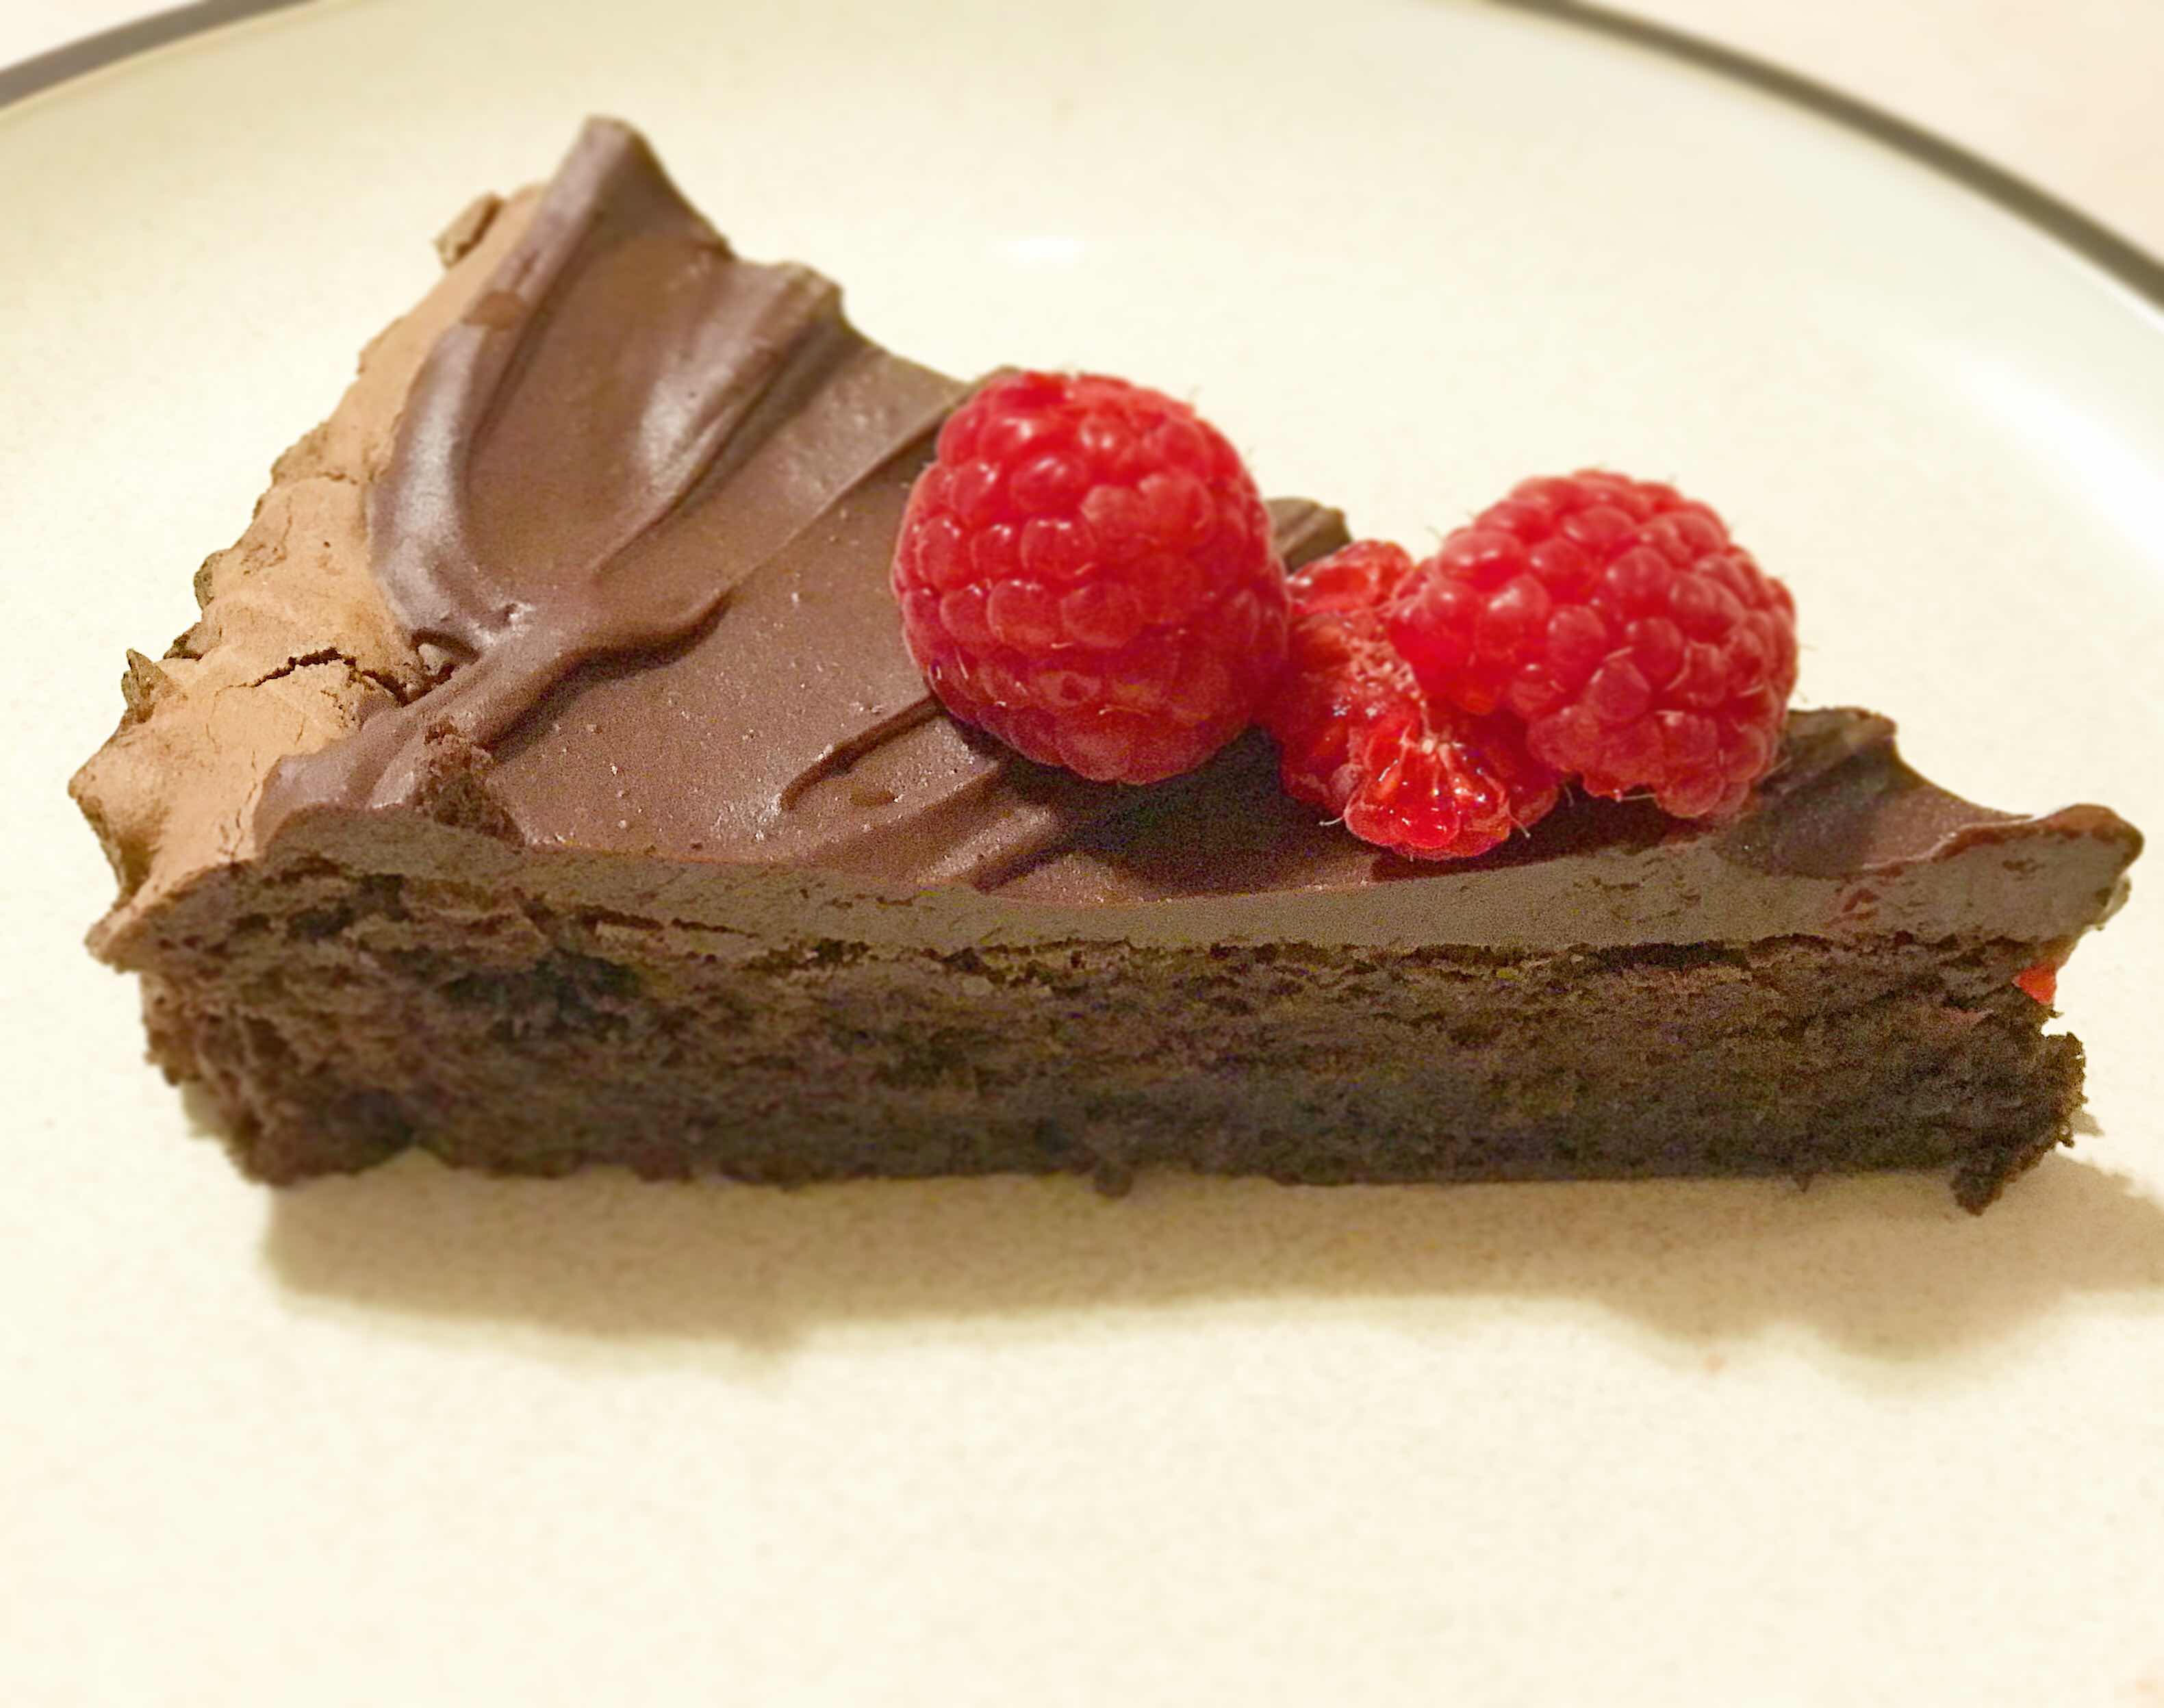
Flourless Chocolate Cake
Ingredients
Cake -
12 oz. dark chocolate, (roughly 2 cups)
12 Tablespoons (1 & 1/2 sticks) unsalted butter
5 eggs
1 cup sugar
1 1/2 teaspoons vanilla extract
1/4 teaspoon salt
2 Tablespoons water
1/4 cup good quality unsweetened cocoa powder
Glaze -
4 oz dark chocolate (about 2/3 cup)
3 Tablespoons unsalted butter
Garnish –
Fresh raspberries or fresh strawberries
Directions:
1. Preheat oven to 300°F. Prepare a 9" cake pan by lining the bottom with parchment and lightly buttering the sides, then dust with cocoa powder and tap out any excess.
2. In a medium sized (microwave safe) bowl, heat the chocolate (break into pieces if using large bars) & butter at 50% power in the microwave until mostly melted (about 2 minutes, but check after 1 minute and every 30 seconds after). Stir until fully melted and smooth, then set aside.
3. In the bowl of an electric mixer, fitted with the whisk attachment, whisk the eggs on medium speed about 1 minute. While mixing, add sugar, vanilla, salt and water and continue whisking another minute or so, or until the mixture is very foamy, pale in color and has doubled in volume.
4. Reduce mixer speed to low, and gradually pour in the (cooled) chocolate mixture. Increase mixer speed to medium and blend until well incorporated, about 30 seconds.
5. Add the cocoa powder and blend just until fully incorporated.
6. Pour batter into prepared pan and bake 40-45 minutes. Bake just until the outside edges are fully baked, and a toothpick inserted in the center comes out with moist clumps, but not just wet batter. It will seem under-baked by most cake baking standards. Don't overcook.
7. Remove from oven and cool in the pan (on a wire rack) for 30 minutes. The cake will sink quite a bit in the center, leaving a rim around the edge, this is OK. Cover the pan with foil and move the cooled cake to the refrigerator and refrigerate until very cold, at least 6 hours or overnight.
8. Once well chilled, run a knife around the edge of the pan to loosen the cake. Remove from pan and trim off the raised rim around the edge of the cake, as necessary to level. Turn cake upside down onto a platter (so the bottom of the cake is now the top) and remove parchment paper.
9. Prepare glaze by heating the chocolate and butter in the microwave (at 50% power) until almost melted, then stir until fully melted and smooth. Cool slightly, then use an offset spatula to spread the glaze evenly to within 1/4 inch from the edge of the cake. Allow to set up (at room temperature, unless your house is very warm and in that case, cool in the fridge). Cake should be served at room temperature.
10. To serve, cut into very thin slices using a knife that has been run under hot water, then wiped dry. Clean knife between cuts as needed.
11. Garnish as desired and enjoy!