Wednesday, September 19, 2012

Chai Pumpkin Spice Thumbprints

These cookie have been posted on Pinterest but I haven't been able to find the Pumpkin Spice Kisses, until a week ago! And I bought enough to make it through the winter!


Chai Pumpkin Spice Thumbprints

Ingredients:
1/2 cup (1 stick) unsalted butter, at room temperature
1/2 cup sugar
1/4 cup chai concentrate
1 large egg
1 teas vanilla extract
1 3/4 cups all-purpose flour
1/2 teas baking soda
1/8 teas salt
1/2 teas chai spice mix
22-24 Pumpkin spice Hershey’s Kisses

Preparation:
Combine the butter and sugar in the bowl of your stand mixer and cream at medium speed until fluffy, or with a hand mixer, for about 2-3 minutes. Add the egg, chai concentrate, and the vanilla, mix until combined. Add the flour, baking soda, and salt, scraping down the sides of the mixing bowl as necessary. Cover with plastic wrap and refrigerate for 1 hour.
Preheat the oven to 325 degrees F.
Using your hands, roll the dough into 22 to 24, 1 inch round balls. Place the dough balls on parchment paper lined baking sheets and sprinkle chai spice mix lightly over cookies.
Bake the cookies for 12-15 minutes. Meanwhile, unwrap kisses.
Remove the cookies from the oven and immediately place pumpkin kisses in the center of each cookie. Don’t touch or the kisses will turn into puddles! Cool completely.

Monday, September 3, 2012

Chic-Fil-A Chicken Sandwiches

While this post might take a couple days to get posted understand that I'm still thinking about Sunday nights dinner. (Sorry there are no pictures, I will repost as soon as I remake these.)

My partner, Craig, intoduced me to Chic-Fil-A a few years back. Growing up in Portland we had a Chic-Fil-A, but it was not very successful, and closed after a few years. I've always known of Chic-Fil-A, it was the quickest place to get a soda at the mall, cause there was no line! On a visit to my family, Craig found the last Chic-Fil-A in the NW, at Lloyd Center. We had chicken sandwiches, then the next morning we went back for breakfast! And i think we even went back for lunch. I was hooked. Everytime we visited an area that had a CFA, we had to go. From airports to drive thrus, there was nothing stopping us. We even drove to a college campus for breakfast biscuits, then back for lunch after a quick trip to Canada. That being said CFA, has been in the news a lot over the last couple of weeks. Most of it bad press, so whether or not you follow that news or not, CFA still makes a great product.

That brings me to this post. I found a couple of recipes for the classic CFA sandwich. I merged 2 of the better ones and tried it tonight.

Chic-Fil-a sandwiches

Ingredients

2 large boneless skinless chicken breasts, split horizontally into 4 cutlets Pickle juice

1 1/2 cups all-purpose flour
2 teaspoons paprika
2 tablespoons black pepper
1/2 teaspoon cayenne pepper
2 tablespoons powdered non-fat milk
1 tablespoon baking powder
1 cup milk
2 large eggs
1 1/2 cups all-purpose flour

2 quarts peanut oil

4 soft hamburger buns, toasted in butter
8 dill pickle chips

Drain dill pickles and set juice aside. Place chicken breasts in a zipper-lock bag and add juice. Transfer to refrigerator and let sit for at least 6 hours and up to overnight.

Meanwhile, combine paprika, black pepper, cayenne pepper, flour, non-fat milk powder, baking powder, 1 tablespoon kosher salt, and 2 teaspoons sugar whisk until homogenous. Whisk together milk and eggs in a medium bowl.

In a deep fryer, or Dutch oven, preheat oil to 350°F.

Remove chicken breasts from juice and pat dry with paper towels. Dip chicken into milk mixture. Working one cutlet at a time, allow excess milk mixture to drip off then transfer to flour mixture. Turn to coat, pile extra mixture on top of cutlet, and press down firmly to adhere as much mixture as possible to the meat. Lift cutlet, shake off excess flour, then slowly lower into hot oil. Repeat with remaining breasts.
Cook, turning breasts occasionally until golden brown and crisp on all sides, and chicken is cooked through, about 4 minutes total. Chicken breast should temp at 160°F. Transfer to a paper towel-lined plate.

Place 2 pickles on each bottom bun and a fried chicken cutlet on top. Close sandwiches, then cover with an overturned bowl or aluminum foil and allow to rest for 2 minutes to steam buns. Serve immediately.

Tequila Lime Chicken with Cilantro Rice. Served with Skillet Corn, Edamame, and Tomatoes with Basil

While I love Mexican food, in our house I don’t make it often, as it’s not one of Craig’s favorites, and most of the “original” flavors aren’t entirely my favorites either.  I’m not a fan of spicy, and years ago I had a VERY bad hangover involving tequila and cilantro, but I won’t get into that.

I have been coming around to the taste (and smell) of cilantro, and thought I’d try a new creation I’ve been working on. In addition to this great recipe, I recently came across an recipe for a new side dish, that would go great with this “Mexican style” dish.

Tequila Lime Chicken with Cilantro Rice
with Skillet Corn, Edamame, and Tomatoes with Basil

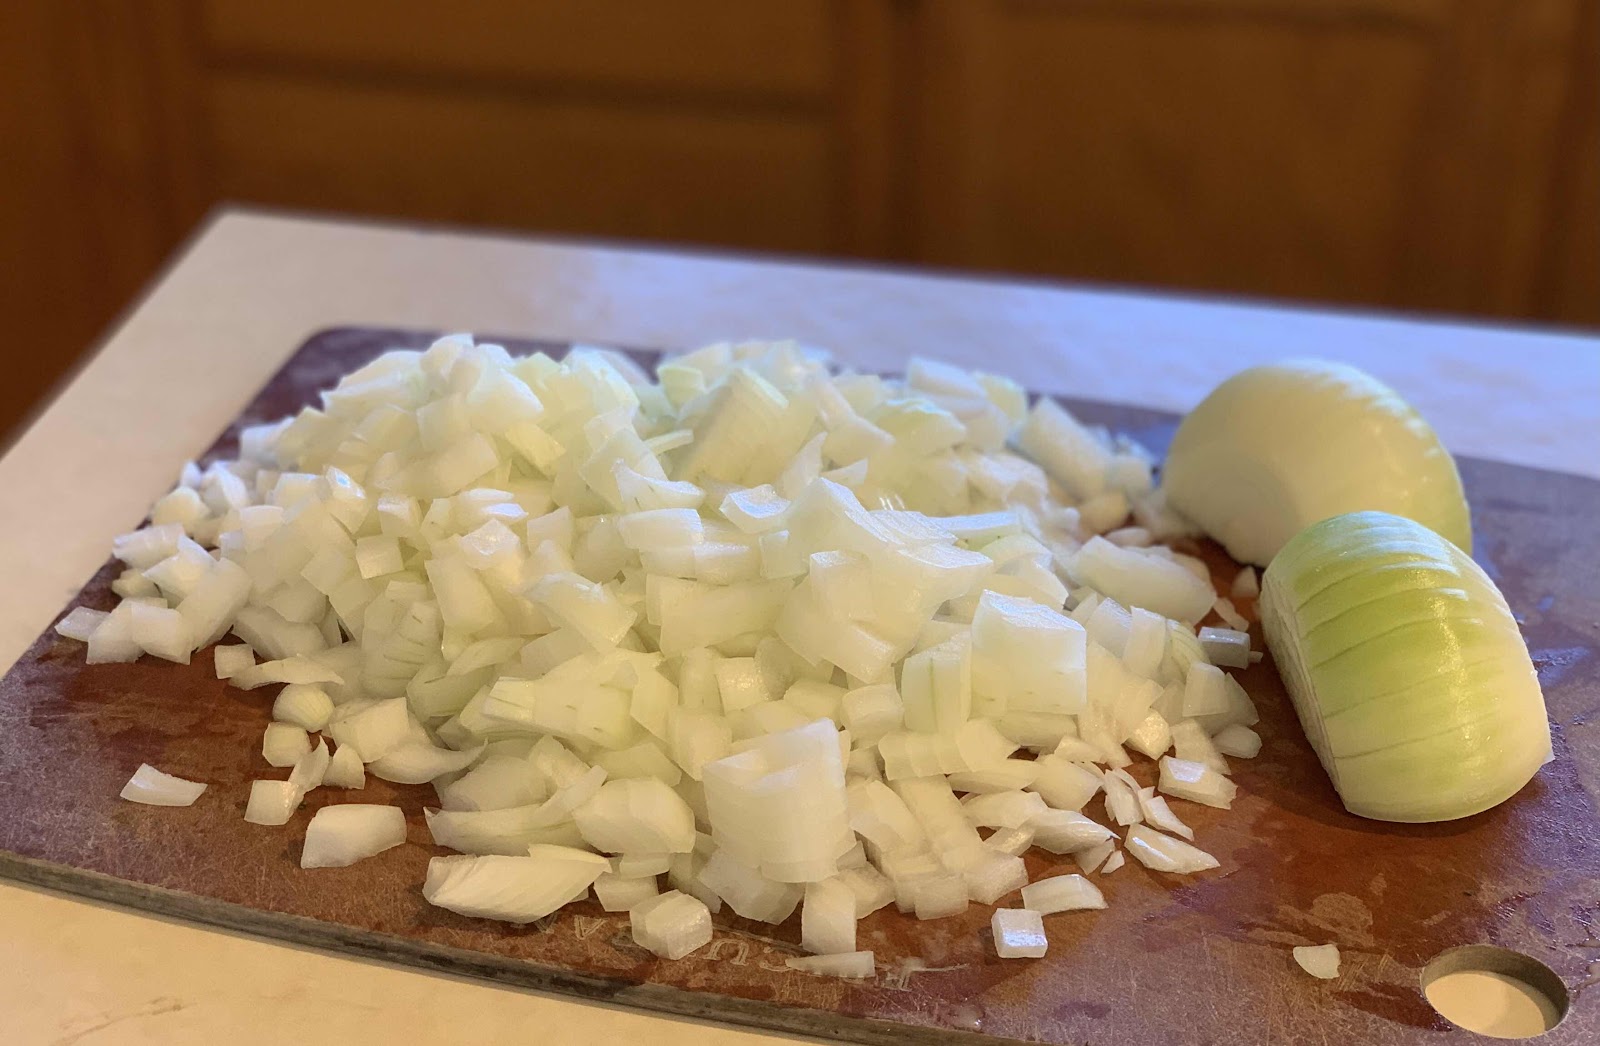
3 Boneless Skinless Chicken Breasts, diced
The rind of 3 limes
The juice of 3 limes
1 Cup Tequila
2T Mexican Oregano
Salt and Pepper

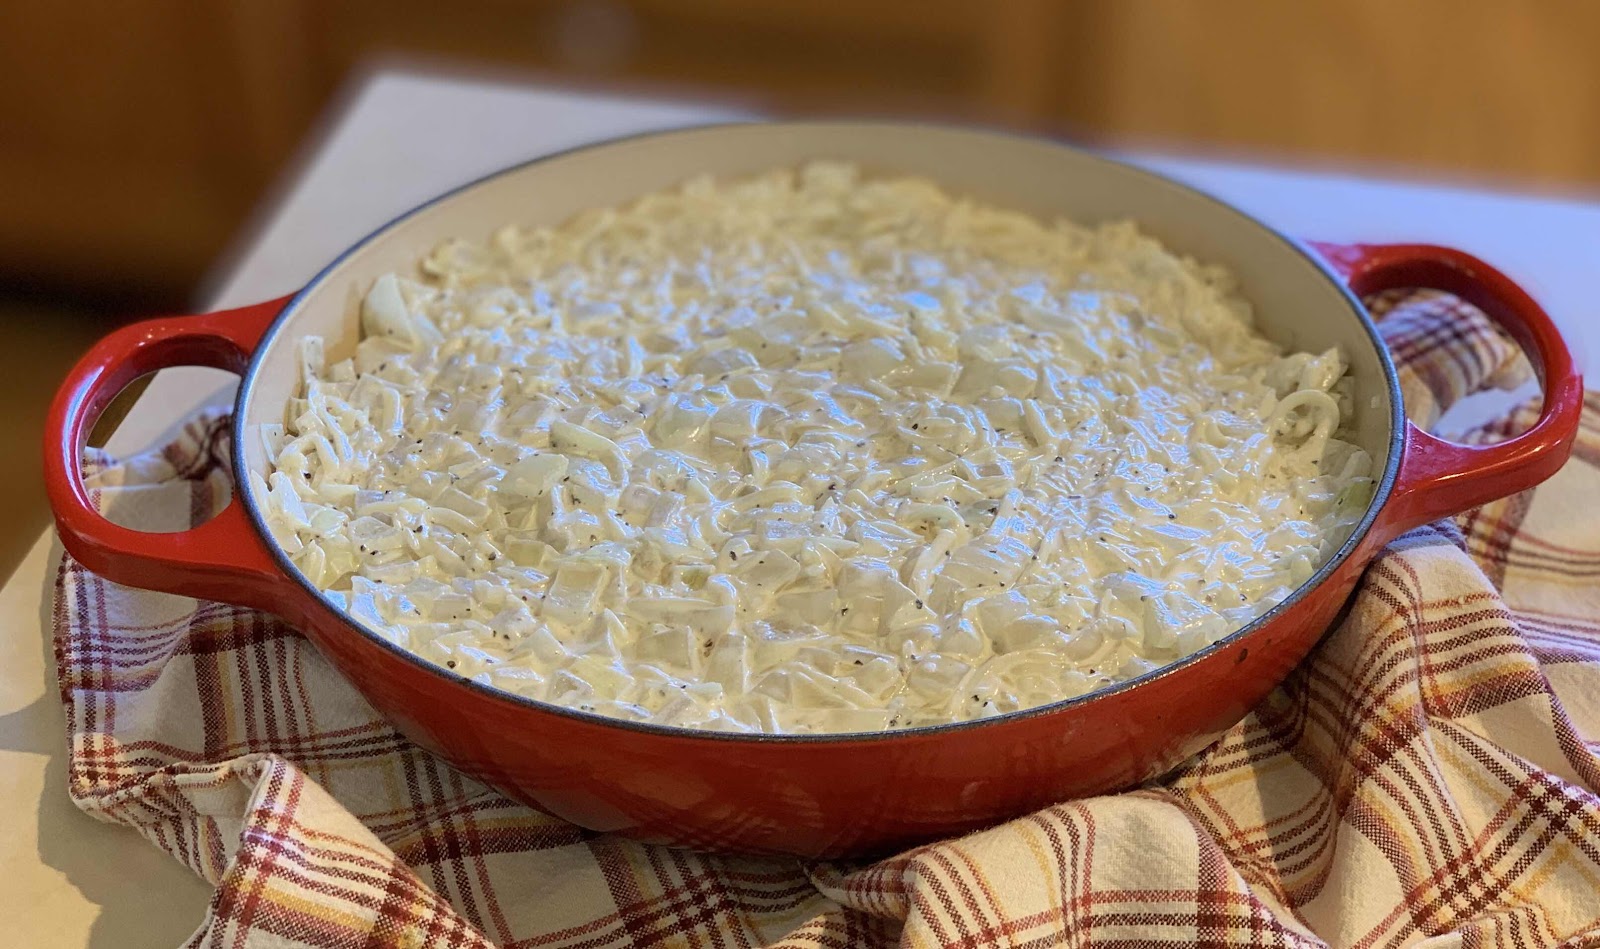
Mix together the last 5 ingredients, set aside.  Dice the raw chicken and place in the tequila marinade. Marinade for a couple of hours, stirring occasionally.

Drain chicken, and saute until thoroughly cooked, and all moisture has evaporated.

Make rice:
For this recipe I use Basmati Rice.  I usually measure about 2 cups of rice and rinse the rice with cold water until water runs clear.  Bring to a boil, and boil for about 10-15 minutes, check rice for doneness. (when you split the rice kernel in half, you will see a dot in the center-Al dente) When rice is done (al dente), pour the rice into a strainer, and rinse with cold water. Put the pan back on the store, and add a small amount of oil (3-4T) and the rinsed rice, in a mound. Sprinkle about 3-4 T water over the rice, and place a folded towel (make sure there is not fabric softener in the towel) over the top of the pot and place the lid on the pot. Allow to steam for about 20 minutes on medium low heat.

Add 1/2 stick of butter to the rice, mix we  ll.  Add ½ bunch cilantro, diced, to the rice and mix well.


Skillet Corn, Edamame, and Tomatoes with Basil Oil

Ingredients

1 cup fresh basil leaves
¼ cup plus 2 tablespoons extra-virgin olive oil, divided
1 ½ teaspoons coarse salt, divided
¼ cup finely sliced scallions (from 4 scallions)
1 ½ teaspoons minced garlic (from 3 small garlic cloves)
3 ¼ cups corn kernels (from 3 ears)
2/3 cup frozen shelled edamame, thawed
½ pound cherry tomatoes, halved (1 3/4 cups)
2 tablespoons white balsamic vinegar


Directions

Bring a small pot of water to a boil. Add basil; cook 10 seconds. Transfer basil to a bowl of ice water, then drain, and squeeze dry. Puree basil, 1/4 cup oil, and 1/2 teaspoon salt in a blender or food processor until smooth.

Heat remaining oil in a skillet over medium-high heat. Add scallions and garlic; cook until fragrant, about 30 seconds. Add corn, edamame, and remaining salt. Cook, stirring, until starting to caramelize, about 10 minutes (reduce heat to medium if overbrowning). Add tomatoes and vinegar; cook until tomatoes start to collapse, about 8 minutes.

Drizzle basil oil on vegetables, and stir. Serve immediately.

Saturday, September 1, 2012

Walla Walla Onion Casserole

We all have recipes we come across throughout of lives that really bring back memories, stir up cherished thoughts, or that warm your heart.  This is one of those recipes for me.  I had lost the recipe for a couple of year, and attempted to look for one like it online, but was not ever able to get just the right one.  After a little reorganizing of my kitchen (recipe area), I found it and put it on the menu!

This recipe came to me by my dear friend Jackie.  She is the type of friend that you might not talk with everyday, or for that matter every week, month or even several months, but we always are able to pick up right where we left off.  A couple of years back my husband, Craig signed up for the Seattle to Portland Bike Ride.  He had decided to ride it in 2 days, so that meant somewhere in the middle of Washington we would have to rest for the night.  Jackie offered to let us stay with her for the night, so we took her up on the offer.  That night for dinner, she served this casserole. I was so taken by it’s simplicity, I told her I had to have the recipe.

If your not familiar with Walla Walla Sweet Onions, they are a local Northwest treasure, like Vidalia are to Georgia, or Maui Sweets are to Hawaii.  Now there are MANY areas growing sweet onions, at least 10 just in the US alone.  Just like Copper River Salmon, when Walla Walla’s are in season, you gotta make this!!


Walla Walla Onion Casserole

Ingredients
5 Cups Walla Walla Sweet Onions, Chopped
4 Tablespoons Unsalted Butter
½ Cup uncooked Long Grain rice
Salt & pepper to taste
1 Cup Sour Cream
1 Cup Swiss Cheese, shredded (Cheddar can be supstituted), and more for topping.

Directions
1. Preheat oven to 350°.
2. Dice up the onions, and sauté in butter, until translucent. Be sure not to brown (not that that would be bad, the recipe just said not too). 
3. Add rice, sour cream, salt and pepper, and cheese.  Mix until combined.  
4. Top with more cheese.  
5. Bake 30-40 minutes, or until golden and bubbly.