Friday, August 13, 2021

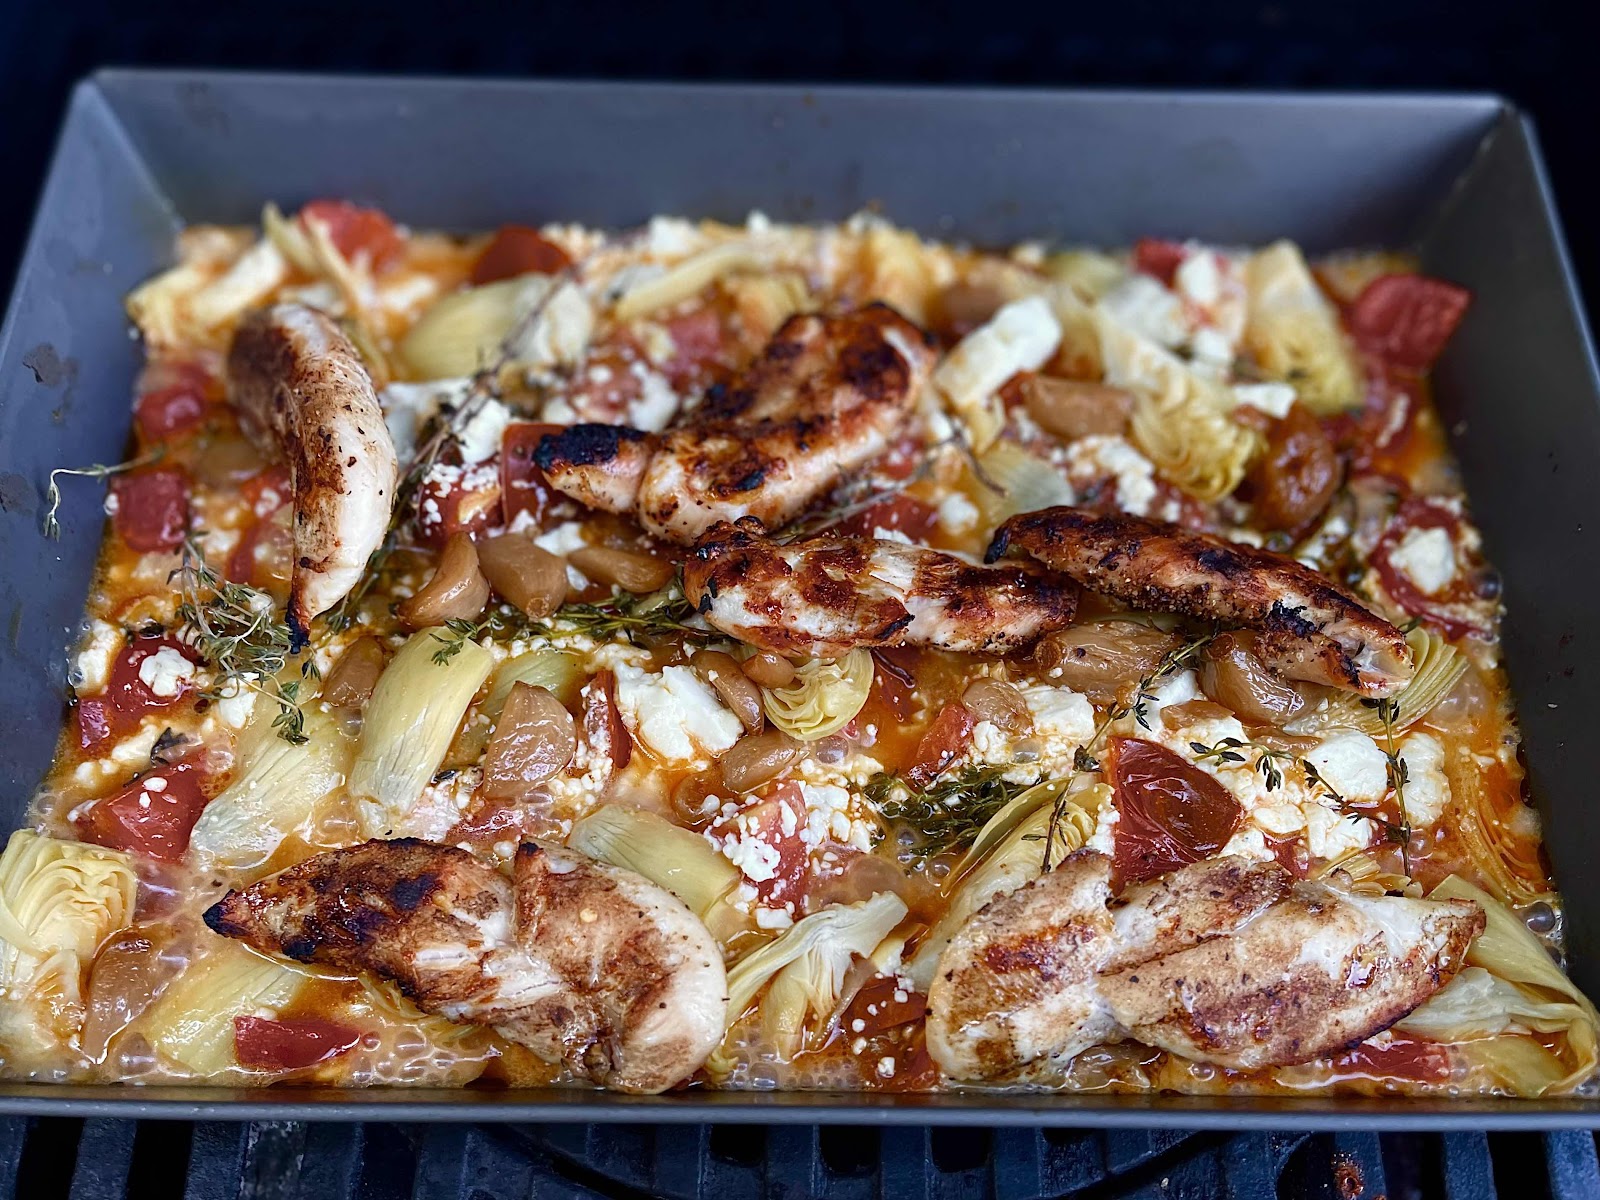
Grilled Feta Pasta

In the NW we’ve hat the hottest summer on record.  Between the record heat wave of 117° and 107° we had a brief break where the temps got down to the mid 80°s. As most NorthWesterners, we don’t have AC (or at least full house AC).  So firing up the oven is out of the question. 


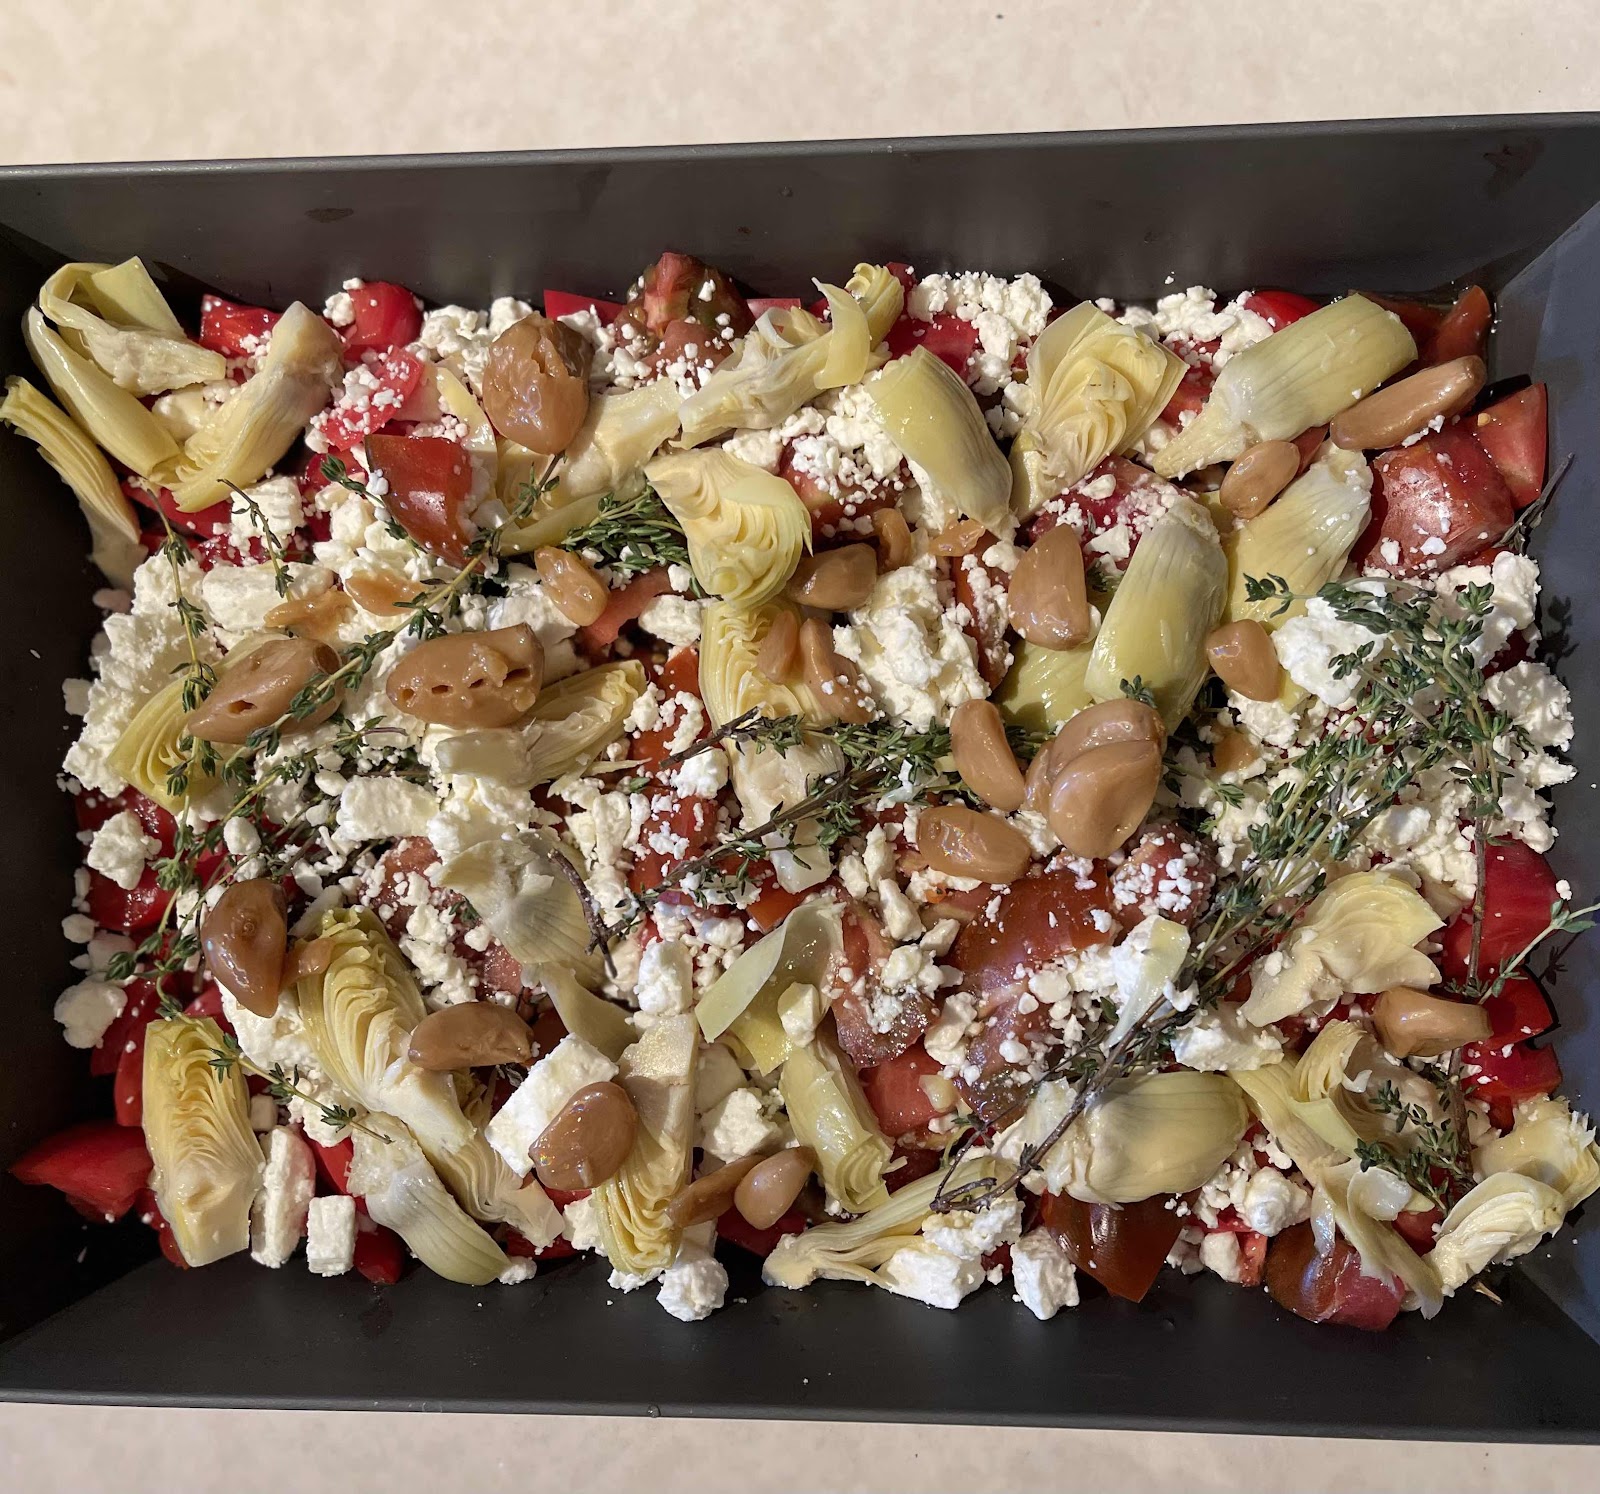
In this heat, there’s only so many sandwiches and salads you can make, before you start needing some comfort food.  So I thought, why not grab my Detroit pizza pan, and bake the “TikTok” Feta Pasta, quickly a favorite in our house. (Link to my first post-Baked Feta Pasta) This time I only had crumbled feta, so that’s what I used.  I also added artichokes, cause….why not. Here’s my version of this great dish, served with our version of a Caprese Salad.


Grilled Feta Pasta with Artichokes

Ingredients 

  • 8-12 oz Feta, block or crumble
  • 2 large heirloom tomatoes, chopped (you can also use 1 pt, or more cherry tomatoes)
  • Olive oil, to coat
  • 1 can quartered artichoke hearts, drained and cut into 1/8ths
  • A few sprigs of thyme
  • 4-5 peeled cloves of garlic
  • Salt and pepper, to taste
  • 10-12 leaves Fresh basil, thinly sliced
  • 1 Grilled Chicken breast, chopped (optional)
  • 1 lb or your favorite pasta (cavatappi, farfalle, penne, ziti…), cooked according to package directions

Directions

  1. Heat grill to high, try to maintain about 400-425°
  2. Prep all ingredients, and place in metal, grill safe pan.
  3. Place pan in grill 
  4. “Bake” for 10 minutes, stir once, then leave on hot grill for another 10 minutes.(I used this time to grill my chicken breast)
  5. Carefully remove pan.  Remove the thyme sprigs. Stir sauce, then fold in cooked pasta.
  6. Serve and top with sliced, grilled chicken if you choose.


Saturday, July 3, 2021

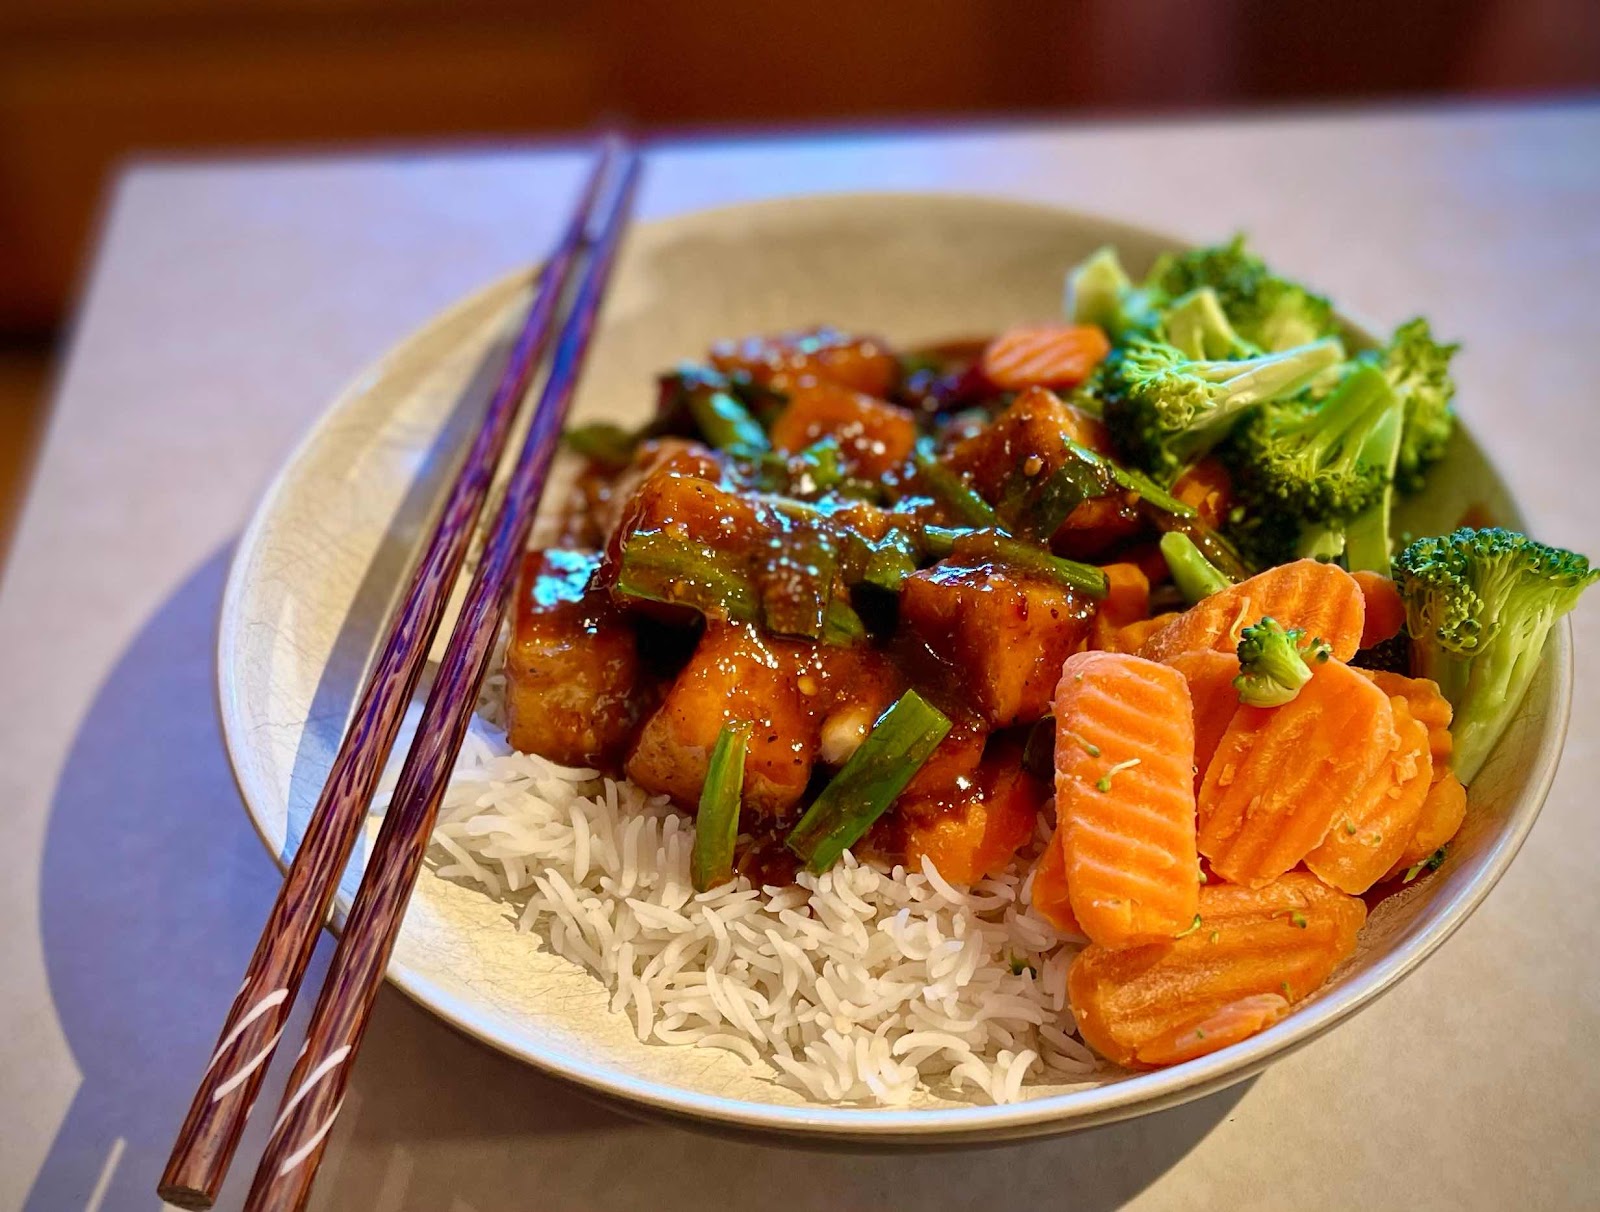
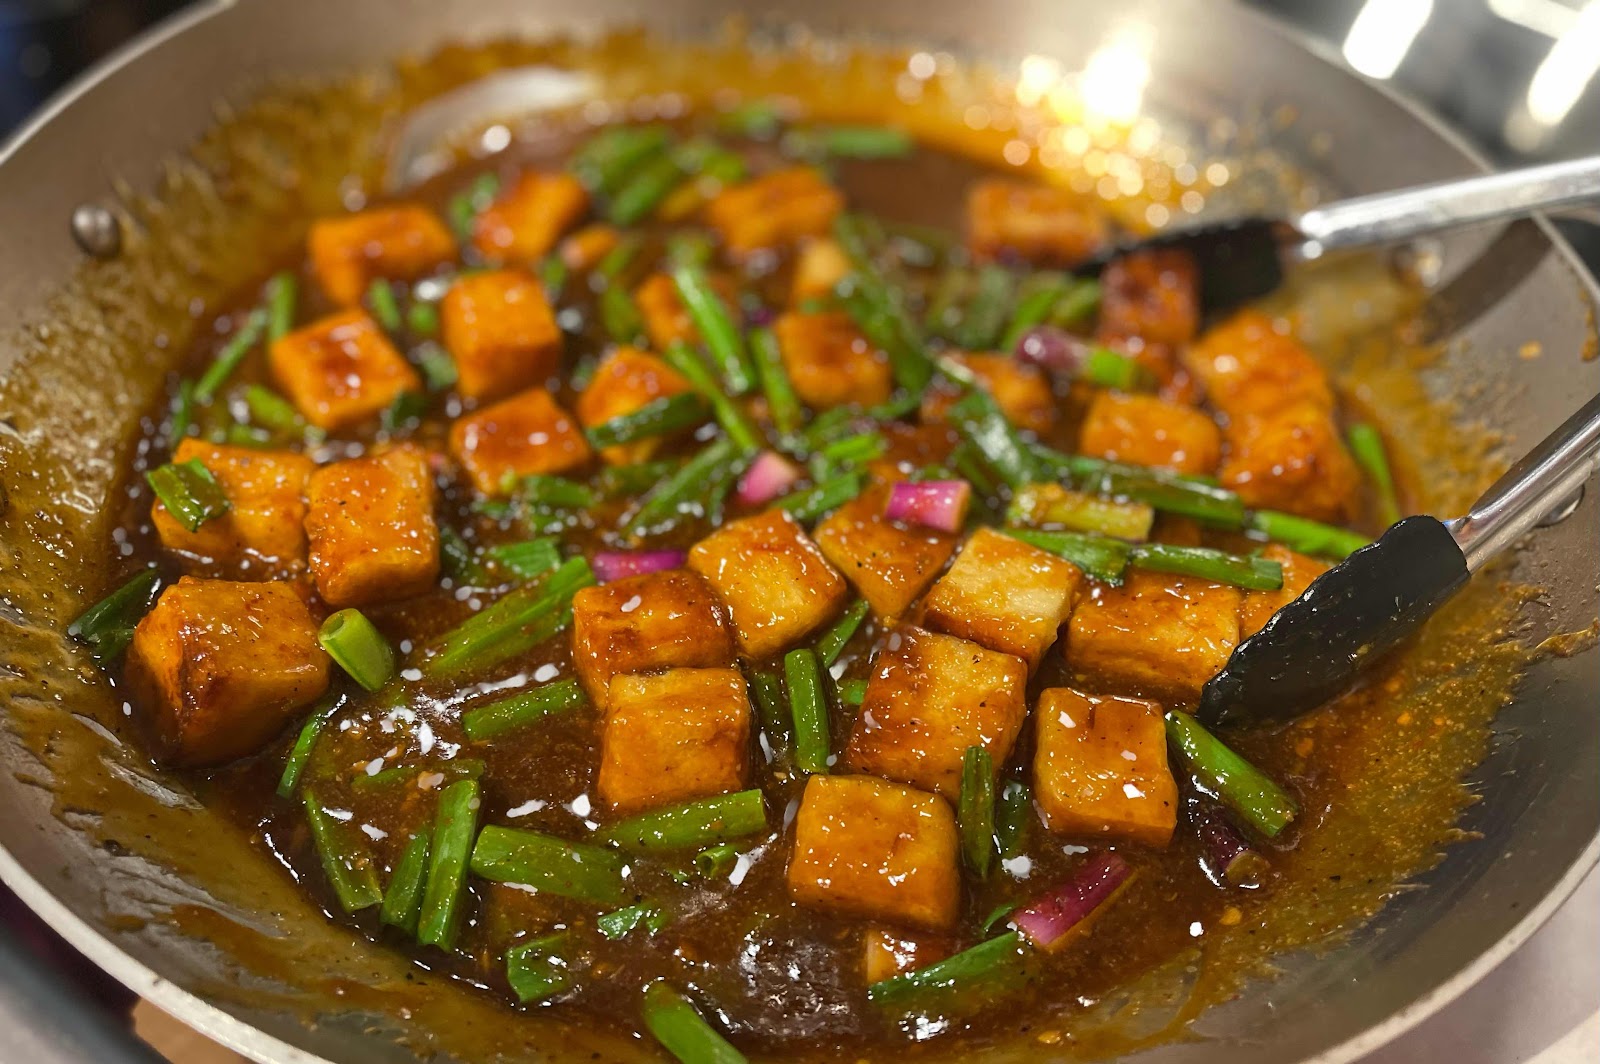
Firecracker Tofu

Ok, I know you all might not be a fan of tofu, but have you actually even tried it. Honestly?  My guess is a firm no. However it is pretty amazing in this dish (ok you can sub in chicken, but….boring!!)


A little history about the tofu I used. Craig and I were watching Top Chef Portland, and they did an episode on Ota Tofu, a local, (and the oldest) tofu company here in Portland. We both said we need to try that. Fast forward to a few weeks later snd some really good friends were in town and we went to dinner, unknowingly we parked in front of Ota. I was just giddy. However they were not open. The next week I found some in an Asian market and decided on this dish. Which is PERFECT for a 4th of July celebration!  Maybe just cause it’s called “firecracker”?!?!


Firecracker Tofu

Ingredients

  • 1 Package Extra Firm Tofu - 14 oz package
  • 1/4 Cup Cornstarch
  • 1/4 Cup Sesame Oil 

For the Sweet-Spicy Sauce:

  • 2 Tbsp Karo Syrup
  • 2 Tbsp Soy Sauce
  • 1/2 Cup Hot Sauce 
  • 1 tbsp White Vinegar
  • 4 Tbsp Water
  • 1/4 Tsp Garlic Powder
  • 1 Tsp Red Pepper Flakes
  • 1/8 Tsp Black Pepper
  • 1/4 Tsp Salt
  • 2-3 Green Onion Stalks - cut into 1 inch pieces

Topping (optional):

  • 1 Tsp Sesame Seeds
  • 2-3 Green Onion Stalks - chopped thinly

Instructions

Making the Crispy Tofu.

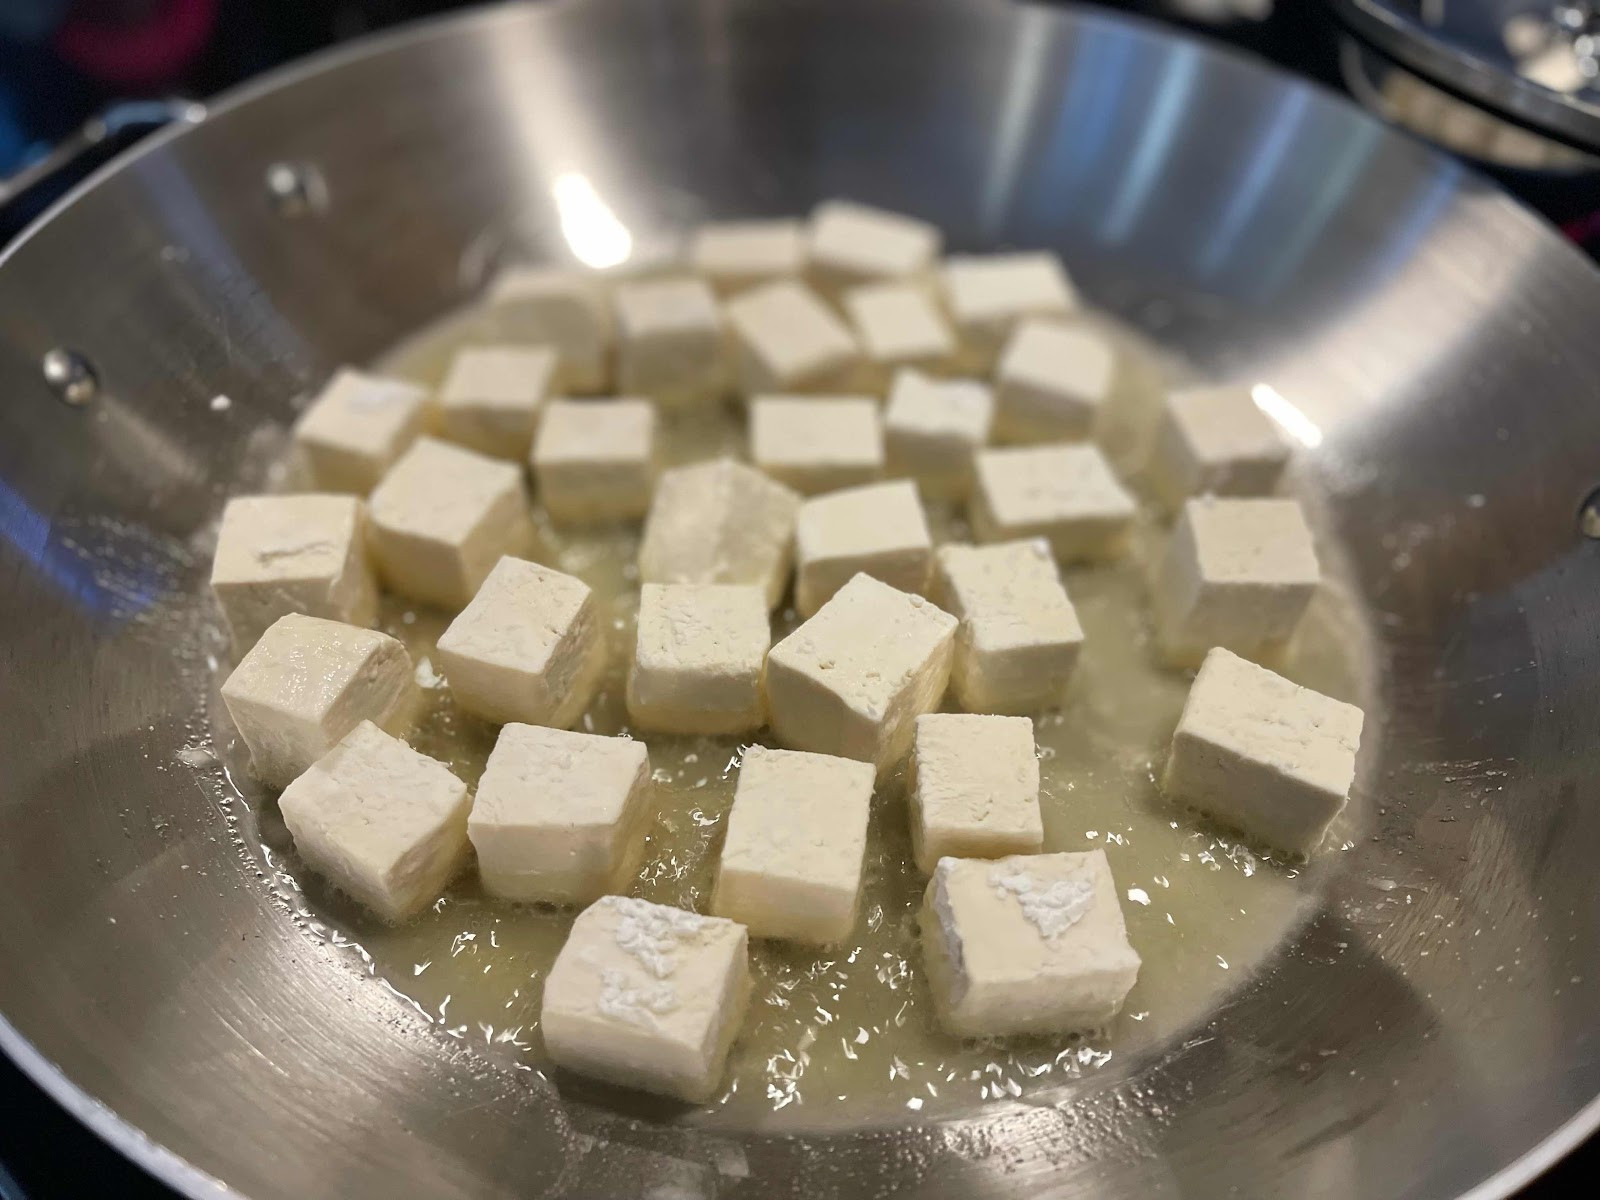
  1. Start by cutting the tofu into bite-size pieces or about 1-inch size.
  2. Then pour the cornstarch on a large plate.
  3. Add the sliced tofu pieces in the cornstarch and toss to coat them evenly.
  4. Heat 1/2 the sesame oil in a non-stick pan/wok.
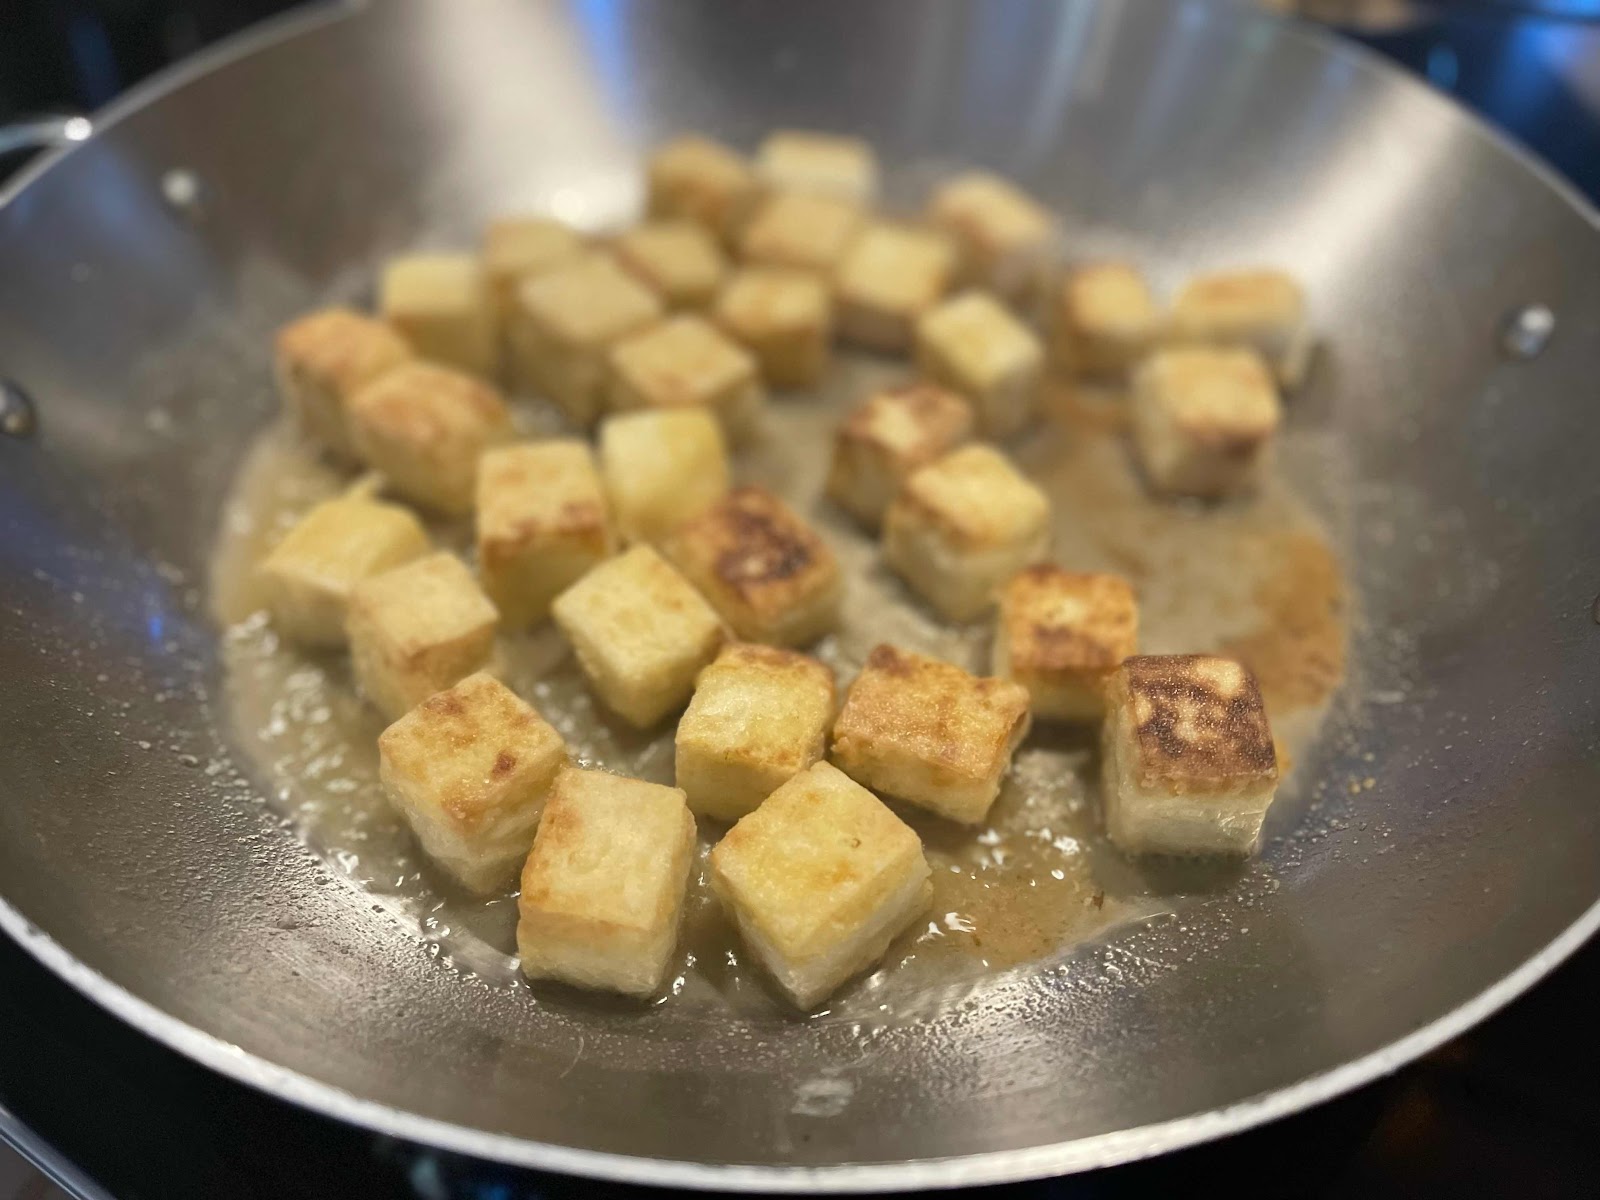
  5. Add 8-10 coated tofu pieces and shallow fry for 3-4 minutes (turn sides and cook tofu evenly until light golden brown).
  6. Remove the cooked tofu and repeat the step until all leftover tofu is cooked.

Making the Sweet-Spicy Sauce:

  1. Take a large bowl and add all the sauce ingredients in it. Whisk to mix everything evenly.
  2. In the same non-stick pan/wok and add the whisked sauce ingredients from the bowl.
  3. Saute the sauce and let this simmer on low heat for a minute.
  4. Add larger green onion pieces. 
  5. After a minute, add the crispy tofu and stir to mix everything.
  6. Make sure the sauce evenly coats each side of crispy tofu.
  7. Let this cook for another 2-3 minutes and then turn off the heat.
  8. Transfer the Firecracker Tofu to a serving bowl.
  9. Sprinkle sesame seeds and sliced green onions. 
  10. Serve hot with choice of side.


Thursday, July 1, 2021

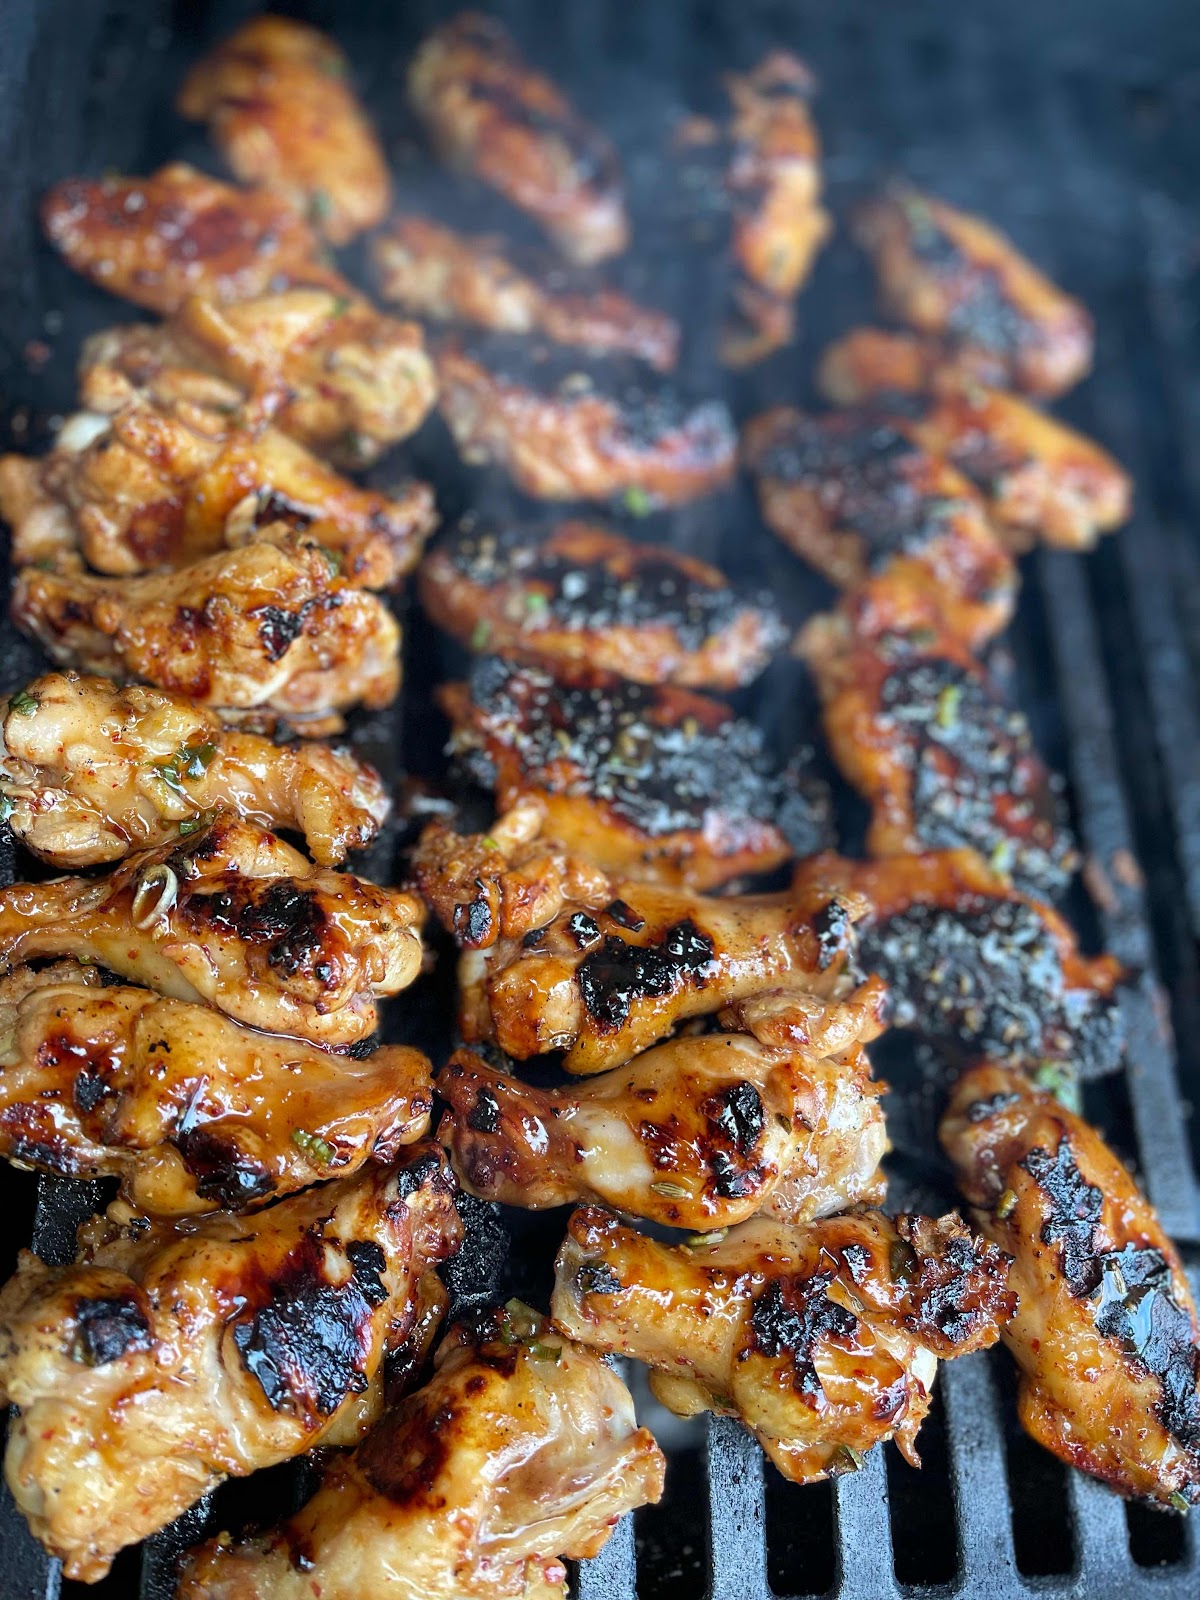
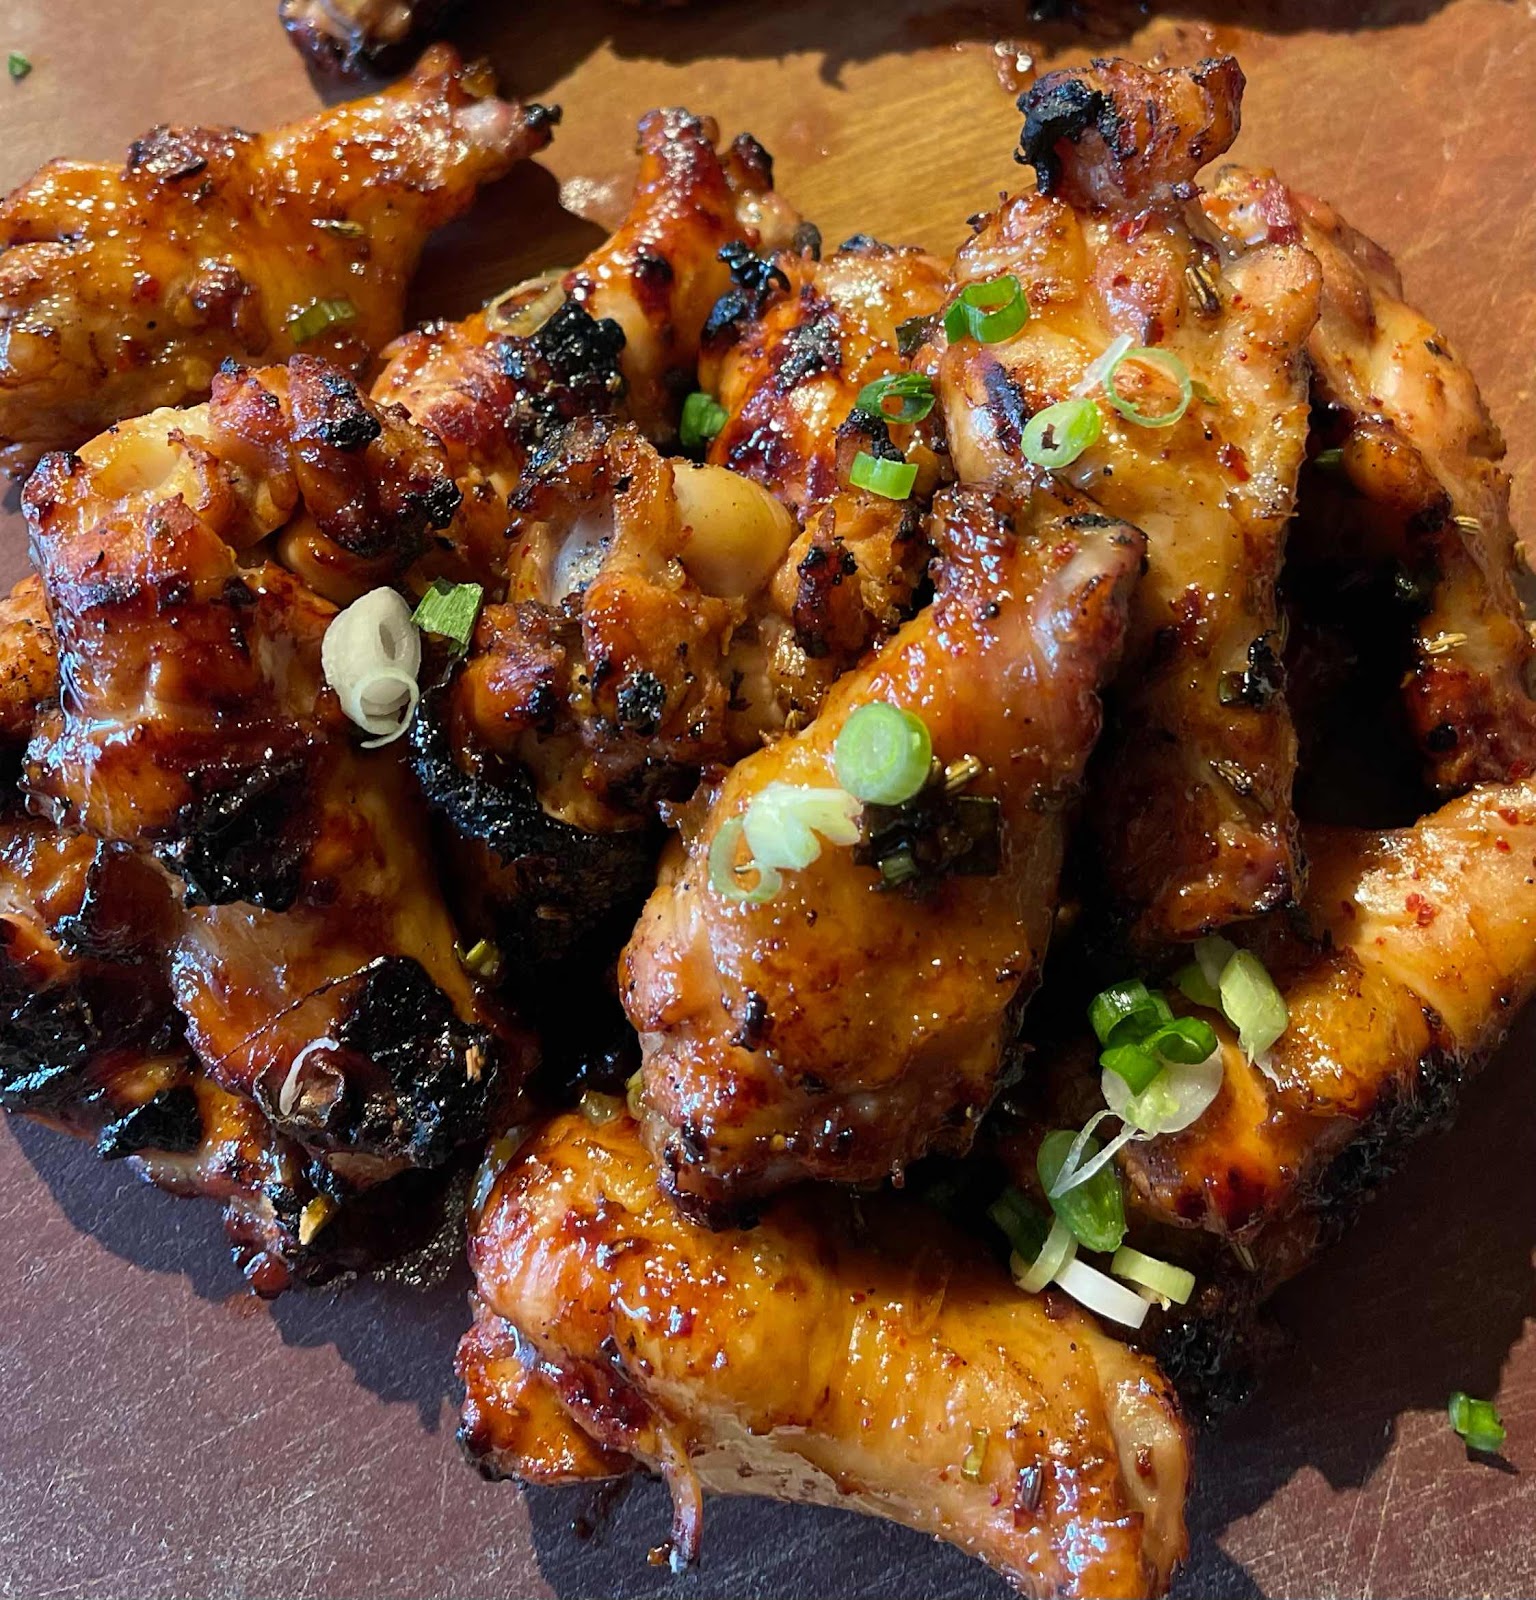
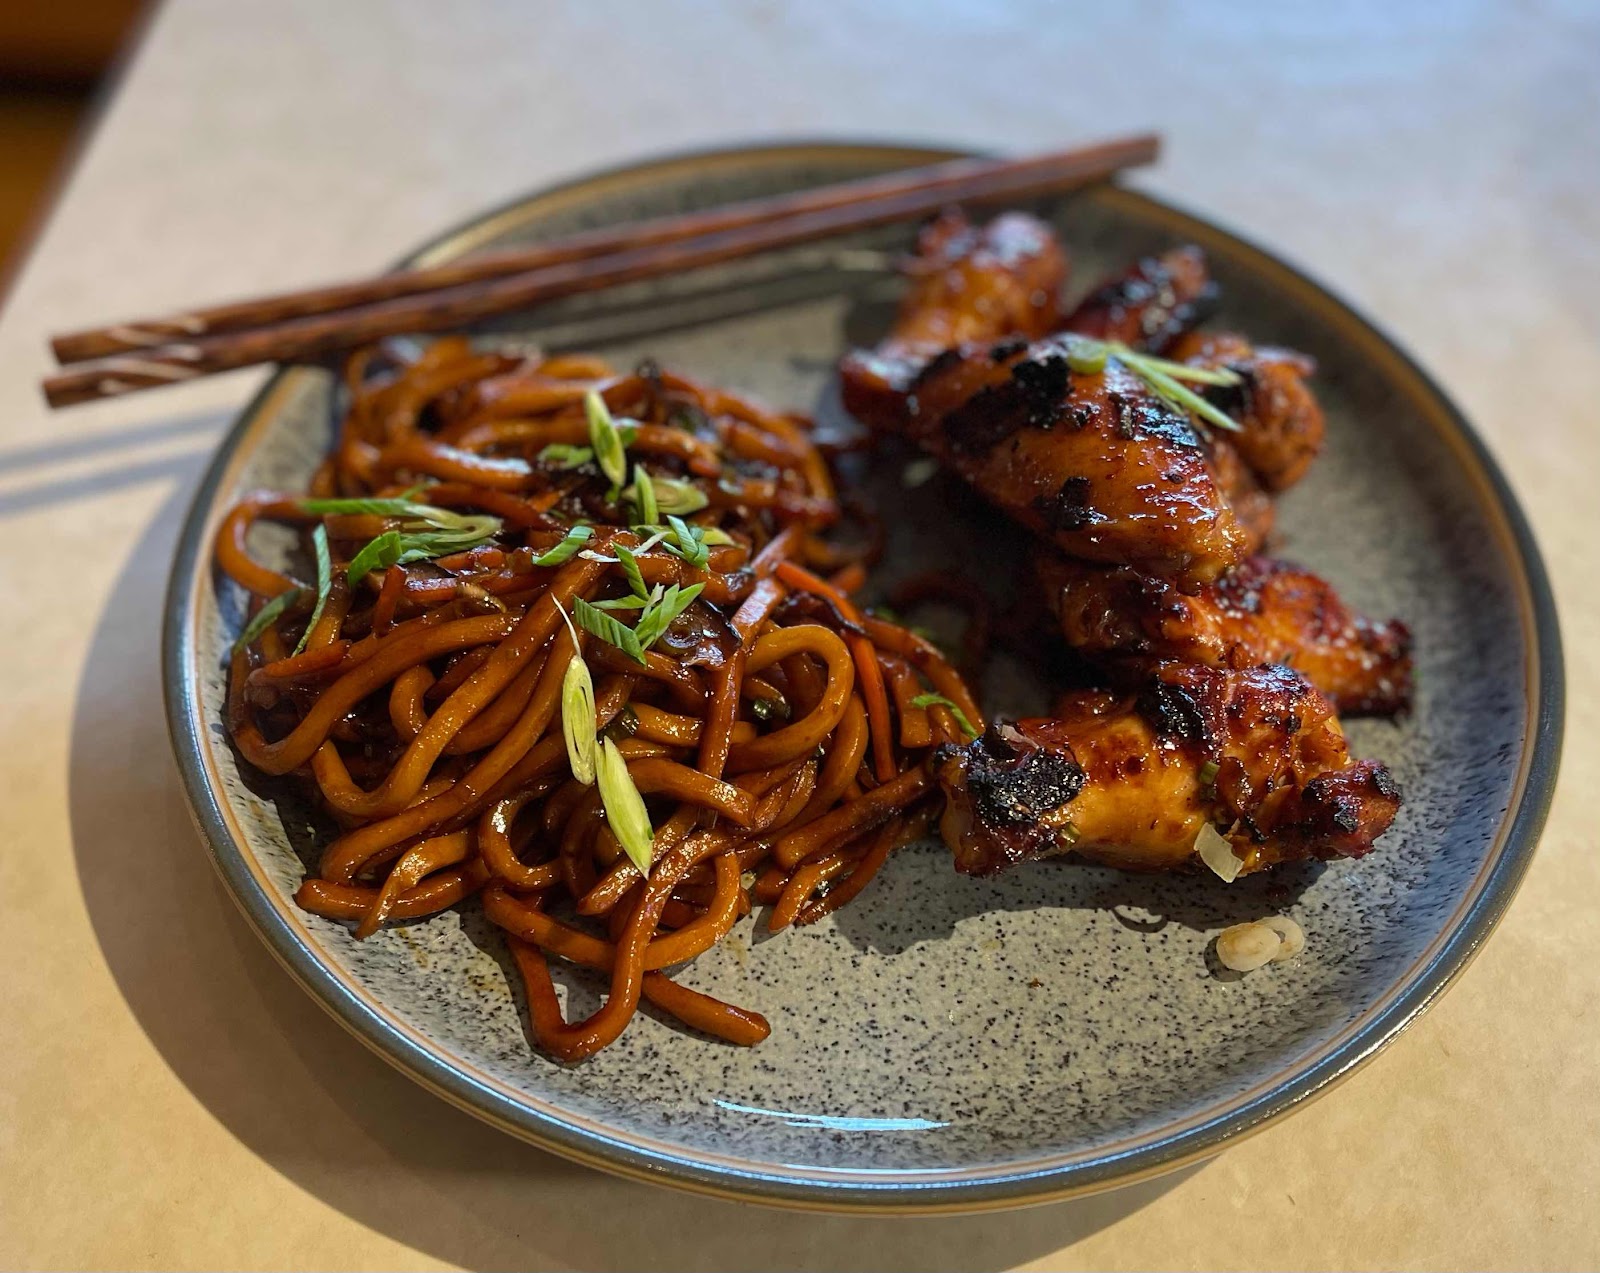
Sesame-Hoisin Chicken Wings

(Warning…sappy love story before the recipe.) As you hopefully all know, I am in love with my husband. I have been since we met on 9.9.99! I had always said, I will end up with someone that can hold up their end of the conversation, but not be a know it all. He’s all that, and a bag of plain Lays (there’s a story in that too!).


That being said, I have been cooking almost every night of our relationship (21 years strong) and I’m not complaining!  However, my one gripe is this…his food rating system! It’s either “it’s ok” or “nah”. Occasionally it might be “would you rather a turkey sandwich”. Otherwise, he’s my best critic. He grounds me and I know what he likes.


The other night I decided to make grilled wings. Now, we make Buffalo wings ONLY on Super Bowl Sunday It’s our tradition! So, it was risky trying a one off, or two off wing dinner. While on vacation, I came across this amazing recipe for Sesame-Hoisin Chicken Wings and I was like, this is it!  I found fresh wings at my local grocery and was very excited. This time I followed the recipe, as there were many steps and  I didn’t want another biryani incident. Needless to say, they turned out great. Since this was a trial, I didn’t make too many, so there was only one container of leftovers. 


A couple days later Craig was off work and I said, “why don’t you air fry those wings”. I got an “ah, sure, We’ll see”. Which means, no. The next day he says, “those wings”….and I braced myself “were amazing air fried”.  SCORE!!!


Sesame-Hoisin Chicken Wings

Ingredients 

  • 12 cup Soy-Balsamic Sauce
  • 1/2 cup green onion, thinly sliced
  • 14 cup hoisin sauce
  • 14 cup Magic Paste (recipe follows)
  • 3 lb. chicken wings, separated into flats and drumettes
  • Gochugaru (Korean-style red pepper), optional

Directions 

  1. In a large bowl, whisk the Soy-Balsamic Sauce, scallions, hoisin, and Magic Paste. Set 12 cup sauce aside in a small bowl for basting the wings. Add the wings to the large bowl. Toss until coated. Cover the wings and reserved sauce separately; refrigerate for 1 hour.
  2. Prepare the grill for medium heat. If using charcoal, when the coals are gray, pile them on 1 side of the grill. If using a gas grill, light 1 part of the grill and leave the other unlit.
  3. Place the wings on the cooler side of the grill in a single layer, spacing them evenly apart. Close the grill and cook for 5 minutes. Turn the wings over; baste with the reserved sauce. Close the grill and cook for 5 minutes more. Transfer the wings to the hot side of the grill; baste with some of the sauce. Cook, turning once or twice, until cooked through, 10 to 20 minutes more; move the wings to the cooler side of the grill if the skin begins to burn. Top with gochugaru for a little more heat, if desired.

Soy-Balsamic Sauce

Ingredients 
  • 1 14 tsp. cornstarch
  • 14 cup plus 1 tbsp. brown sugar 
  • 12 cup plus 2 tbsp. balsamic vinegar
  • 12 cup plus 2 tbsp. soy sauce
Directions
  1. In a small bowl, stir the cornstarch and 2 tbsp. plus 112 tsp. water. In a small saucepan, bring the sugar, vinegar, and soy sauce to a boil over medium heat, stirring until the sugar dissolves.
  2. Stir in the cornstarch. Simmer until thick enough to coat the back of a spoon, about 3 minutes. 
  3. Let cool. Refrigerate in an airtight container for up to 3 months. Makes about 1 14 cups.

Magic Paste


Ingredients 
  • 1-inch piece of fresh ginger, peeled and sliced
  • 5 cloves garlic, peeled
  • 2 tbsp. fennel seeds
  • 12 cup fish sauce
  • 14 cup gochugaru (Korean- style red pepper)
  • 14 cup toasted sesame oil
Directions
  1. In a food processor, pulse the ginger, garlic, and fennel seeds until finely chopped. 
  2. Add the fish sauce, gochugaru, and oil. 
  3. Process until almost smooth, about 30 seconds. 
  4. Refrigerate in an airtight container for up to 2 weeks or freeze for up to 2 months. 
  5. Makes about 1 cup.


Tuesday, June 22, 2021

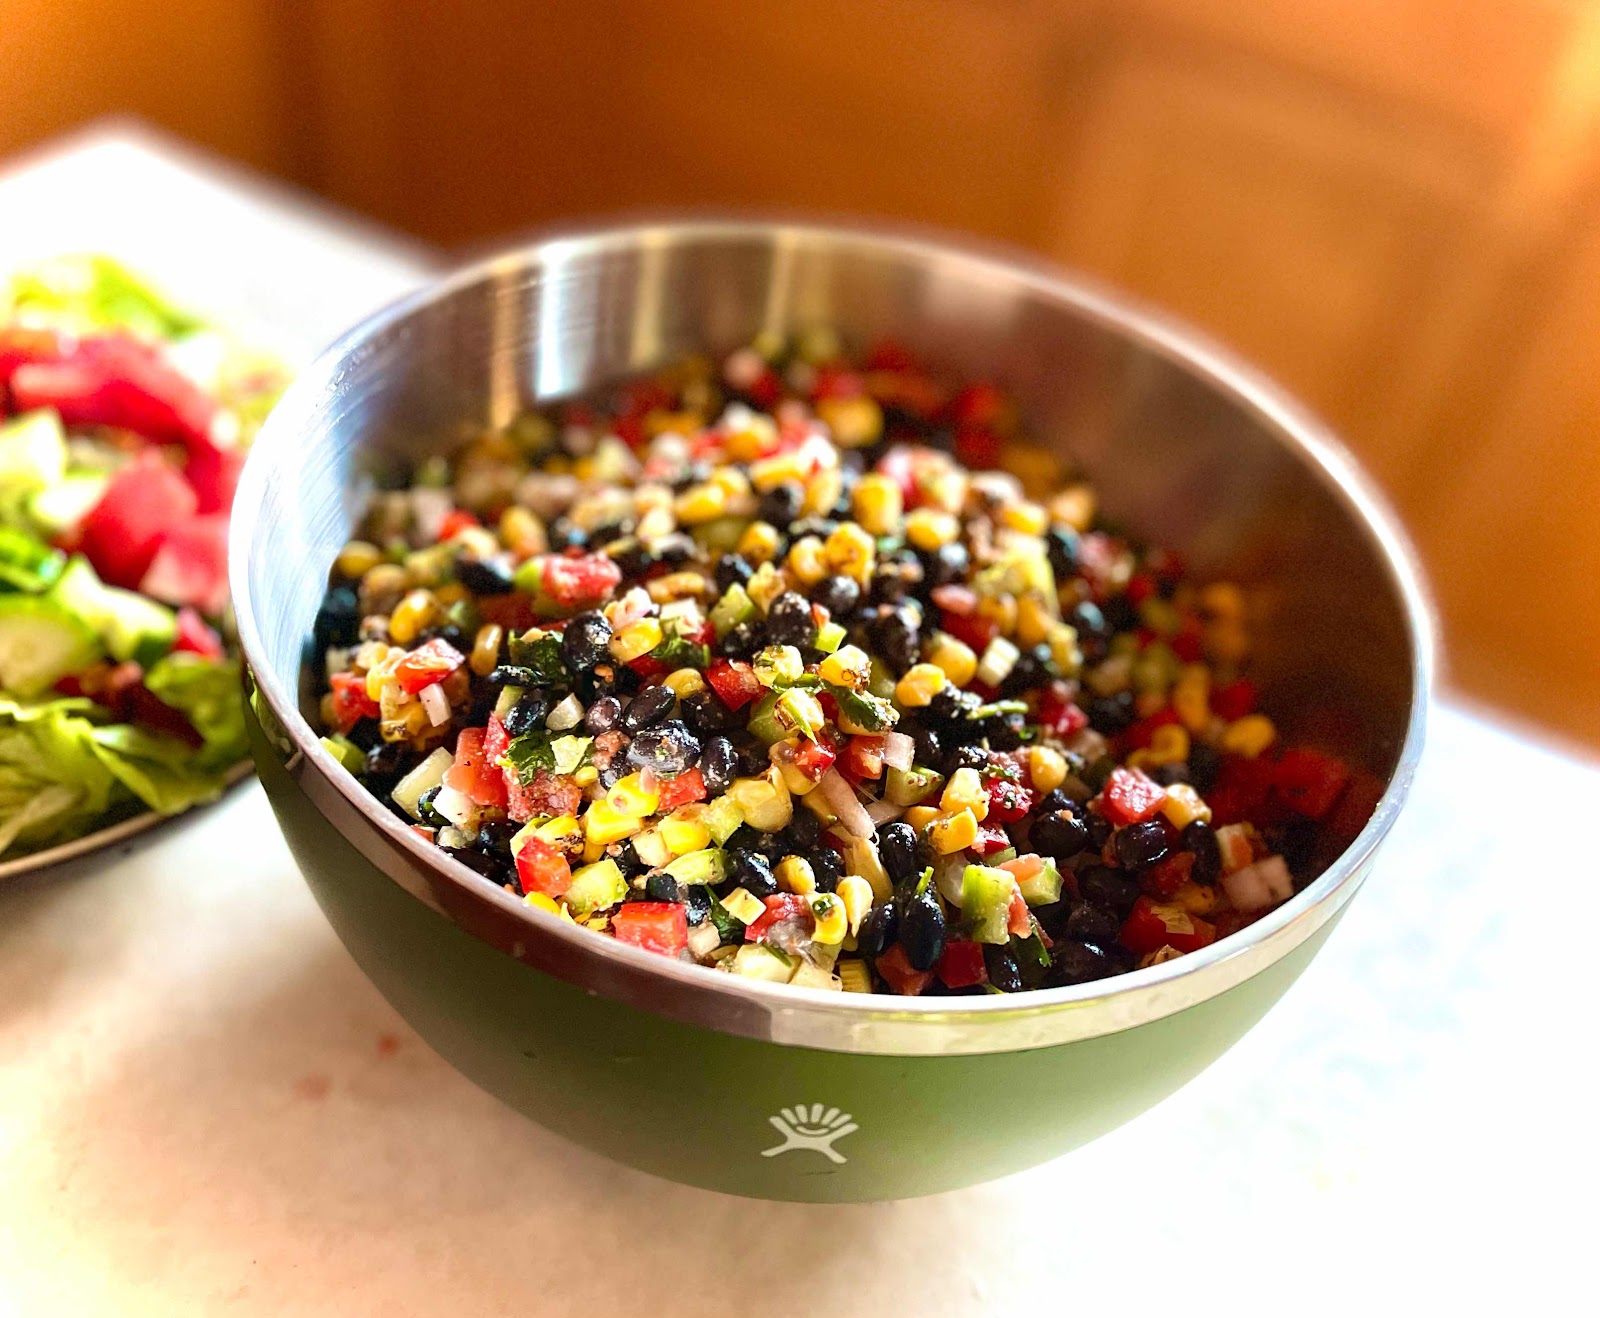
Southwest Black Bean Salad

This salad!!  I started making this back in the late 90’s, even before I found my niche with cooking. It’s so versatile. Over the years I’ve used it as a salad dressing, atop a bed of chopped green leaf or butter lettuce, I’ve put it on warm rice, scooped it with chips, added chicken and pasta….the possibilities are truly endless. 


Southwestern Black Bean Salad

Ingredients

Dressing

  • 2 tablespoons olive oil
  • 1 teaspoon paprika
  • 1 teaspoon cumin
  • 1/4 teaspoon cayenne pepper
  • 2 tablespoons lime juice freshly squeezed
  • 1/2 teaspoon salt

Salad

  • 30 ounces black beans cans
  • 1 1/2 cups corn kernels
  • 1 small red bell pepper stemmed, seeded and diced 
  • 1 small green bell pepper stemmed, seeded and diced
  • 1/2 cup tomatoes chopped
  • 1/4 cup cilantro chopped or flat-leaf (Italian) parsley
  • 1/4 cup red onion chopped
  • 1/2 cup cubed cheese
  • 4 stalks of Celery, diced 

Instructions

  1. In a large bowl, combine all of the dressing ingredients. 
  2. Whisk until combined. Then add the  salad ingredients. 
  3. Toss to coat. 
  4. Enjoy!

Sunday, June 13, 2021

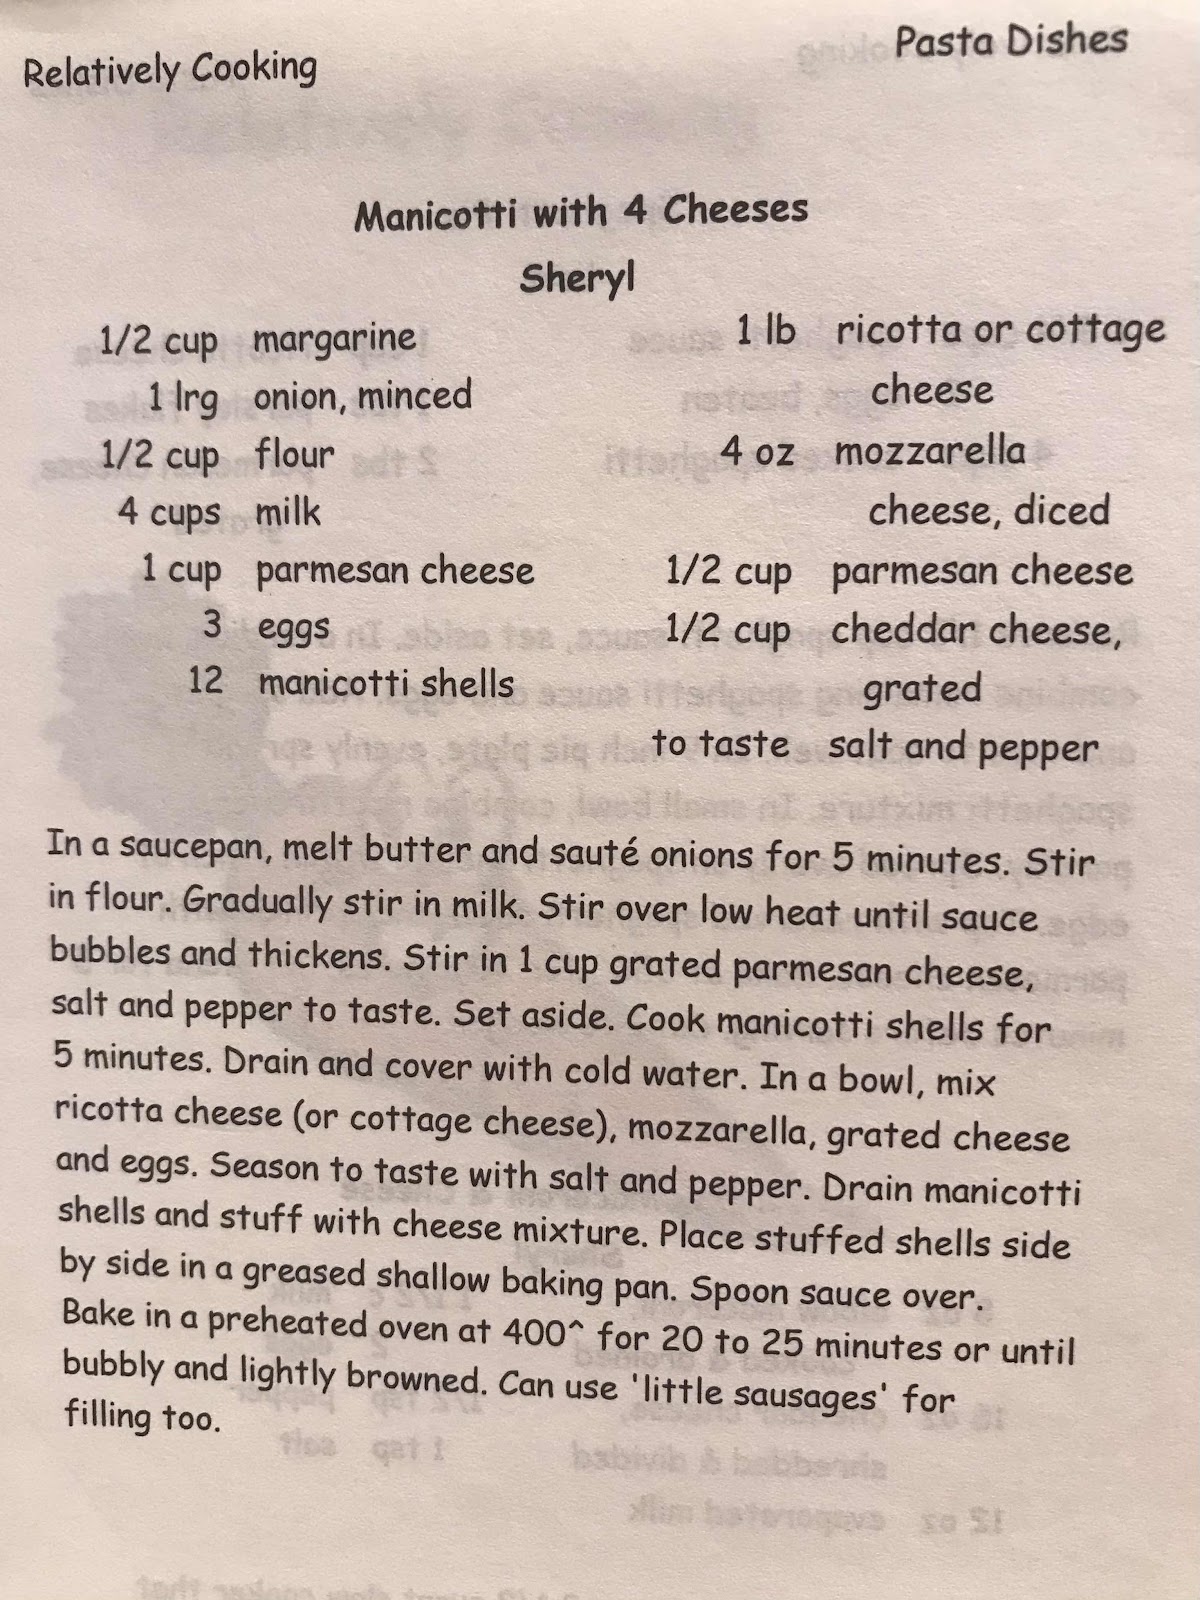
Manicotti vs. Cannelloni, a family divided

Manicotti vs Cannelloni


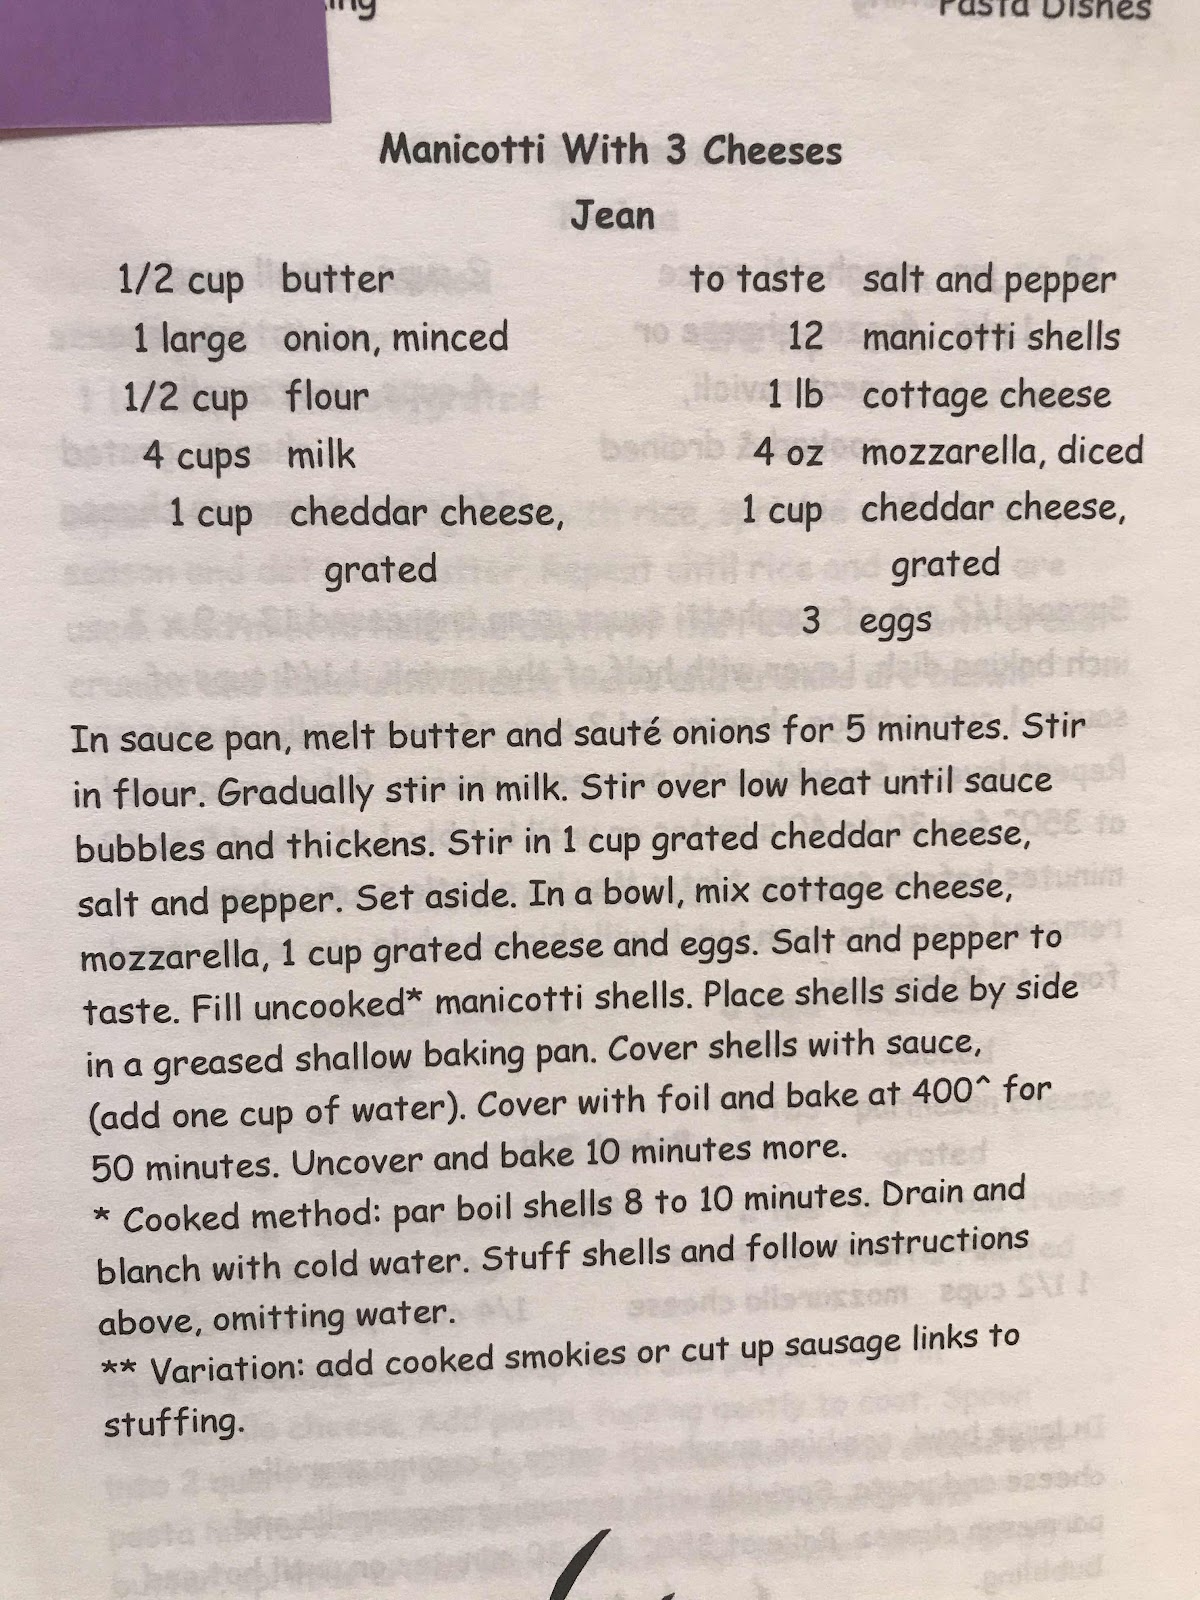
My family (please note we are not at all Italian!!) have been making Manicotti for decades.  As long as I can remember this dish has been HIGHLY requested.  Several years ago, my cousin gathered all of our family recipes, and there was some heated debate of who actually “owned” our family favorite dish.  Turns out we all decided my Aunt Jean was the true originator (adapter).  


No please don’t get me wrong, while our “manicotti” is a family favorite version, I learned years later that the actual dish we made was cannelloni, or a version there of.  We used 4 cheeses, cottage, cheddar, mozzarella and that green can of “sawdust”, err I mean parm….. at some point and time someone added little smokes into the tubes.  Don’t ask, I don’t know.


Fast forward quite a few years, and a friend invited us over for dinner.  She was making tons of manicotti.  We discussed the above mentioned family version.  In the end I learned our version was completely backwards.  But we still call it manicotti. 


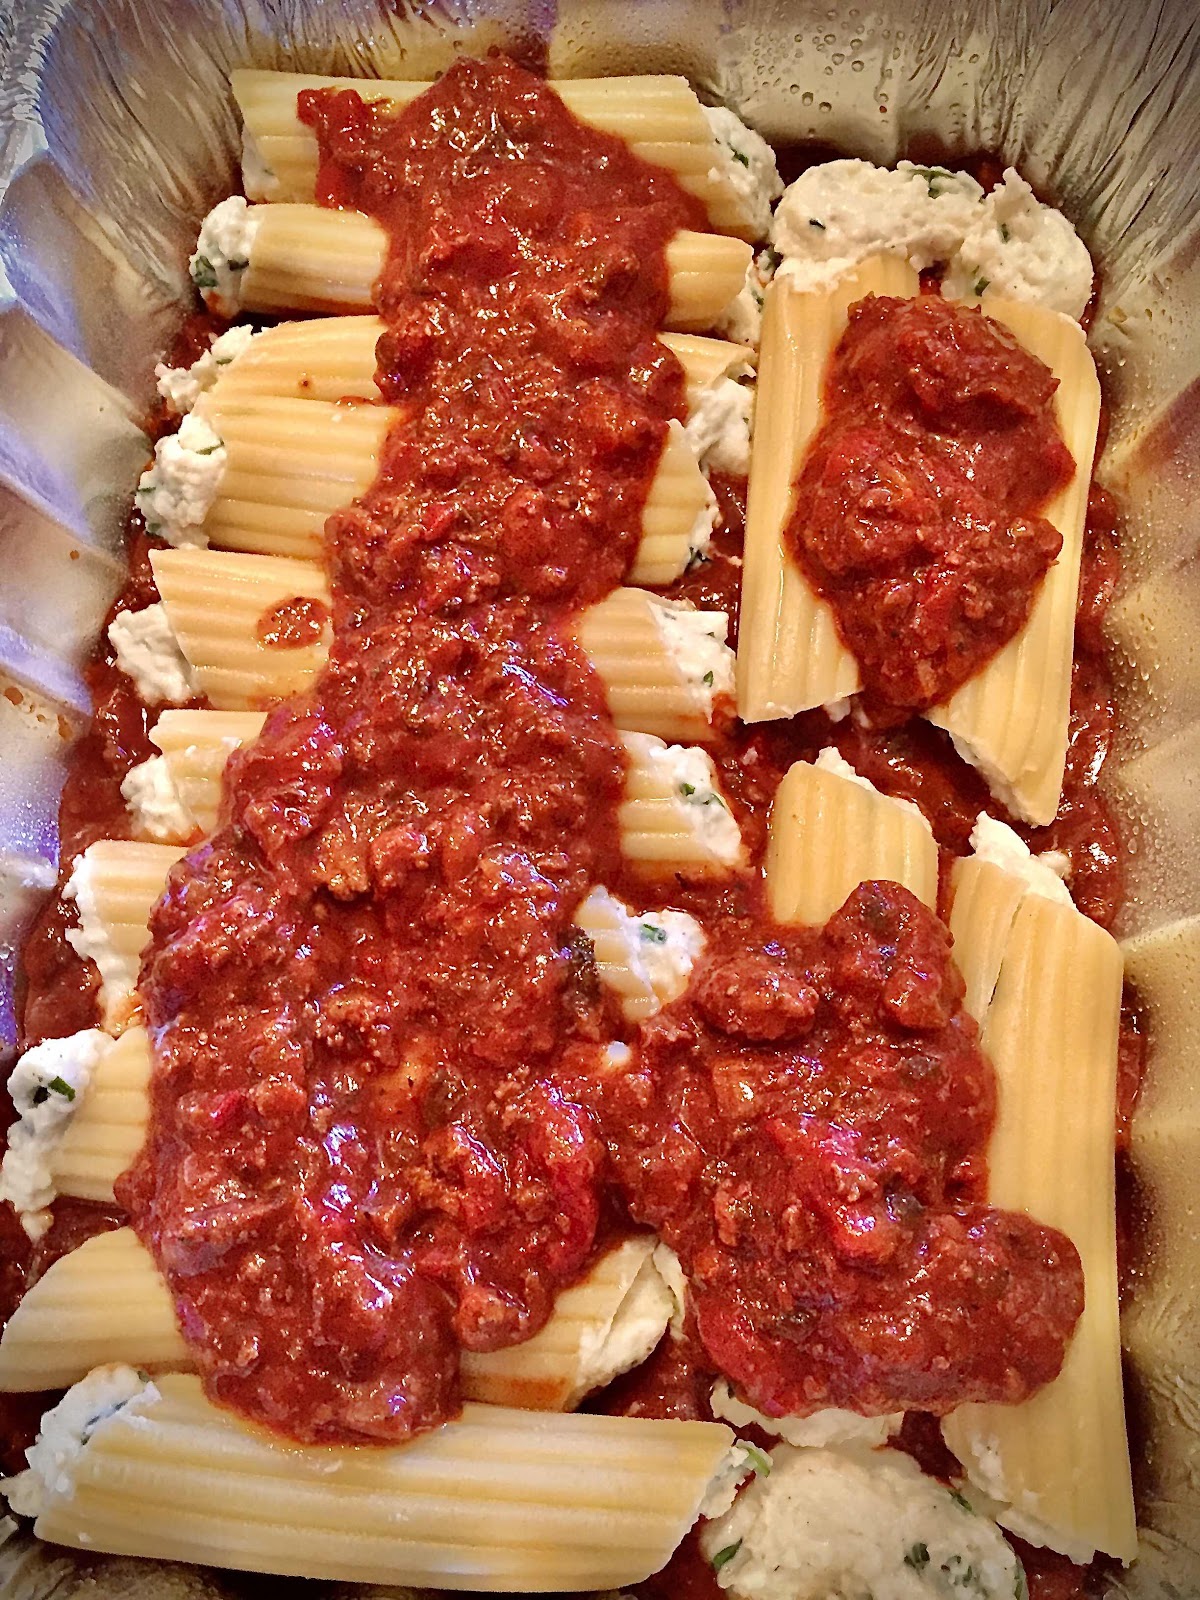
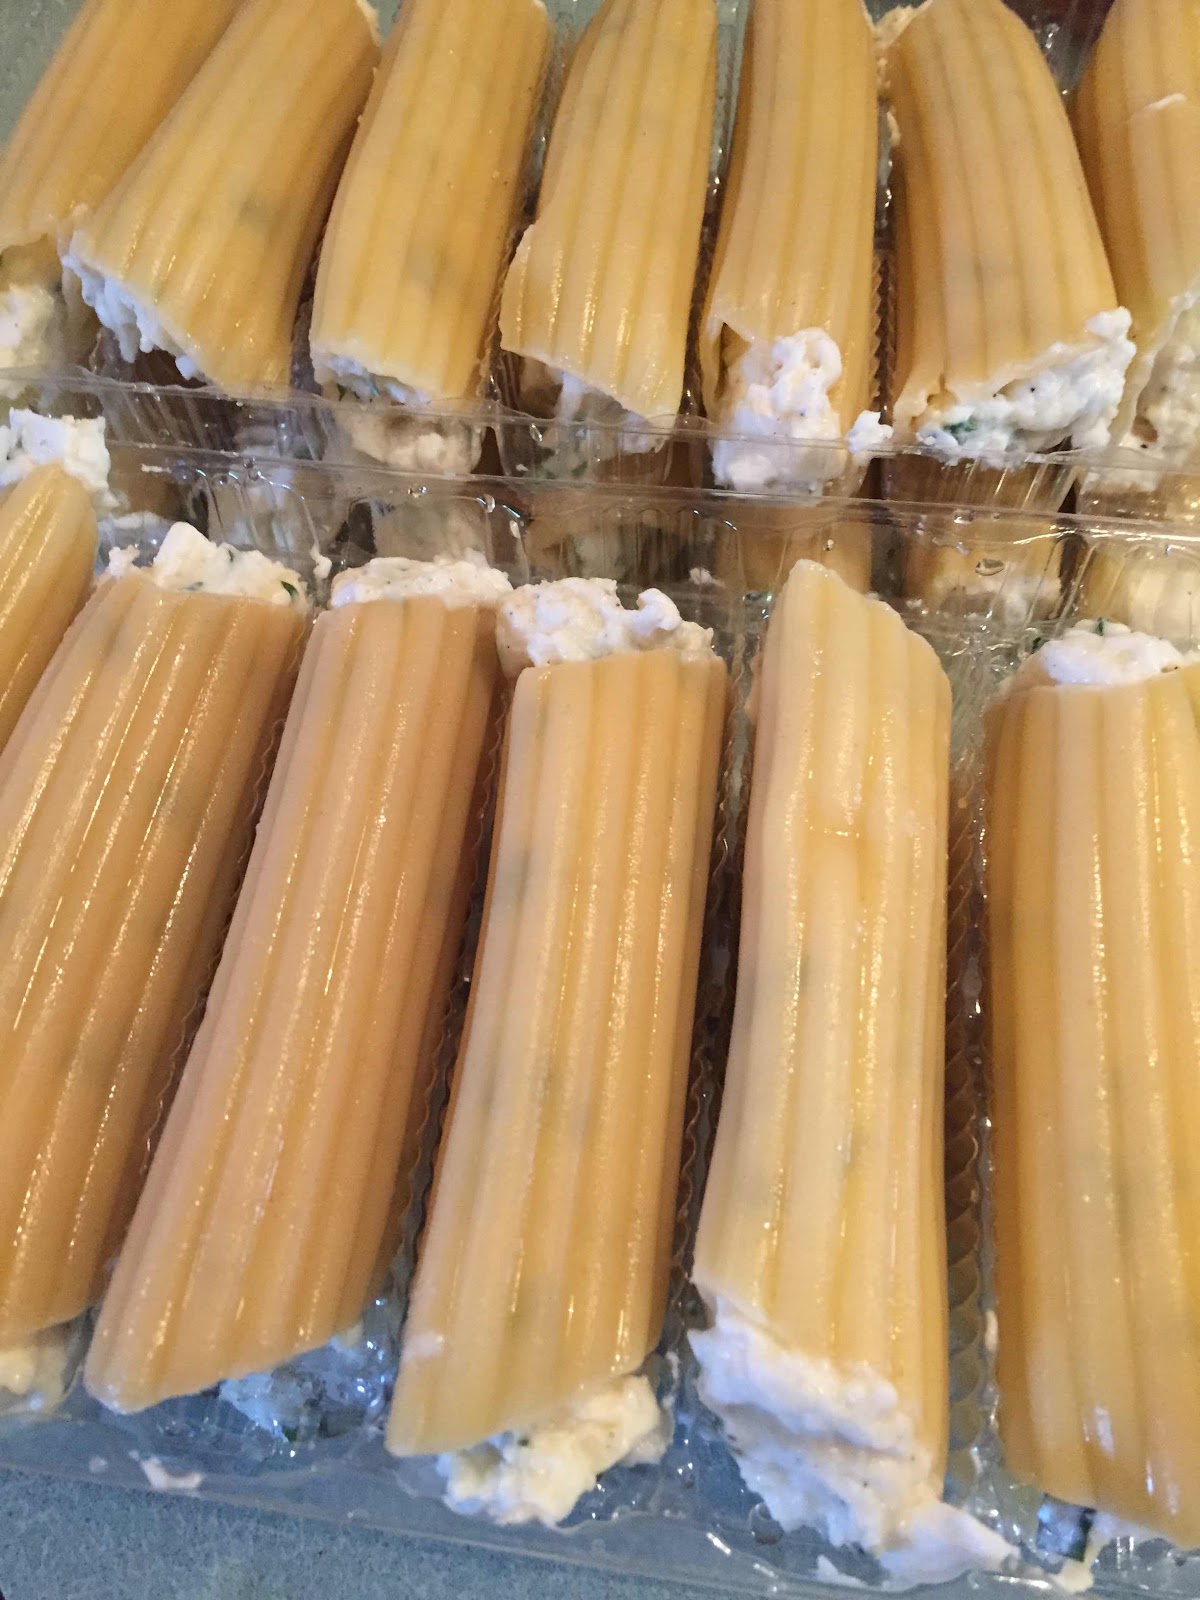
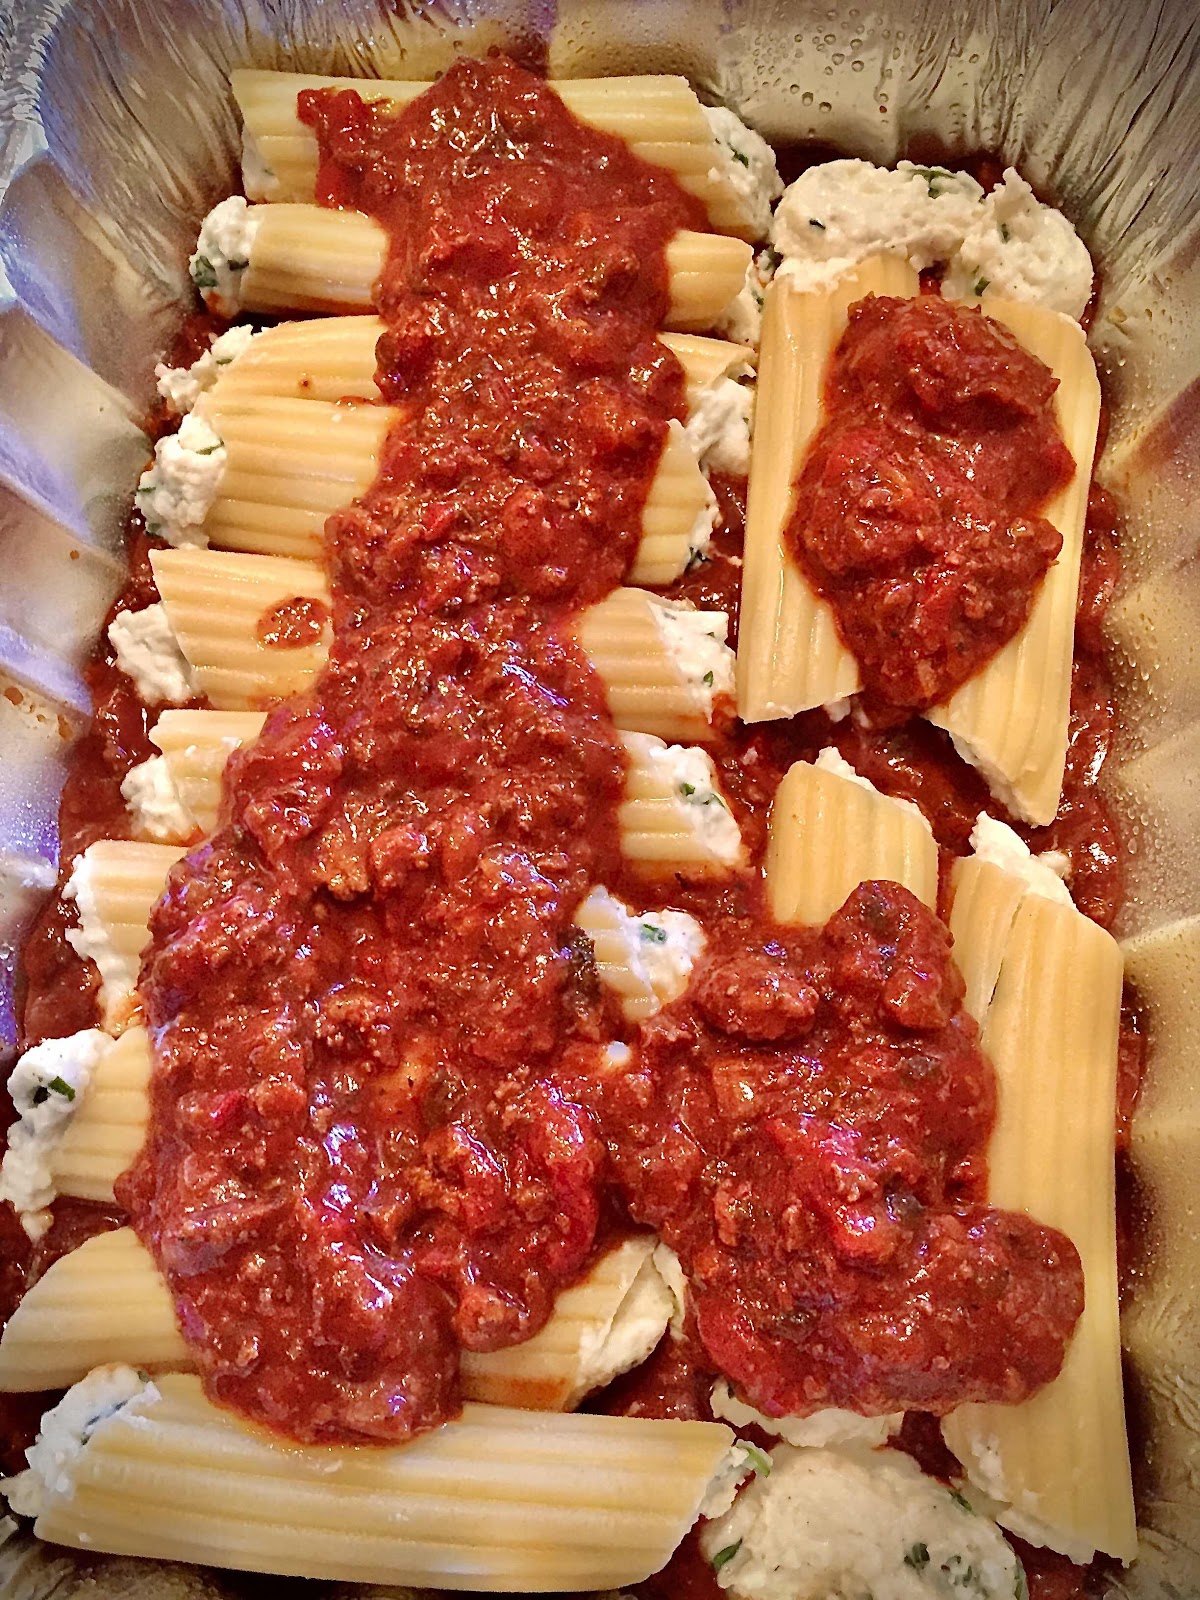
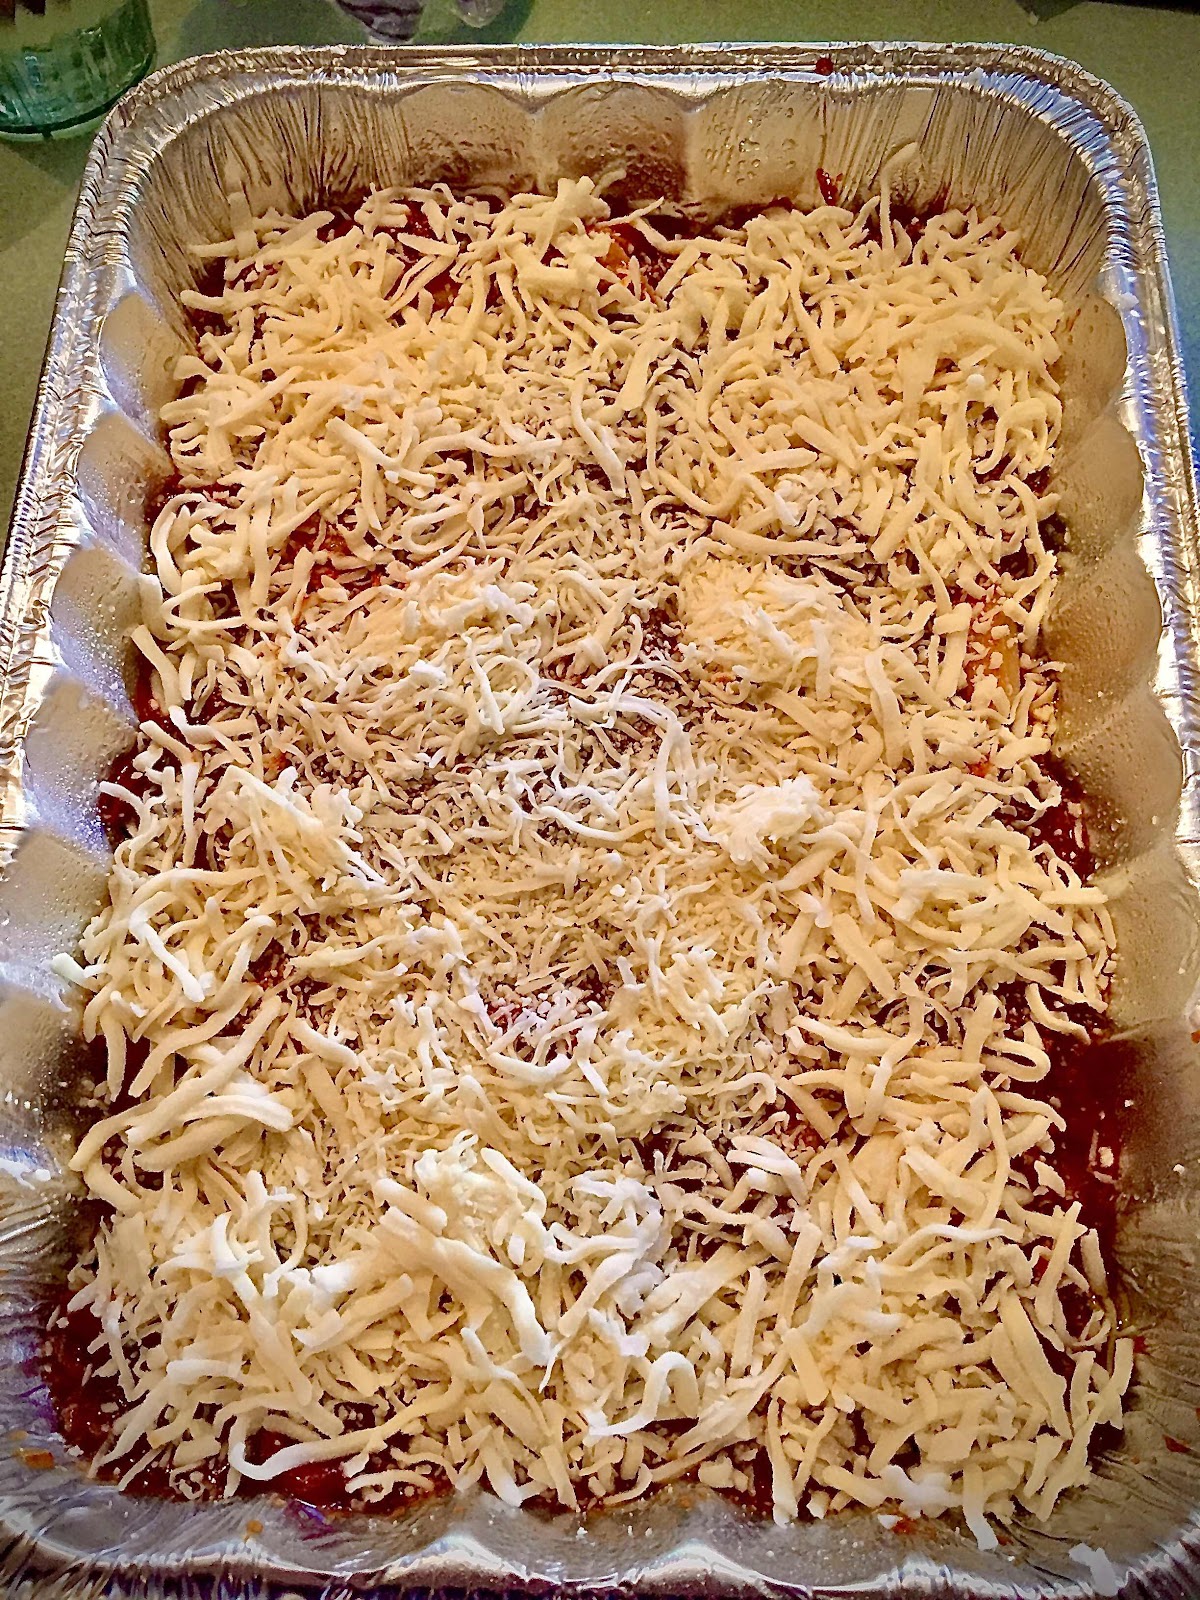
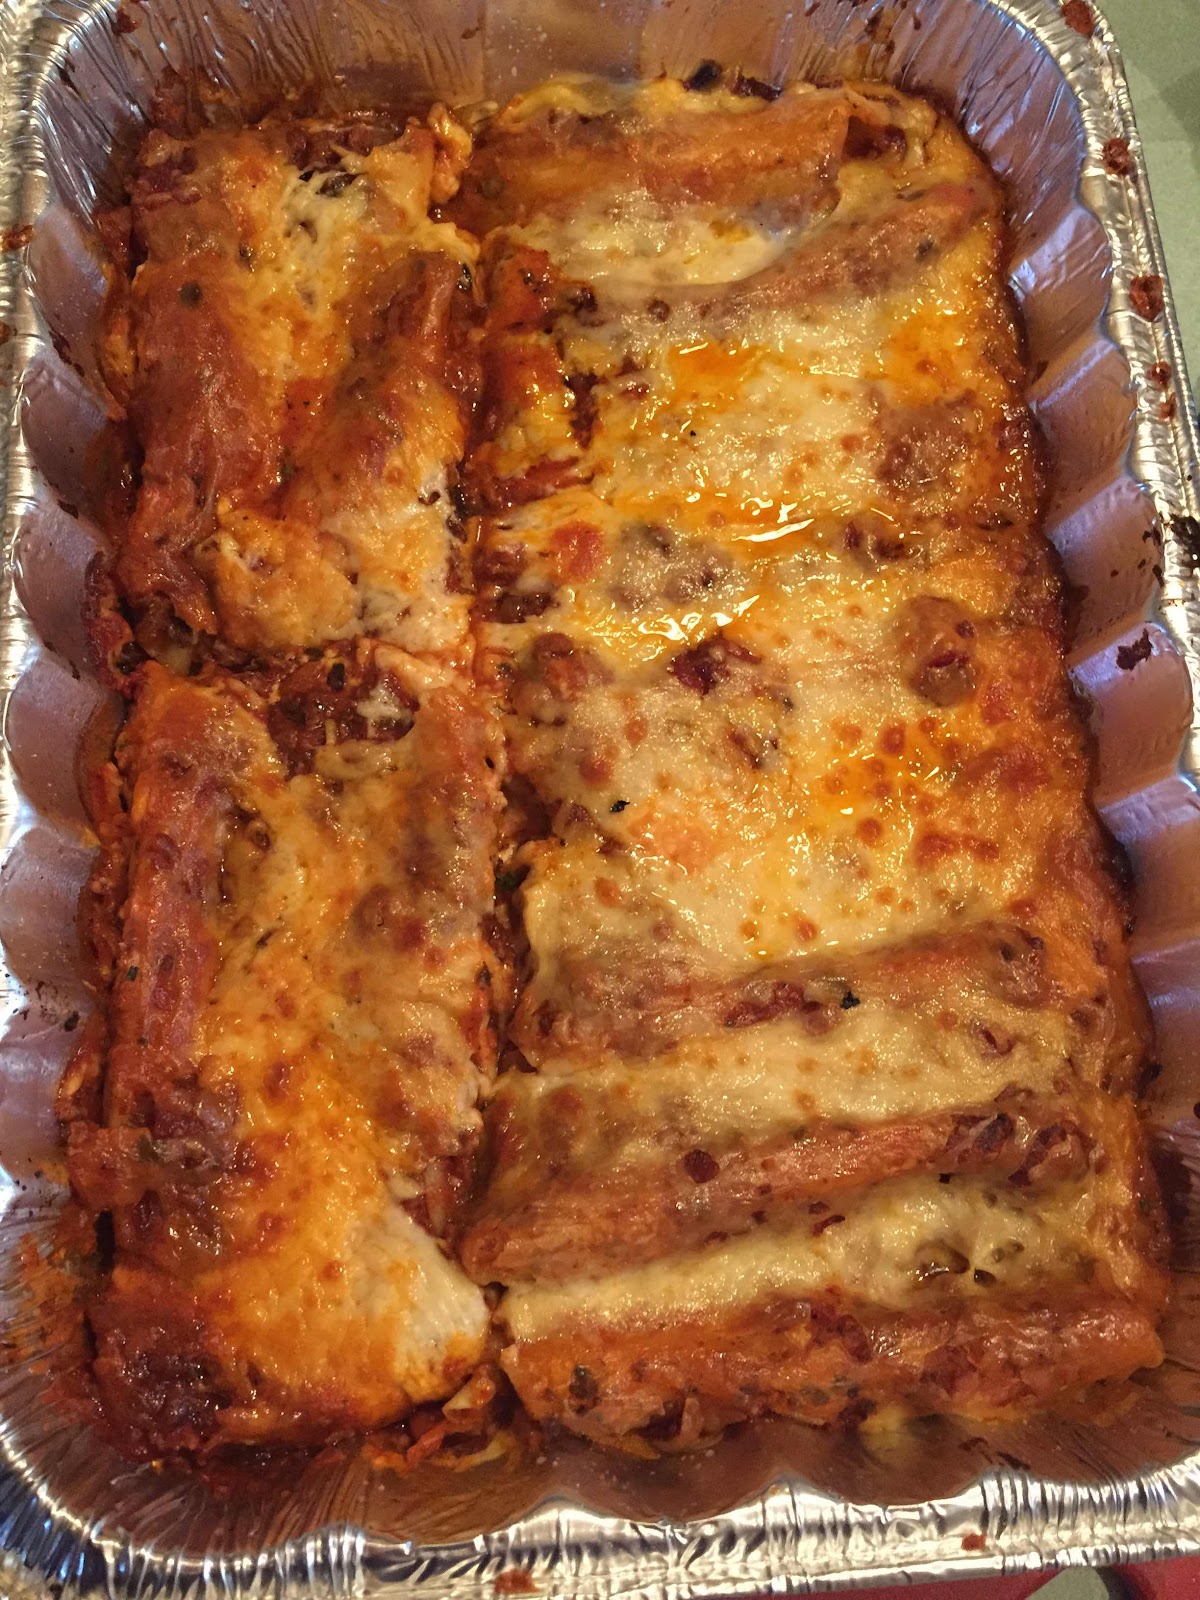
Here is our favorite Manicotti to make. In the pictures I has making it to give away (I don’t normally don’t bake in tin foil!) but I do make extra filling and stuff all the tubes.  Then tuck a tray or two into a freezer bag and freeze them for a later dinner.  We always have left of spaghetti sauce (Goon’s Spaghetti), so this is a quick and VERY easy dish to pop together when your feeling time poor.


Manicotti 

  • 1 package of Manicotti tube pasta
  • 16 oz ricotta
  • 8 oz grated parm
  • 1/4 Parsley, chopped loosely packed
  • Salt and pepper to taste
  • 1 egg, beaten 
  • 3- 4 cups Left over spaghetti sauce, or your favorite jar
  • 12-16oz Shredded Mozzarella
  • 1 Pastry bag

Instructions

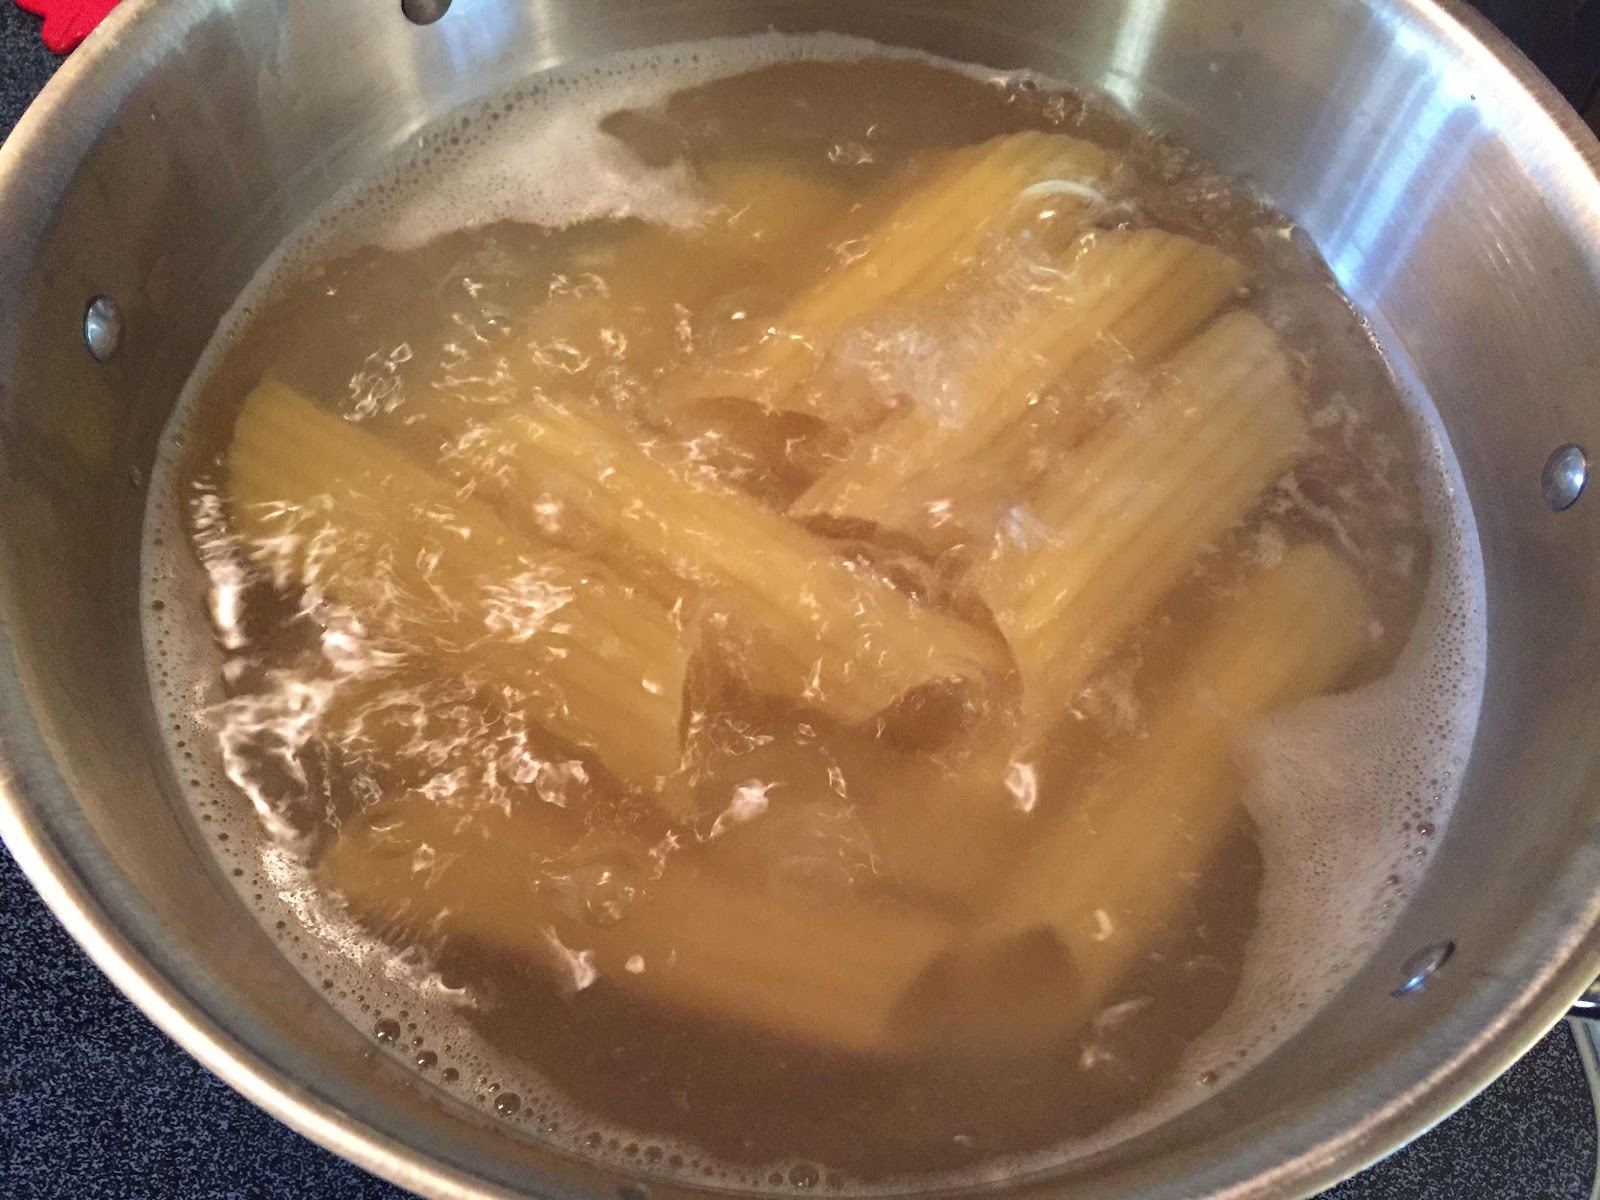
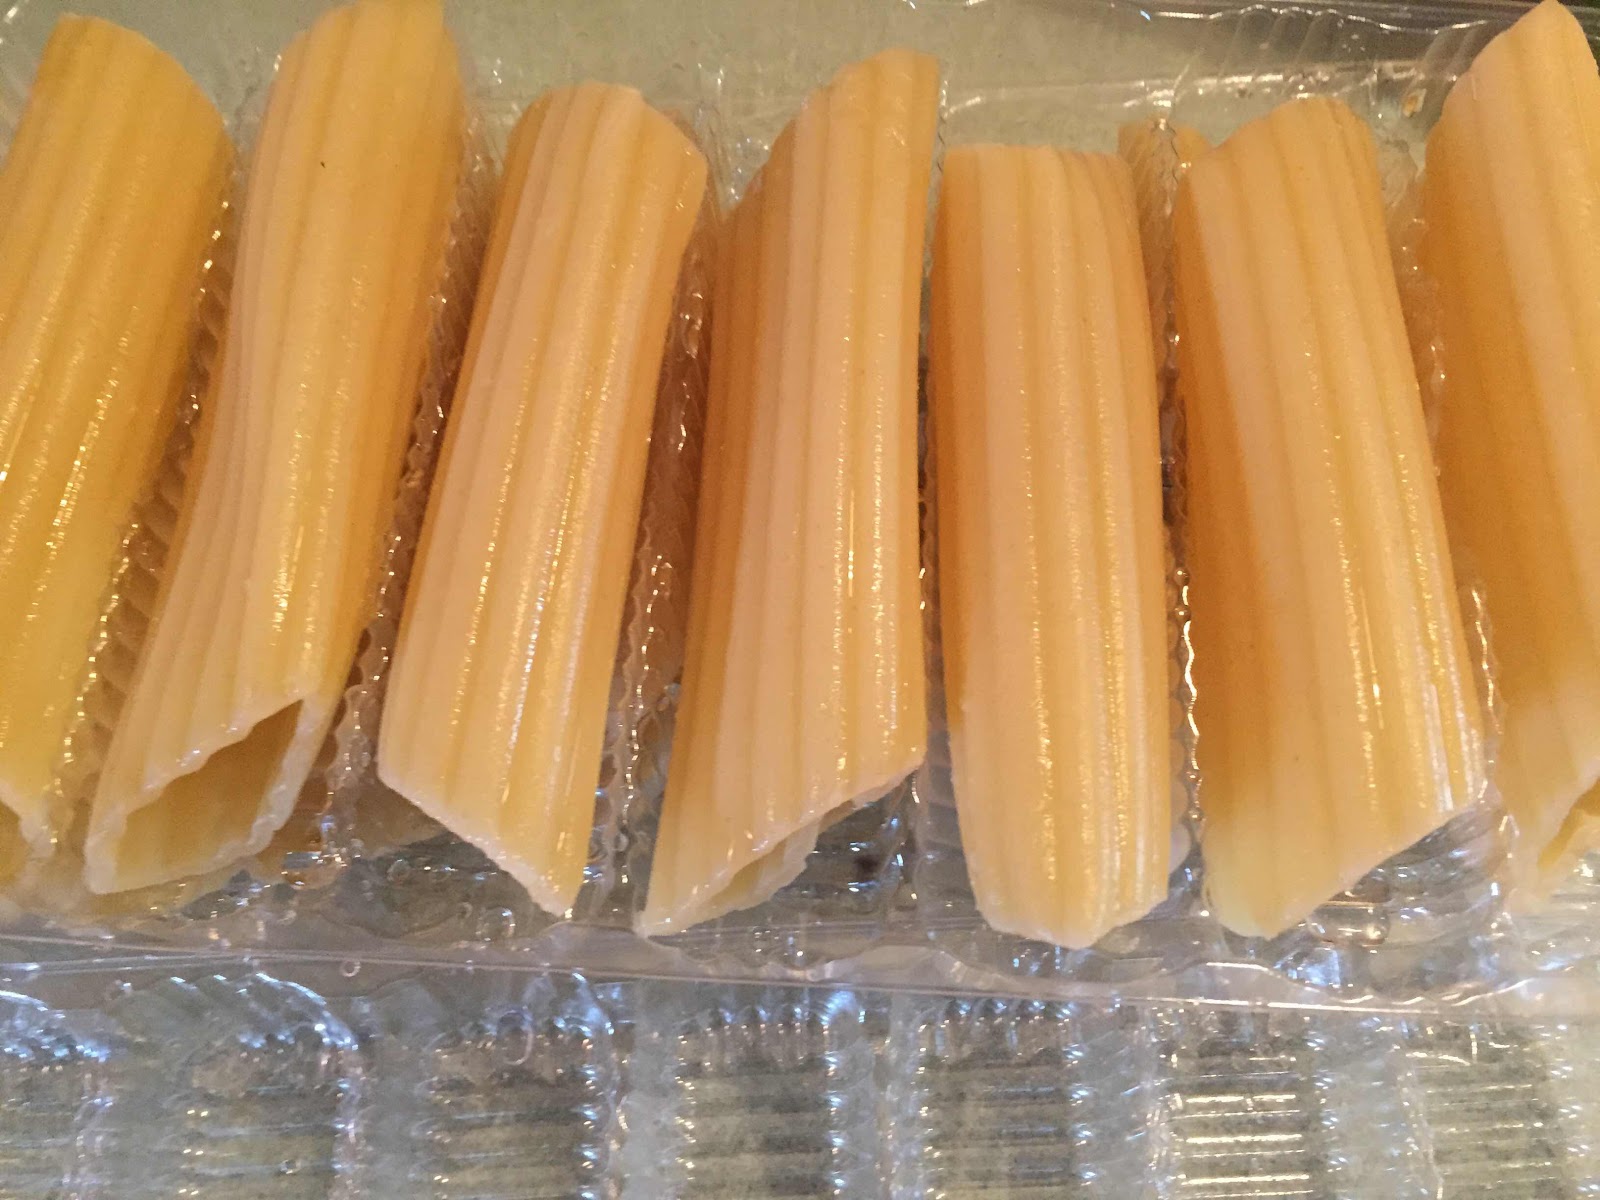
  1. Par cook the pasta.  You want to not fully cook, as they will fall apart.
  2. Set of parchment to cool
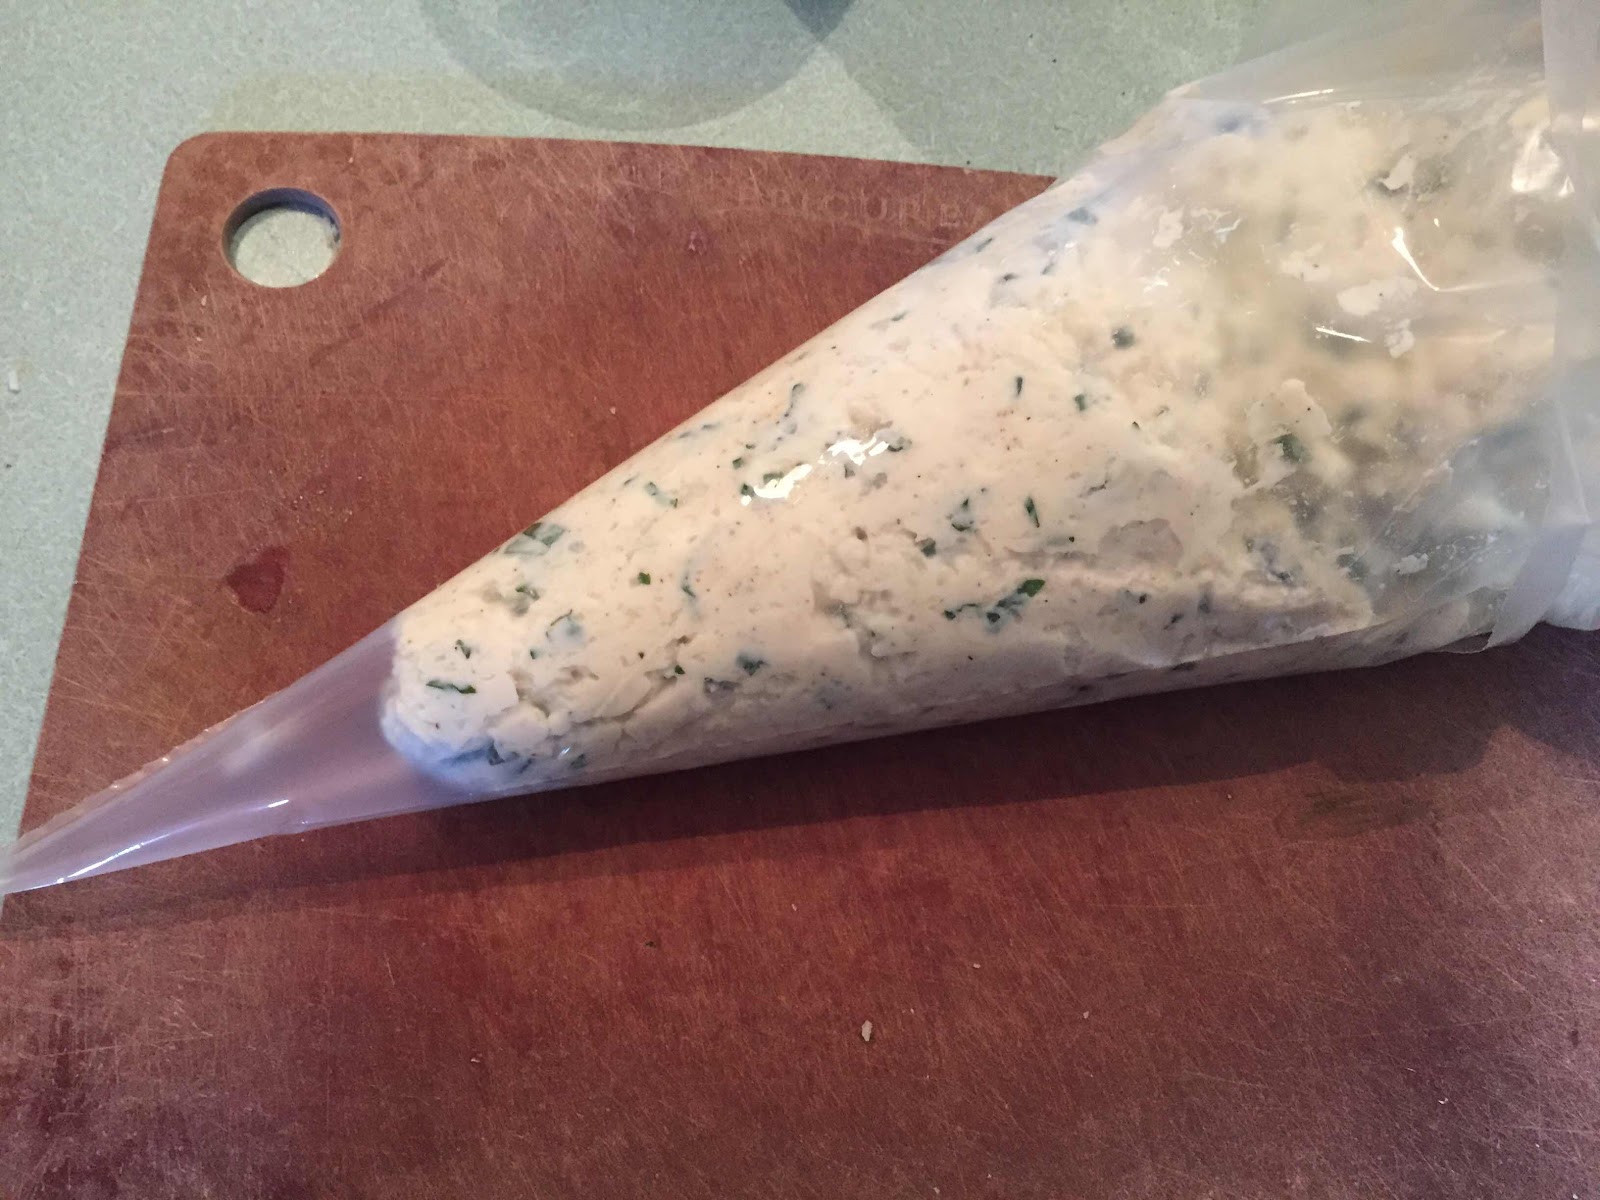
  3. Mix together the ricotta, parm parsley and egg.  Lightly salt (the cheese may have enough salt).  Add pepper to your liking.
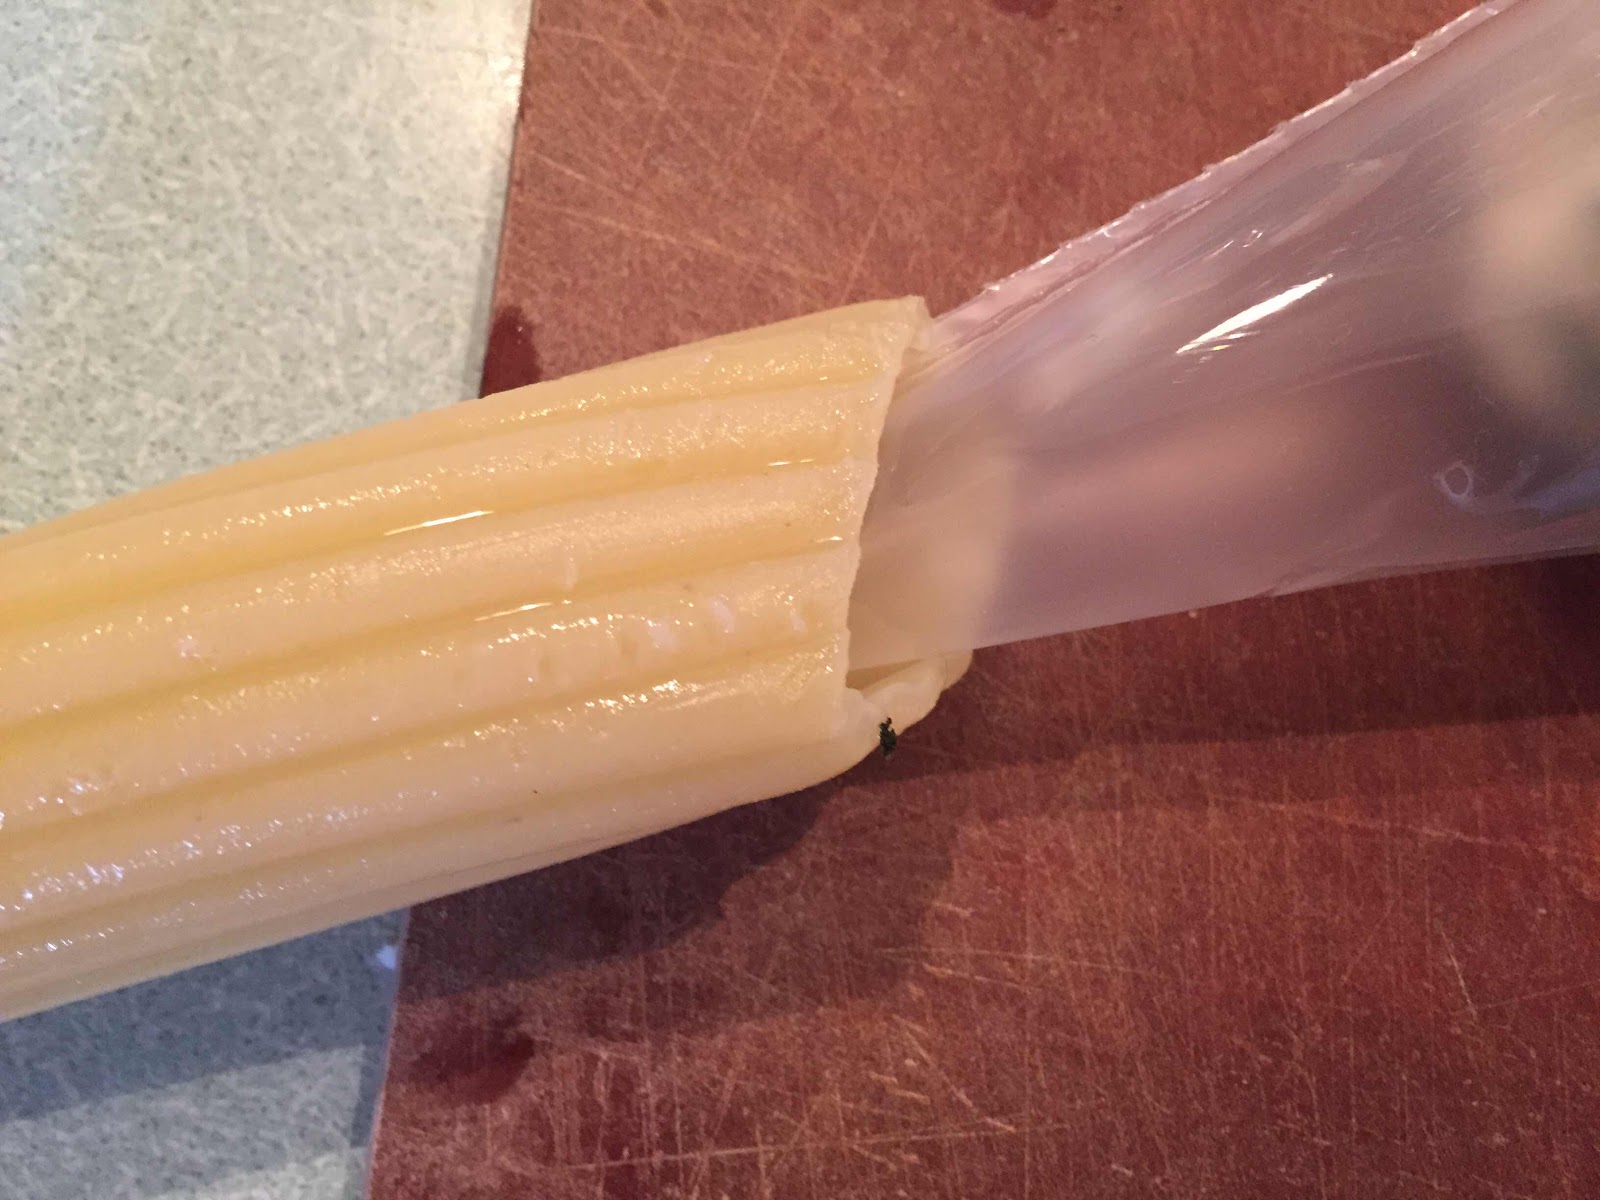
  4. Put the filling mixture into the pastry bag, cut off a small/medium hole in the tip.  you can also use a ziplock bag, and cut off one corner.
  5. Take the bag and pipe the filling into the tube.
    1. If you don’t have a piping bag, you can use a spoon to stuff the tube
  6. (At this point you can place the back into the plastic contained the uncooked past came in, and slide into a large ziplock, to freeze)
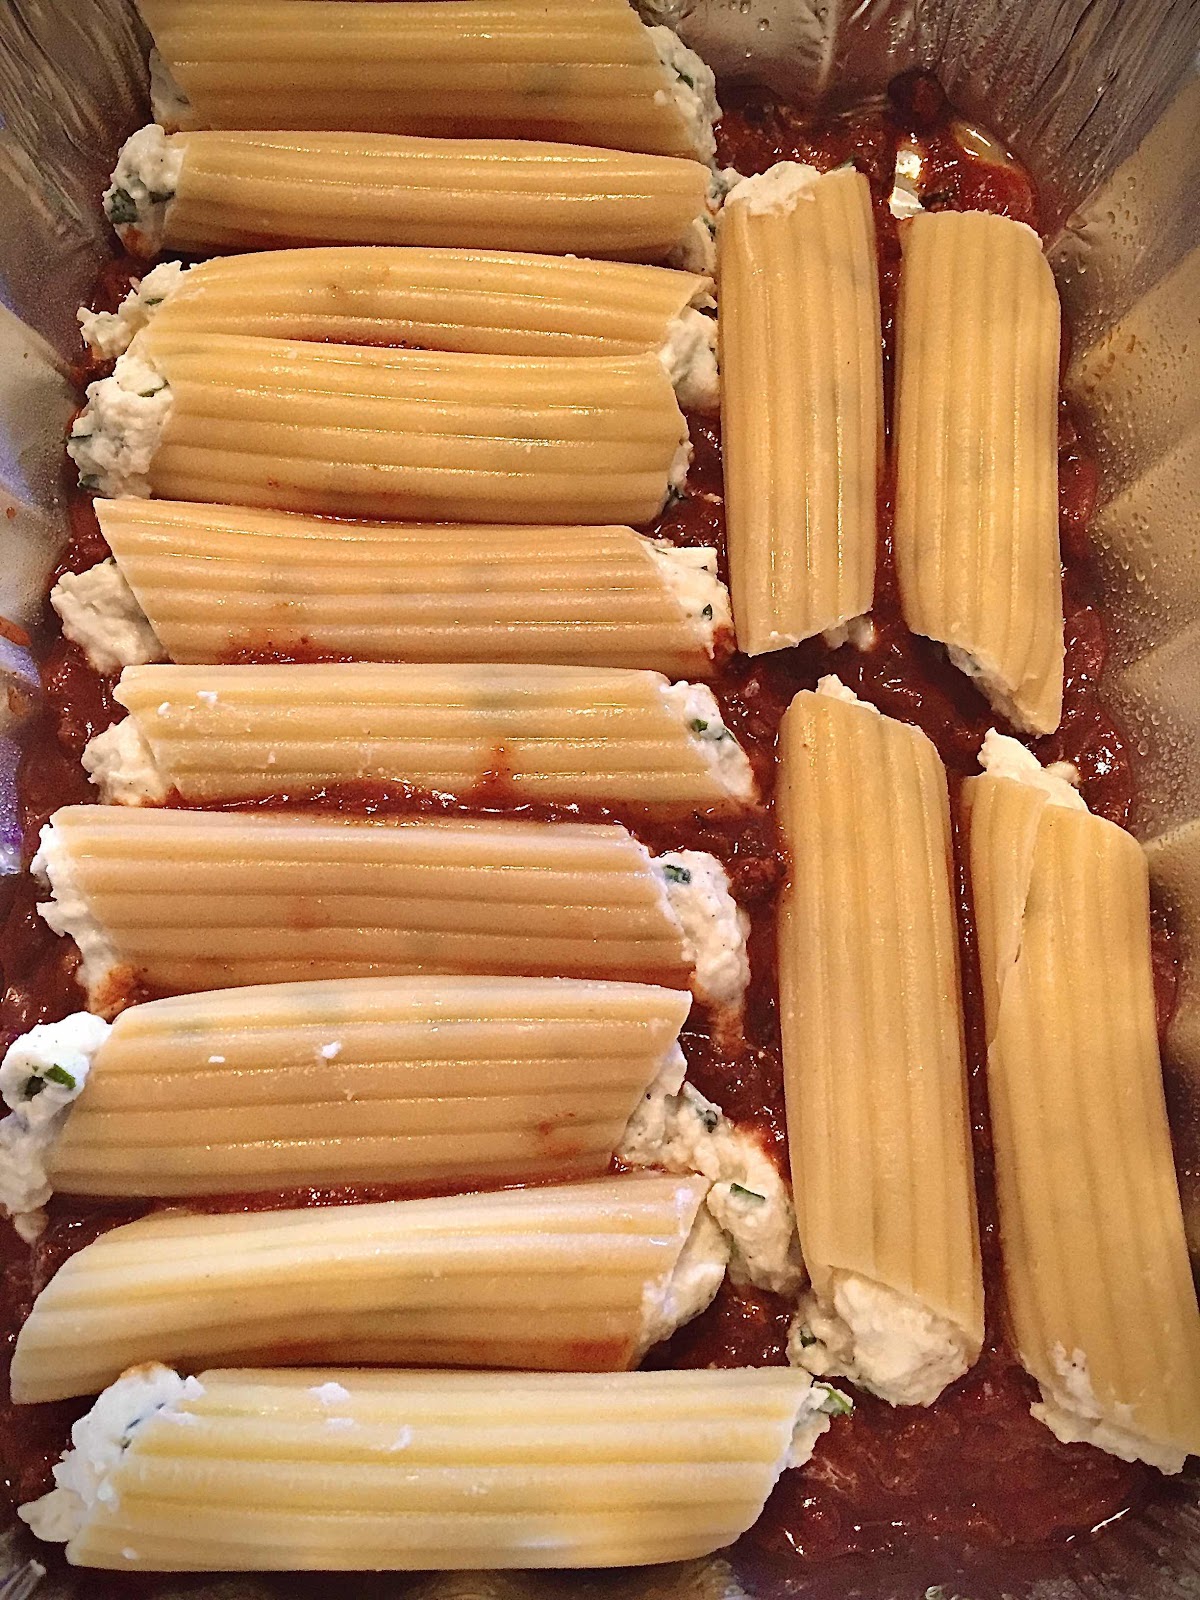
  7. Layer about 1/2 cup in the bottom of a prepared baking dish.
  8. Place the stuffed tubes in a baking pan.
  9. Continue until the pan is full.
  10. Place the remainder of your pasta sauce on top of the pasta.
  11. Top with shredded mozzarella
  12. Bake at 350°, for 20-35 minutes, or until golden and bubble.


Here are the family versions…..


Tuesday, June 8, 2021

Chicken Bahn Mi Burgers

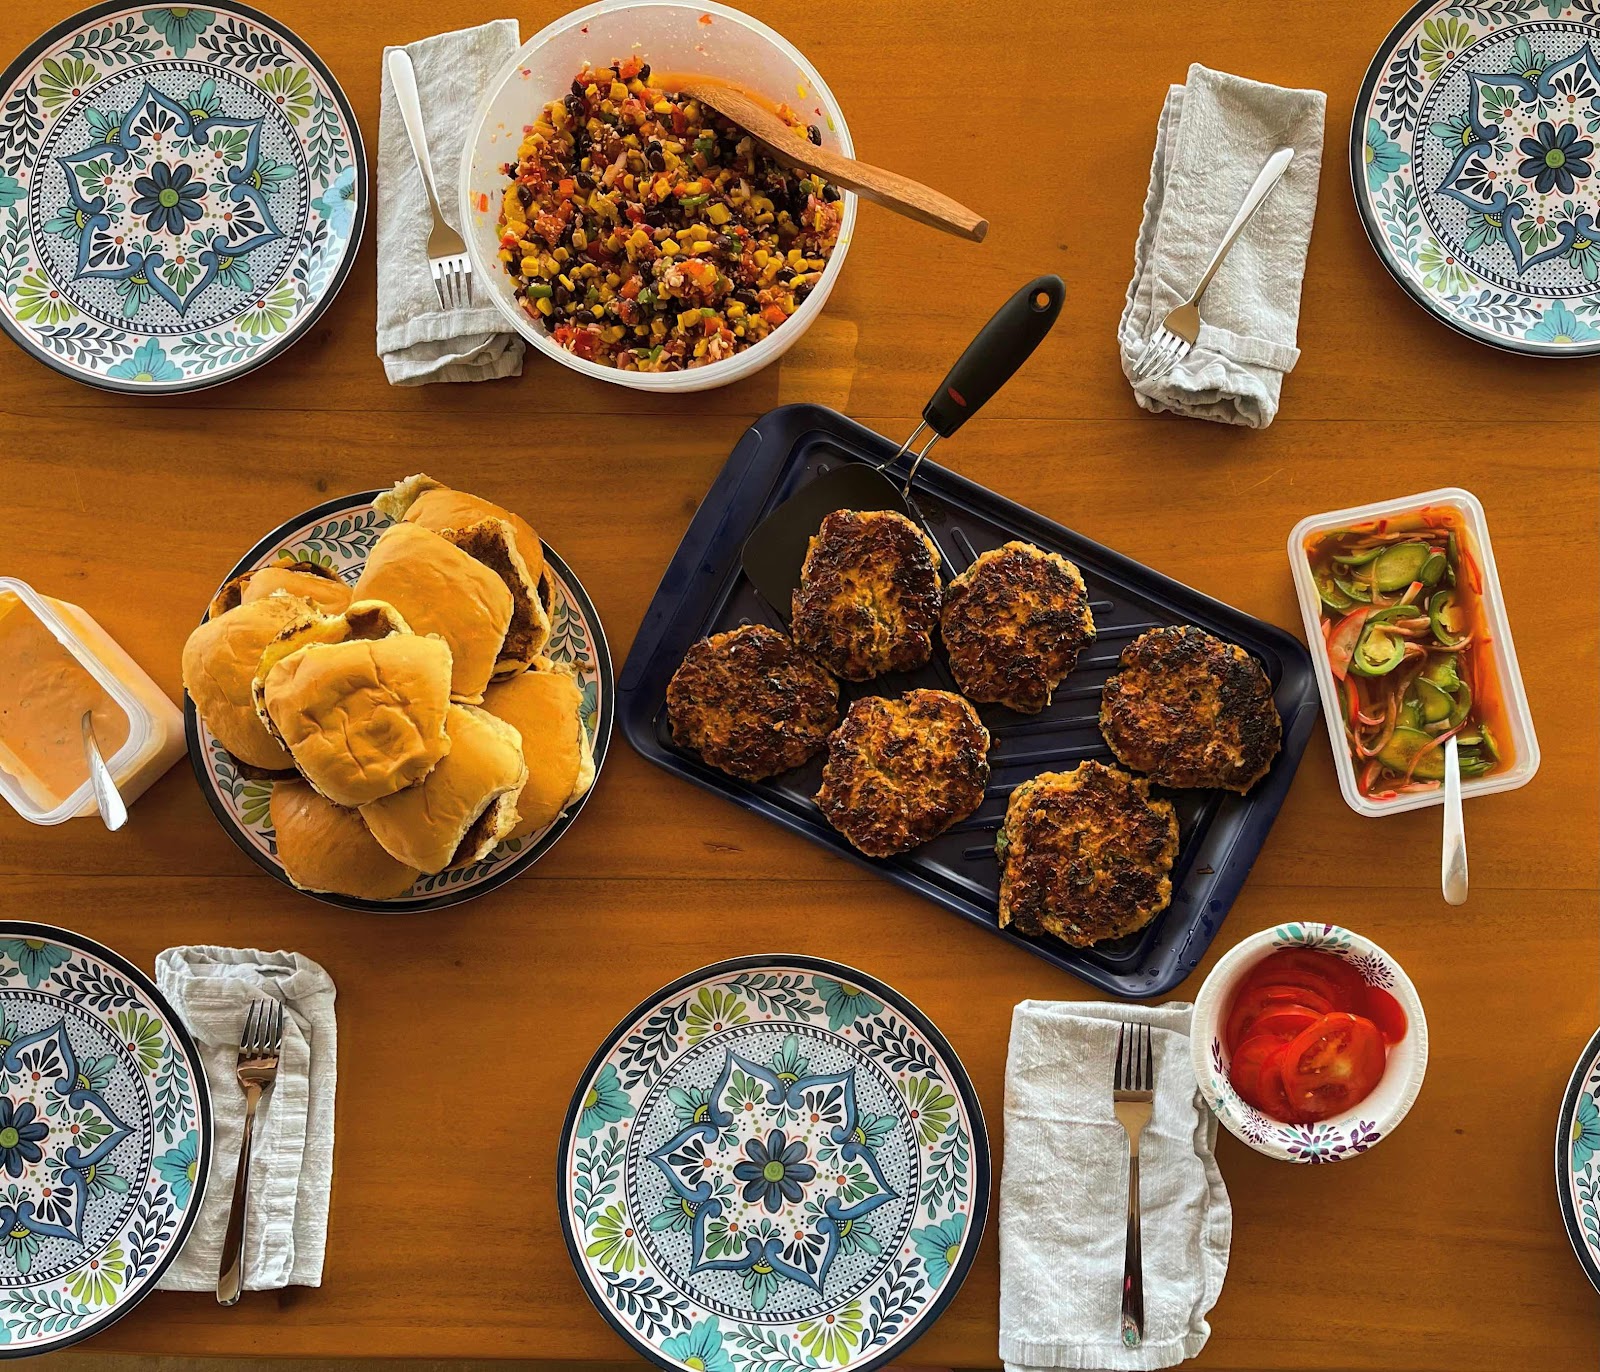
On our recent trip to Hawaii, we were very fortunate to stay with some good friends in their Kona home. Ok to be honest we stayed mainly on their lenai and in the pool, but we actually had a room. 


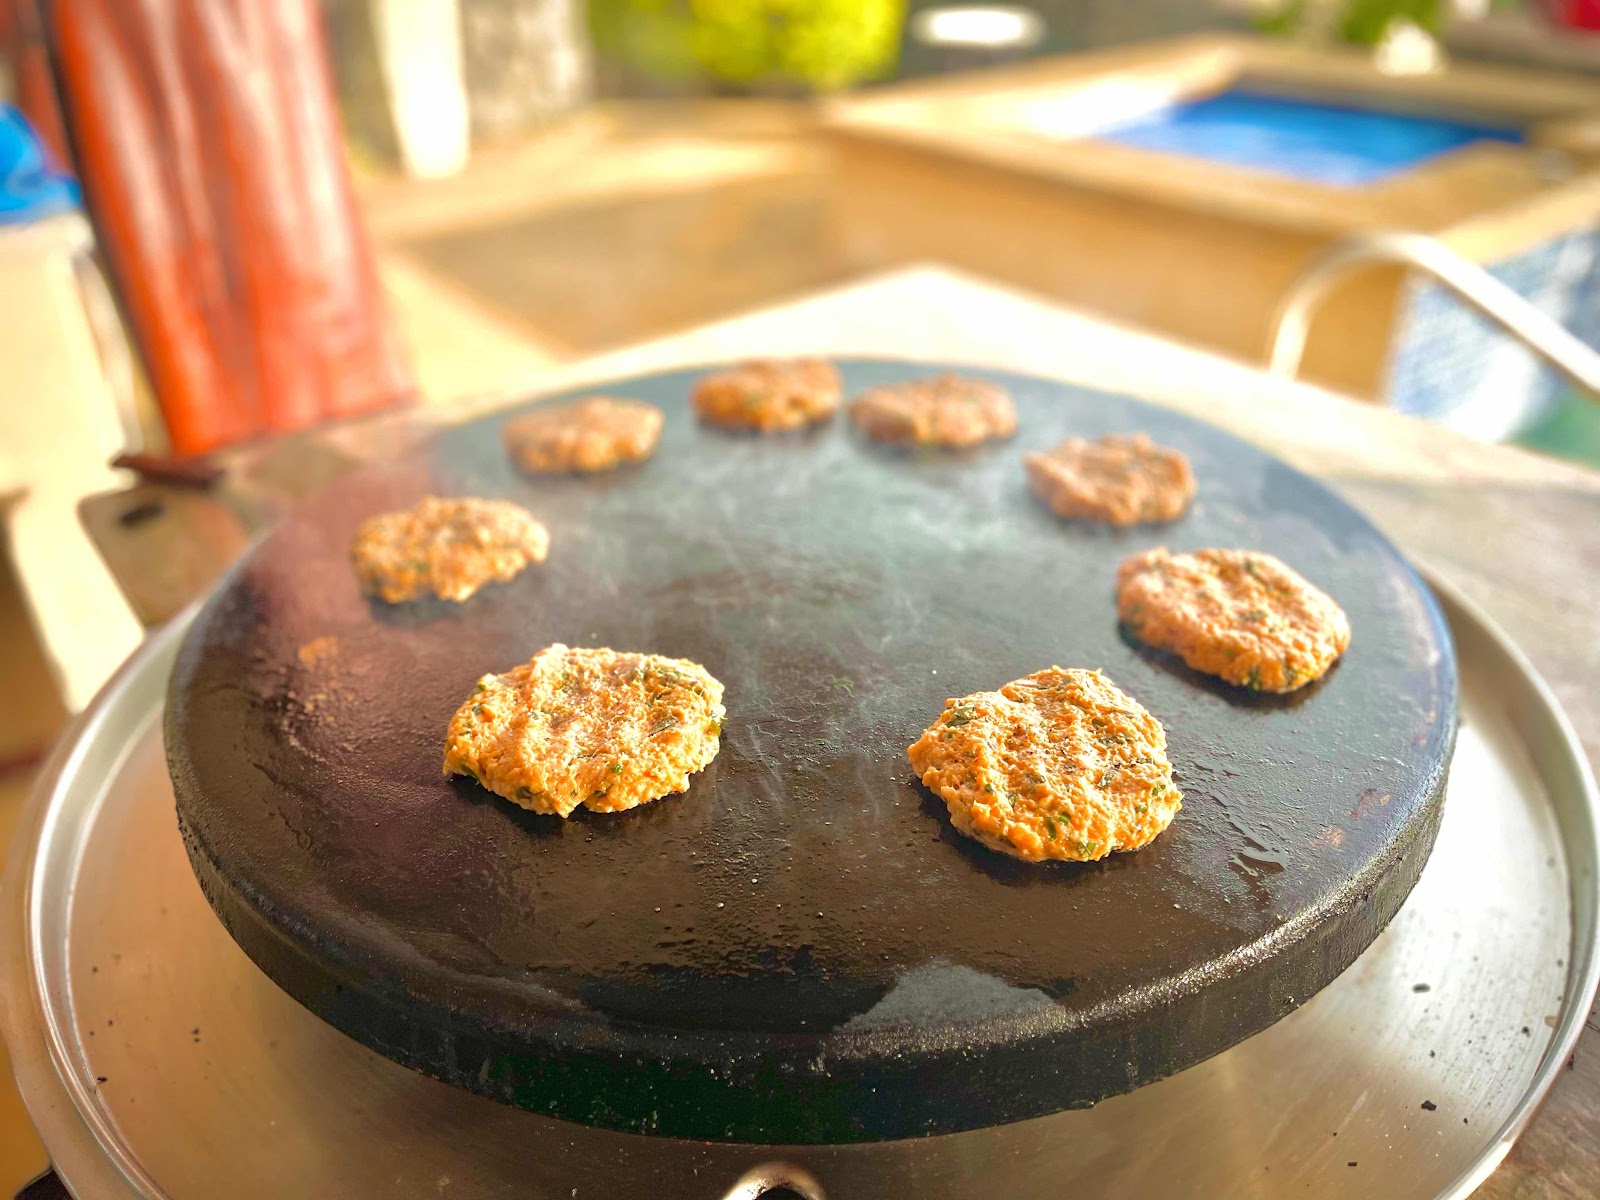
Not only did they have an amazing kitchen, the also had an outdoor flat top range. I think we cooked every dinner out there. We had a great time. 


This night was the last evening another set of good friend were spending with us. They are some great food adventurists as well. (When Phil and I get together, it’s all about great food). So we decided to make Bahn Mi Burgers. 


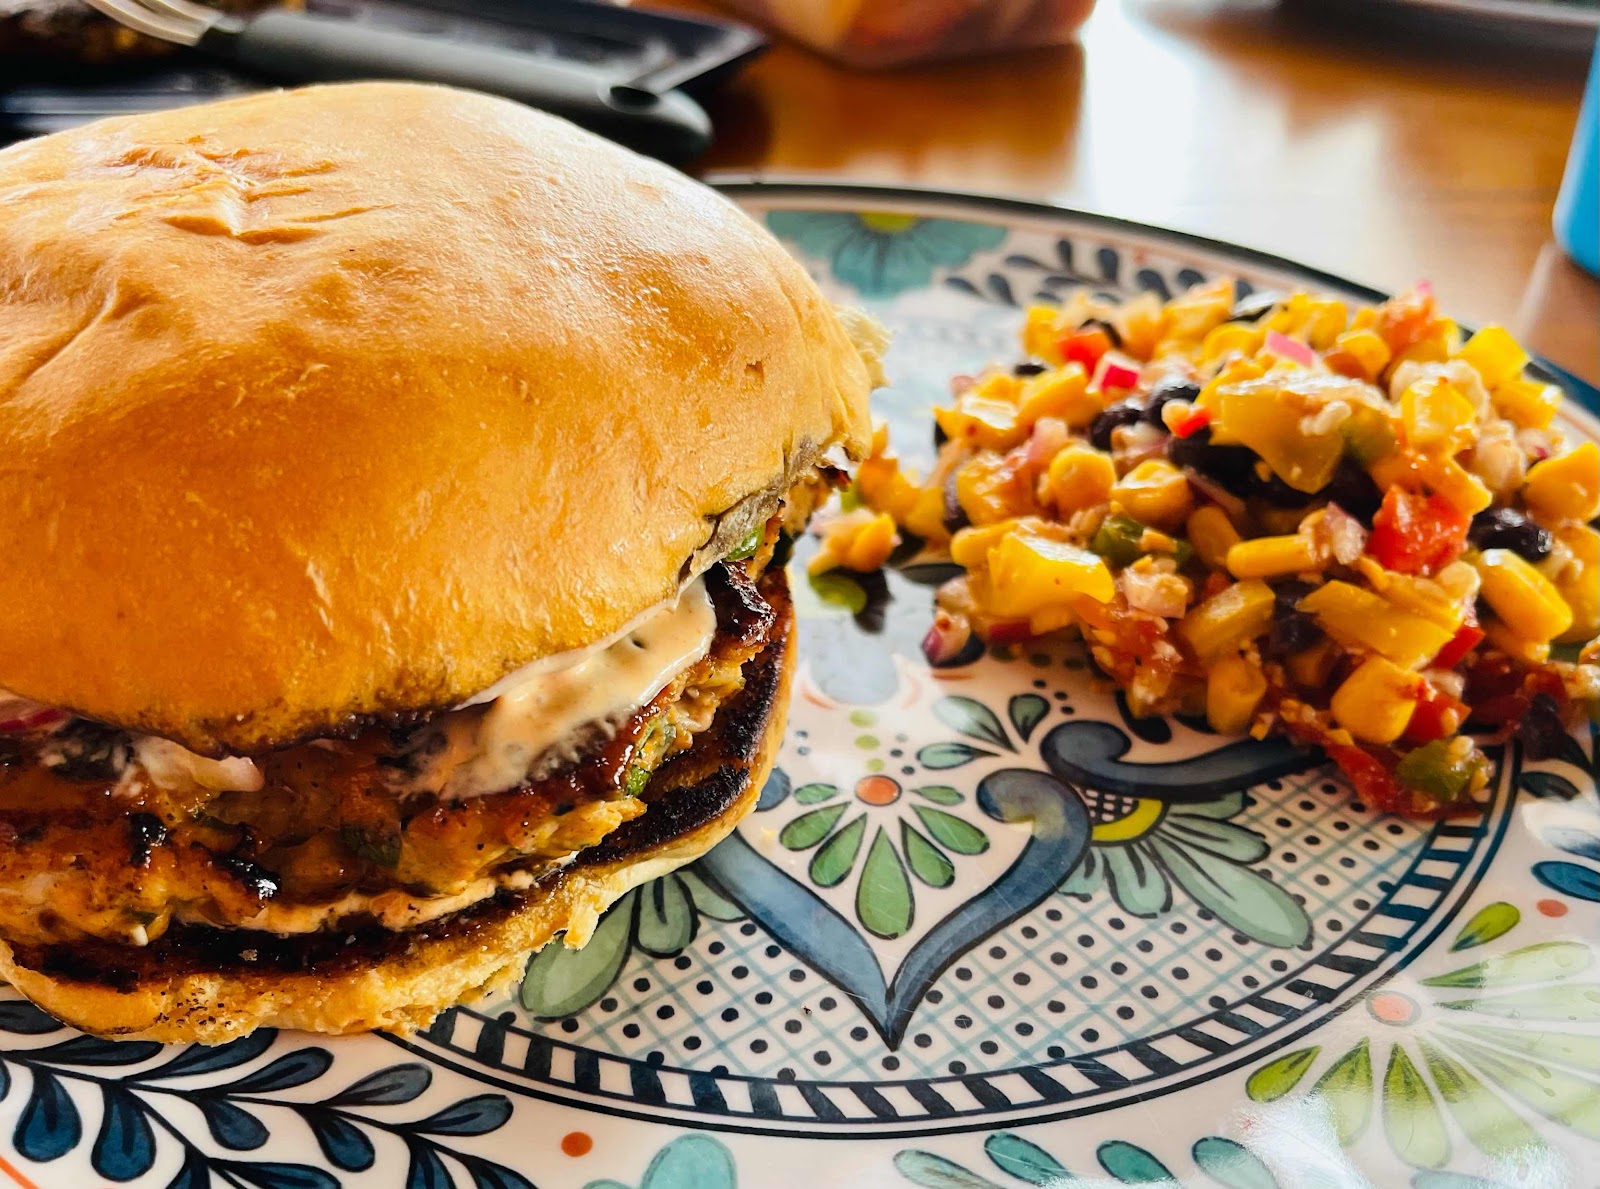
These flavorful and spicy patties were just the thing to make you sweat after a day of sitting around in 82° weather. I served the Bahn Mi Burgers with some spicy pickled vegetables on locally made egg buns we found at the farmers market, sriracha crema and a SW corn and pepper salad. This ones definitely on repeat. (By the way, the original recipe called for ground pork, but because we had several chicken only eaters, I opted to switch the pork with chicken. You couldn’t even tell a difference!!)


Chicken Banh Mi Burger

Ingredients

Burgers Patty

  • 1 lb Ground chicken
  • 1/4 cup Finely chopped fresh basil
  • 4 Garlic cloves, minced
  • 3 Green onions, finely chopped
  • 1 tbsp Fish sauce
  • 1 tbsp Sriracha
  • 1 tbsp Sugar
  • 2 tsp Cornstarch
  • 1 tsp Freshly ground black pepper
  • 1 tsp Kosher salt

Sriracha Mayo

  • 1 cup Mayonnaise
  • 3 Green onions, finely chopped
  • 2 tbsp Sriracha
  • 4 Brioche buns
  • Sesame oil
  • Sriracha mayo
  • Favorite Vietnamese pickled veggies (recipe below)
  • Cilantro
  • Cucumbers
  • Jalapeños (optional)

Method

  1. In a large bowl combine all ingredients for patties until fully combine and separate into 4 equal parts. Using your hands, carefully form each patty until even in thickness all the way around is achieved and set aside. You want it about ⅓” thick. (Chill in fridge, until ready to grill)
  2. In a small bowl combine ingredients for sriracha mayo and whisk until smooth. Can be made ahead and stored for up to a week.
  3. Preheat grill to medium/high heat. Add patties to the grill and allow to cook without moving for 5 minutes. Flip the patties and repeat with the other side. If the meat isn't cooked through, flip every few minutes until cooked to avoid burning. If you don't have a grill heat a large cast iron skillet over medium/high heat and coat lightly with sesame oil. Insert a cooking thermometer to ensure you have cooked to an internal temperature of 165°.
  4. To prepare the burgers toast the brioche buns On the grill. Add sriracha mayo to both sides of the bun and top with the patty, cucumbers, jalapeños, cilantro and plenty of pickled vegetables. Serve immediately.

To make pickled vegetables:

Quick Pickled Vegetables 

  • 1 cup rice wine vinegar
  • 2 Tbsp fish sauce
  • 2 Tbsp soy sauce 
  • 2 Tbsp Sambal Oleck 
  • 1 Tbsp sugar 
  • 1 cucumber, thinly sliced
  • 1-2 radishes, thinly sliced
  • 1/4 lb Dikon radish, thinly sliced
  • 1 carrot, jullianed 
  • 4 thinly sliced red onion 
  • 1 large jalapeño, thinly sliced

Directions 

  1. Mix together first 5 ingredients. 
  2. Prepare all the vegetables and place in pickling brine. 
  3. Seal container, shake and place in refrigerator for 30 minutes to an hour. 
RECIPE NOTES: 
As with any of my recipes, you can trade up or switch out and ingredients. 
* We ran out of cilantro, but had plenty of Thai basil so we used that. 
* We had left over cilantro crema from Ono tacos the night before, so I added sriracha and made it the “Sriracha Mayo”
* We had a couple of non pork eaters, so I switched out to chicken
* We ran out of carrots, so I just added more cucumber. 


Saturday, June 5, 2021

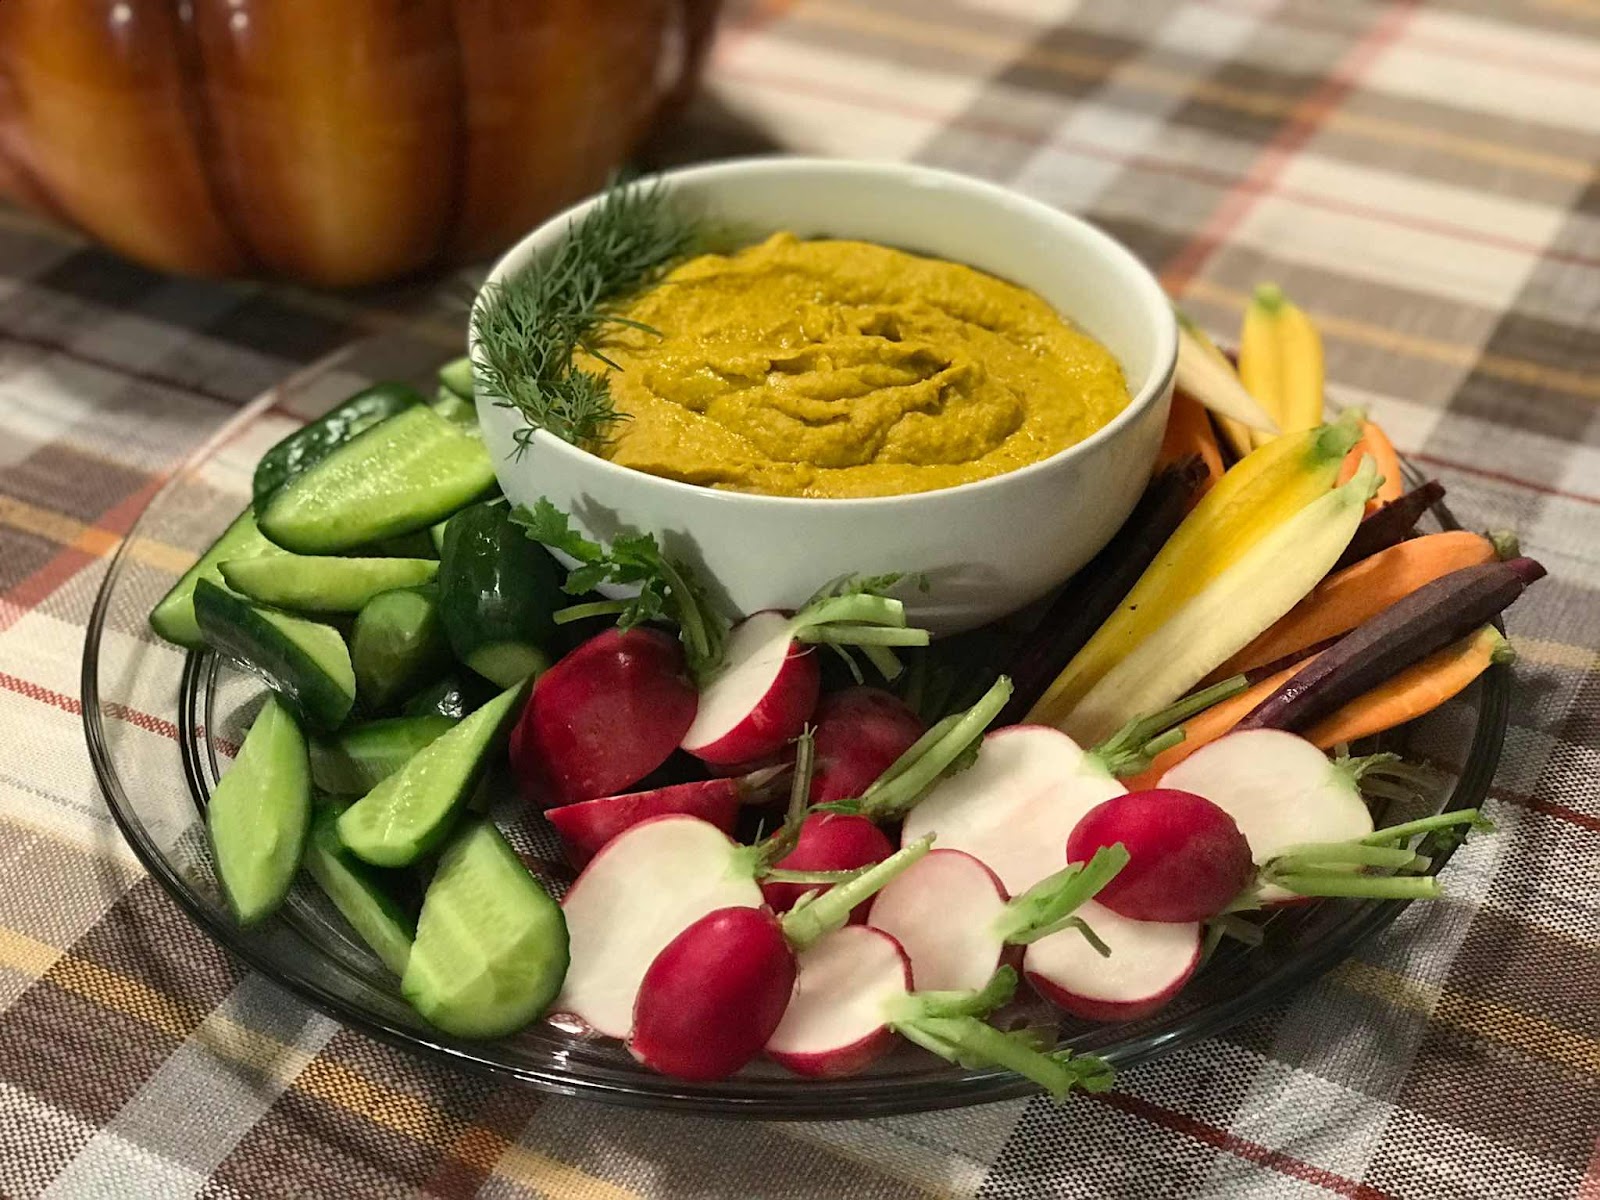
Roasted Vegetables and Artichoke "Hummus"

We had a very good friend of our come down for a visit. He and her husband were following a very strict AIP diet. I want sure what exactly that was so after a little research I found that they could have nightshades (peppers, potatoes, tomatoes or eggplant) also no beans or dairy. Well, I’m alway up for a challenge so while I was reading up on unfamiliar(to me) diet, I started jotting down a few ideas. I came up with this great take on a bean and nightshade free “hummus”. 


Roasted Vegetables and Artichoke "Hummus"

ingredients

  • 1 - 12 ounce jar whole or quartered artichoke hearts, about 1.5 cups (not marinated)
  • 3 medium carrots, peeled and chopped into 1/2 inch pieces, about 1.5 cups
  • 1 small butternut squash, peeled, seeded and cubed. 
  • 1/4 cup olive oil, divided
  • 2 cloves garlic
  • 1/2 teaspoon ground turmeric, to taste
  • Juice of 1 lemon, about 2 tablespoons
  • 1 teaspoon of zest, optional
  • 1/4 to 1/2 teaspoon sea salt, or to taste
  • 1 cup full fat coconut milk,

instructions

  1. Refrigerate the coconut milk upside-down for at least 30 minutes. Open and gently drain off the time liquid. Reserving the thick paste. Set aside. 
  2. Preheat oven to 400 degrees. Place chopped carrots and butternut cubes on parchment-lined sheet pan and drizzle with olive oil. Add garlic. Roast for about 10 minutes until very tender and starting to get a little color.
  3. While veggies are cooking, rinse and drain the artichokes, pressing to get out any extra liquid, and place them in the food processor. Add turmeric, lemon and salt.
  4. Add carrots to processor and run until fairly smooth, about 1 minute, scraping sides as necessary. Add coconut solids and process. 
  5. Once things are looking well blended, slowly drizzle 3 tablespoons olive oil into the mixture while the machine is running. This helps to emulsify the oil into the hummus, making it extra creamy. Process for an additional 1-2 minutes until super smooth.
  6. Let cool and enjoy with sliced veggies, or in wraps or bowls. When serving as a dip, drizzle with a little olive oil and a pinch of chopped parsley or cilantro if you have it on hand.

Thursday, June 3, 2021

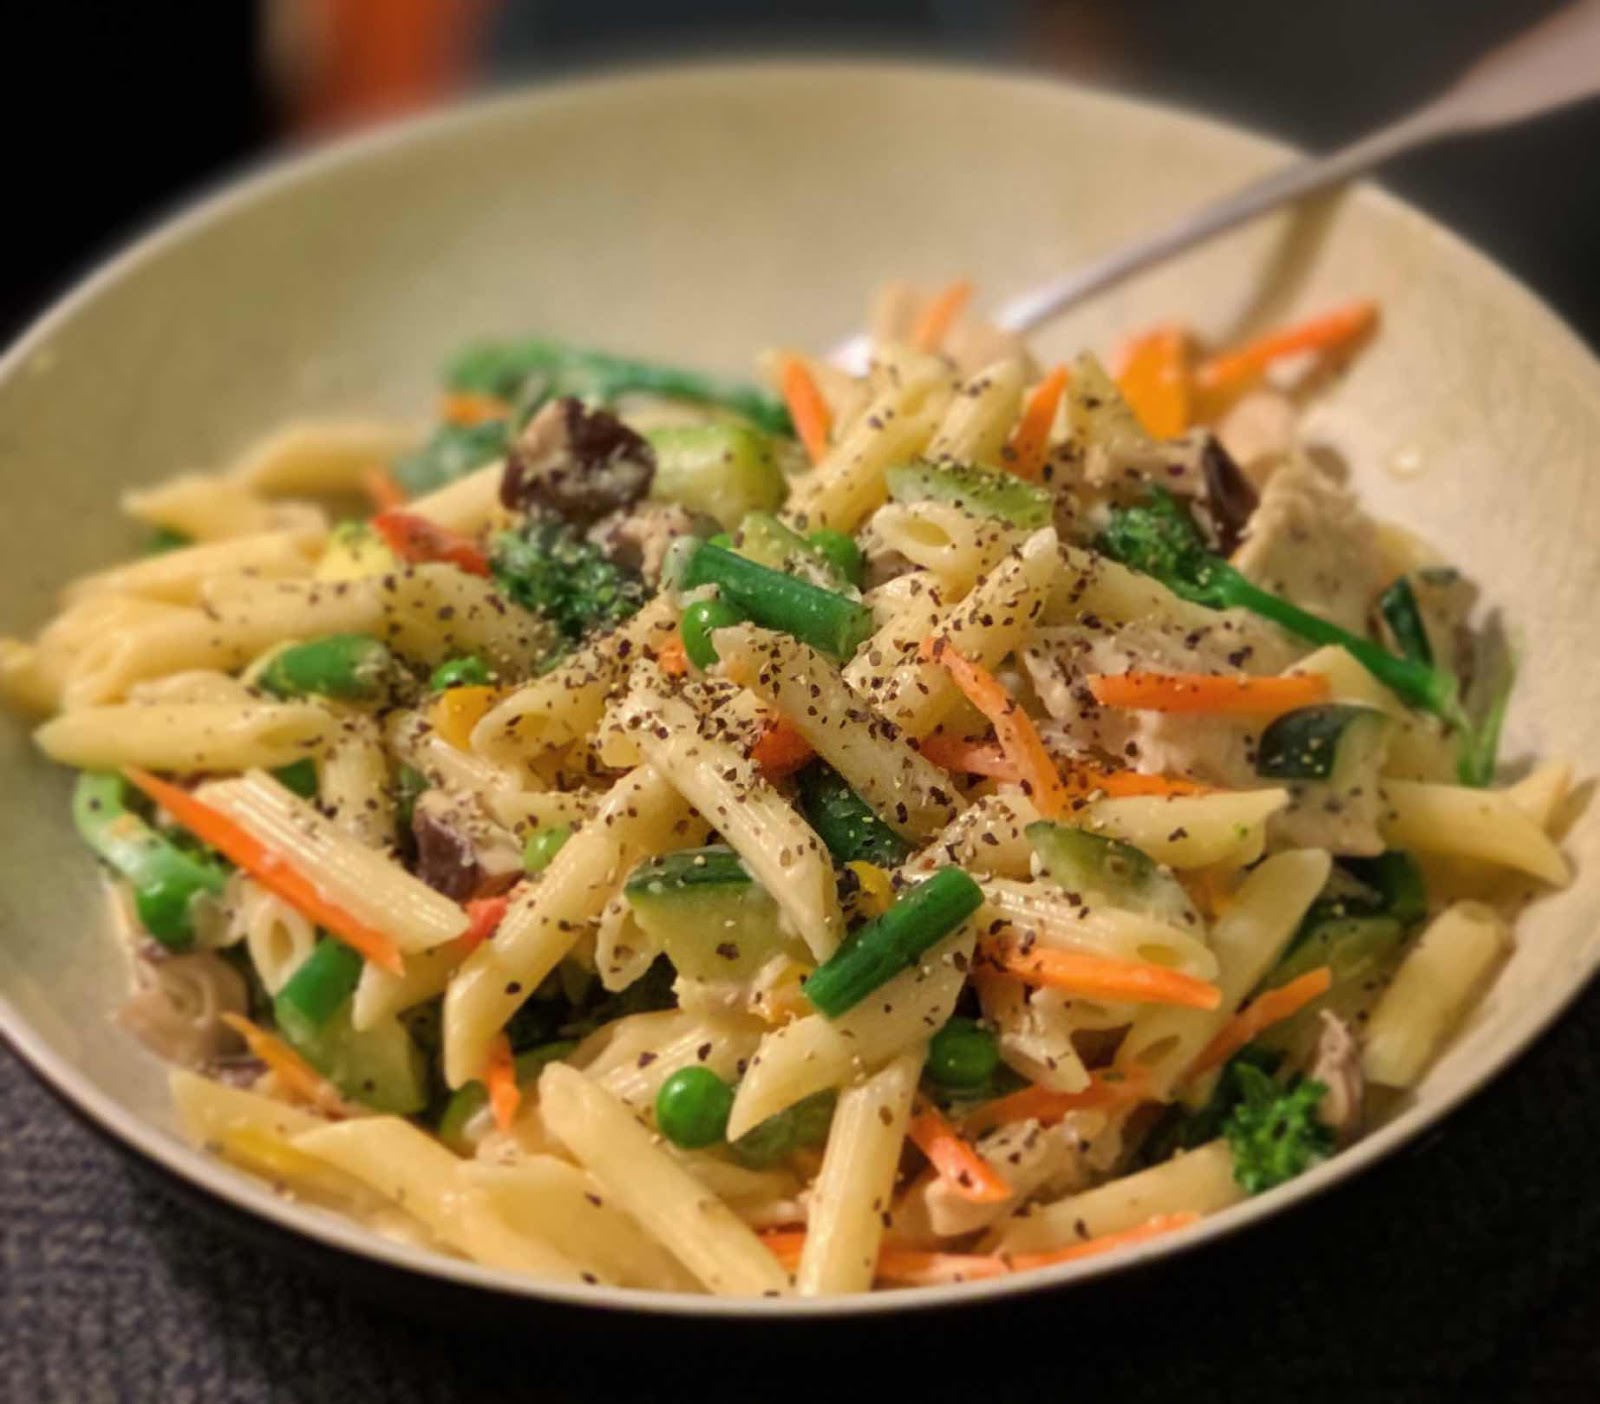
Spring Vegetable Pasta Carbonara

After a cold winter, we all look forward to what Spring and Summer bring.  As a blogger, about mid February I get the itch to start planting summer crops, but in our climate, that’s a little early.  So I settle for some grocery store finds.  I was inspired to make this dish by all the colors and fresh flavors.  It is something that not only can be made in Spring, but all Summer as well.


Spring Vegetable Pasta Carbonara

INGREDIENTS

  • 4 ounces pancetta cut into a small dice (I omitted)
  • Olive oil
  • 10 ounces pasta fettuccine or linguine (I used penne)
  • 1 lb fresh English peas (frozen as ok as well!)
  • 1/2 zucchini, cut into half moons
  • 1 carrot, julienned (I use pre cut)
  • 1/2 lb green beans, cut into 1 inch lengths
  • 8 oz mushrooms, quartered
  • 3 scallions thinly sliced on an angle
  • 1 egg whisked
  • ½ cup freshly grated parmesan
  • ½ cup freshly grated pecorino romano
  • 1 lemon zested and juiced
  • Fresh basil for serving

INSTRUCTIONS

  1. Bring a large pot of water to a boil.
  2. Cook the pasta according to the package directions until al dente. If using fresh peas, add the peas, carrots and green beans about 2 minutes before the pasta is done. (If using frozen, add 30 seconds before the pasta is done). Reserve 1 cup of the pasta cooking water before draining the pasta and the peas.
  3. In a large heavy bottom dutch oven skillet, add 2 tablespoons of olive oil over medium high heat. Add the pancetta and cook until browned, about 8-10 minutes. Season with pepper and remove from skillet.  Use the drippings to quickly sauté the mushrooms and zucchini, remove from skillet and add back in the pancetta to skillet, turn off heat.
  4. Add a few tablespoons of the pasta water to the skillet with the oil and the pancetta and whisk to combine and emulsify the fat with the water. Add the whisked egg to the skillet making sure not to scramble it. Add the pasta, vegetables and scallions into the pancetta and egg mixture. Toss to combine. Add the cheeses and toss to combine again. Add more pasta water as needed to thin. Season with salt, pepper, lemon zest and lemon juice. Serve with plenty of fresh basil on top. 

(Small florets of broccoli can be added along with the peas, if you’d like)

Monday, May 31, 2021

Skillet Corn, Edamame, and Tomatoes with Basil Oil

Every summer, when all the great vegetables are popping up and ready for the picking, this is our go to side dish at least once a week.  We also add diced zucchini and yellow squash to it to change it up.

Skillet Corn, Edamame, and Tomatoes with Basil Oil
Ingredients
  1 cup fresh basil leaves
  ¼ cup plus 2 tablespoons extra-virgin olive oil, divided
  1 ½ teaspoons coarse salt, divided
  ¼ cup finely sliced scallions (from 4 scallions)
  1 ½ teaspoons minced garlic (from 3 small garlic cloves)
  3 ¼ cups corn kernels (from 3 ears)
  2/3 cup frozen shelled edamame, thawed
  ½ pound cherry tomatoes, halved (1 3/4 cups)
  2 tablespoons white balsamic vinegar
Directions
1. Bring a small pot of water to a boil. Add basil; cook 10 seconds. Transfer basil to a bowl of ice water, then drain, and squeeze dry. Puree basil, 1/4 cup oil, and 1/2 teaspoon salt in a blender or food processor until smooth.
2. Heat remaining oil in a skillet over medium-high heat. Add scallions and garlic; cook until fragrant, about 30 seconds. Add corn, edamame, and remaining salt. Cook, stirring, until starting to caramelize, about 10 minutes (reduce heat to medium if overbrowning). Add tomatoes and vinegar; cook until tomatoes start to collapse, about 8 minutes.
3. Drizzle basil oil on vegetables, and stir. Serve immediately.

Sunday, May 30, 2021

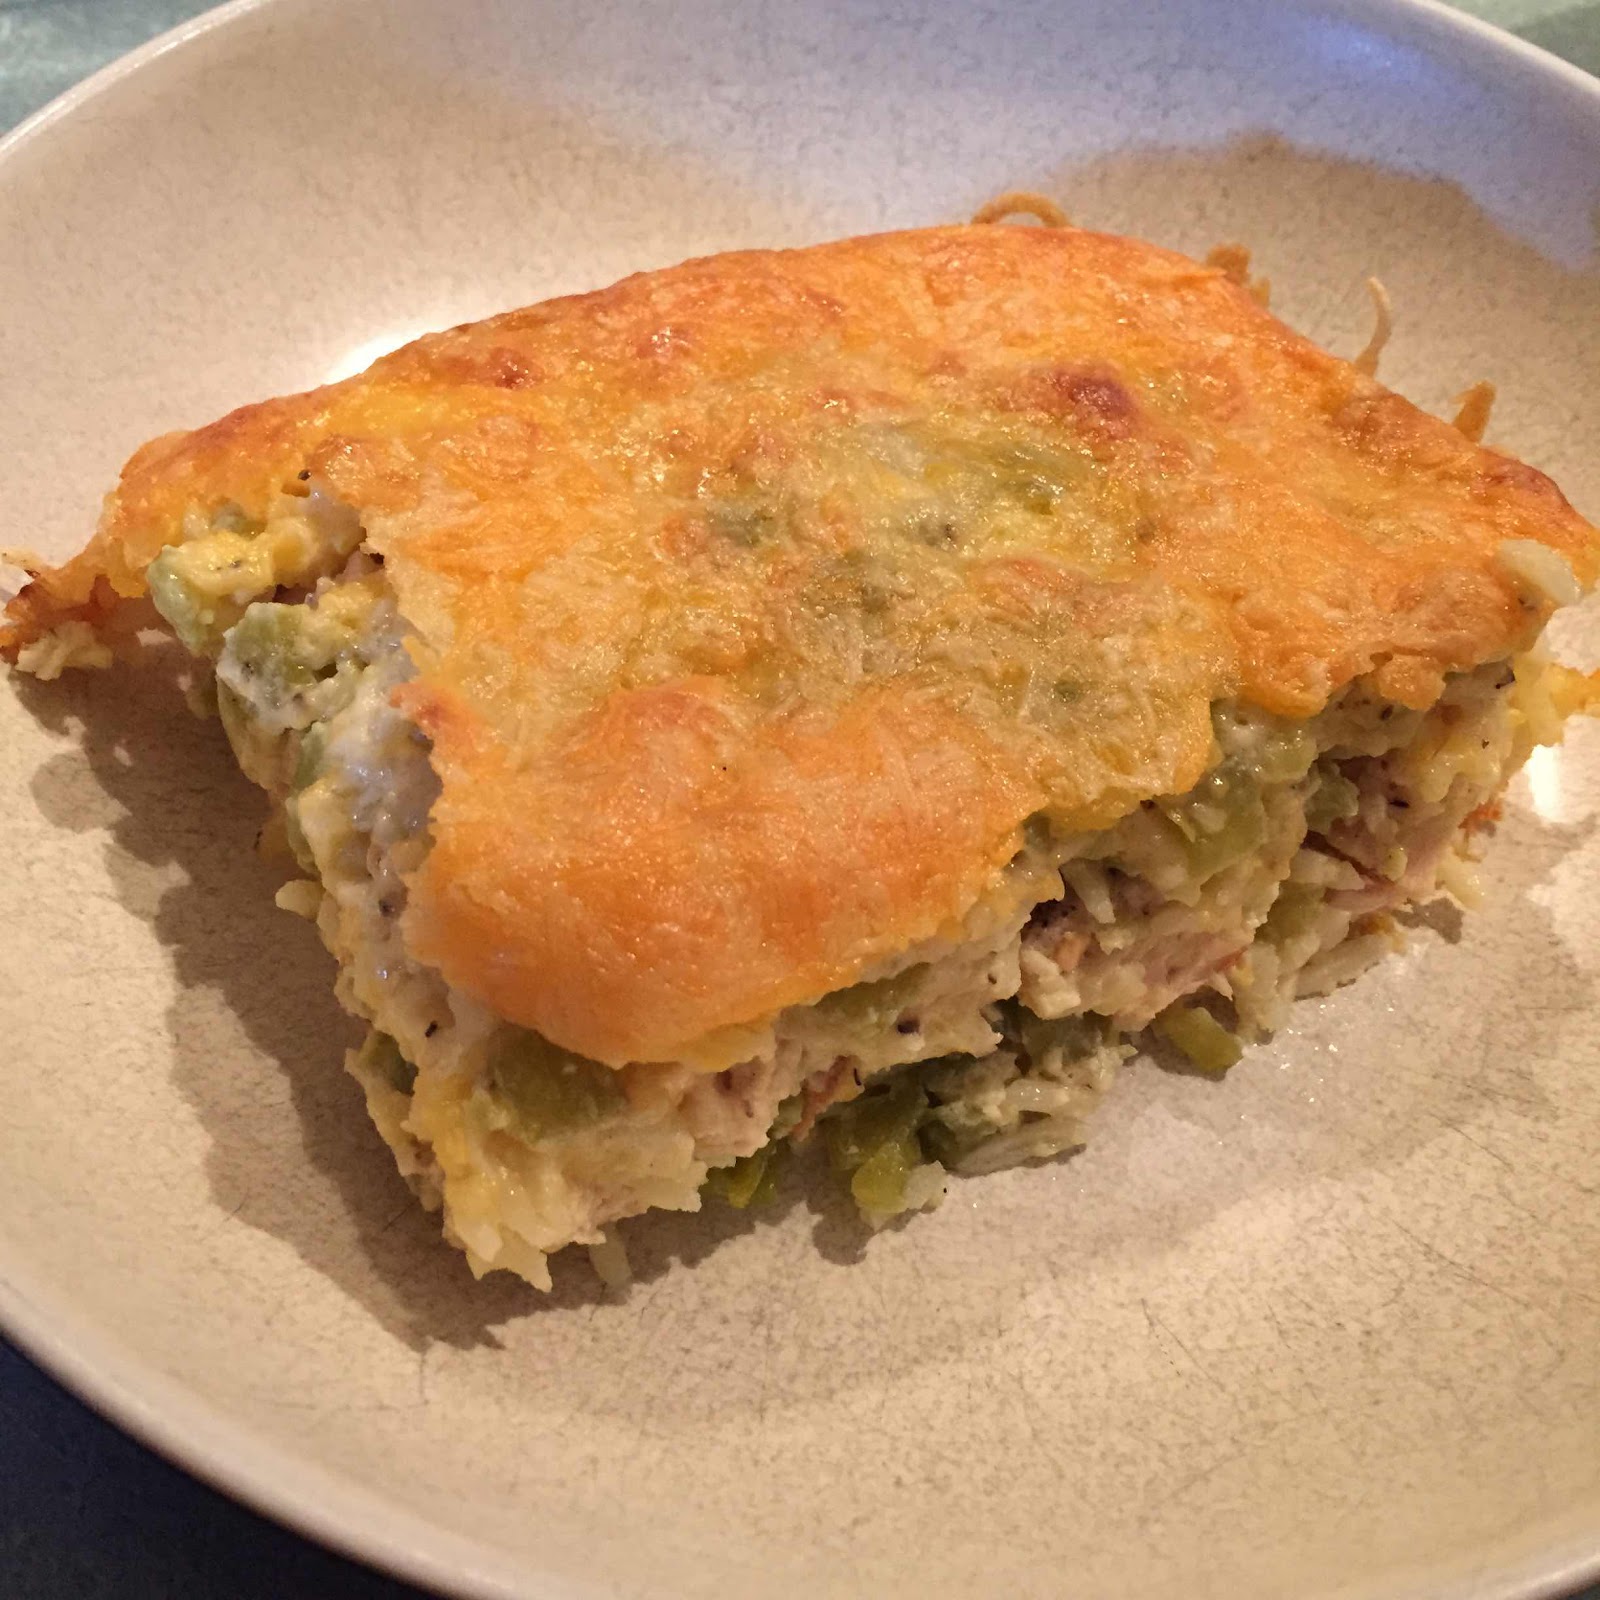
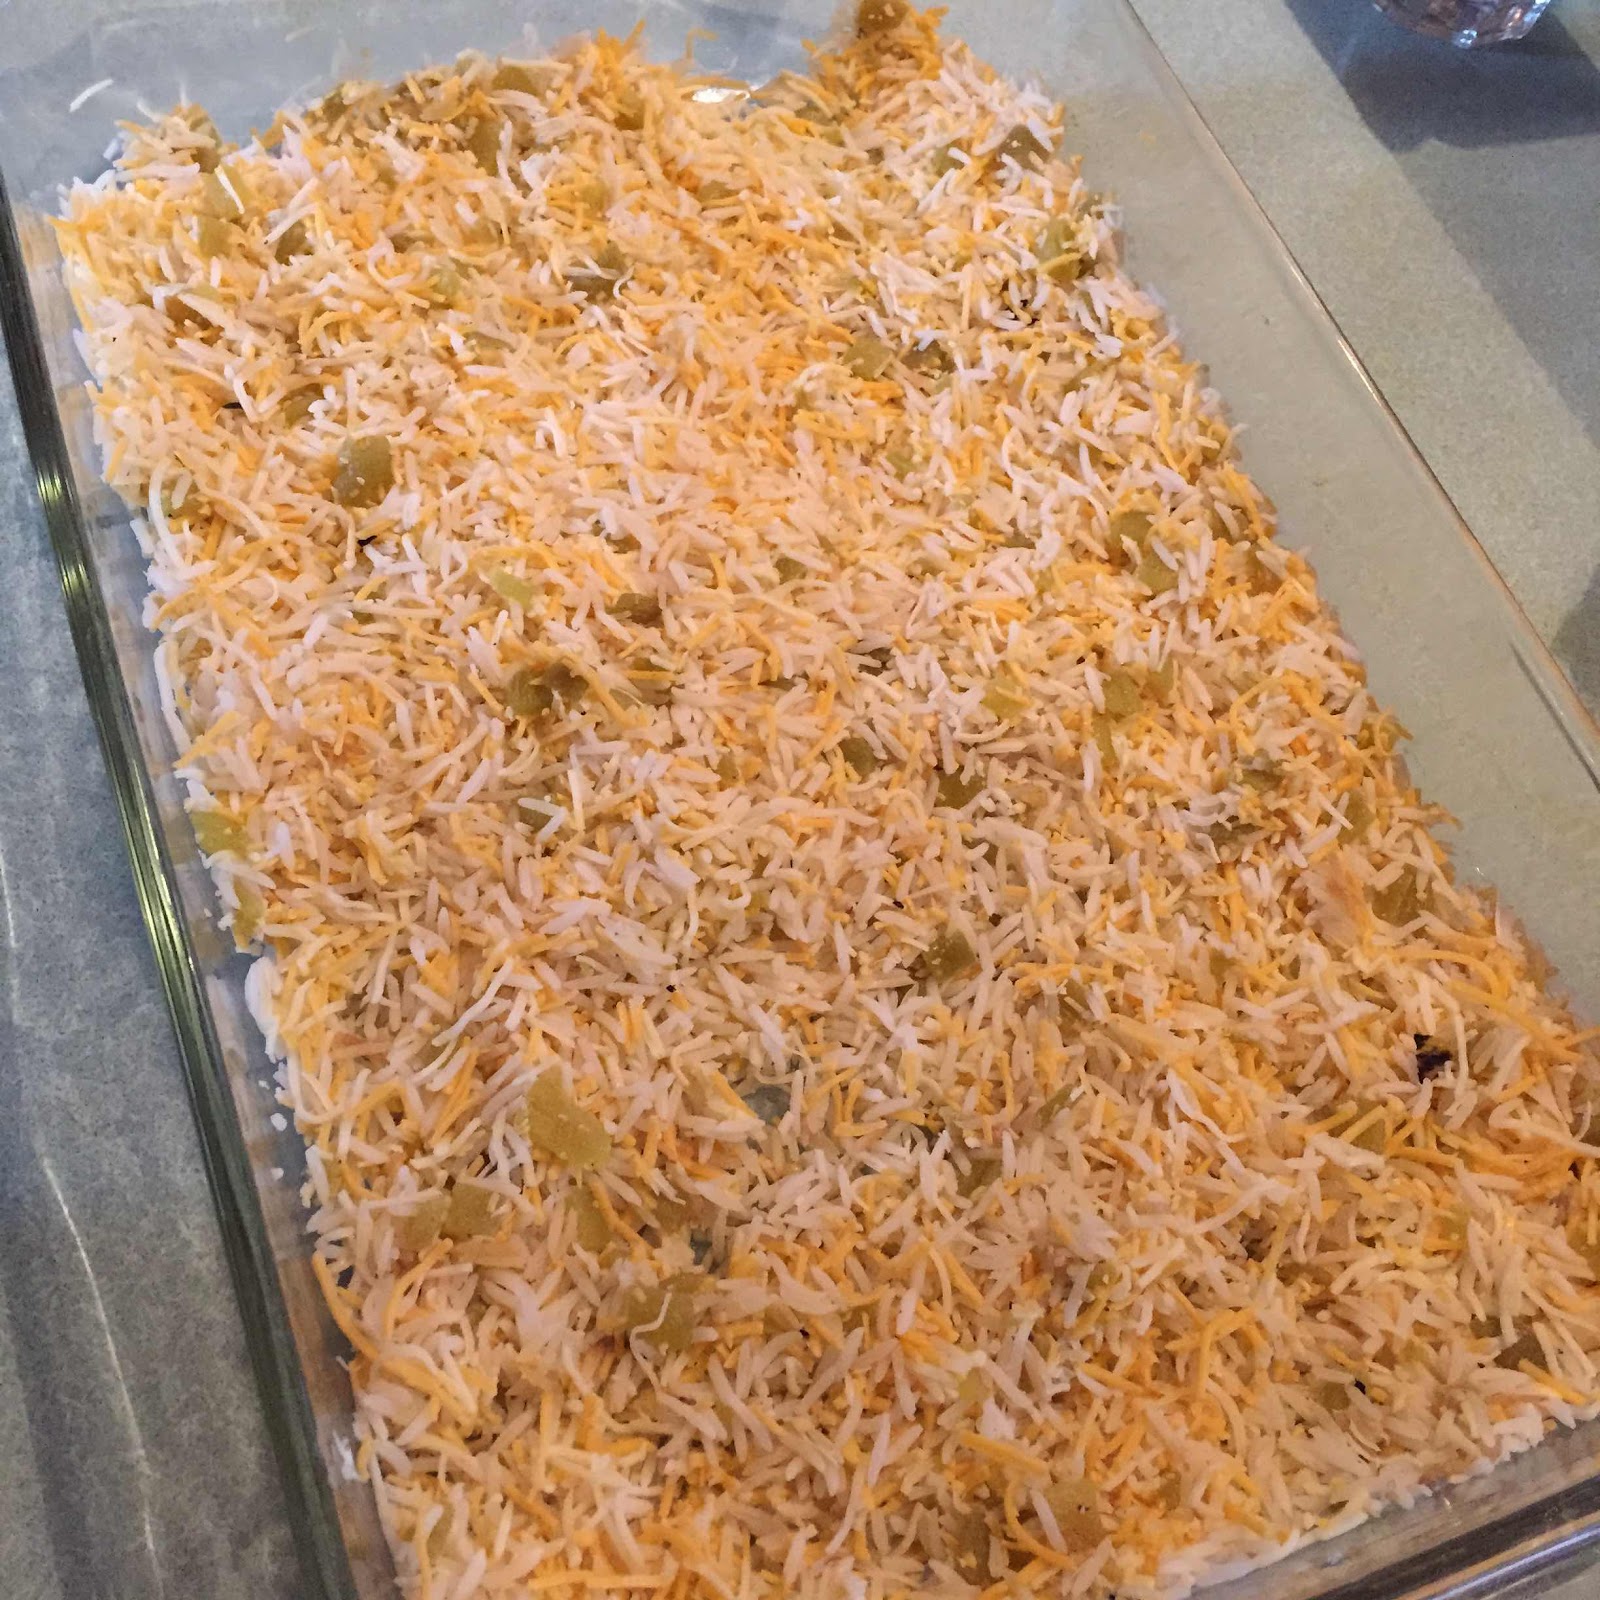
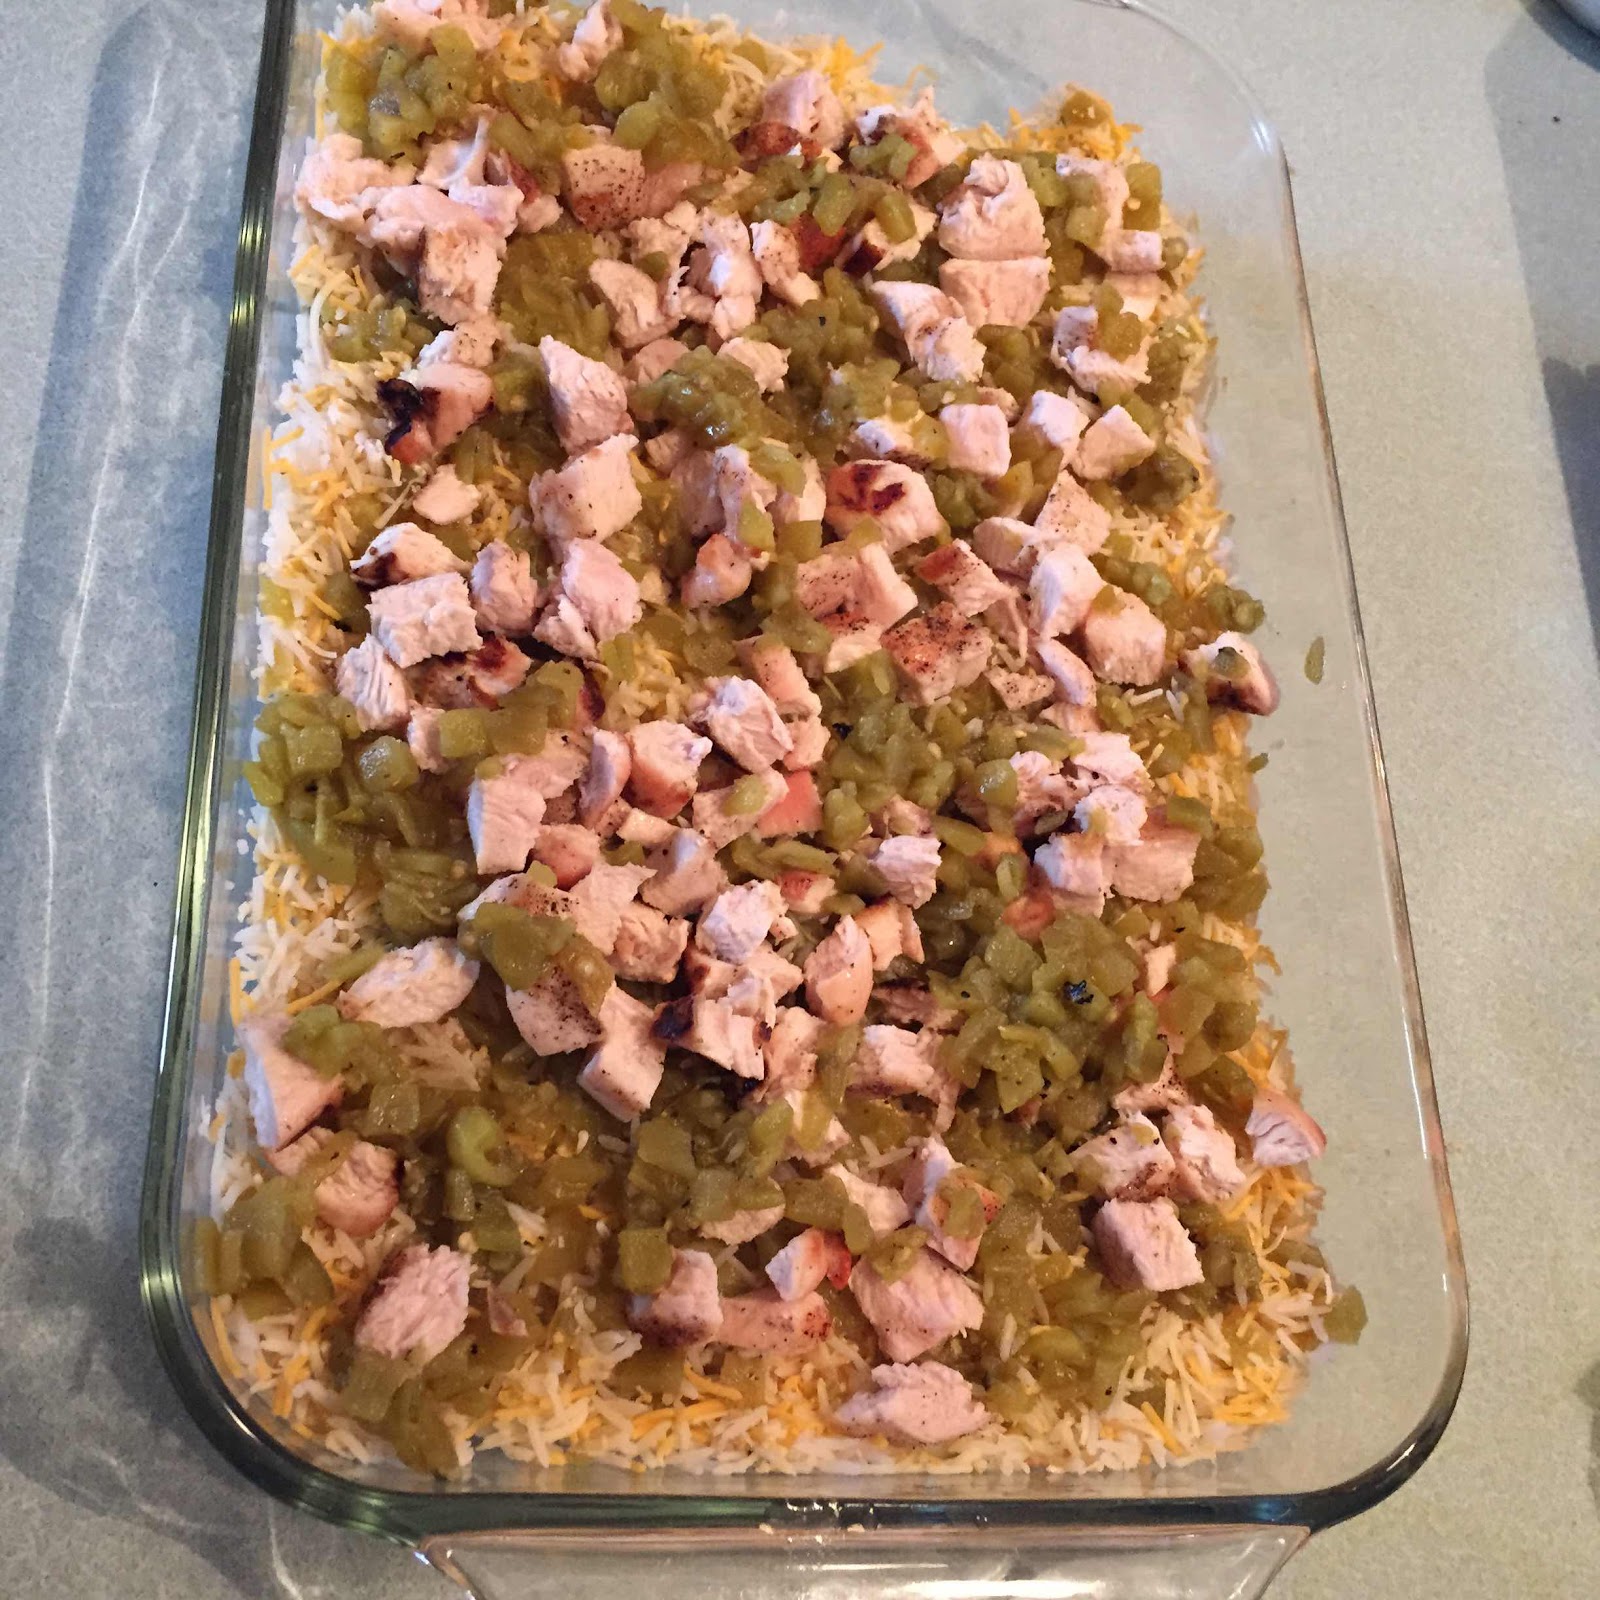
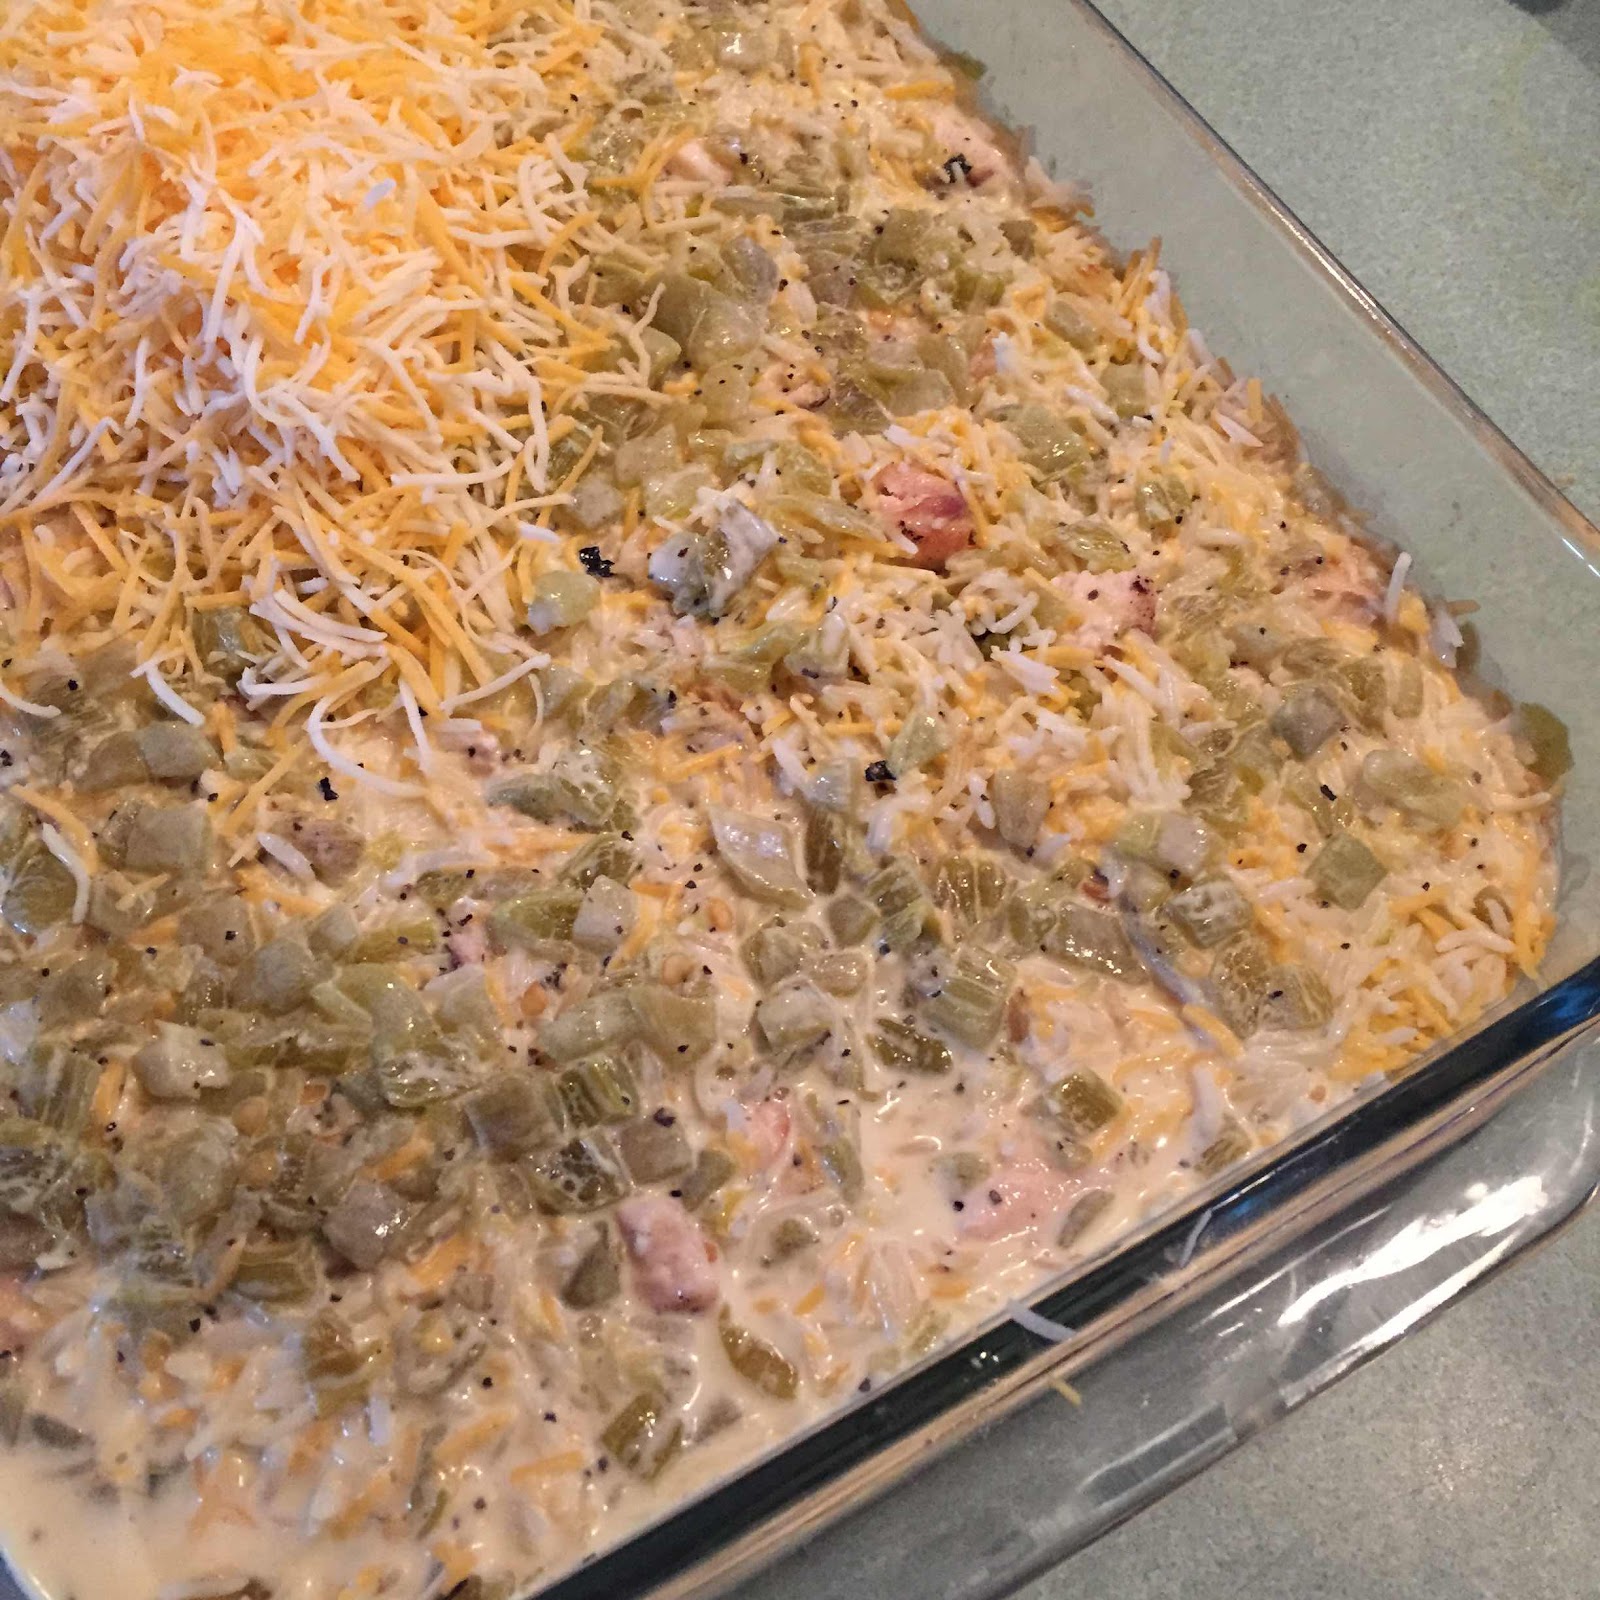
Green Chili Rice Bake with Chicken

A few years back, we visited a friend in Arizona.  She made a delicious side dish that I kept thinking of weeks later.  So I contacted her for the recipe, and adapted it to. Are it a main dish, by adding chicken.  As most of my recipes are, it’s quick and easy!  Enjoy!!


Green Chili Rice Bake with Chicken

Ingredients

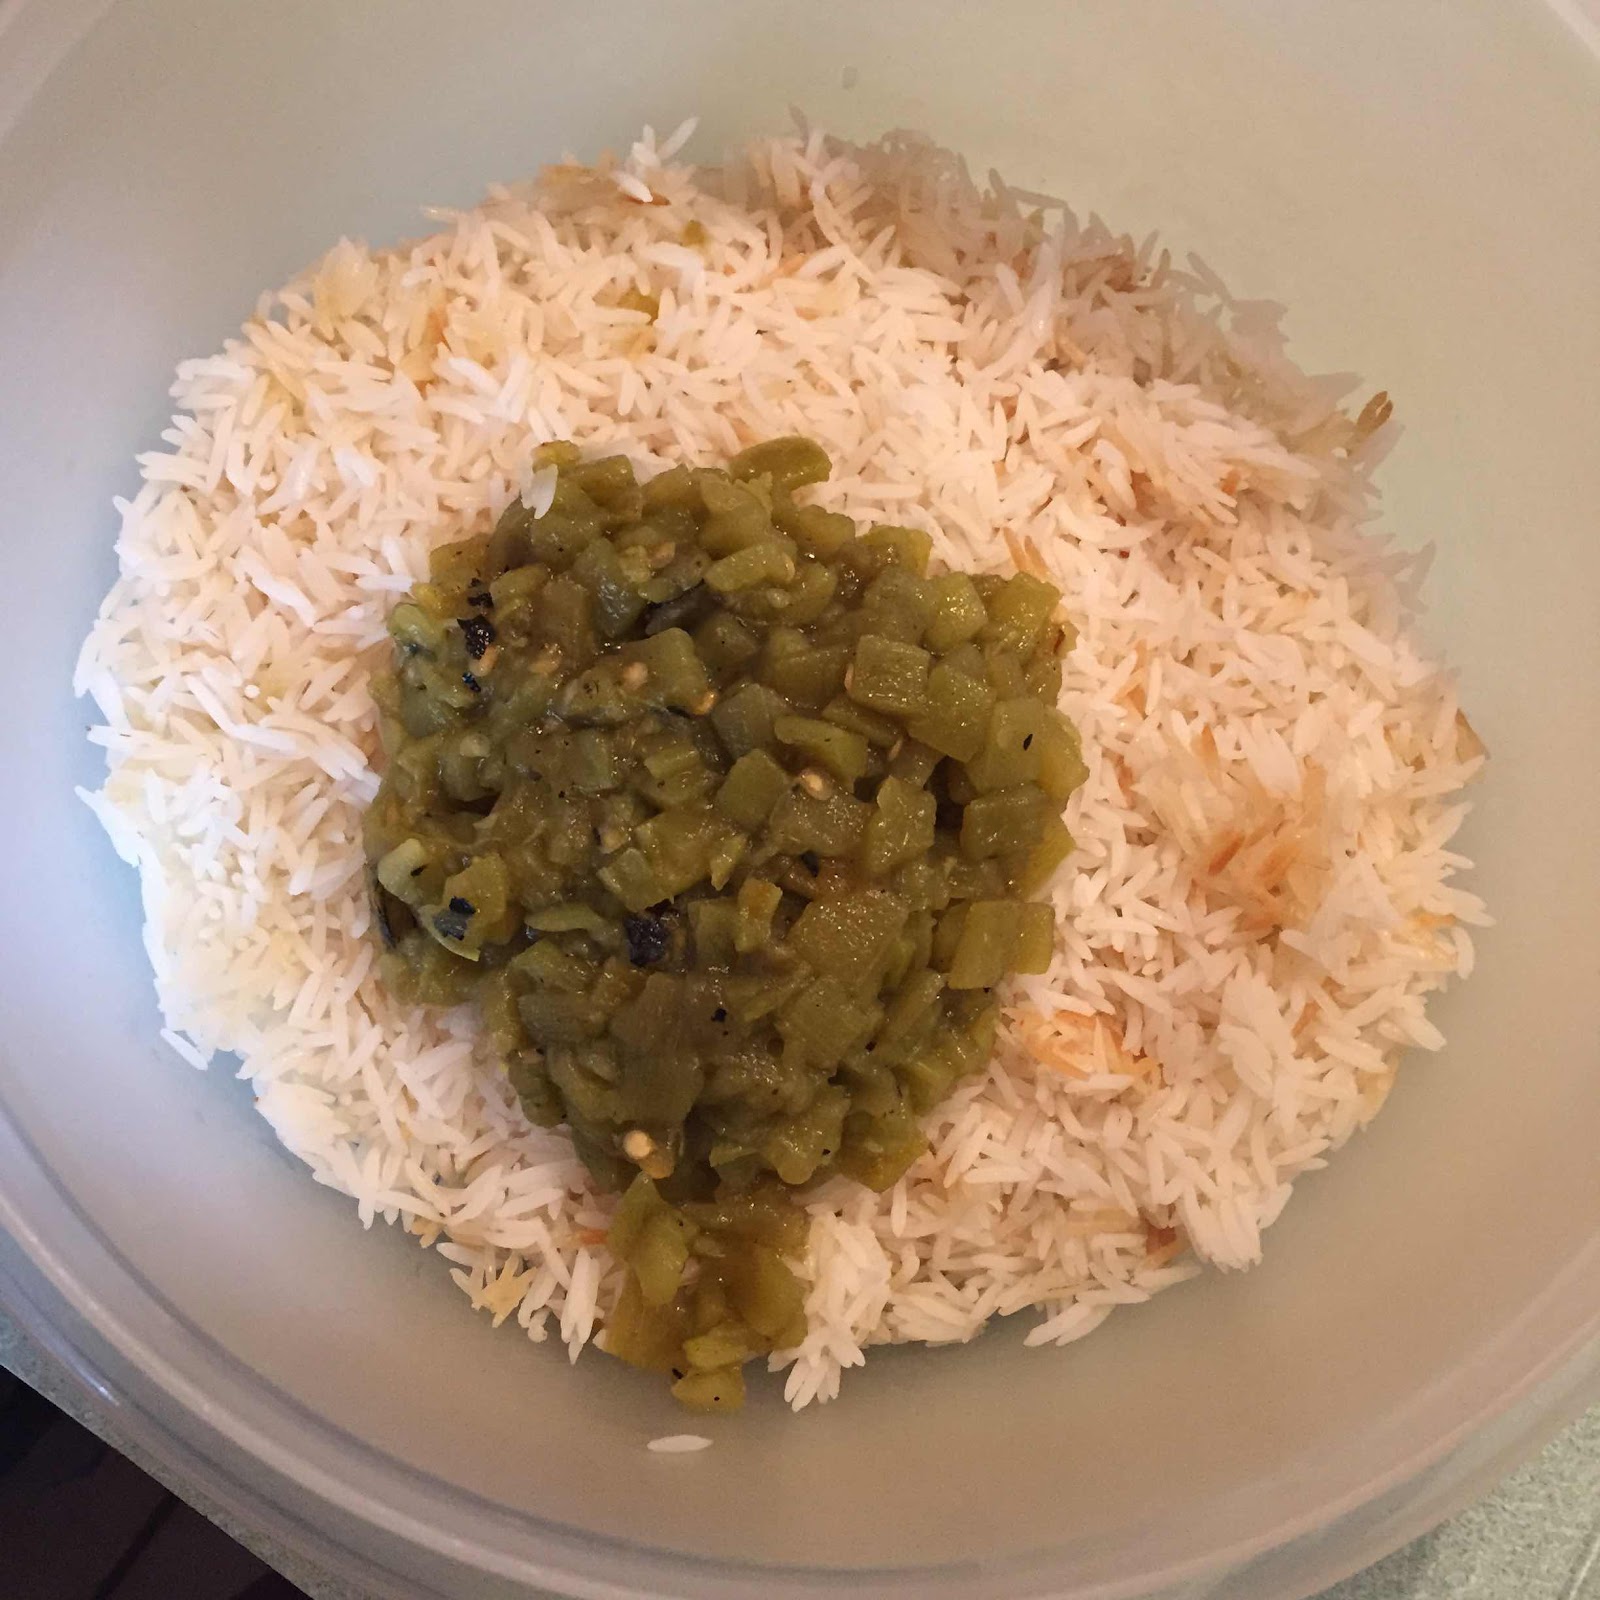
  • 4 cups cooked rice
  • 2 (4 oz.) cans diced green chilies
  • 2 cups shredded chicken
  • 1 cup sour cream
  • 1 cups shredded Monterrey Jack or pepper jack cheese
  • 2 cups shredded cheddar cheese, divided
  • 1-2 tablespoons chopped fresh cilantro
  • 1/2 teaspoon salt
  • 1/4 teaspoon pepper
  • Dash of cayenne pepper (optional)

Instructions

  1. Preheat oven to 350 degrees. In a large bowl, combine rice and remaining ingredients, reserving 1 cup of the cheddar cheese for topping.
  2. Transfer the rice mixture to a greased 2 quart baking dish. Cover and bake for 25-30 minutes or until heated through. Remove from oven and sprinkle with the reserved cup of cheddar cheese.
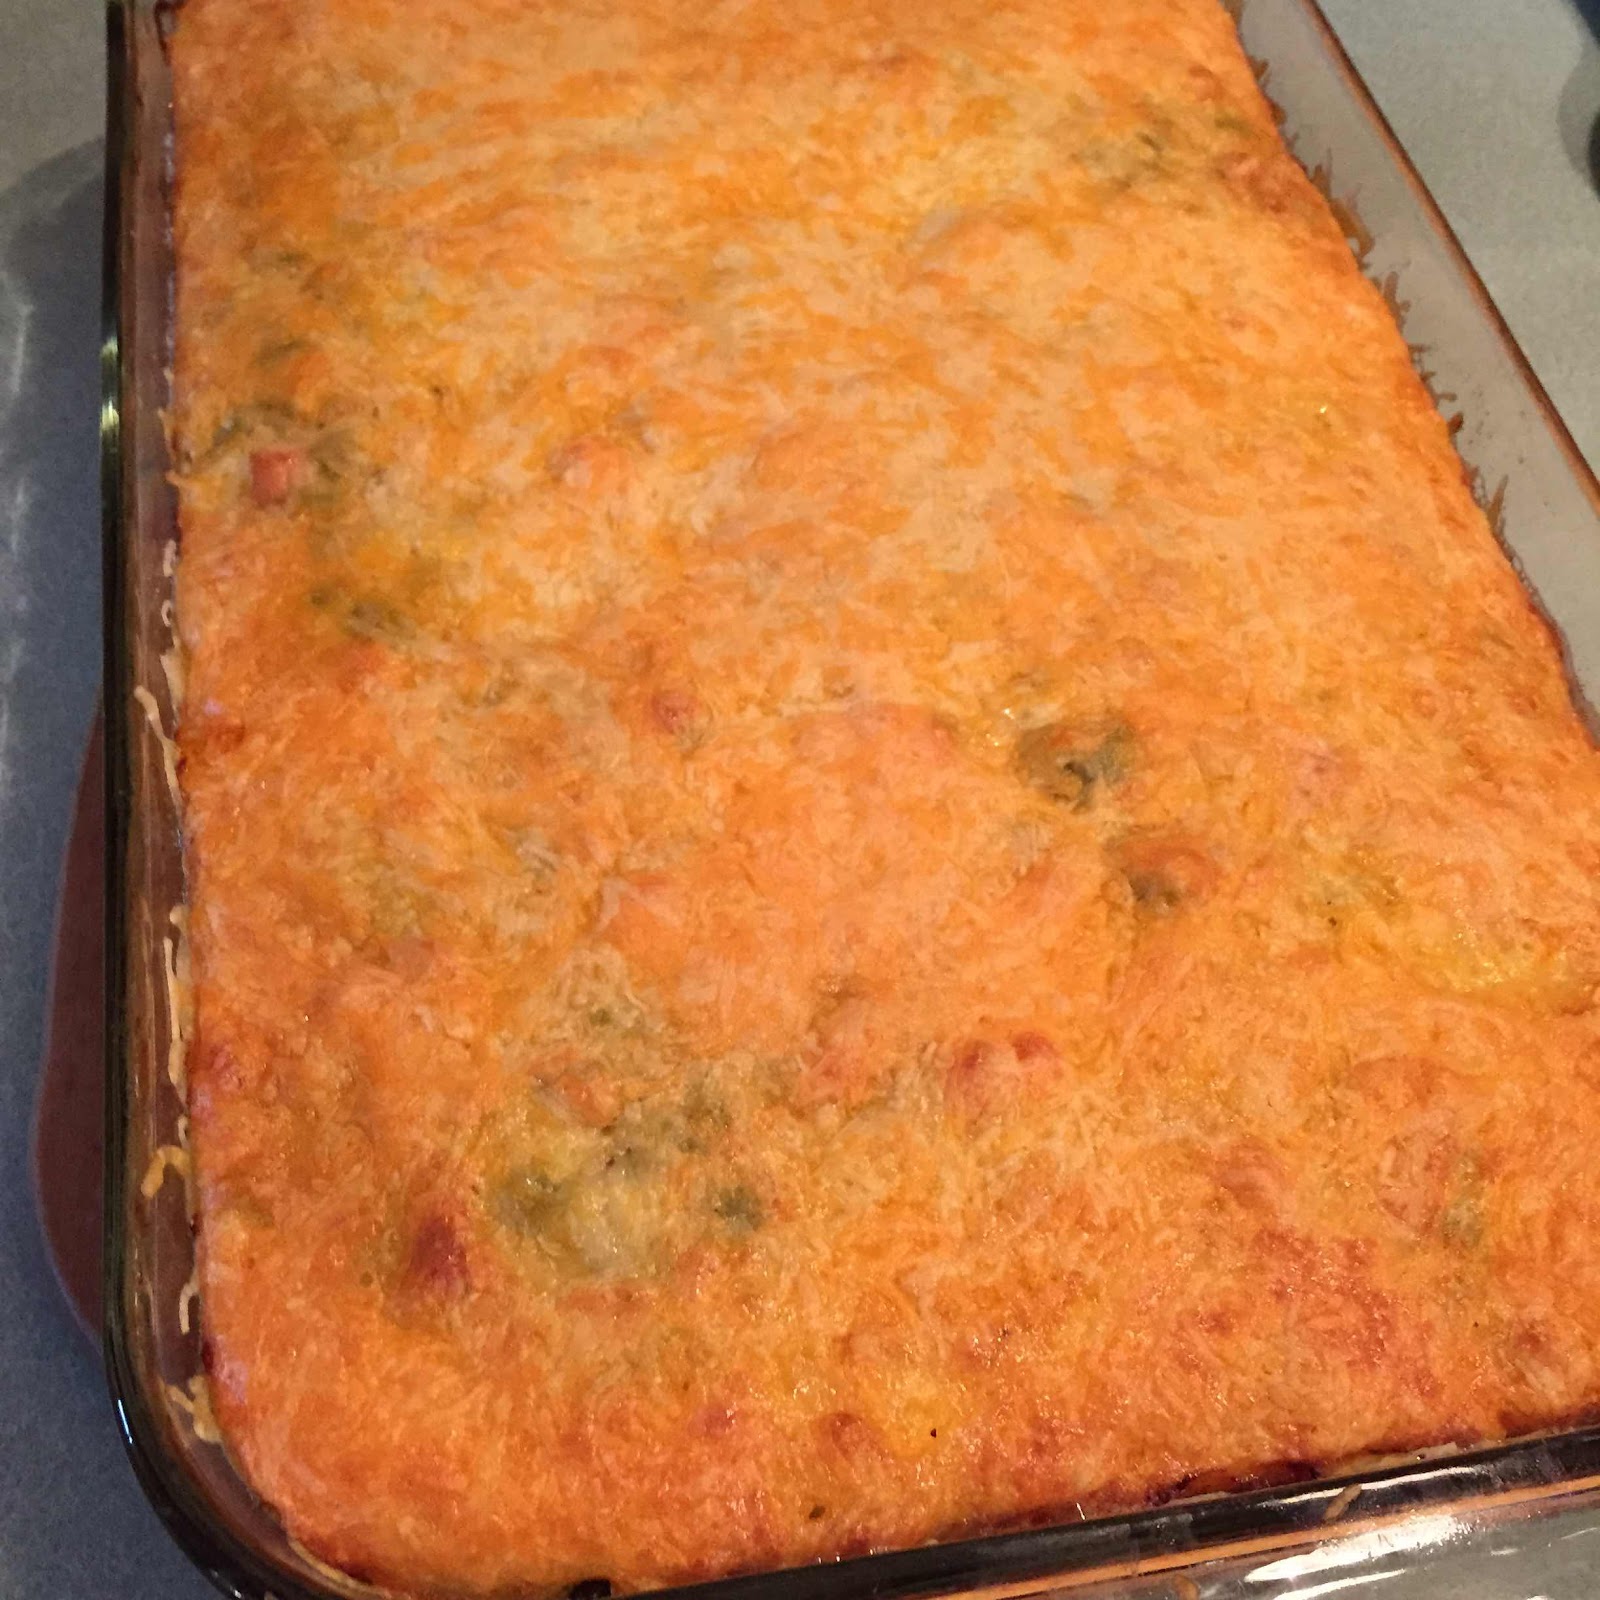
  3. Place under the broiler for about 2 minutes, or until cheese is melted and bubbly. Garnish with additional chopped cilantro, if desired.


Thursday, May 27, 2021

Creme Brûlée

Do you just have “that dessert”?  Some people love a good pumpkin pie, to others it’s all about a cookie, or a decedent slice of chocolate cake. For my sister, it’s creme brûlée. While I may not have known this until her and my brother-in-law were helping with our condo remodel. We went out for dinner one night, when the dessert menu was passed around she commented that she loved Creme Brûlée.   
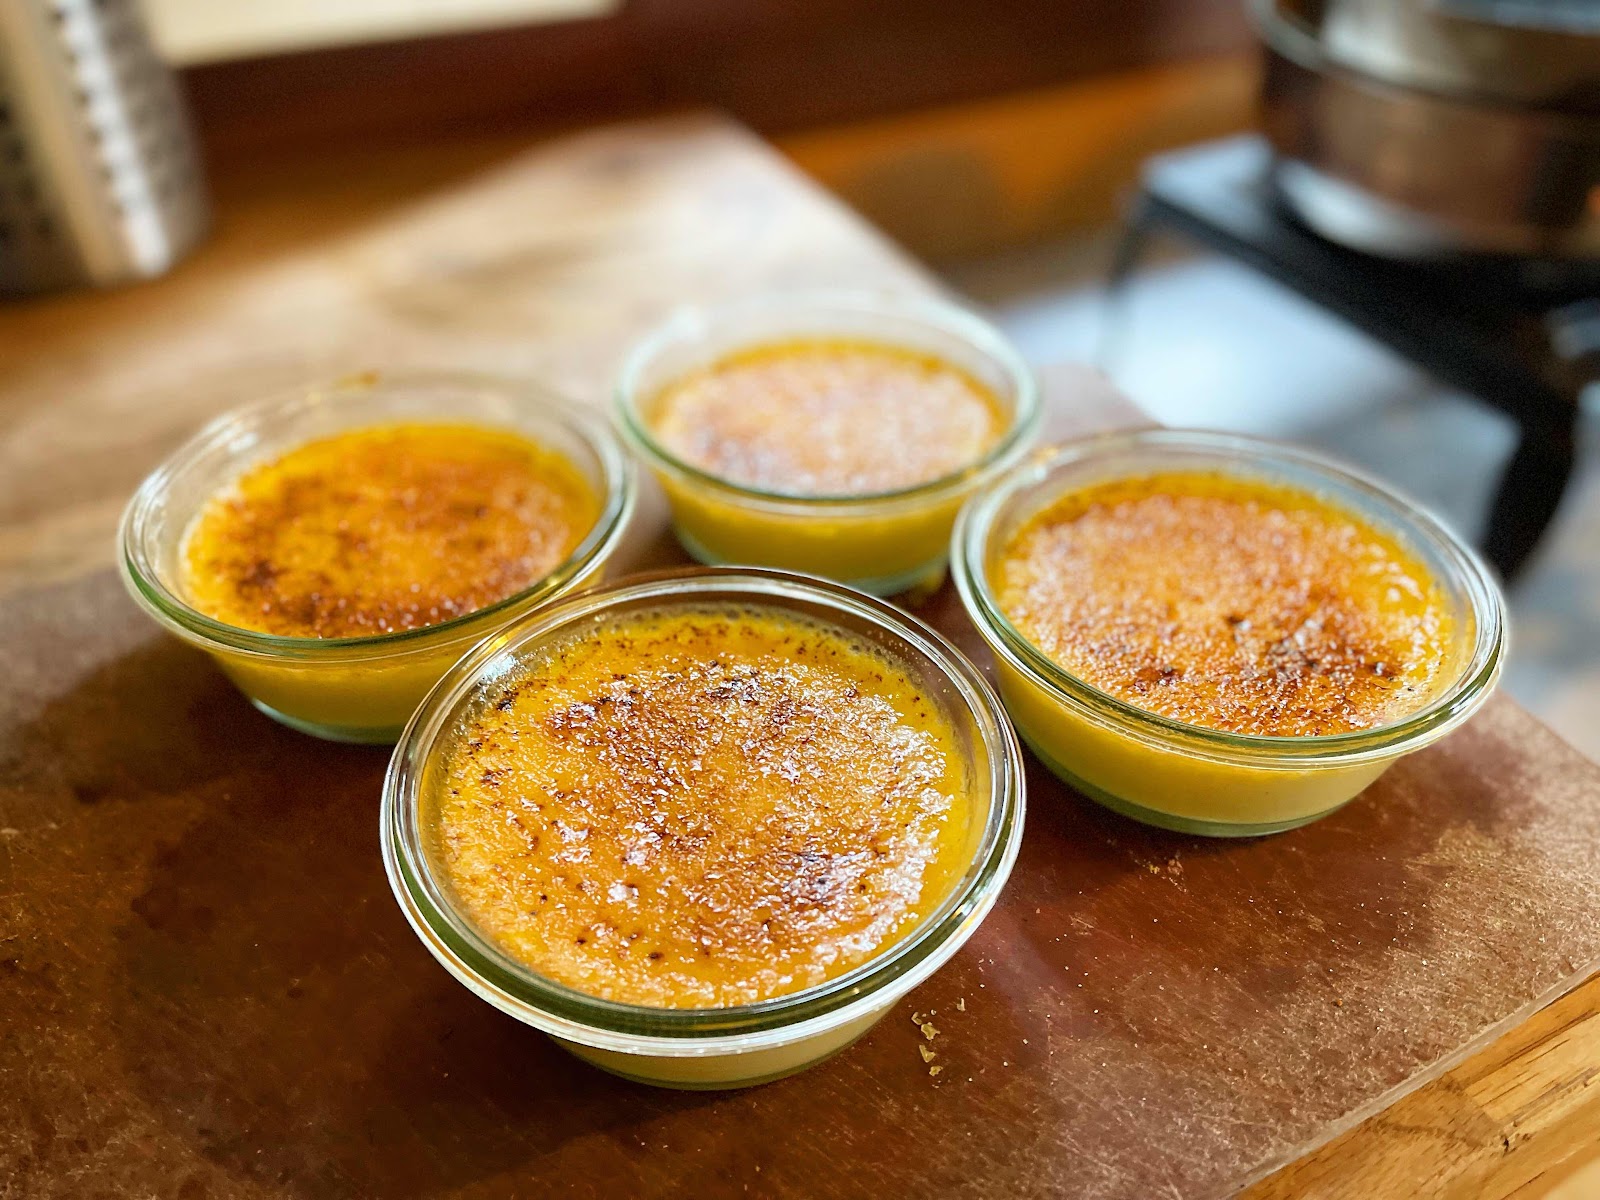

We were recently on a camping trip with them, while they were celebrating their wedding anniversary. I thought, why not make creme brûlée and bring it up on the trip. I mean why not bring a brûlée torch camping?


Creme Brûlée 


Ingredients

  • 1 extra-large egg
  • 4 extra-large egg yolks
  • 1/2 cup sugar, plus 1 tablespoon for each serving
  • 3 cups heavy cream
  • 1 teaspoon pure vanilla extract
  • 1 tablespoon orange liqueur (like Grand Marnier)

Directions 

  1. Preheat the oven to 300 degrees F.
  2. In the bowl of an electric mixer fitted with the paddle attachment, mix the egg, egg yolks, and 1/2 cup of the sugar together on low speed until just combined. Meanwhile, scald the cream in a small saucepan until it's very hot to the touch but not boiled. With the mixer on low speed, slowly add the cream to the eggs. Add the vanilla and orange liqueur and pour into 6 to 8-ounce ramekins until almost full.
  3. Place the ramekins in a baking pan and carefully pour boiling water into the pan to come halfway up the sides of the ramekins. Bake for 35 to 40 minutes, until the custards are set when gently shaken. Remove the custards from the water bath, cool to room temperature, and refrigerate until firm.
  4. To serve, spread 1 tablespoon of sugar evenly on the top of each ramekin and heat with a kitchen blowtorch until the sugar carmelizes evenly. Allow to sit at room temperature for a minute until the caramelized sugar hardens.