Showing posts with label appetizer. Show all posts

Saturday, June 5, 2021

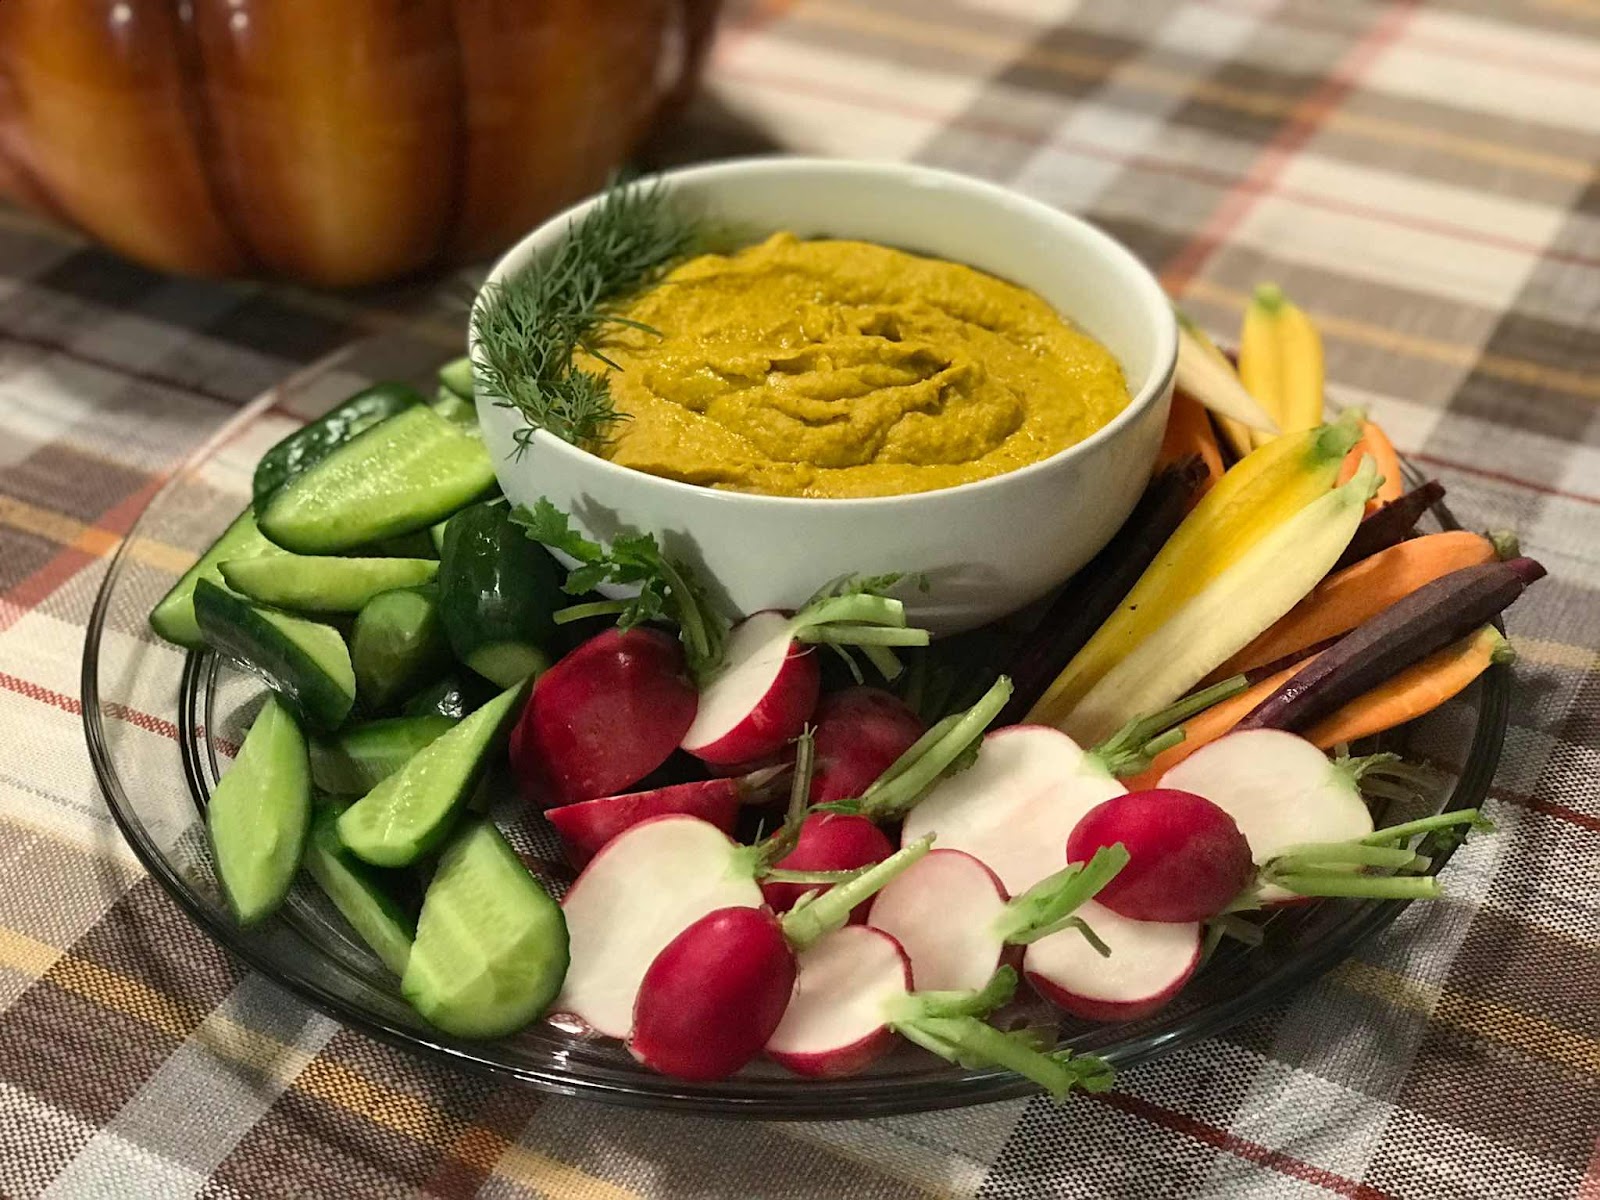
Roasted Vegetables and Artichoke "Hummus"

We had a very good friend of our come down for a visit. He and her husband were following a very strict AIP diet. I want sure what exactly that was so after a little research I found that they could have nightshades (peppers, potatoes, tomatoes or eggplant) also no beans or dairy. Well, I’m alway up for a challenge so while I was reading up on unfamiliar(to me) diet, I started jotting down a few ideas. I came up with this great take on a bean and nightshade free “hummus”. 


Roasted Vegetables and Artichoke "Hummus"

ingredients

  • 1 - 12 ounce jar whole or quartered artichoke hearts, about 1.5 cups (not marinated)
  • 3 medium carrots, peeled and chopped into 1/2 inch pieces, about 1.5 cups
  • 1 small butternut squash, peeled, seeded and cubed. 
  • 1/4 cup olive oil, divided
  • 2 cloves garlic
  • 1/2 teaspoon ground turmeric, to taste
  • Juice of 1 lemon, about 2 tablespoons
  • 1 teaspoon of zest, optional
  • 1/4 to 1/2 teaspoon sea salt, or to taste
  • 1 cup full fat coconut milk,

instructions

  1. Refrigerate the coconut milk upside-down for at least 30 minutes. Open and gently drain off the time liquid. Reserving the thick paste. Set aside. 
  2. Preheat oven to 400 degrees. Place chopped carrots and butternut cubes on parchment-lined sheet pan and drizzle with olive oil. Add garlic. Roast for about 10 minutes until very tender and starting to get a little color.
  3. While veggies are cooking, rinse and drain the artichokes, pressing to get out any extra liquid, and place them in the food processor. Add turmeric, lemon and salt.
  4. Add carrots to processor and run until fairly smooth, about 1 minute, scraping sides as necessary. Add coconut solids and process. 
  5. Once things are looking well blended, slowly drizzle 3 tablespoons olive oil into the mixture while the machine is running. This helps to emulsify the oil into the hummus, making it extra creamy. Process for an additional 1-2 minutes until super smooth.
  6. Let cool and enjoy with sliced veggies, or in wraps or bowls. When serving as a dip, drizzle with a little olive oil and a pinch of chopped parsley or cilantro if you have it on hand.

Thursday, May 20, 2021

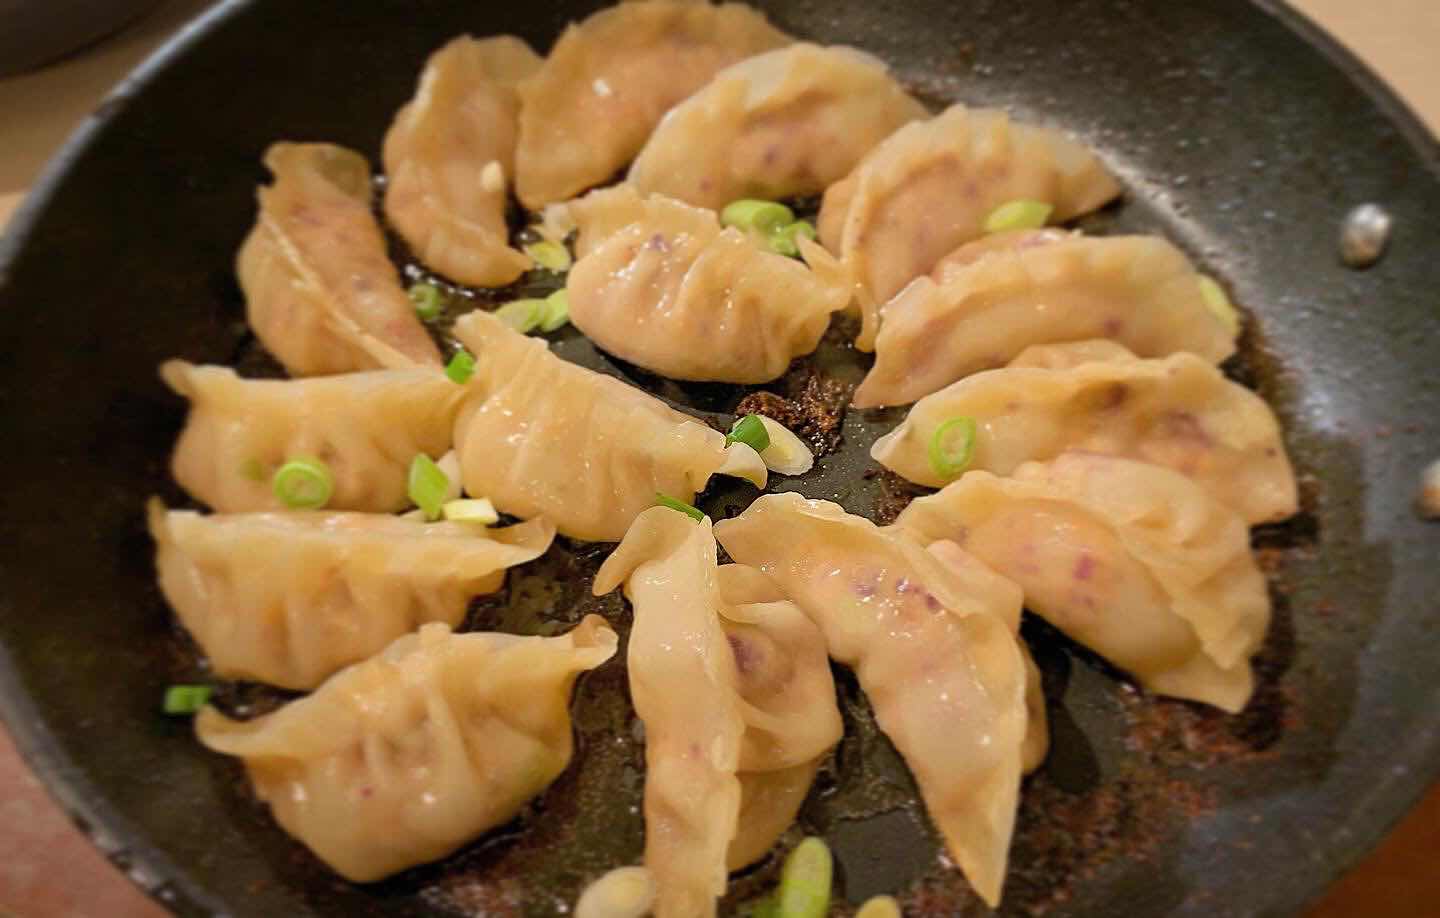
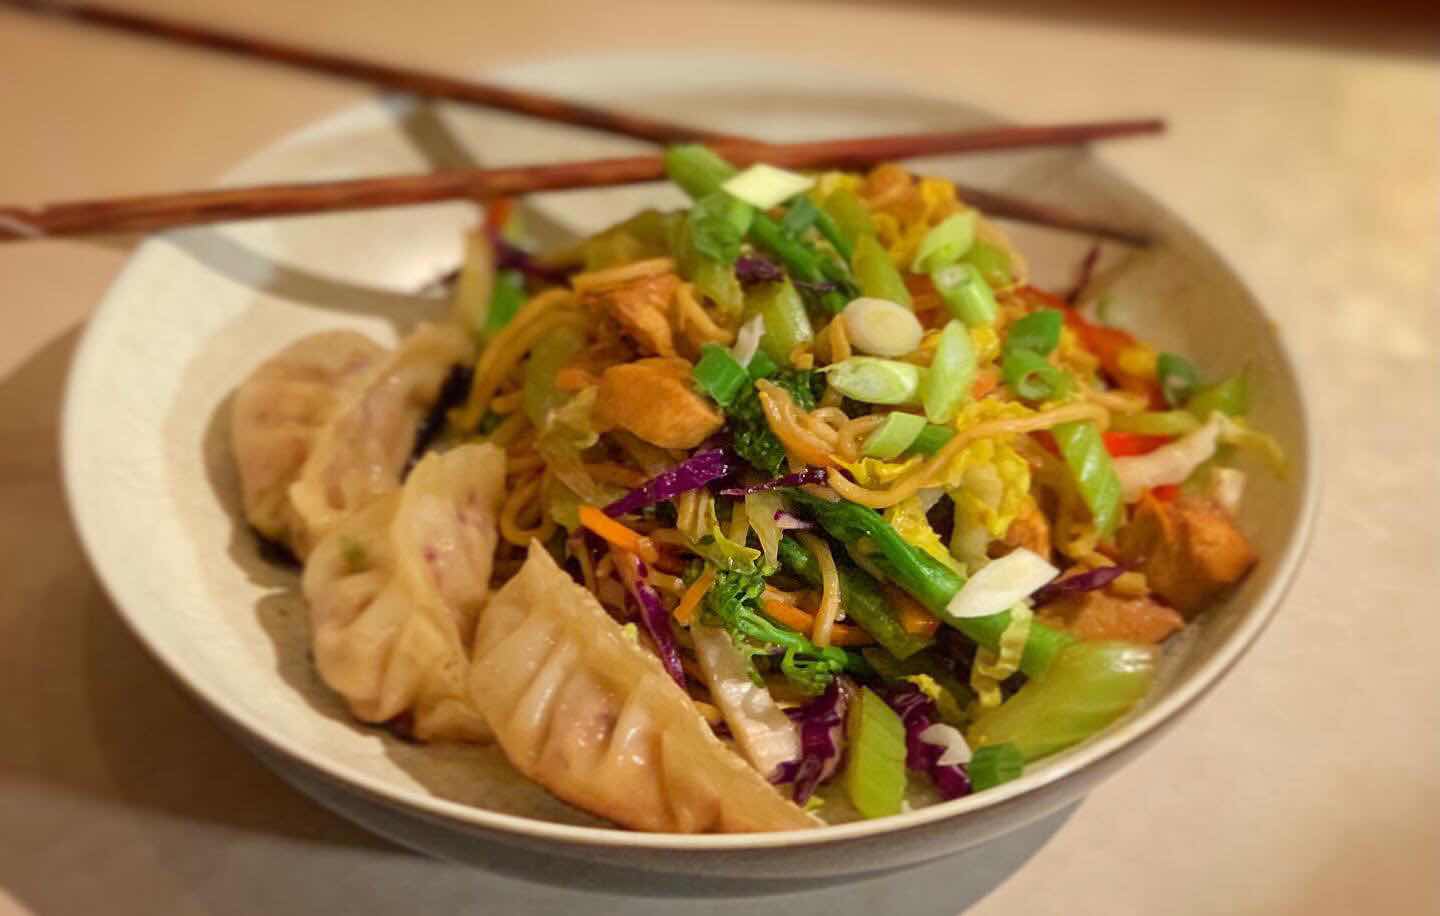
Chicken Mushroom Pot Stickers

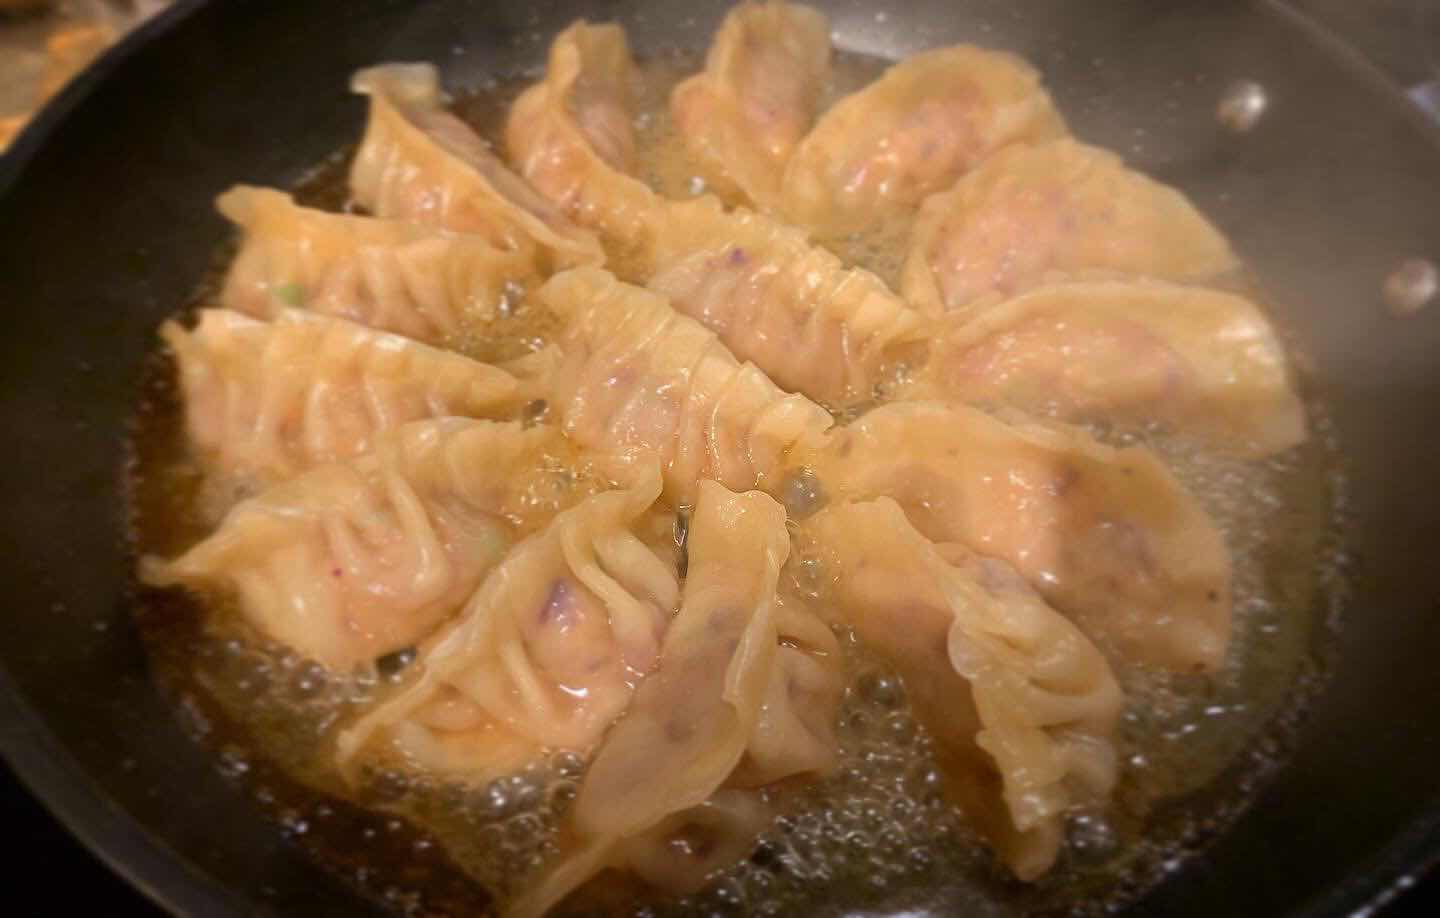
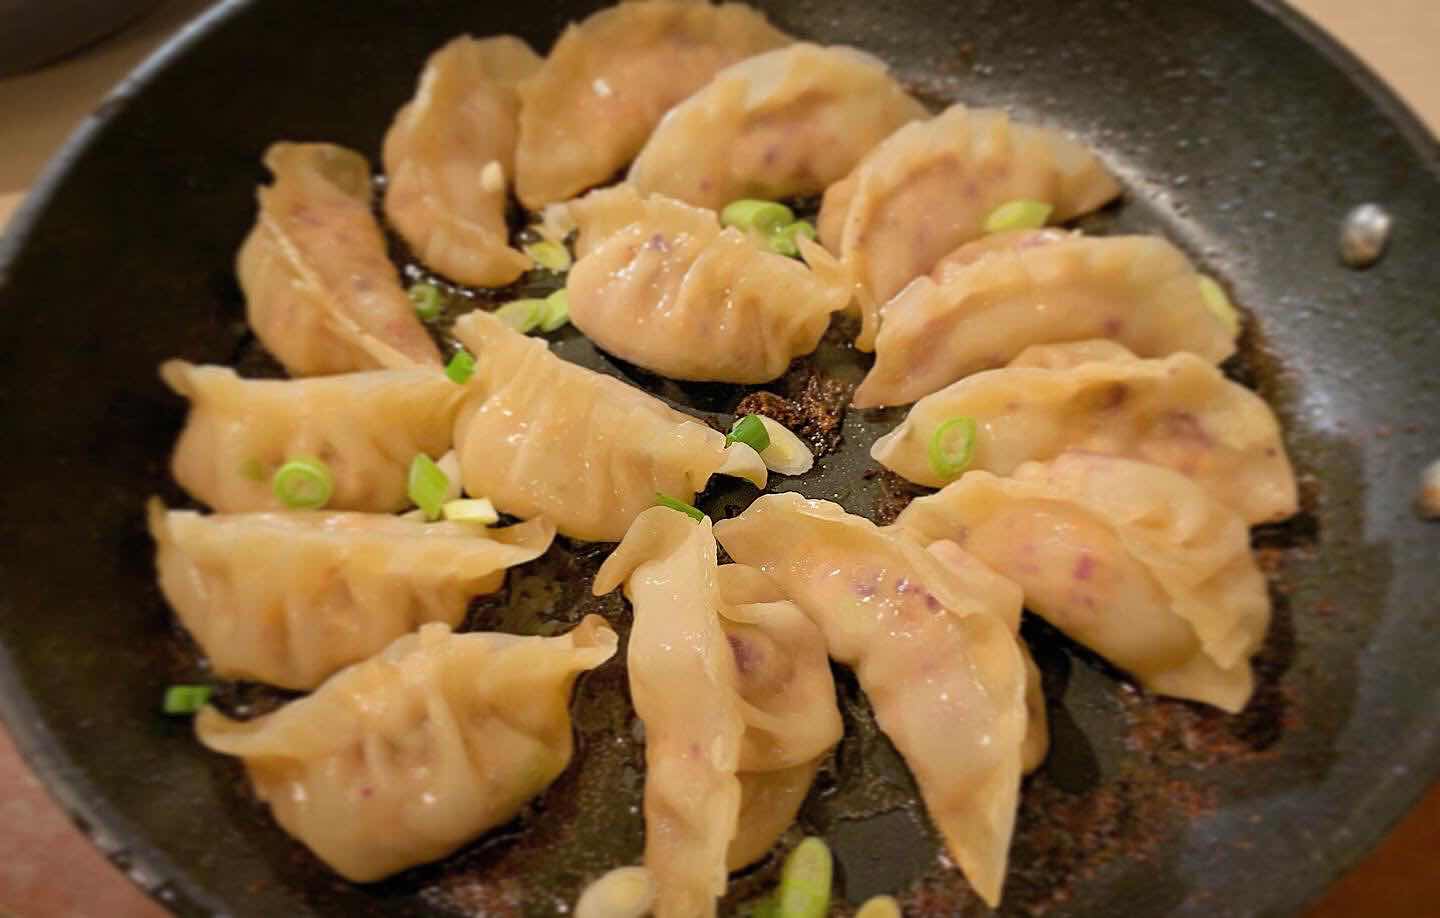
When you love to cook, you often get asked “what’s your favorite thing to Cook”.  That a hard questions.  I have so many favorites, but I usually reply, “a challenge”.  Making something that you love to eat, but not necessarily can/will make. This time, for me it was Potstickers.


Now, knowing that Craig likes Asian dishes, but doesn’t necessarily care for pot stickers. (I think it base on many having pork. But if they are homemade, I can put anything in them!!). I would say that the biggest challenge in making these was the time, not the folding, the prep work, or even the final cooking.


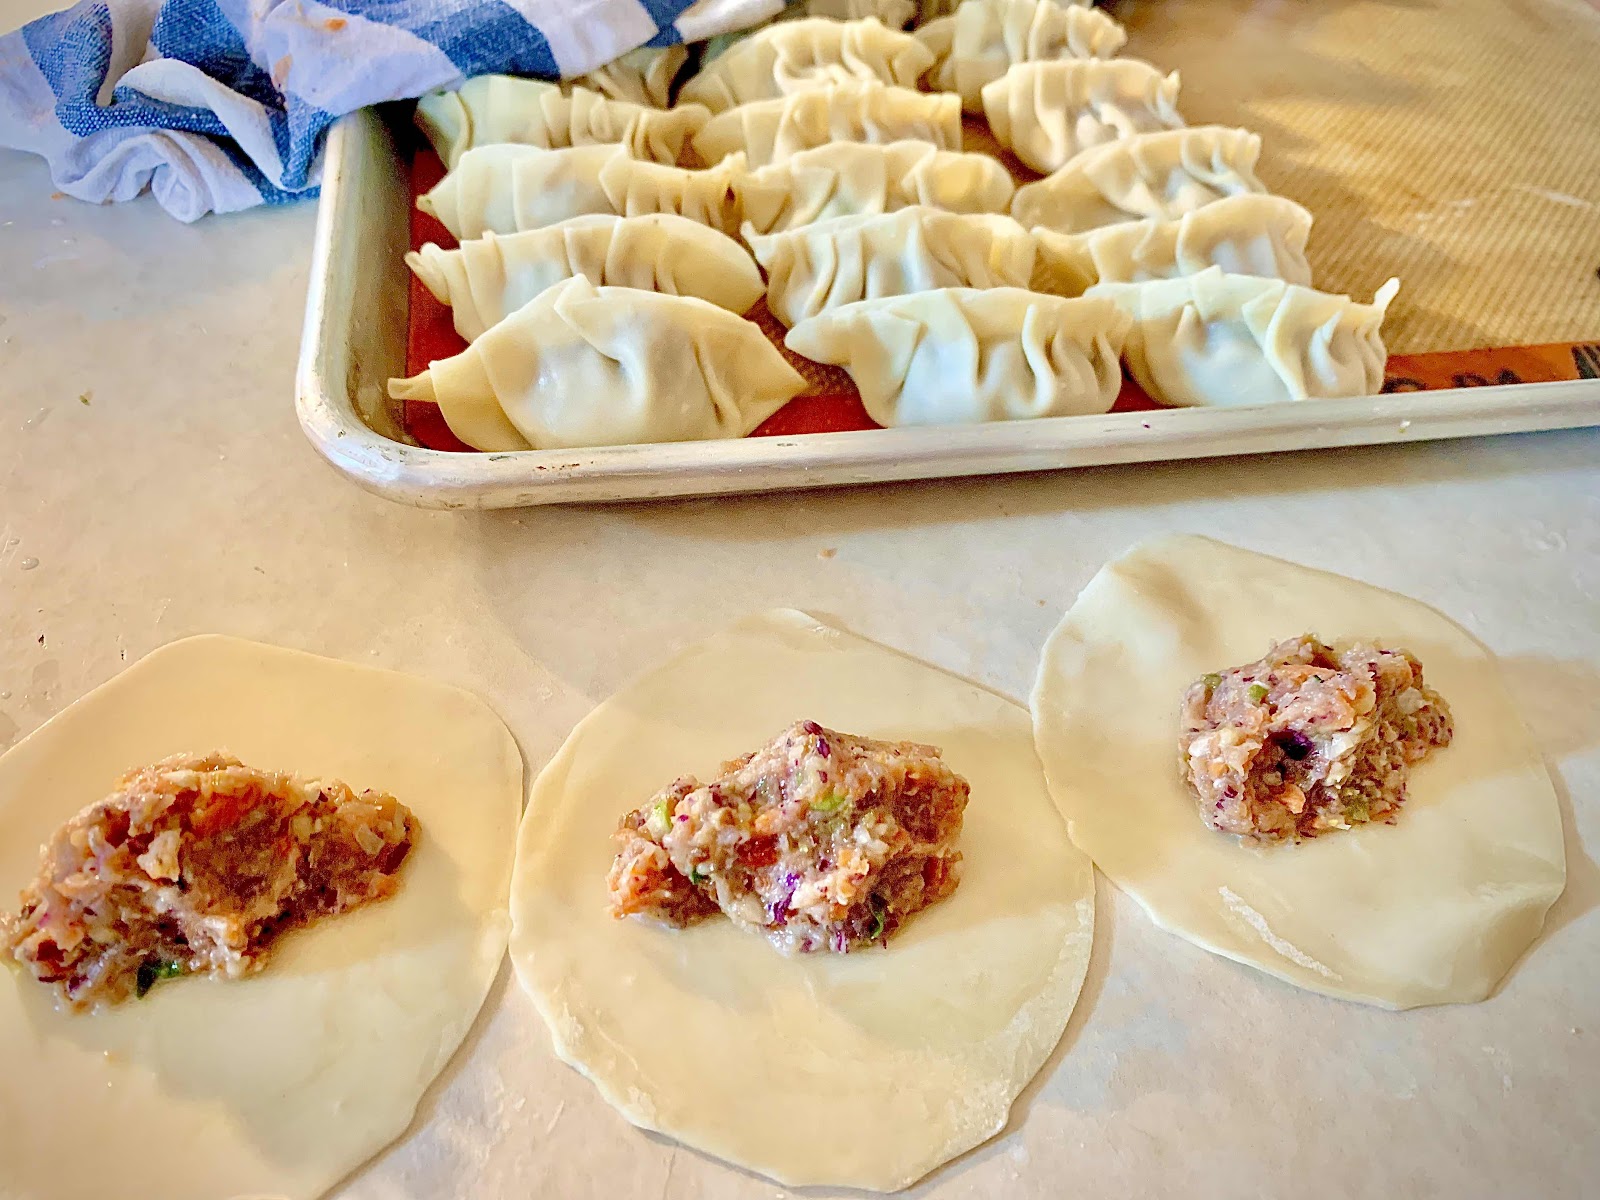
Over the time it takes to make these, you develop a sense of how to fold.  The first few will come out wonky, but after one or two, you’ll “get it”.  Just plan on pulling up a stool, and laying out wrappers, scooping, folding, repeating, 8,000 times.  When I stopped, I think I had make about 140, with 1/3 of the filling mixture left.  So I froze it to utilize some other way….maybe in Drunken Noodles???


Chicken Mushroom Potstickers


Ingredients

  • 35-40 ROUND Asian dumpling wrappers (about 3 1/2″ diameter)
  • 1 cup low sodium chicken broth, divided
  • Neutral oil (I used Avocado)

Filling

  • 1/2 head Napa cabbage(5 oz.), chunked to fit in food processor
  • 1/2 teaspoon salt
  • 3.5oz. pkg. shiitake mushrooms
  • 4 green onions, cut into 1 inch pieces
  • 1″ peeled ginger, peeled & chopped
  • 2 garlic cloves peeled
  • 1 large egg yolk
  • 12oz. ground chicken (or turkey)
  • 1 tablespoon reduced sodium soy sauce
  • 1 teaspoon rice wine vinegar
  • 1 teaspoon rice wine
  • 2 teaspoons toasted sesame oil
  • 1 teaspoon Sambal Oleck
  • 1/4 teaspoon pepper

Dipping Sauce (optional)

  • 3 tablespoons low sodium soy sauce
  • 1 1/2 tablespoons rice vinegar
  • 1 1/2 tablespoons rice wine
  • Chili paste to taste optional
  • Juice of 1/2 lemon

Instructions

Filling

  1. Add cabbage to food processor and process until fine. Add diced cabbage to a fine mesh sieve and toss with 1/2 teaspoon salt. Place over a bowl and let sit for 20-30 minutes then press cabbage down with a rubber spatula quite a few times to squeeze out any excess moisture. Set aside. (You can do part of this step in advance and leave the cabbage in the sieve in the refrigerator for as long as you like.)
  2. Add mushrooms, green onions, ginger and garlic to food processor (you don’t need to clean it out) and pulse until finely chopped. Add mixture to one side of a large bowl. To the other side of the bowl add egg yolk and whisk. Add cabbage, ground turkey and all remaining filling ingredients and mix with your hands until thoroughly combined. Cover with plastic and either freeze for 15 minutes or refrigerate at least 30 minutes (or up to 24 hours) to chill mixture.

Dumplings

  1. Line a baking tray with parchment paper and prepare some damp paper towels or a damp cloth (to cover assembled pot stickers and keep them from drying out). Keep all wrappers covered in plastic wrap when you are not using them. Fill a small bowl with water.
  2. Working with 2-4 wrappers at a time (depending on how fast you are), add 1 tablespoon filling to the middle of each wrapper. Do not overfill. Dip your finger in water and run it around the edge of HALF the wrapper. At this point you can either 1) Fold wrapper over in half to create a half-moon shape, pinch the edges firmly together to seal and create 4 pleats (see next step below).
  3. To create pleats: keep the back, moistened wrapper flat, and work with the front moistened wrapper (you are pleating just ONE side of the wrapper). Start with one side and work across to the other side. First, create one pleat with the front ummoistened wrapper by taking a small portion of dough, making a little fold and tucking it back. Firmly press completed pleat into back of wrapper to seal edges. Repeat for 4 pleats. 
  4. Place filled wrappers on prepared baking tray and cover with damp paper towels/cloth. Repeat with remaining wrappers.

Cook

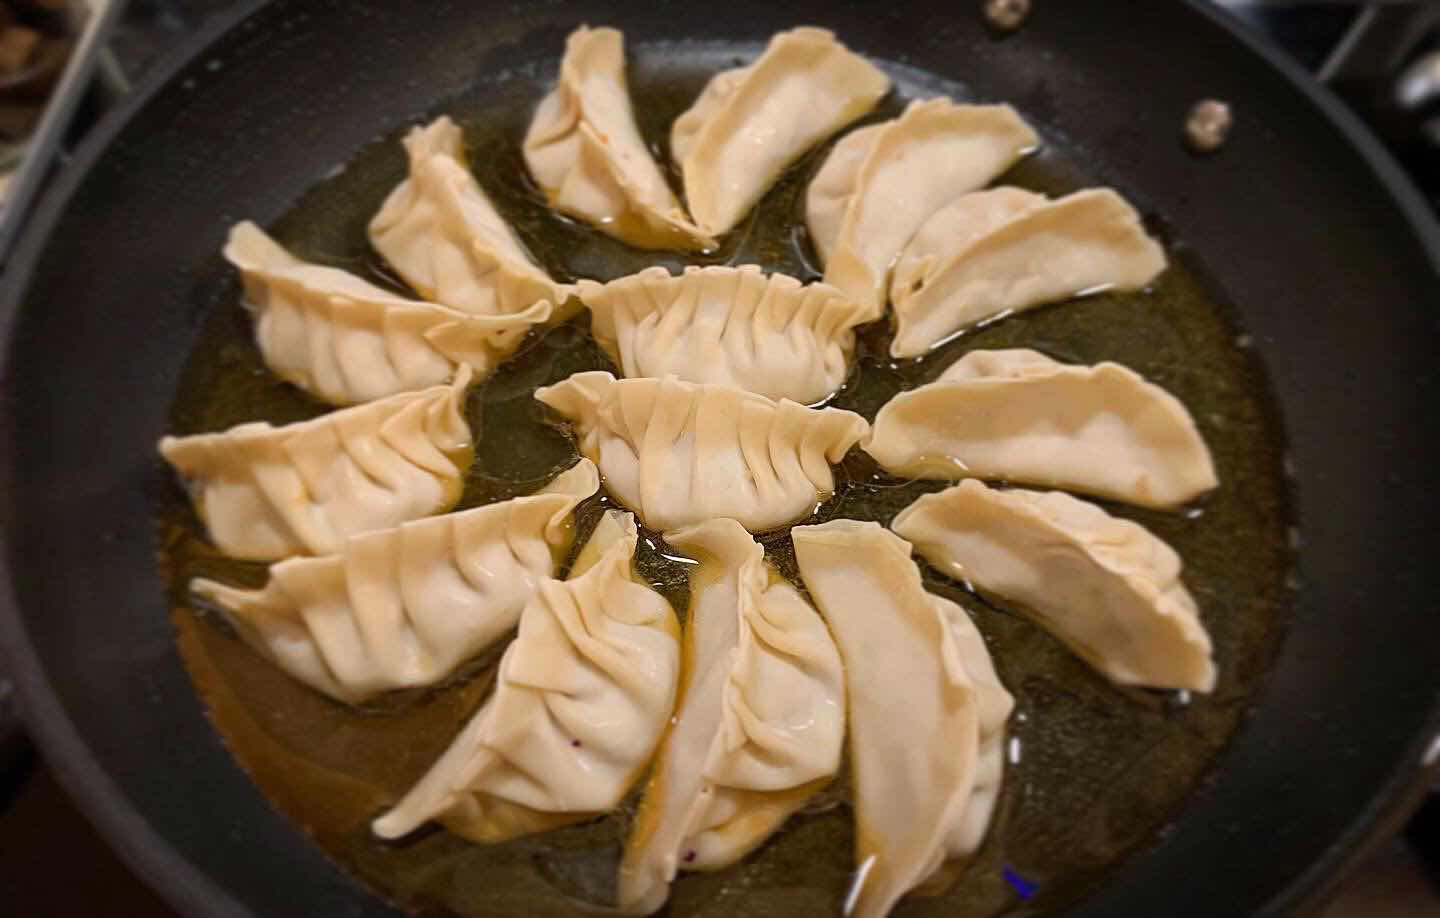
  1. Place paper towels on a baking tray to place cooked potstickers. Heat 1 tablespoon oil in a large NONSTICK skillet (that has a lid) over medium-high heat.
  2. Add about 12 dumplings to skillet flat side down, enough that will comfortably fit. Cook without touching until the underside is lightly golden, approx. 2 minutes. Watch closely so they don’t burn! – check the bottom of a potsticker occasionally and adjust heat if needed.
  3. Turn heat to LOW. Stand back and use one hand holding the lid as a shield, as you pour 1/3 cup chicken broth around the dumplings then quickly place the lid on. You can even remove skillet from heat for 30 seconds if this will make you more comfortable against splattering.
  4. Cook until chicken broth has completely evaporated. Remove lid, increase heat to medium and cook 1-2 additional minutes to crisp up bottoms. Transfer potstickers to a paper towel lined baking tray. Repeat until all potstickers are cooked. Best served warm with Dipping Sauce.

Dipping Sauce

  1. Whisk together Dipping Sauce ingredients. Add chili sauce to taste if desired.


Recipe Notes

Wrappers

  • Most grocery store carries them, they will be located in the refrigerated section, sometimes in produce.  If you don’t see them, make sure you ask someone before you give up.  If your grocery store doesn’t carry them, then you can find them at an Asian market or use wonton wrappers (info on that below).
  • You can substitute round dumpling wrappers with square wonton wrappers and cut them into an approximate 3.5” rounds using a cookie cutter or place an object measuring 3.5” on wrappers and cut around with a pizza cutter.
    • If you are cutting the wonton wrappers, cut multiple at a time so it goes more quickly.  When cutting, immediately place cut wrappers back in a sealed bag or cover with a damp cloth/paper towel and only remove wrappers as needed so the rest stay covered in the package otherwise they will dry out.
    • You can also leave the wonton wrappers square and then fold in half to create a triangle. You may need to adjust the amount of filling and broth used as wonton wrappers are thinner.

How to Prevent Potstickers from Tearing

Cover wrappers: 

  • Keep the dumpling wrappers covered in their packaging when not using or else they will dry out and tear easily.
  • Remove liquid from filling: Salt cabbage and push out as much liquid from the cabbage as possible. Excess liquid will cause the wrappers to get moist and tear easily.

Remove air: 

  • As you are folding and pleating your potstickers, push out any excess air otherwise they can tear as they cook.

Tight pleats: 

  • The pleats should be pinched tight without any holes or else the potstickers with suck up to much moisture when steaming and tear.

Cover potstickers: 

  • Assembled potstickers should be placed on parchment paper and covered with a clean damp towel to keep them moist and fry drying out.

Nonstick Skillet: 

  • Potstickers will stick to your skillet and tear when you try and move them unless you use a nonstick skillet.

Notes for a Perfect Potsticker:

  • DO NOT rinse mushrooms or else they will suck up water and make the Potsticker filling wet and your Potstickers soggy.  Instead, brush off any dirt with a damp paper towel if needed.
  • Don’t overfill potstickers: depending on the size of your dumpling and your folding method, you may fit less filling – that is perfectly fine – you want to generously fill your potsticker but not to the point it can’t close filling.  Use less filling if you are having a problem easily sealing your potsticker.
  • Don’t overcrowd your pan – the dumplings will expand as they cook and you don’t want them to expand into each other and stick. You also want to give them space so the full surface of the bottom of the potsticker is touching the pan so it can crisp up.
  • Check for golden bottoms: Don’t be afraid to peak underneath your dumplings to see if they need a little more time, are properly golden or are cooking too quickly.  Adjust cooking time or temperature accordingly.

Check a few dumplings: 

  • Sometimes your pan can cook unevenly, so check a few dumplings for doneness.

Check for doneness: 

  • After the chicken broth is evaporated, you can check a dumpling to ensure the pork is cooked through.  If not, add a few more tablespoons broth, cover, and cook on.  The amount of chicken broth can vary depending on the thickness of the wrapper.

Don’t rush the crisping: 

  • While the dumpling will brown in the first step, they will only get crispy when all the chicken broth is evaporated. If the bottoms aren’t browning to your liking, then drizzle in a little more vegetable oil and shake th pan back and forth to evenly distribute the oil.

How to Freeze Potstickers

  • Assemble the potstickers according to directions up to refrigerating.
  • Place uncooked dumplings on a parchment lined baking tray so they are not touching.
  • Wrap the tray tightly with plastic wrap, and freeze for 1-2 hours (until potstickers are solid), transfer potstickers to a freezer bag to save space.
  • Freeze for up to 3 months.
  • When ready to cook, DO NOT THAW before cooking.  Take care when you add the potstickers to the pan because ice crystals may cause the oil to splatter.
  • Cook dumplings according to recipe directions except add 2 extra tablespoons of chicken broth.
  • After the chicken broth evaporates, check a dumpling for doneness, if it not cooked through add another tablespoon or of chicken broth to the pan and cook an additional minute then check again.


Sunday, February 17, 2013

Italian Torta


Years ago I used to buy a Torta, which was an Italian appetizer, or layered treat.  It’s layered with Cream cheese, pesto and sundried tomatoes.  I used to mix it up and spread it on bread.  It was SO YUMMY!!

A few days ago, we were invited to an “appetizer and game” night. I was going back and forth between making empanadas, baking a savory cheese and making this torta.  Well, the torta won, because of time.

Italian Torta
Ingredients:  (quantites are based on the size you want to make-for the pictured torta, below is what I used)  


16 oz Mascarpone (separated into 1/3rds)
8 oz Pesto
8 oz Sundried Tomato Pesto (or chopped sundried tomatoes)
Pinenuts, roughly chopped
Basil

If you’re layering this torta “upside down” as pictured, spray Bundt pan with pan spray.  Spread 1/3 cheese into bottom of pan.  Layer tomato mixture onto cheese. 

For the next layer: spread 1/3 cheese on top of sun dried tomatoes.

Next layer:  Spread pesto on top of cheese, and finish torta off with the remaining 1/3 cheese. Top (the bottom) the torta off with the pine nuts.  Place Bundt pan in the freezer for 3-4 hours, or over night.

To serve, flip the torta over onto a serving plate, and garnish with fresh basil.

Unused portions of the torta can be frozen and used at a later date.

Saturday, December 29, 2012

Chees Puffs & Chocolate Éclairs


Good neighbors can be godsend, and we have some of the best.  Over the last 12 years that we’ve lived in our condo, we have been VERY fortunate to have some of the best neighbors, ever.  Whether or not it’s going downstairs for game night, asking a neighbor to climb into a windo, because you locked your keys inside (again), heading across the parking lot for dinner and a movie, or right across the landing for cocktails, Craig and I couldn’t have ever asked for a better group of neighbors, friends.

So when we were asked to come to dinner a few nights before Christmas, I wanted to make something special for an appetizer and dessert. (our contribution for dinner!)  So I came up with Cheese Puffs and Chocolate Eclairs.

Cheese Puffs

Ingredients:

1 cup all-purpose flour
1/2 teaspoon salt
1/2 teaspoon fresh ground black pepper
1/2 teaspoon dried thyme
1/2 teaspoon chili powder
1 pinch cayenne pepper
1 cup whole milk
1 stick butter (cut into 1/2 inch cubes)
6 large eggs (at room temperature)
1/2 cup grated Parmesan or Romano cheese
3/4 cup grated Gruyere cheese
2 tablespoons milk
2 tablespoons grated Parmesan cheese

Directions:

Preheat oven to 425 degrees F (220 degrees C).

Combine the flour with the salt, black pepper, thyme, chili powder, and cayenne pepper in a large bowl.

Put the milk and butter in a large saucepan and bring to a boil. When the butter melts, turn heat to low. Add the seasoned flour all at once. Stir vigorously with a wooden spoon until the dough forms a ball. Remove from heat.

Separate the white and yolk from one egg, reserving the yolk for glazing.

Put the dough into a large mixer bowl. Beat at medium speed for one minute. Then beat in one egg and the extra egg white. Beat until completely absorbed into the dough. Then add the remaining 4 eggs, one at a time, waiting each time until the previous egg is completely absorbed. After all 5 eggs (plus the one egg white) have been incorporated, the dough should be smooth and satiny.

Add the Parmesan and Gruyere cheeses. Incorporate thoroughly into the dough.

Use a pastry bag to pipe dough onto 2 ungreased baking sheets. You can also drop dough from a teaspoon. For tiny puffs, mounds should be about 1/2 inch in diameter. From small appetizers, mounds should be 1 inch in diameter. For puffs large enough for filling, mounds should be 1 1/2 inches in diameter. Keep the size of the puffs uniform so they bake properly. Space puffs about 1 inch apart.

Beat the remaining egg yolk with 2 tablespoons of milk to make a glaze. Lightly brush the tops of the puffs with glaze before baking. Sprinkle tops with your Parmesan cheese.

Bake in pre-heated oven for 10 minutes (5 minutes for tiny puffs). Reduce heat to 300 degrees F (150 degrees C). Bake 10 minutes more for tiny puffs; 15 to 20 minutes longer for medium or large puffs, or until puffs are golden brown. Test by removing a puff from the oven and breaking it open. The inside should be baked through. If it is still doughy or wet, bake another 5 minutes.

Remove pans from oven and leave puffs on pans until cool enough to serve.

Chocolate Éclairs
While there are a lot of steps to these, they are relatively easy to make, and well worth the effort! Make the Pastry Cream first, and chill while making the éclair pastry.

Pastry Cream

Ingredients:
2 cups milk
¼ cup white sugar
2 egg yolks
1 egg
¼ cup cornstarch
1/3 cup white sugar
2 tablespoons butter
1 teaspoon vanilla extract

Directions:

In a heavy saucepan, stir together the milk and 1/4 cup of sugar. Bring to a boil over medium heat.

In a medium bowl, whisk together the egg yolks and egg. Stir together the remaining sugar and cornstarch; then stir them into the egg until smooth. When the milk comes to a boil, drizzle it into the bowl in a thin stream while mixing so that you do not cook the eggs. Return the mixture to the saucepan, and slowly bring to a boil, stirring constantly so the eggs don' t curdle or scorch on the bottom.

When the mixture comes to a boil and thickens, remove from the heat. Stir in the butter and vanilla, mixing until the butter is completely blended in. Pour into a heat-proof container and place a piece of plastic wrap directly on the surface to prevent a skin from forming. Refrigerate until chilled before using.

Éclair Pastry

Ingredients:
½ cup butter
1 cup water
1 cup all-purpose flour
¼ teaspoon salt
4 eggs
6 ounces dark chocolate

Directions:

Preheat oven to 450 degrees F (230 degrees C). Grease a cookie sheet.

In a medium saucepan, combine 1/2 cup butter and 1 cup water. Bring to a boil, stirring until butter melts completely. Reduce heat to low, and add flour and salt. Stir vigorously until mixture leaves the sides of the pan and begins to form a stiff ball. Remove from heat. Add eggs, one at a time, beating well to incorporate completely after each addition. With a spoon or a pastry bag fitted with a No. 10, or larger, tip, spoon or pipe dough onto cookie sheet in 1 1/2 x 4 inch strips.

Bake 15 minutes in the preheated oven, then reduce heat to 325 degrees F (165 degrees C) and bake 20 minutes more, until hollow sounding when lightly tapped on the bottom. Cool completely on a wire rack.

To Fill, Cut tops off of cooled pastry shells with a sharp knife. Fill shells with pastry cream and replace tops.

For the icing, melt the chocolate, remove from heat, cool slightly, and drizzle over filled éclairs. Refrigerate until serving.
Thursday, July 7, 2011

Fresh Fig Appetizer

Back in June, I posted (http://bobscooking.blogspot.com/2011/06/homemade-fig-newtons.html), I had attempted to mention a raw fig appetizer that we make when even figs are in season.  Buy them at specialty stores, farmers markets, or pick them off your tree, however you can get them, just get them!


Fresh Fig Appetizer

            1 pint Fresh Figs
            2 Cups Balsamic Vinegar, reduced to ½ (1 cup)
            1 small log Chevre, cheve, or crumbled goat cheese

Put vinegar in a small pot and bring to a boil.  Reduce to ½ the volume.  If not thickened up, thicken with a small amount of cornstarch and water mixture. Allow to completely cool.

Wash figs, and quarter.

Place figs on plates or platter and drizzle thickened vinegar over top of figs.  Sprinkle goat cheese on top.

That’s it, SIMPLE, SIMPLE, SIMPLE!