Showing posts with label Side Dish. Show all posts

Monday, May 31, 2021

Skillet Corn, Edamame, and Tomatoes with Basil Oil

Every summer, when all the great vegetables are popping up and ready for the picking, this is our go to side dish at least once a week.  We also add diced zucchini and yellow squash to it to change it up.

Skillet Corn, Edamame, and Tomatoes with Basil Oil
Ingredients
  1 cup fresh basil leaves
  ¼ cup plus 2 tablespoons extra-virgin olive oil, divided
  1 ½ teaspoons coarse salt, divided
  ¼ cup finely sliced scallions (from 4 scallions)
  1 ½ teaspoons minced garlic (from 3 small garlic cloves)
  3 ¼ cups corn kernels (from 3 ears)
  2/3 cup frozen shelled edamame, thawed
  ½ pound cherry tomatoes, halved (1 3/4 cups)
  2 tablespoons white balsamic vinegar
Directions
1. Bring a small pot of water to a boil. Add basil; cook 10 seconds. Transfer basil to a bowl of ice water, then drain, and squeeze dry. Puree basil, 1/4 cup oil, and 1/2 teaspoon salt in a blender or food processor until smooth.
2. Heat remaining oil in a skillet over medium-high heat. Add scallions and garlic; cook until fragrant, about 30 seconds. Add corn, edamame, and remaining salt. Cook, stirring, until starting to caramelize, about 10 minutes (reduce heat to medium if overbrowning). Add tomatoes and vinegar; cook until tomatoes start to collapse, about 8 minutes.
3. Drizzle basil oil on vegetables, and stir. Serve immediately.

Saturday, May 22, 2021

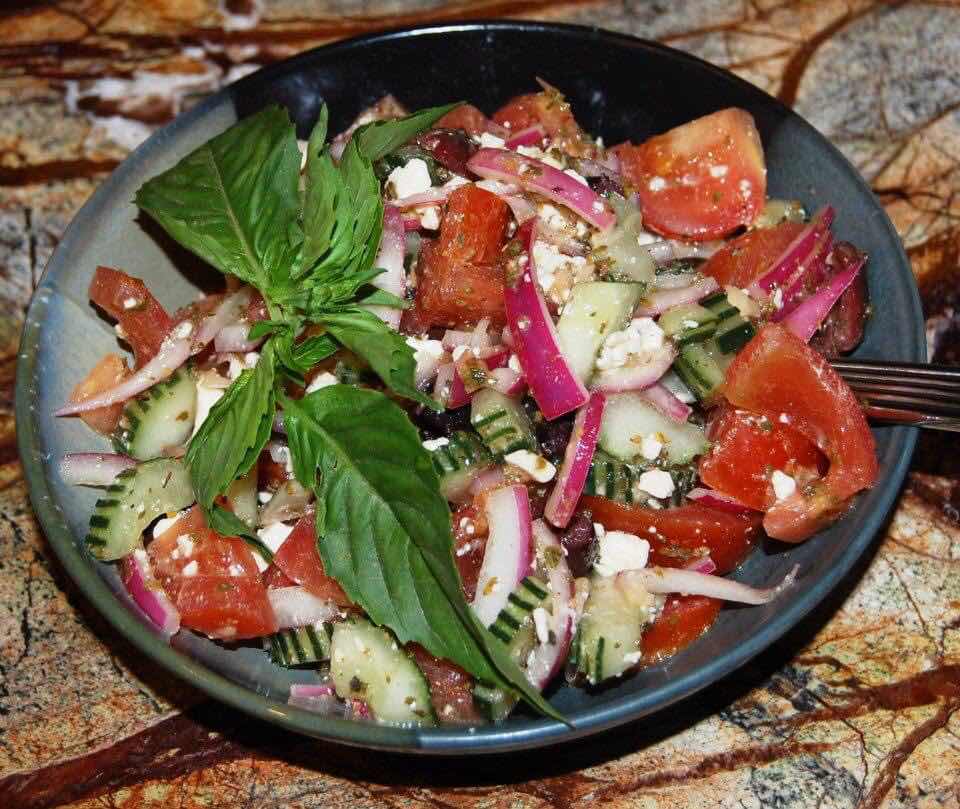
Greek Tomato Salad

Having worked in a deli for many years, we made this in batches 30-40 pounds a day, at least.  It was one of our most popular salads.  The recipe is ingrained in my memory.  It’s one I pull out on a hot day, or when I don’t know what else to make.


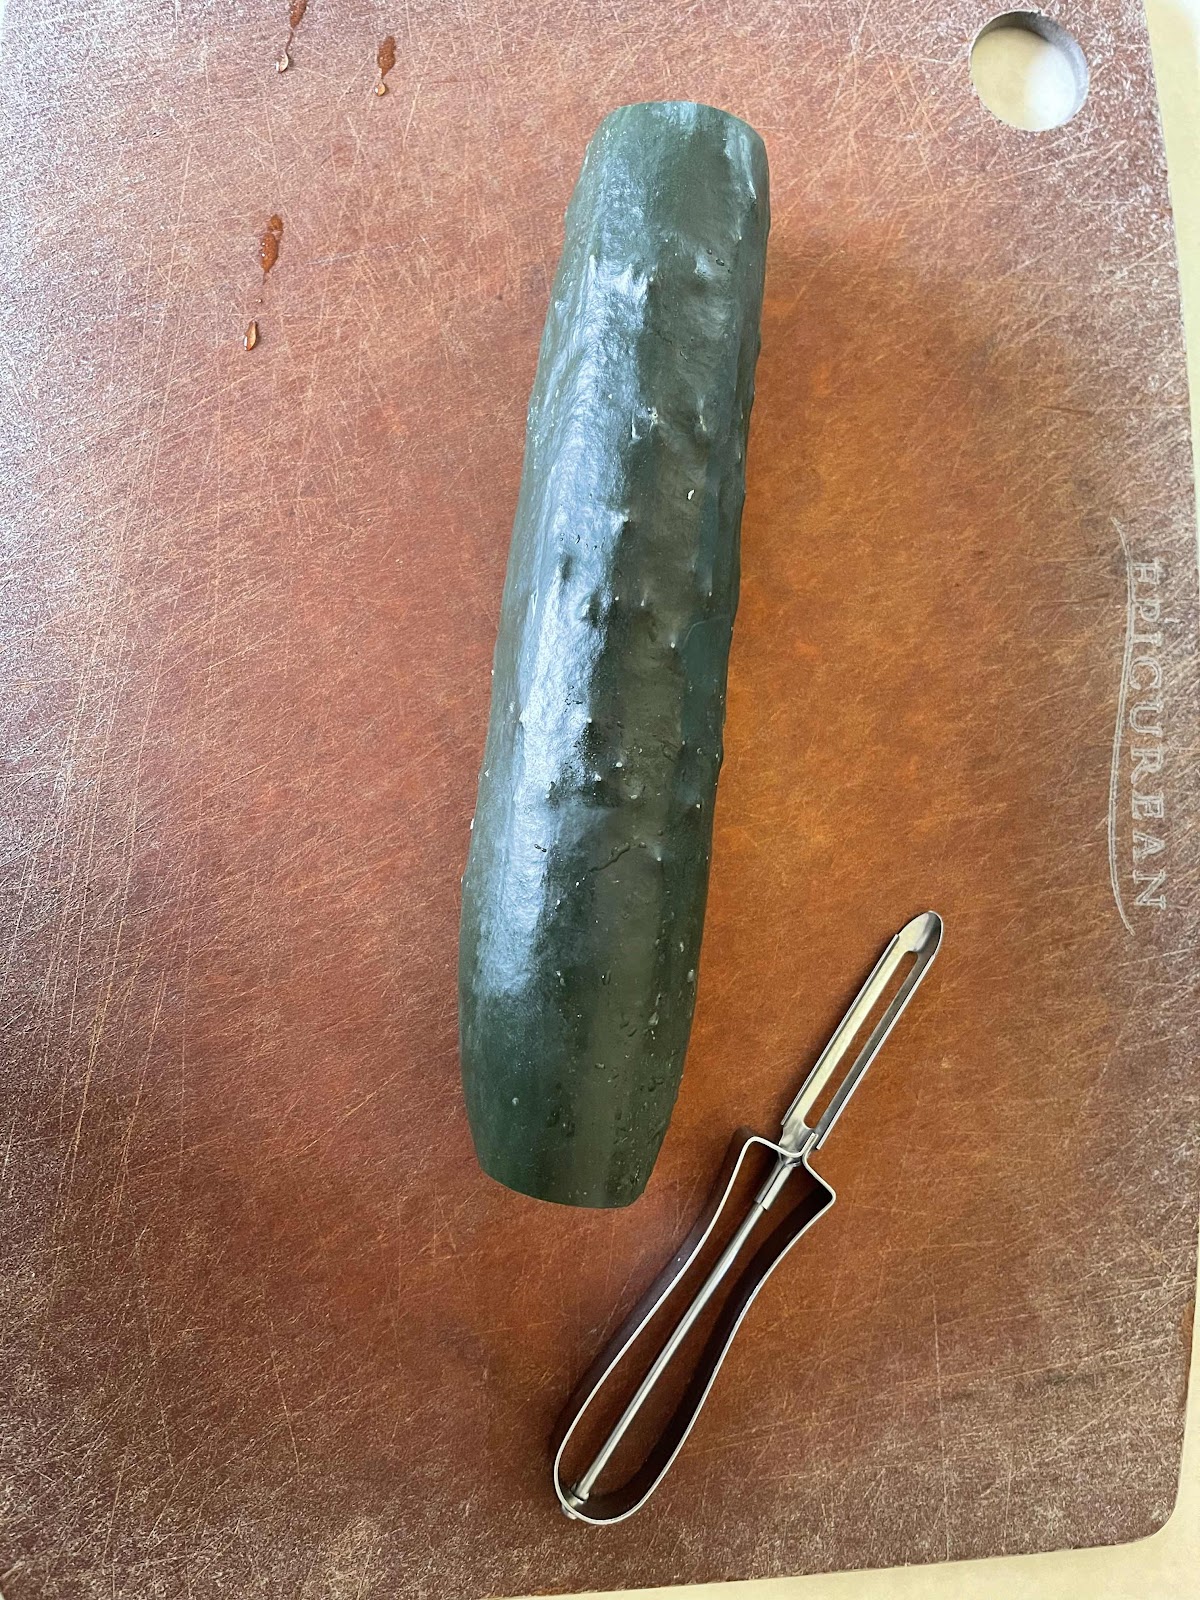
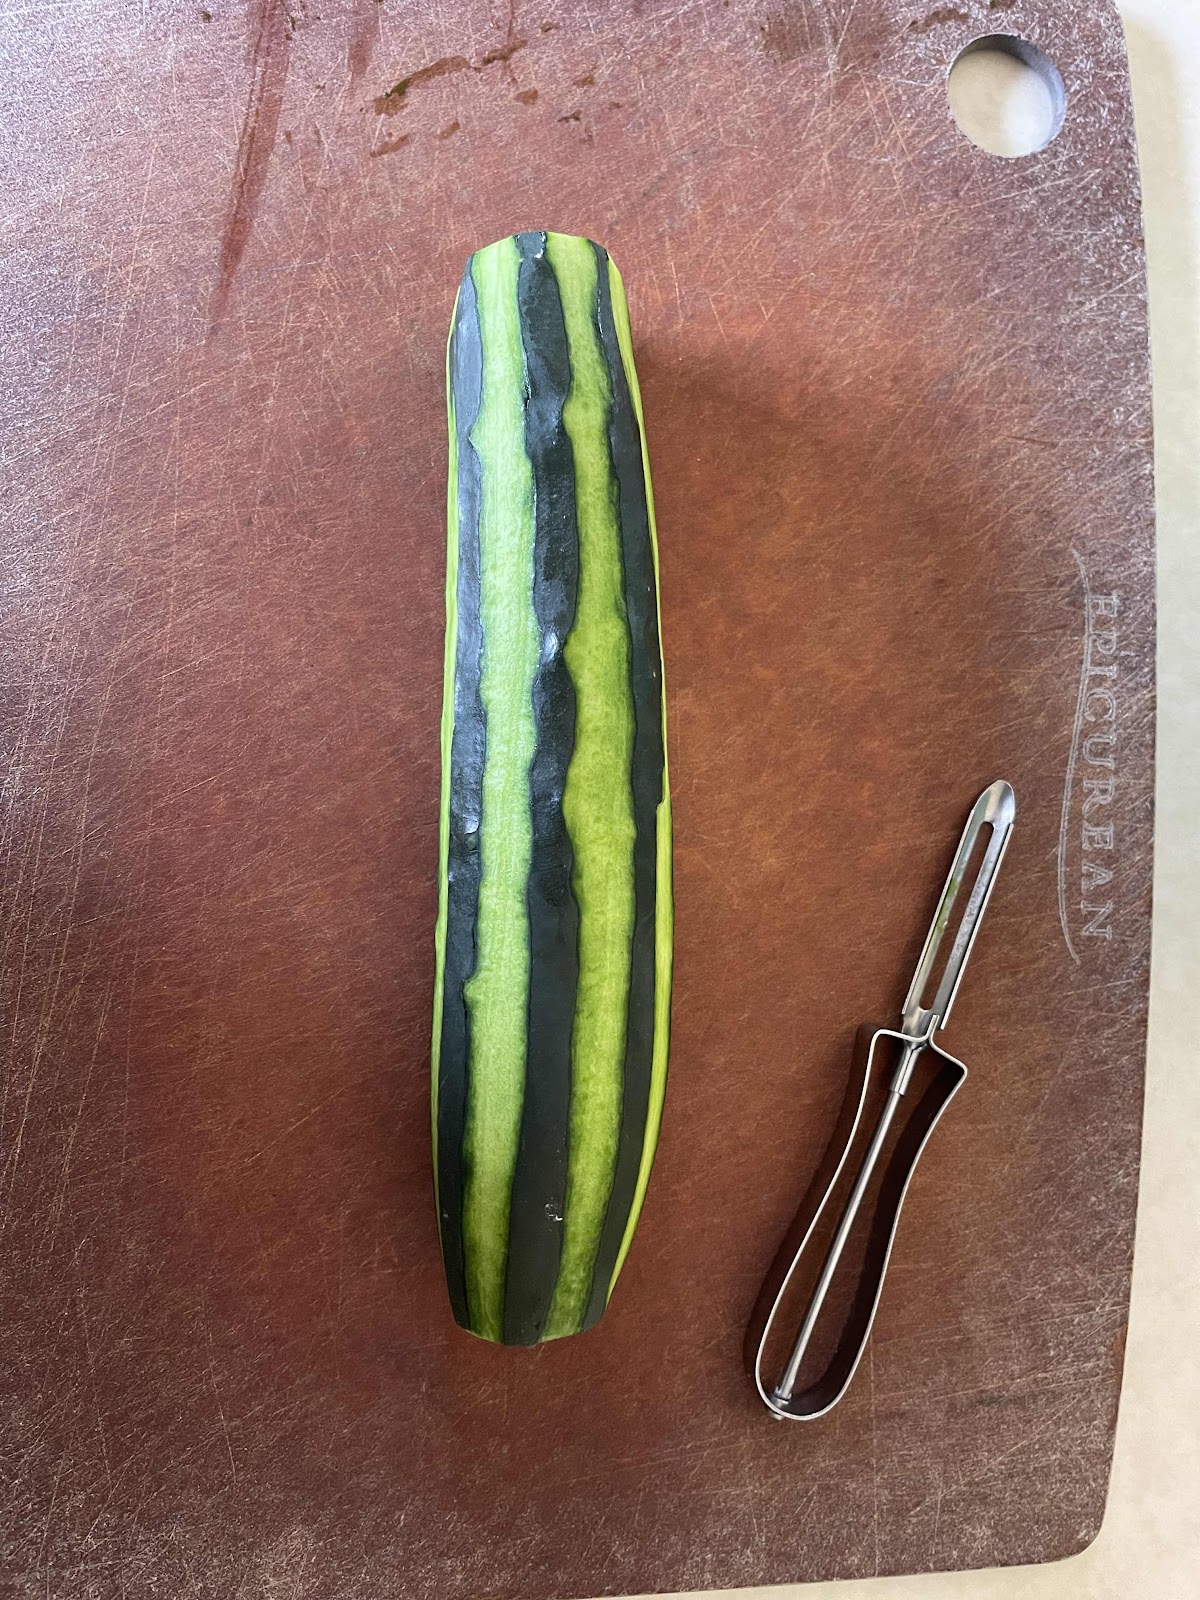
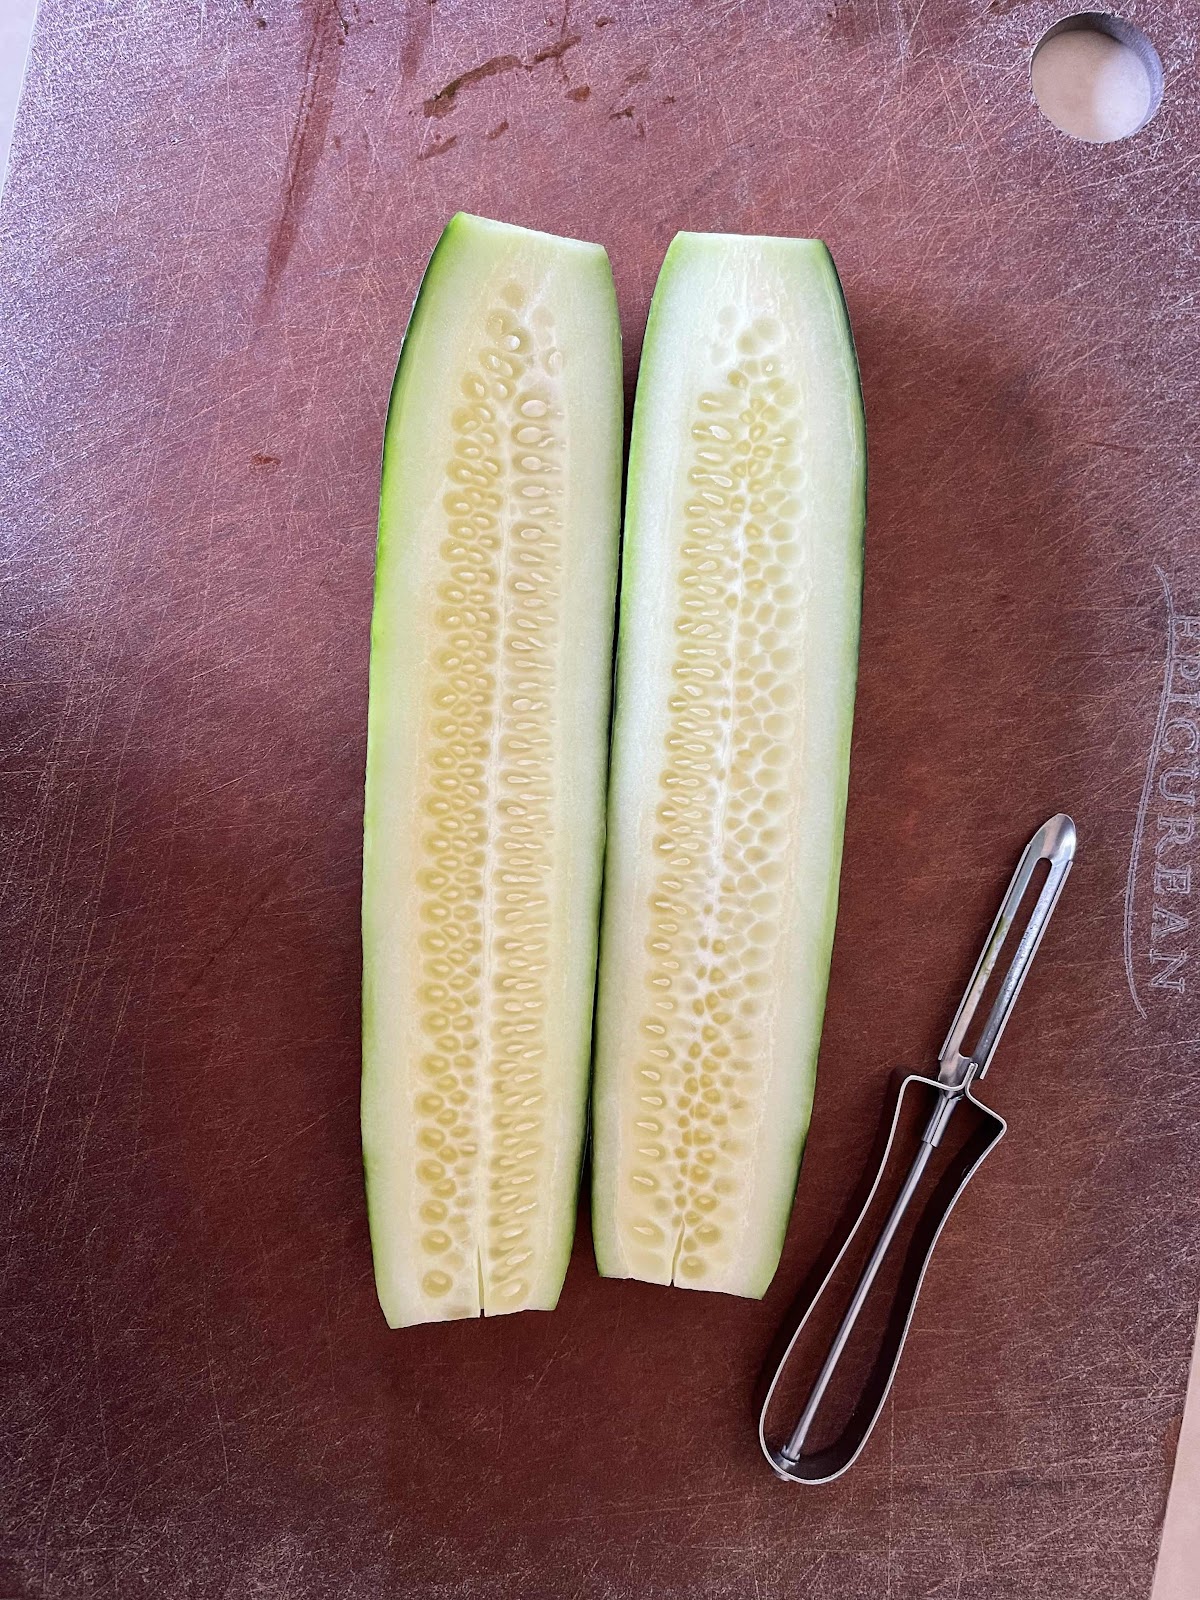
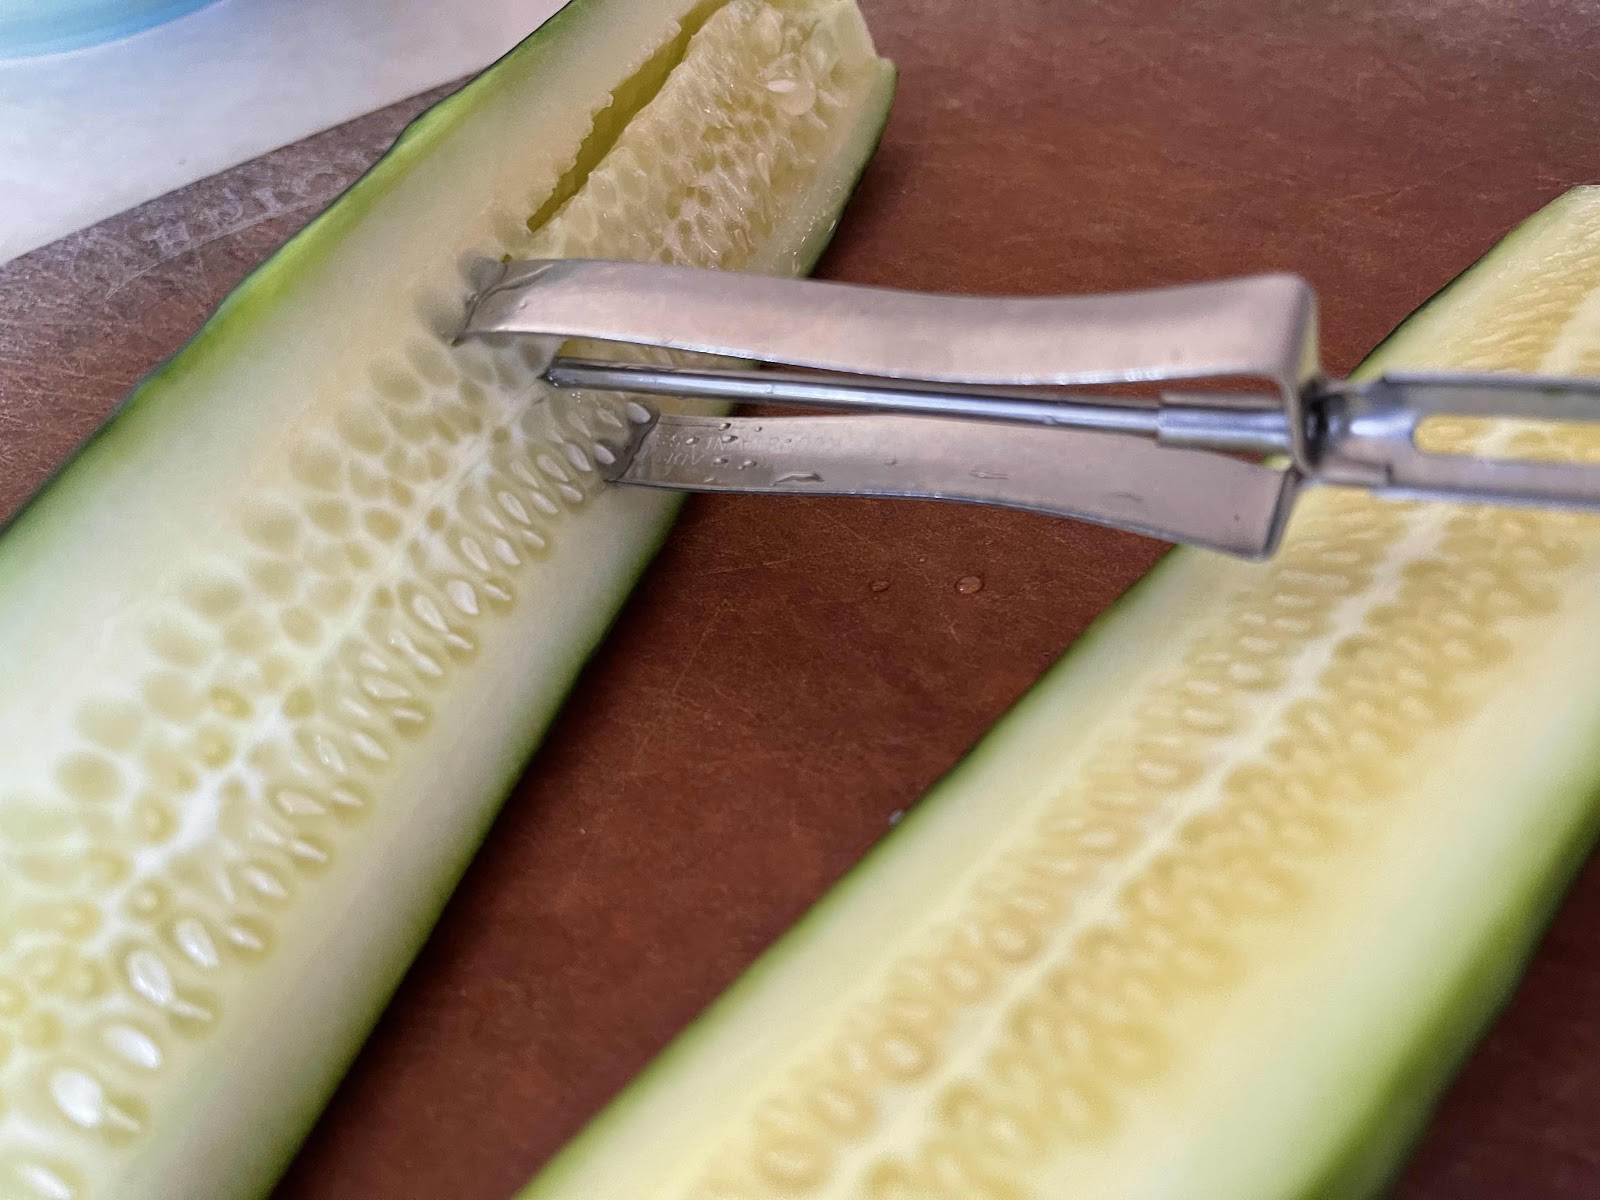
This being said, we had a way of prepping the cucumber, that I have never seen anywhere else. You need one of those cheaper peelers. (See pictures)


Greek Tomato Salad

Ingredients

  • 1/4 cup red wine vinegar
  • 2 tablespoons olive oil
  • 1 garlic clove, minced
  • 1/2 teaspoon dried oregano
  • 1/8 teaspoon salt
  • 1/8 teaspoon pepper
  • 1 cup thinly sliced red onion
  • 4 tomatoes, wedged
  • 2 medium cucumber, lightly peeled halved and deseeded 
  • 6 kalamata olives, halved
  • 1/2 cup crumbled feta cheese

Directions

  1. In a bowl, whisk together the vinegar, oil, oregano, salt and pepper. Add red onion, toss to coat. Led sit for a few minutes to ease the sharpness of the onion.
  2. Stir in tomatoes, cucumber, olives and cheese. 
  3. Cover and refrigerate for at least 1 hour. Serve with a slotted spoon. 
  4. Yield: 5 servings.
How to prep cucumbers
  1. Wash the cucumber,
  2. Peel strips off the outside of the cucumber,
  3. Flip around the peeler scoop out the seeds
  4. Slice the cucumber into 1/2 moons.
    • If you want smaller pieces, cut the 1/2’s into 1/4’s


Sunday, June 14, 2020

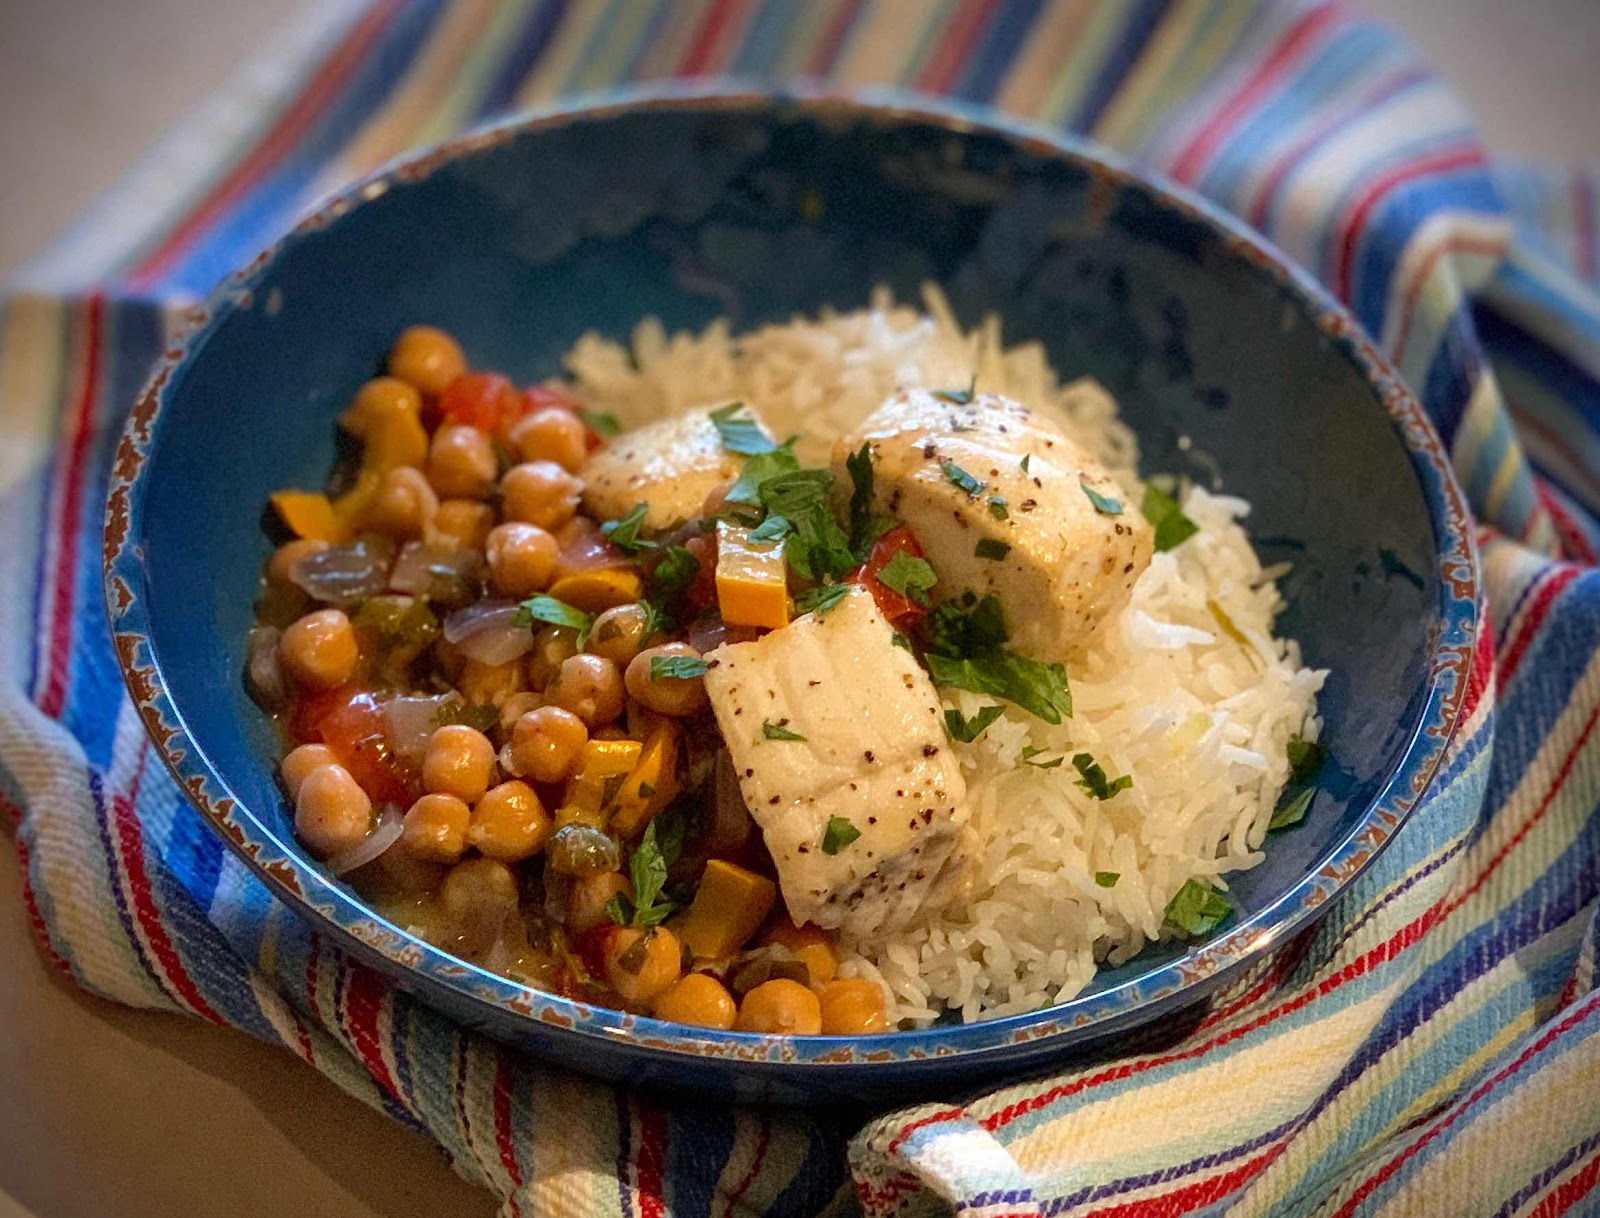
Halibut, Calabrian Style with Lemon Dill Rice

I few years ago I was researching recipes for a catering we were doing, when I came across this recipe...well a version of this recipe. It inspired me to make tonight’s dish. If you watch any cooking shows you will hear them refer to using Calabrian Chilies. So when I saw that the original recipe was “Calabrian style” recipe, but it didn’t include chilies, I knew I had to work it in. 


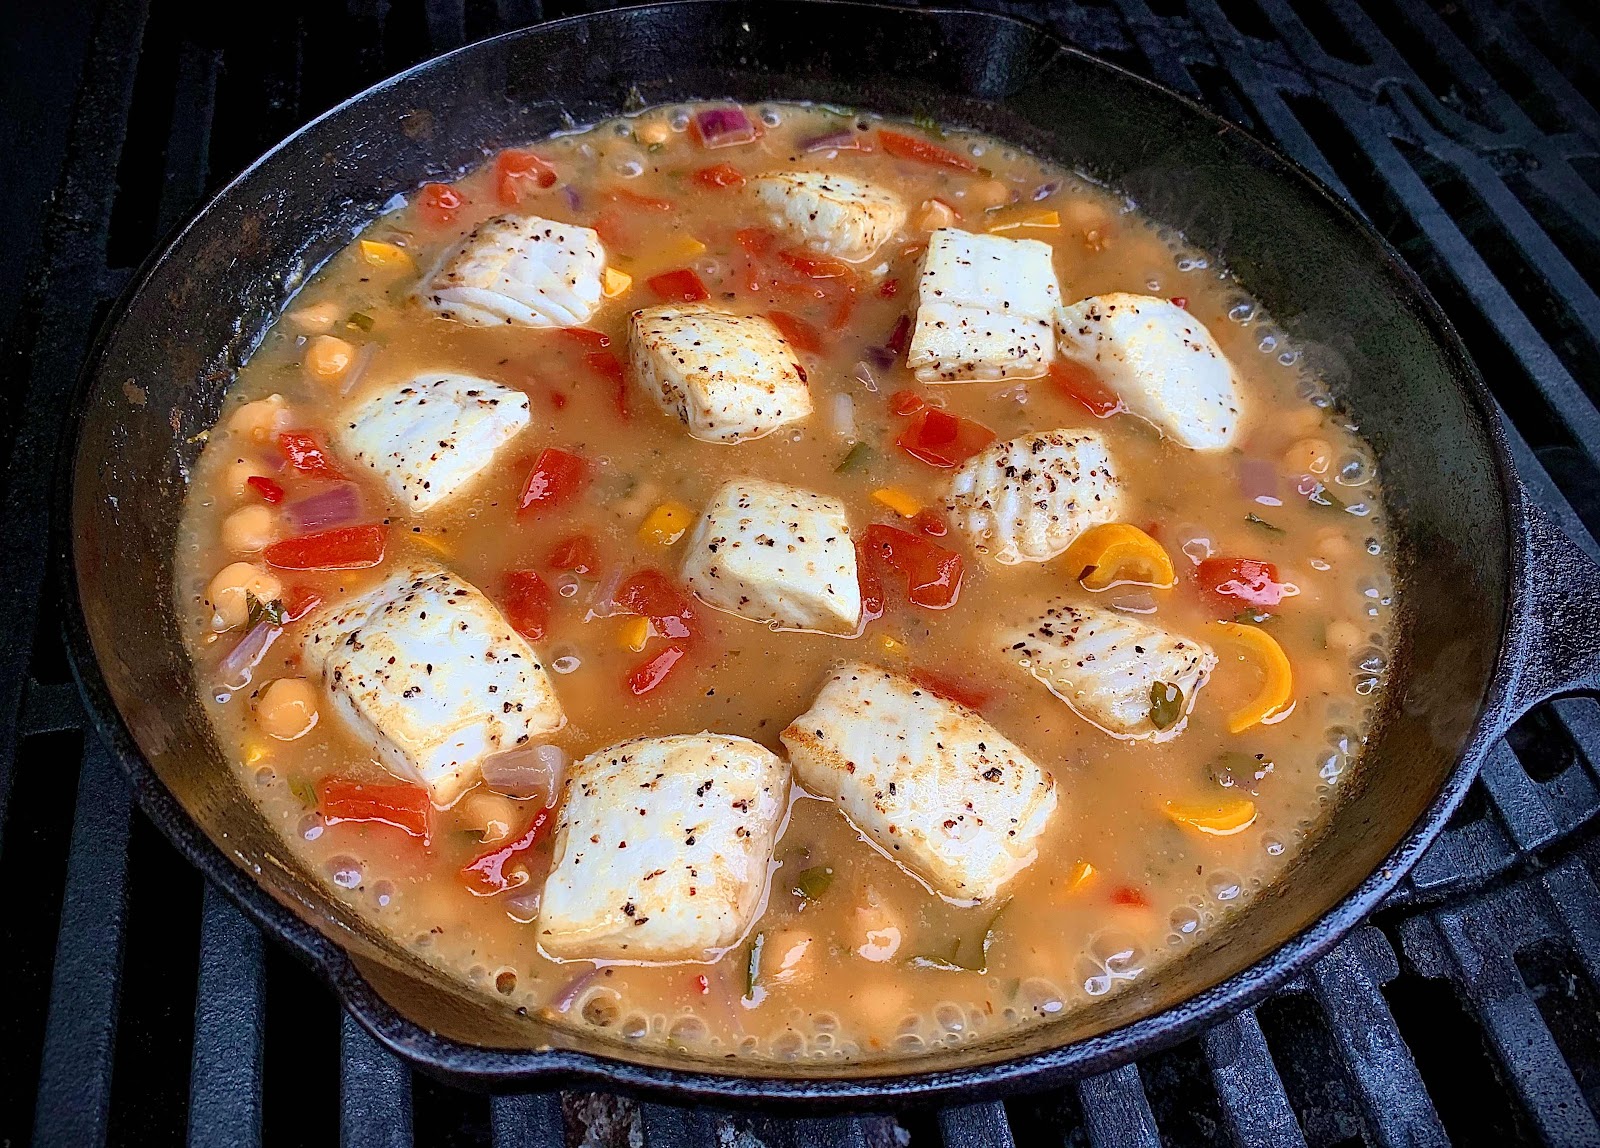
Also, the ventilation in our house isn’t the best, so I decided to make the dish on the grill. Pulled out my cast iron, which was perfect for this dish. 


Here’s what I made....


Halibut, Calabrian Style


Ingredients

  • 3 Tbsp. olive oil
  • 1 Tbsp. fresh lemon juice
  • ¼ tsp. salt
  • ¼ tsp. black pepper
  • 1¼ lb. fresh halibut, cut into 2-inch pieces
  • ½ cup chopped onion
  • ½ tomato, chopped
  • 2 Calabrian chilies, chopped
  • 1 tsp. flour
  • 1½ cups dry white wine
  • 1 (15-oz.) can chickpeas, drained
  • ½ cup chopped fresh parsley
  • Lemon zest
  • Lemon wedges
Directions

  1. Stir together 2 Tbsp. oil, the lemon juice, salt, and pepper in a large bowl. Add fish and toss to coat. Heat remaining 1 Tbsp. oil in a large skillet over medium-high heat. Add onion; sauté until golden, about 8 minutes, then transfer to a plate.
  2. Remove fish from marinade, discarding marinade, and pat fish dry with paper towels. Transfer fish to hot skillet over medium-high heat; brown 1 minute on each side, then remove from skillet.
  3. Add flour to skillet; cook, stirring, over medium-high heat until lightly browned. Stir in wine, chickpeas, onion, tomatoes, chili’s and half of parsley. Simmer until slightly thickened, 2 to 3 minutes. Return fish to skillet; cook until it flakes easily with a fork, about 1 minute. Serve with remaining parsley, lemon zest, and lemon wedges.
  4. Serve over lemon dill rice.


Wednesday, September 4, 2019

Neighbors - Sweet and Spicy Cucumber Salad

Let’s stop a minute and talk about neighbors.  When we lived in Seattle, we honestly had some of the most amazing neighbor, many of who we still keep in touch with, if not daily then at least once a week. Most all have moved away, but the spirit of community will always be with us (The Peeps from The Crick!)

Fast forward to moving in day, here in Portland. We were all exhausted and had just finished dinner when the doorbell rang. We looked puzzled at each other, and went to the door. It was our neighbor (to the left), welcoming us to the neighborhood and giving us a (still warm) loaf of chocolate chip zucchini bread, made from the zucchini she grew in her garden. I knew we struck gold in this neighborhood. 

We have also befriended the neighbors across the street and have turned the corner with the neighbor to the right. It’s nice to wave to people as you drive down the street, or weeding the yard and take a quick break to have a conversation with the couple walking their dog down the street. I just love our new neighborhood. 

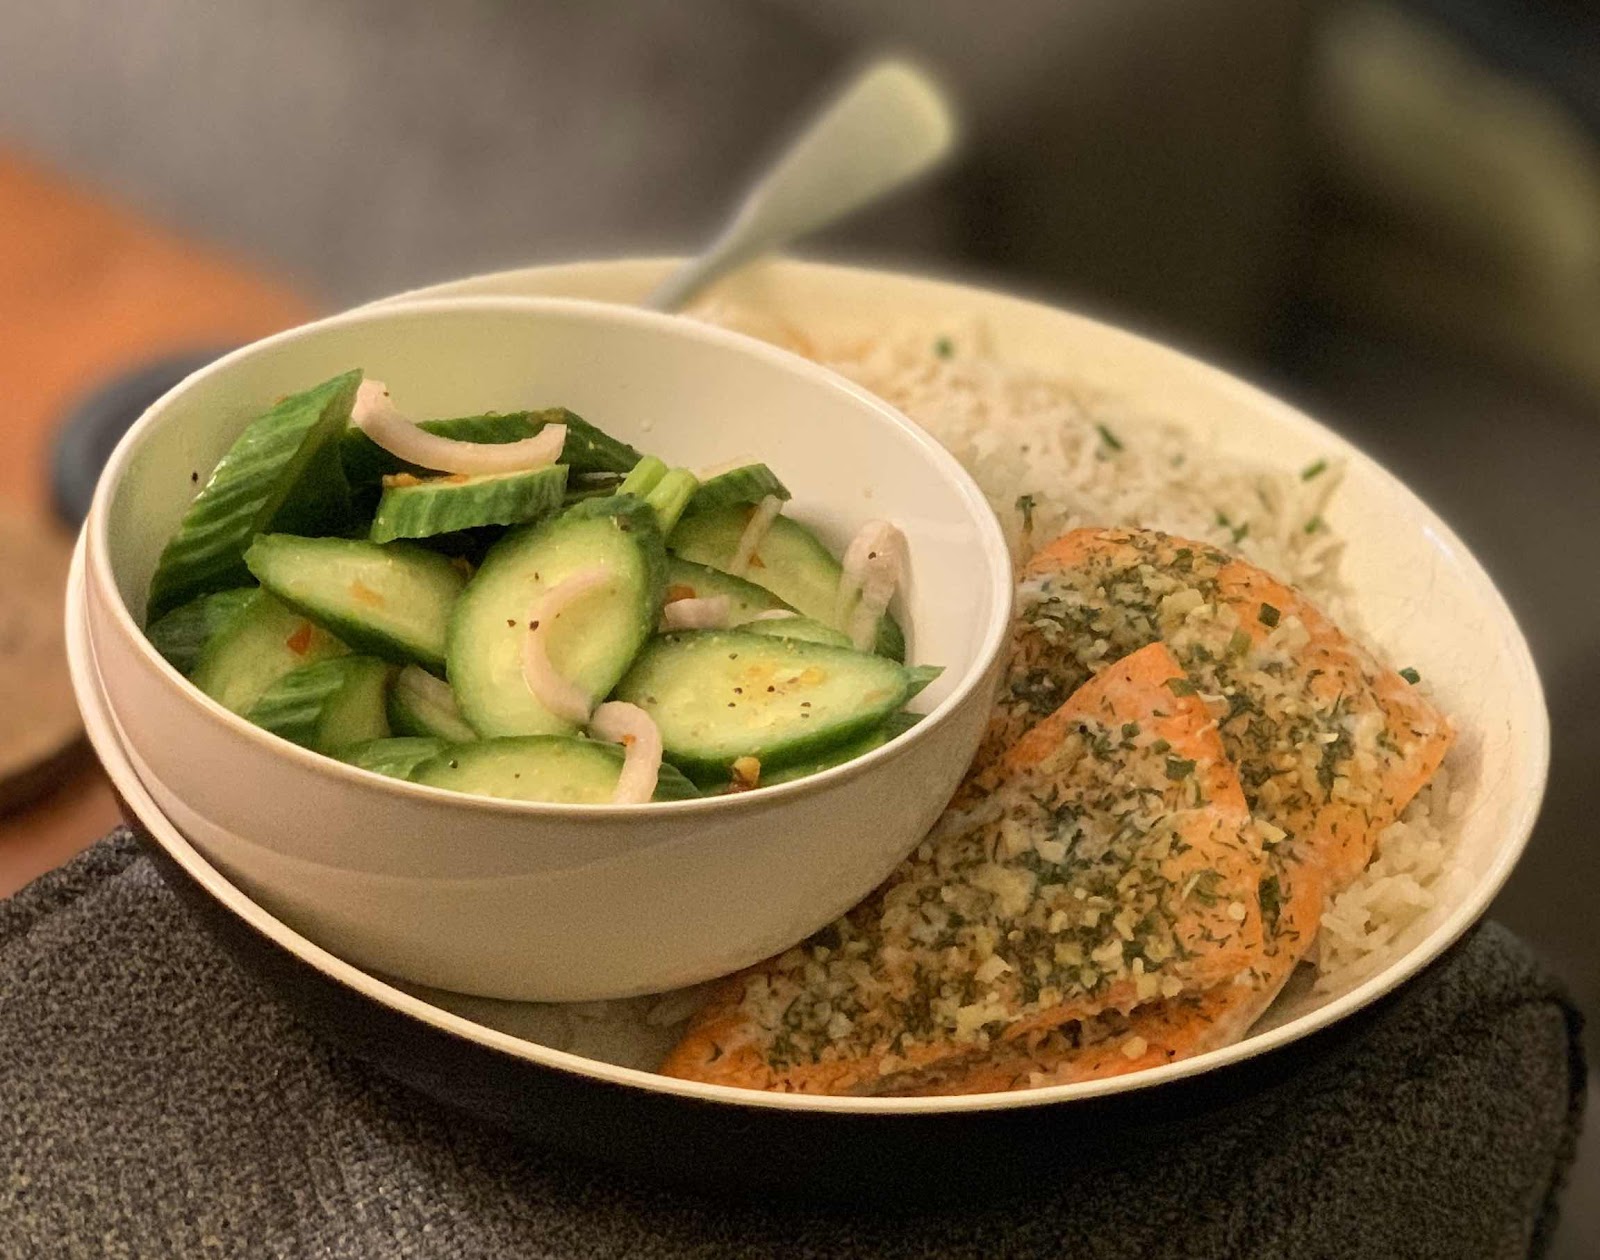
Which bring me to this. The neighbor to the right cane home from a long weekend fishing trip on the Oregon Coast. He said he had more fish than what he knew what to do with, would we like some. Of course we said YES!  He came out with a huge zip lock containing 2 Coho Salmon Fillets. 

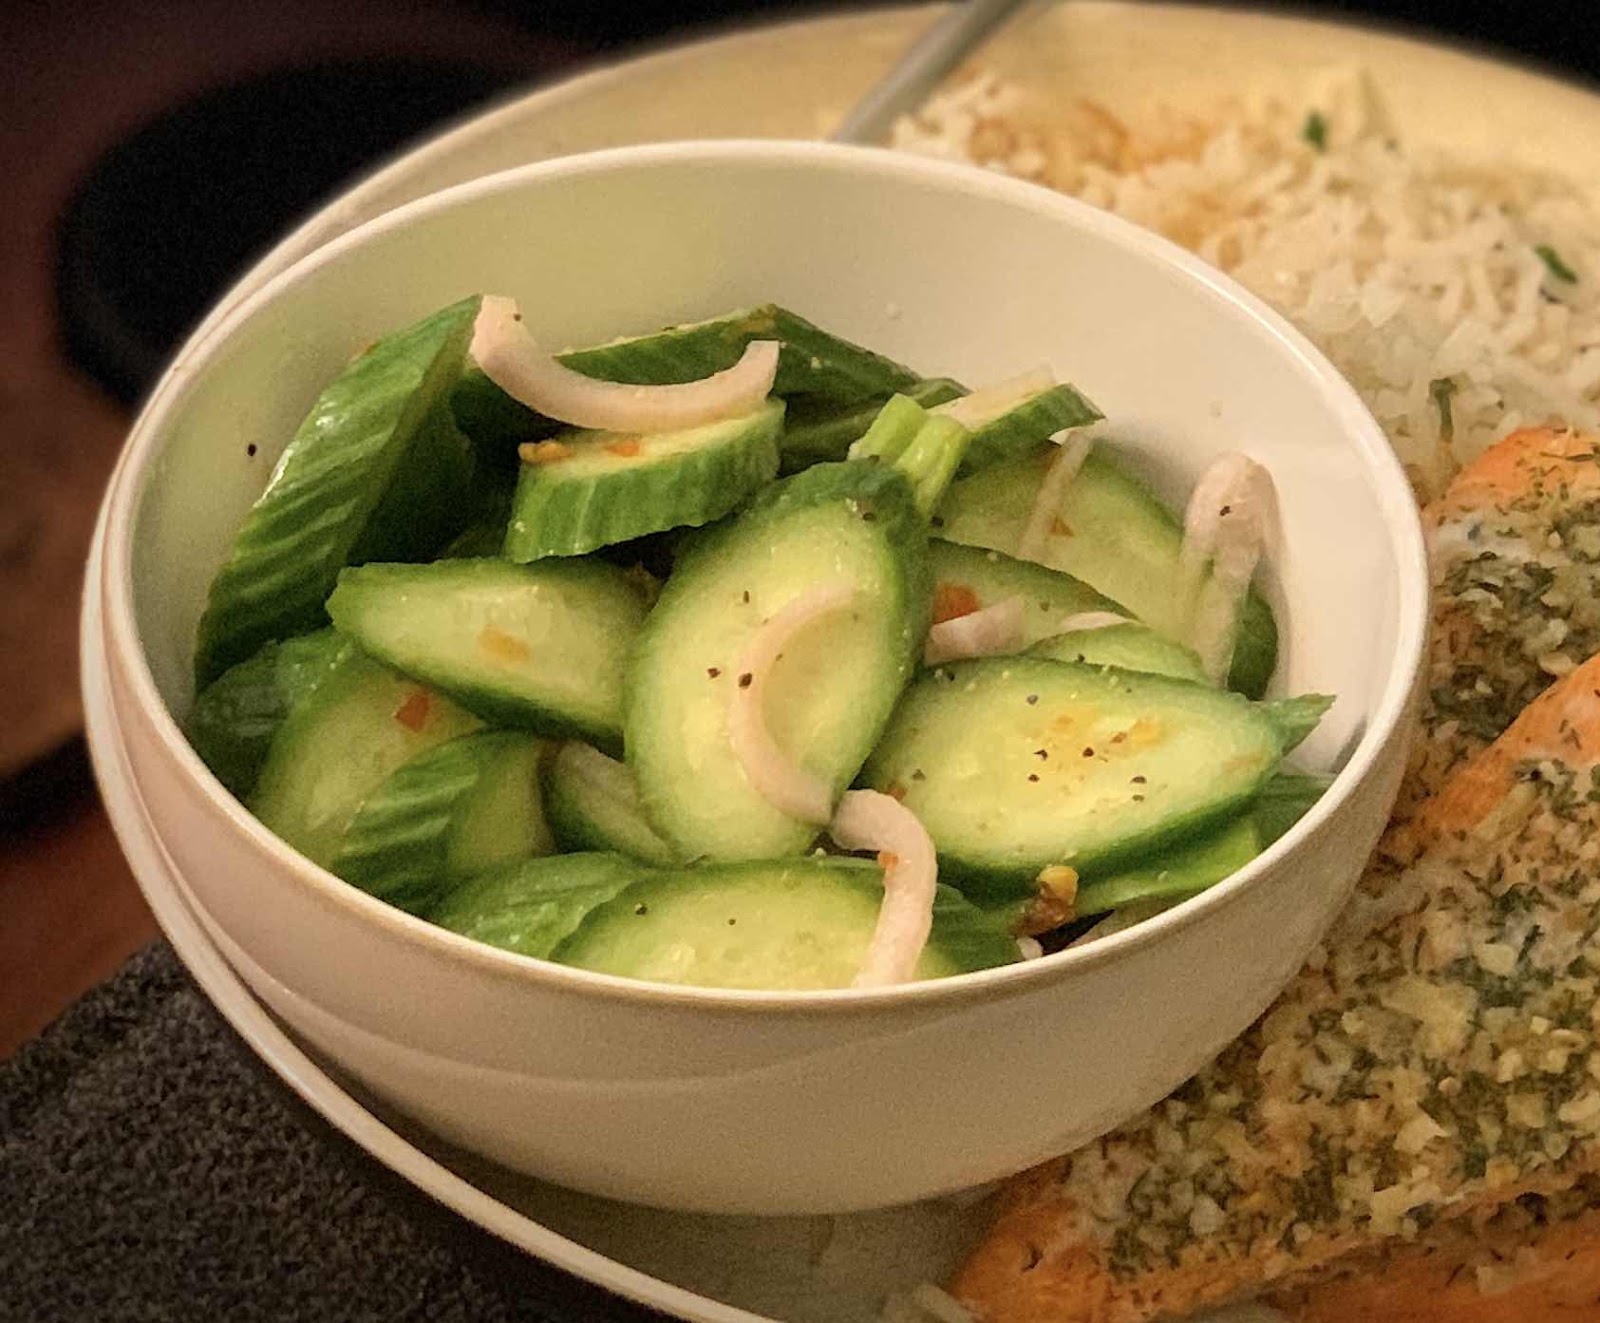
So last night I seasoned it simply with some garlic and dill. Made some mushroom chive rice and needed a little something green. So I checked the refer and saw some mini cucumbers. I thought they’d make a great simple salad. And didn’t want my go to Greek tomato. So I made sweet and spicy cucumber salad. Recipe below:


Sweet and Spicy Cucumber Salad

INGREDIENTS

  • 5 mini cucumbers, thinly sliced on a diagonal, or 3 English cucumbers, halved and sliced
  • 2 teaspoons kosher salt
  • 1/2 cup red onion, thinly sliced
  • 1/2 cup rice wine vinegar
  • 1/2 cup water
  • 2 tablespoons sugar
  • 1 tablespoon Sambal Oleck
  • 1 teaspoon crushed red pepper flakes (optional to adjust for spiciness)

INSTRUCTIONS

  1. In a large colander, sprinkle the cucumbers with salt.
  2. Allow the cucumbers to sit with the salt so that the juices drain.
  3. Add ingredients in a mixing bowl whisk until sugar is dissolved. 
  4. Toss the cucumbers with the marinade and refrigerate until ready to serve.

Sunday, July 15, 2018

Dennis’ Grilled Potatoes

This post is inspired by my brother-in-law Dennis.  Years ago, when he and my sister first invited me over for dinner, he make a dish he called grilled potatoes.  I was hooked.  I have make these for 1 and for 10+….they (almost) always turn out.  I’ve even made them for people who HATE onions (with Walla Walla Onion- how could you hate them then?) When he first started making them, I remember he only used lemon pepper seasoning.  Now, I typically use a different seasoning each time I make them.  You will love them. 

You all know I don’t measure, however I know people need quantities, so here is how I made the potatoes in the pictures. 


Dennis’ Grilled Potatoes

3 potatoes, cleaned (and peeled if you prefer)
1 Onion, sliced
3 Tbsp Monterey seasoning 
3 Tbsp olive oil
3 Tbsp butter (3 pats)
Foil

Take 2 sheets of foil and place on on top of the other.  Fold the edges closest to you 3 times to “seal” the foil. Open it up, and set aside. 

Slice potatoes and onion to 1/8-1/4 of an inch.  Place all in a bowl, and cover with oil and seasonings.  Toss to cover. Remove potatoes, one slice at a time, shingling them and placing the foil.  Top with the onions, and 3 pats of butter. Fold the foil over the top of the potatoes and “seal”.


Place potatoes on a hot grill, and turn down temp, so you don’t burn the bottom.

Cook for 10-15 minutes.  Allow to rest as the potatoes will continue cooking.

Serve. And enjoy!

Sunday, June 3, 2018

Mexican Street Corn Pasta Salad

Mexican Street Corn Pasta Salad


We all grew up eating corn. Usually boiled in salty water, smothered in margarine and liberty sprinkled with Morton’s iodized. 

As we matured and realized that margarine wasn’t the diet alternative to butter, that there was another seasoning component missing, black pepper and wait….corn can be grilled!  These are just a few of the food evolutions I have had in my corn eating life. 

Then came Mexican Street Corn!  Life changing. Smother that cob with a mayo/lime/chili slather and roll it in Queso Fresco?  When did so much love happen to our beloved yellow kernels? Not to mention, when I was growing up, corn was yellow. There wasn’t white or bi-colored., unless it was fall and your teacher had Indian corn on her desk!  Then there popcorn.....but that’s a whole other blog....

So this brings me to this recipe.....

Mexican Street Corn Pasta Salad

INGREDIENTS
For the Dressing:
3/4 cup mayonnaise
juice and zest of one lime
1/2 teaspoon chili powder
1/2 teaspoon cumin
1 teaspoon hot sauce 
pepper, to taste

For the Pasta Salad:
8 oz. farfalle pasta
4 ears of fresh corn 
1 jalapeño pepper, seeded and diced finely
1 bunch green onions, thinly sliced
4 oz. crumbled queso fresco (or cotija cheese), plus more for garnish
1/4 cup chopped fresh cilantro, plus more for garnish


INSTRUCTIONS
Mix all ingredients for dressing in a large bowl. Set aside.

Cook pasta according to directions in salted water. Drain and rinse with cold water until completely cool. 
Shake off as much excess water as possible.

Meanwhile, grill corn until lightly charred. Allow to cool and remove from cobs. 

Add the cooked and cooled pasta, corn, jalapeño pepper, green onions, queso fresco, and cilantro to the large bowl with the dressing. Stir to combine.

Serve garnished with extra cheese, cilantro, and a little bit more chili powder, if desired.


Wednesday, April 12, 2017

Rainbow Rose Veggie Tart

Rainbow Rose Veggie Tart


A few weeks back I came across a savory tart recipe, called Rainbow Rose Tart. I thought that's beautiful, but I'll never make it. Well the damn thing kept popping up everywhere I looked. So I looked into the recipe and then realized that it didn't involve much and with our CSA recently delivering the rainbow carrots, why not make it. And just in time for Easter. 


Rainbow Rose Tart 


Rainbow Rose Veggie Tart


Ingredients

  • 1 roll puff pastry
  • 15 ounces ricotta 
  • 3 eggs
  • 6 ounces grated fresh Parmesan
  • 1 pinch nutmeg
  • Salt and pepper to taste
  • 2 tablespoons olive oil
  • 1 tablespoon dried oregano, (double if using fresh)
  • 1⁄2 cup fresh mozzarella, shredded
  • 4 large multi-colored carrots
  • 2 zucchini


Directions

  • Unfold a puff pastry sheet over a tart pan. Place parchment paper or foil in the center and weight it down with beans or pie weight.
  • Bake the tart base in a preheated oven at 350°F for 15-20 minutes. Remove the weights and parchment paper. Let it cool. Raise over temp to 375°F. 
  • In a food processor, add the eggs, ricotta, grated parmesan cheese, grated nutmeg and pinch of salt. Pulse until smooth. Add the mozzarella and oregano. Pulse mixture until smooth.
  • Slice strips of zucchini and carrots length-wise using a vegetable peeler or a mandolin. Place the slices in a bowl and cook in the microwave for 1-2 minutes. This step will soften the slices and make them much easier to roll.
  • Spread the cheese mixture on top of the tart base.
  • Take one slice of a vegetable and roll it up very tightly; this will form the core of the rose. Take another slice and keep rolling. With around 2-3 slices you should obtain a decent-size rose bud. Place the bud in the center of the tart, pushing it down into the cheese. Keep rolling roses of different colors and place them one next to the other in a spiral formation.
  • Brush olive oil on top of the vegetables and bake the tart at 375 degrees F for 50 minutes.

(Inspired from Food.com)


Notes: 

  • make sure you use large carrots. And have an even selection of colors. 
  • Use the pie weights. The sides of my pastry fell while baking. I improvised and it came out undetected. 
  • Rolling the "roses" takes time. Allow yourself plenty of time!  I rolled all of the roses up, the placed according to how many colors I had. 
  • I used a vegetable peeler. Next time I might use the mandolin. The first piece needs to be paper thin to get the right tightness. 
  • Next time I might use thyme in place of the oregano. 
  • Might try a couple of tomatoes next time. 
Before the oven 
 

Friday, March 3, 2017

Patio Potatoes

Now every family has a version of this potato casserole. I've heard it called funeral potatoes, Aunt Betty's potatoes, party potatoes, cheesy potatoes, Potatoes Romanoff and my family's version, patio potatoes. Now where this recipe originates is beyond me, but I remember it fondly at my Cousin and her husbands house. Then a few years later, my cousin put together a book of family recipes, called Relatively Cooking. In this was my very own copy of this delectable dish. 


After digging a little, I found some history of this beloved dish:

Funeral potatoes, also known as Mormon funeral potatoes is a traditional hot potato dish or casserole that originated in the Mountain region of the United States. Both Mormon and Southern people call this dish "funeral potatoes" because the casserole is commonly served as a side dish during traditional after funeral dinners. The dish is also served at other social gatherings such as potlucks.  So there you have it....


The one thing that makes this dish great is that you can personalize it, or make it directly as the recipe states. Tired of cream of chicken soup? Use cream of celery, cream of broccoli, cream of asparagus, whatever you think would taste great. Switch up the cheese from cheddar, to Swiss, havarti, gryuere or even hot pepper.  Add onions. For the potatoes, instead of diced, try shredded.....and for the topping, I've seen, better cheddars, gold fish, corn flakes, potato chips, fried onions or even saltines. 


Here's our family's version of his classic:


Patio Potatoes


2 cups, shredded cheddar cheese

12 oz sour cream

1 can cream of chicken soup

1 tsp seasoning salt

1 tsp black pepper

1/2 tsp garlic powder

2 lbs frozen hash browns

2 cups Better Cheddars crackers, crushed


Melt first 6 ingredients together in a sauce pan. Mix together with frozen hash browns and place into a greased 9x13 pan. Sprinkle crackers on top and bake at 350°F for 1 hour of until golden and bubbly. 


In the version above, I added red peppers and onions, and used Southern style hash browns. 


I also used Ritz. 


Wednesday, March 11, 2015

Asian Bow Tie Pasta Salad

One of the most asked for recipes I have ever received, is this Asian Bow Tie Pasta Salad.  We first came across the recipe when we were visiting and helping cater a friend’s birthday party.  From time to time, I have omitted the chicken, and just had a pasta salad.  I have also allowed my lazy self to use a pre-bottled Toasted Sesame Salad Dressing.  No matter how you cut it, this salad is a winner!

Thank you Mary-Margarita for sharing this wonderful recipe with me, and the world.


Asian Bow Tie Salad

3-6         Boneless skinless chicken breasts (optional)
1 bottle  Kikkomans teriyaki marinade and sauce

16oz       Bow tie pasta
10 oz      Fresh spinach
6 oz        Dried cranberry
33 oz      Mandarin oranges, drained
16 oz      Water chestnuts, drained (I roughly chop)
½ cup     Fresh chopped parsley
1 bunch  Green onion, chopped
¼ cup     Sesame seeds
6 oz        Honey roasted peanuts

Dressing
1 cup     Oil
⅔ cup    Teriyaki sauce
6 T         Sugar
Salt & pepper
⅔ cup    White vinegar

Marinate chicken in teriyaki sauce over night.  
BBQ chicken until done.  
Cut into bite size pieces, cool.
Blend dressing and cook pasta al dente.  
Allowed cooled pasta to rest in dressing for 2 hours before adding other ingredients.
Toss all ingredients, serve immediately. 

Bob's Note: If not serving immediately, leave out spinach, and add when read to serve.


Wednesday, December 24, 2014

Scalloped Potatoes

Scalloped Potatoes 

Looking for a great and quick side dish, or a special side for your holiday dinner.  Well, this is a side dish I started making when I received a food processor for Christmas a few years back.  I’ve made scalloped potatoes for year, and always done the butter/flour/cream….etc, so when I found this was like, well, I give it a chance, but I’m not expecting much from it.  Boy was I wrong!  This is the easiest recipe for scalloped potatoes, I have EVER used.

 
Example, tonight I got home from work at 6pm, turned on the oven, walked the dog, then started the dish and had them in the oven cooking in 25 minutes.  No I’m not superman….just organized!

Scalloped Potatoes

2 large Russet Potatoes, washed and sliced
½ cube butter
2 T Chopped Garlic
1 Cup Whipping Cream
1 med Shallot, thinly sliced
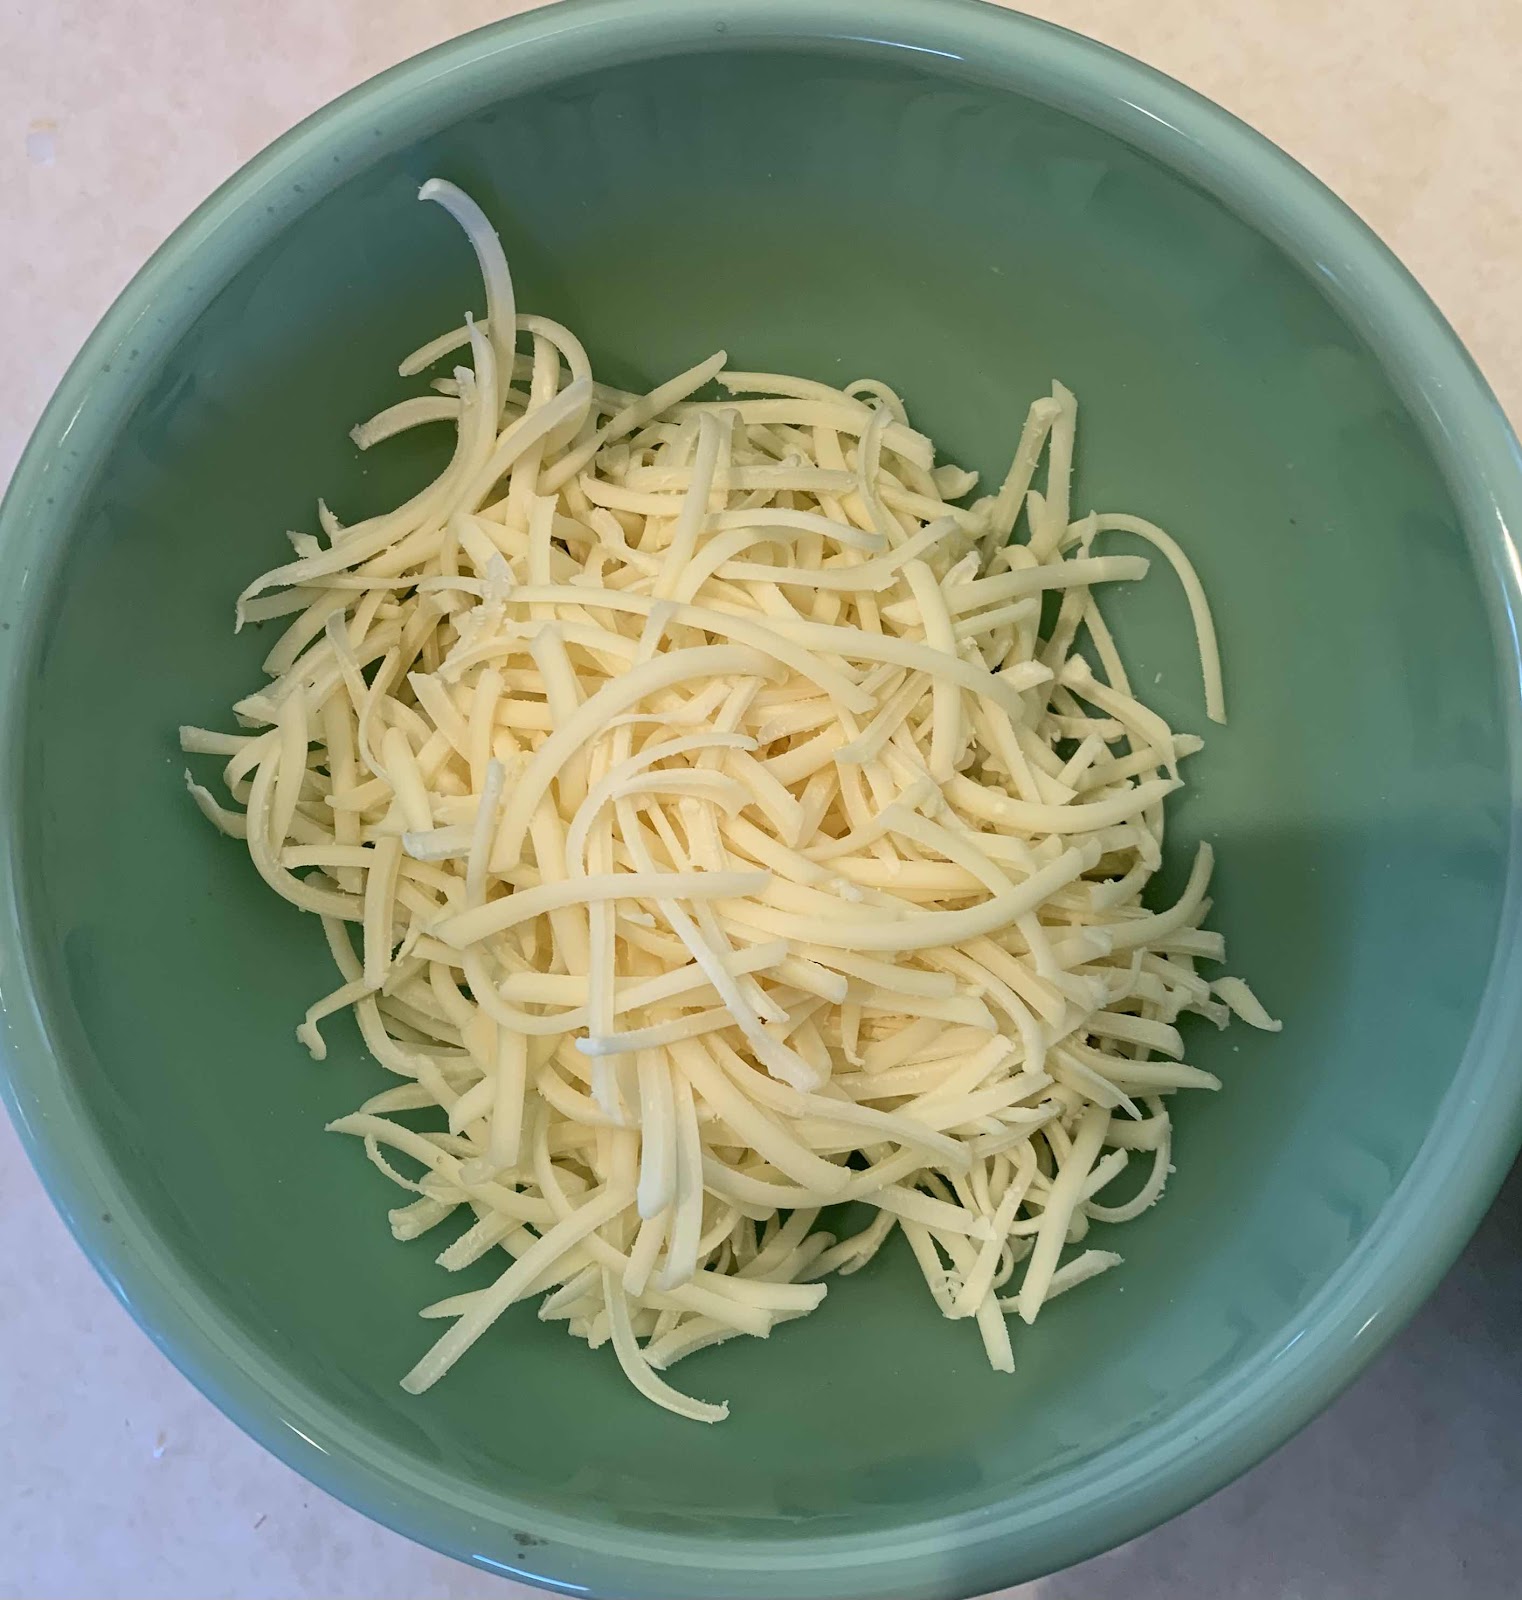
2 Cups Shredded or crumbled cheese (I used Swiss, but have used parm, blue, cheddar, just to name a few)
Salt and Pepper to taste

Russet Potatoes and Shallots...and my V-Cutter

Sliced potatoes and shallots
Place butter in a pan, and melt.  Add garlic to butter, and stir.  Add cream and warm to a low boil.  Add Salt and pepper.

Place the ½ of the potatoes, shingled into an oven safe pan.  Top with ½ of the shallot and ½ of the cheese.  Repeat, and pour the cream over.  Place the last of the cheese over the top.
 
Melted Butter and Garlic

Add the cream

Season with love

Arrange the potatoes and onions

Don't forget the cheese

Top with cream and bake!
 

Wednesday, June 26, 2013

Gouda & Gruyere Macaroni & Cheese

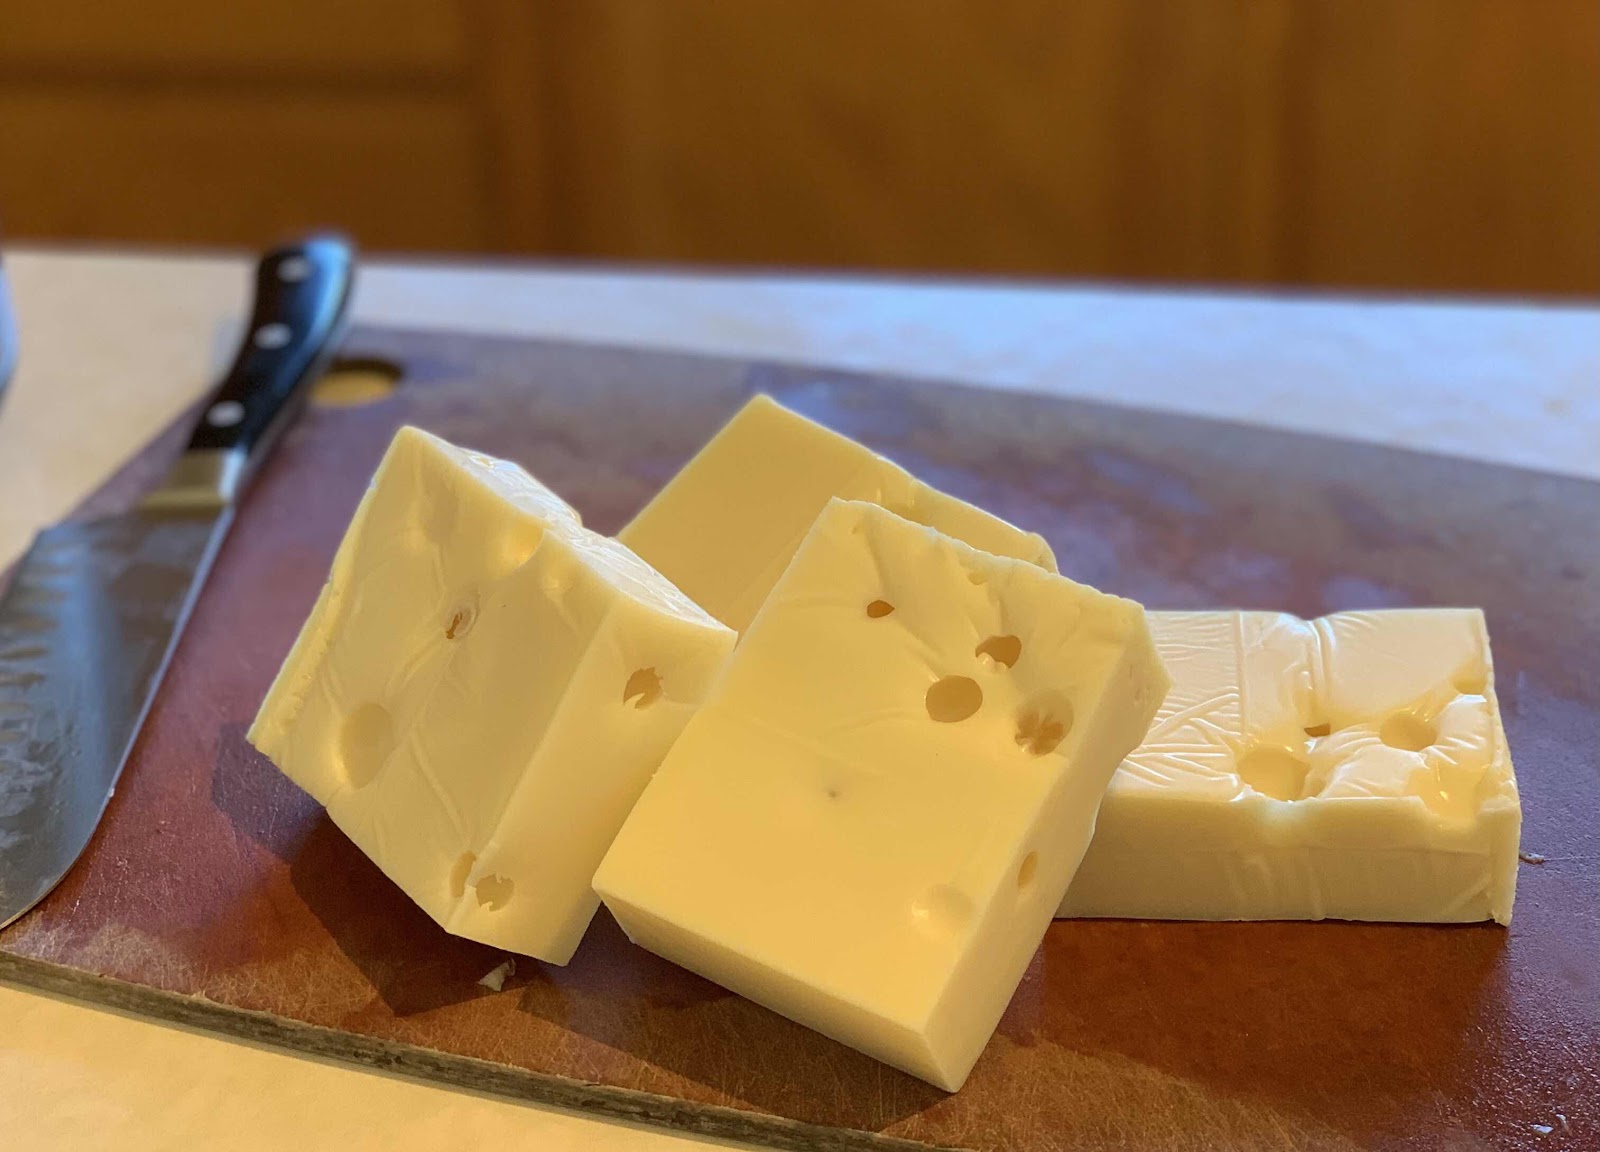
Most of you know, my day job is a Cheese Monger and a local grocery store, ok my official tital is Cheese Master, but I don’t like to throw that around. (I worked 23 years to earn the title of master, I’m keeping it!)  So throughout the day, I am recommending different cheese to people, from Cheese plate to recipes.  I was motivated to make a macaroni and cheese, with some of our great cheeses.

A little more about the cheese I used:

Murray’s Brand Boerenkass Gouda-(Boar-en-Kaux) Boer means 'farmer' and kaas means 'cheese', in Dutch. The curds are made from raw milk and then rinsed of the acidic, watery whey before getting pressed into large, flat spherical wheels. This special treatment cuts out sharpness and allows butterscotch and cashew flavors to prevail over an 18-24 month aging period.


Cave Aged Gruyere-(Gree-Air) Gruyère is sweet but slightly salty, with a flavor that varies widely with age. It is often described as creamy and nutty when young, becoming with age more assertive, earthy and complex. When fully aged (five months to a year) it tends to have small cracks which impart a slightly grainy texture.


Craig’s not a fan of elbow noodles, so I used Penne, but use what you like!


Now let me tell you….I don’t think I could have made a better Mac & Cheese if I tried!


Gouda & Gruyere

  Macaroni & Cheese

Ingredients

 1 stick Butter
       ¼ cup Flour ( I didn’t measure)
       1 box (32oz?) Chicken Broth
        1 pint of cream (you can use regular milk, again I didn’t measure, so add a little at a time until you get the consistency you like)
        ½ teaspoon Ground Nutmeg
        Salt, to taste
        Pepper, to taste
        16 oz Penne, (or another pasta you prefer)
        12 oz Gruyere, shredded ( I used Cave Aged), reserve ¼ cup for topping
        12 oz Gouda, shredded ( I used Murray’s Boerenkass) , reserve ¼ cup for topping
        1 cup pasta water, as needed.

While your preparing the pasta, melt the butter, and add the pepper and nutmeg.  Whisk in the flour, cooking it until it is no longer pasty tasting.  Add in ½-3/4 of the chicken broth, and whisk until the broth is smooth and thick.  Add in the cream to increase the creaminess of the sauce.  If the sauce is too think, add more broth.  Slowly add in the cheese, stirring constantly to ensure it is melted thoroughly.  Drain pasta, reserving some of the water, in case you need to thin out the cheese sauce. Mix together with pasta, and sprinkle with shredded cheese.  At this point, you could bake the mac and cheese, but I didn’t, to preserve the moisture.

Serve and Enjoy!


Thursday, June 6, 2013

Picnic at the beach


A day at the beach……One thing I love to do is head for the beach, every chance I get.  So recently, when my partner, Craig and I had a day off together, we decided to pack a lunch, grab the leash and head for the closest island!  (We live in the Puget Sound area, so islands, while not tropical, are not that far off)


As you can see from the picture our dog, Zoey joined us on our journey to Whidbey Island’s great Double Bluff Beach.  It’s an “off leash” park, so she was really able to enjoy the sights, sounds and smells of the beach.


Craig loves to search of seashells, so I was excited to find this little gem!


After our walk to the end of the beach and back we decided to enjoy our picnic.  For our lunch, I made a Turkey and Smoked Gouda sandwich on Ciabatta roll, with a “quick” pasta salad.


Quick Pasta Salad


Need something for lunch, or a last minute picnic?  Here is what I make whenever I need to make an unplanned side dish.


8 oz Pasta ( I used leftover stars, but any kind can be used)

¼ Cup pre-julienned Carrots

¼ Cup red pepper, julienned

¼-½  cucumber, peeled and deseeded

⅓ Cup Salad Dressing (I didn’t measure, and I used a sundried tomato vinaigrette)

¼ Cup Crumble or shredded cheese (optional, I used feta)


While the pasta is boiling, get the vegetables ready.  When the pasta is done, rinse in cold water.  Then add all vegetables to pasta, and toss with salad dressing.


Monday, September 3, 2012

Tequila Lime Chicken with Cilantro Rice. Served with Skillet Corn, Edamame, and Tomatoes with Basil

While I love Mexican food, in our house I don’t make it often, as it’s not one of Craig’s favorites, and most of the “original” flavors aren’t entirely my favorites either.  I’m not a fan of spicy, and years ago I had a VERY bad hangover involving tequila and cilantro, but I won’t get into that.

I have been coming around to the taste (and smell) of cilantro, and thought I’d try a new creation I’ve been working on. In addition to this great recipe, I recently came across an recipe for a new side dish, that would go great with this “Mexican style” dish.

Tequila Lime Chicken with Cilantro Rice
with Skillet Corn, Edamame, and Tomatoes with Basil

3 Boneless Skinless Chicken Breasts, diced
The rind of 3 limes
The juice of 3 limes
1 Cup Tequila
2T Mexican Oregano
Salt and Pepper

Mix together the last 5 ingredients, set aside.  Dice the raw chicken and place in the tequila marinade. Marinade for a couple of hours, stirring occasionally.

Drain chicken, and saute until thoroughly cooked, and all moisture has evaporated.

Make rice:
For this recipe I use Basmati Rice.  I usually measure about 2 cups of rice and rinse the rice with cold water until water runs clear.  Bring to a boil, and boil for about 10-15 minutes, check rice for doneness. (when you split the rice kernel in half, you will see a dot in the center-Al dente) When rice is done (al dente), pour the rice into a strainer, and rinse with cold water. Put the pan back on the store, and add a small amount of oil (3-4T) and the rinsed rice, in a mound. Sprinkle about 3-4 T water over the rice, and place a folded towel (make sure there is not fabric softener in the towel) over the top of the pot and place the lid on the pot. Allow to steam for about 20 minutes on medium low heat.

Add 1/2 stick of butter to the rice, mix we  ll.  Add ½ bunch cilantro, diced, to the rice and mix well.


Skillet Corn, Edamame, and Tomatoes with Basil Oil

Ingredients

1 cup fresh basil leaves
¼ cup plus 2 tablespoons extra-virgin olive oil, divided
1 ½ teaspoons coarse salt, divided
¼ cup finely sliced scallions (from 4 scallions)
1 ½ teaspoons minced garlic (from 3 small garlic cloves)
3 ¼ cups corn kernels (from 3 ears)
2/3 cup frozen shelled edamame, thawed
½ pound cherry tomatoes, halved (1 3/4 cups)
2 tablespoons white balsamic vinegar


Directions

Bring a small pot of water to a boil. Add basil; cook 10 seconds. Transfer basil to a bowl of ice water, then drain, and squeeze dry. Puree basil, 1/4 cup oil, and 1/2 teaspoon salt in a blender or food processor until smooth.

Heat remaining oil in a skillet over medium-high heat. Add scallions and garlic; cook until fragrant, about 30 seconds. Add corn, edamame, and remaining salt. Cook, stirring, until starting to caramelize, about 10 minutes (reduce heat to medium if overbrowning). Add tomatoes and vinegar; cook until tomatoes start to collapse, about 8 minutes.

Drizzle basil oil on vegetables, and stir. Serve immediately.

Saturday, September 1, 2012

Walla Walla Onion Casserole

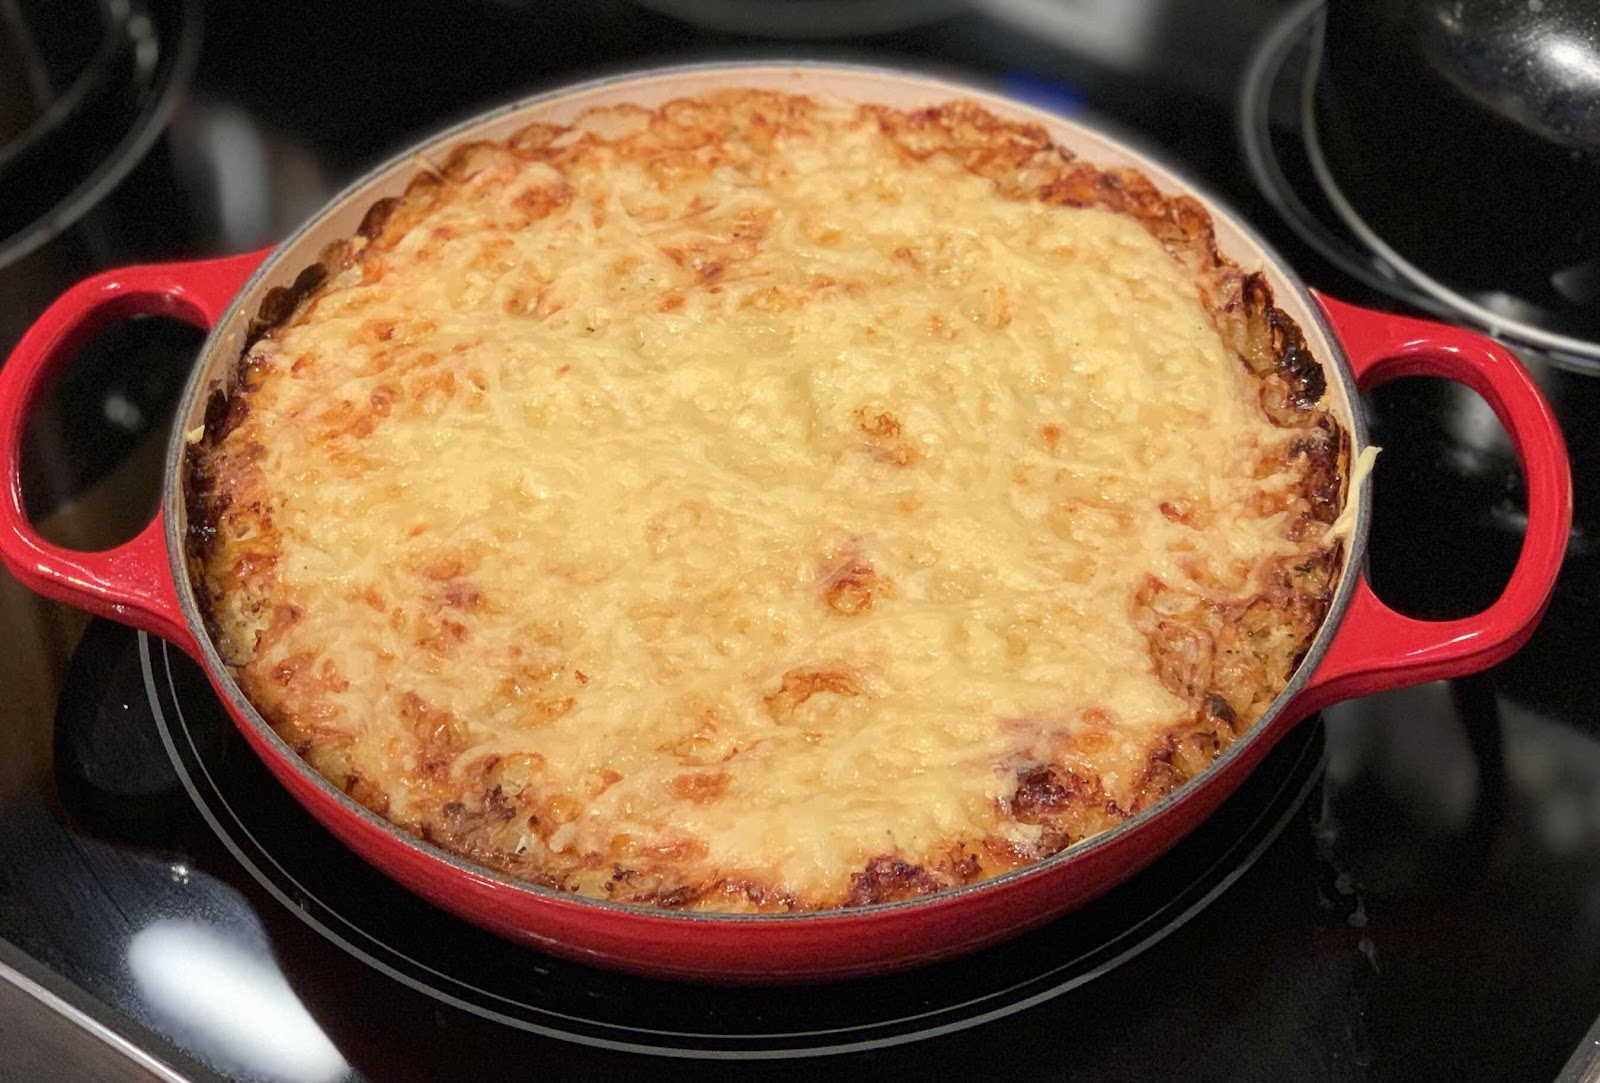
We all have recipes we come across throughout of lives that really bring back memories, stir up cherished thoughts, or that warm your heart.  This is one of those recipes for me.  I had lost the recipe for a couple of year, and attempted to look for one like it online, but was not ever able to get just the right one.  After a little reorganizing of my kitchen (recipe area), I found it and put it on the menu!

This recipe came to me by my dear friend Jackie.  She is the type of friend that you might not talk with everyday, or for that matter every week, month or even several months, but we always are able to pick up right where we left off.  A couple of years back my husband, Craig signed up for the Seattle to Portland Bike Ride.  He had decided to ride it in 2 days, so that meant somewhere in the middle of Washington we would have to rest for the night.  Jackie offered to let us stay with her for the night, so we took her up on the offer.  That night for dinner, she served this casserole. I was so taken by it’s simplicity, I told her I had to have the recipe.

If your not familiar with Walla Walla Sweet Onions, they are a local Northwest treasure, like Vidalia are to Georgia, or Maui Sweets are to Hawaii.  Now there are MANY areas growing sweet onions, at least 10 just in the US alone.  Just like Copper River Salmon, when Walla Walla’s are in season, you gotta make this!!


Walla Walla Onion Casserole

Ingredients
5 Cups Walla Walla Sweet Onions, Chopped
4 Tablespoons Unsalted Butter
½ Cup uncooked Long Grain rice
Salt & pepper to taste
1 Cup Sour Cream
1 Cup Swiss Cheese, shredded (Cheddar can be supstituted), and more for topping.

Directions
1. Preheat oven to 350°.
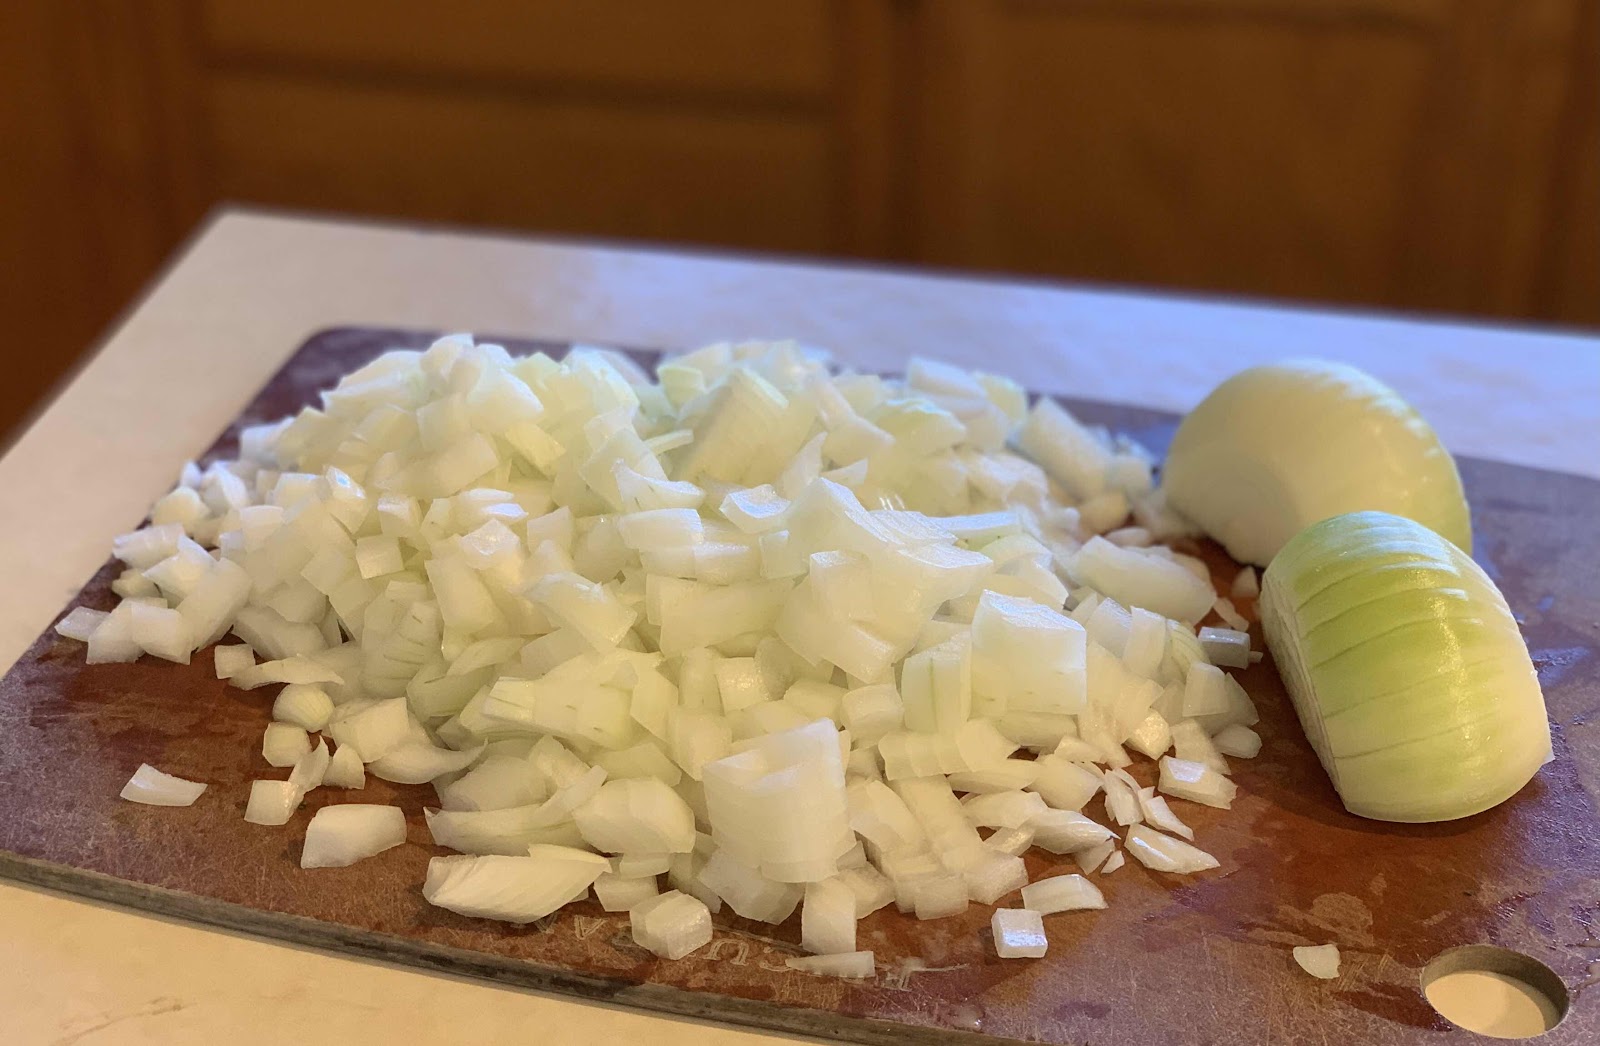
2. Dice up the onions, and sauté in butter, until translucent. Be sure not to brown (not that that would be bad, the recipe just said not too). 
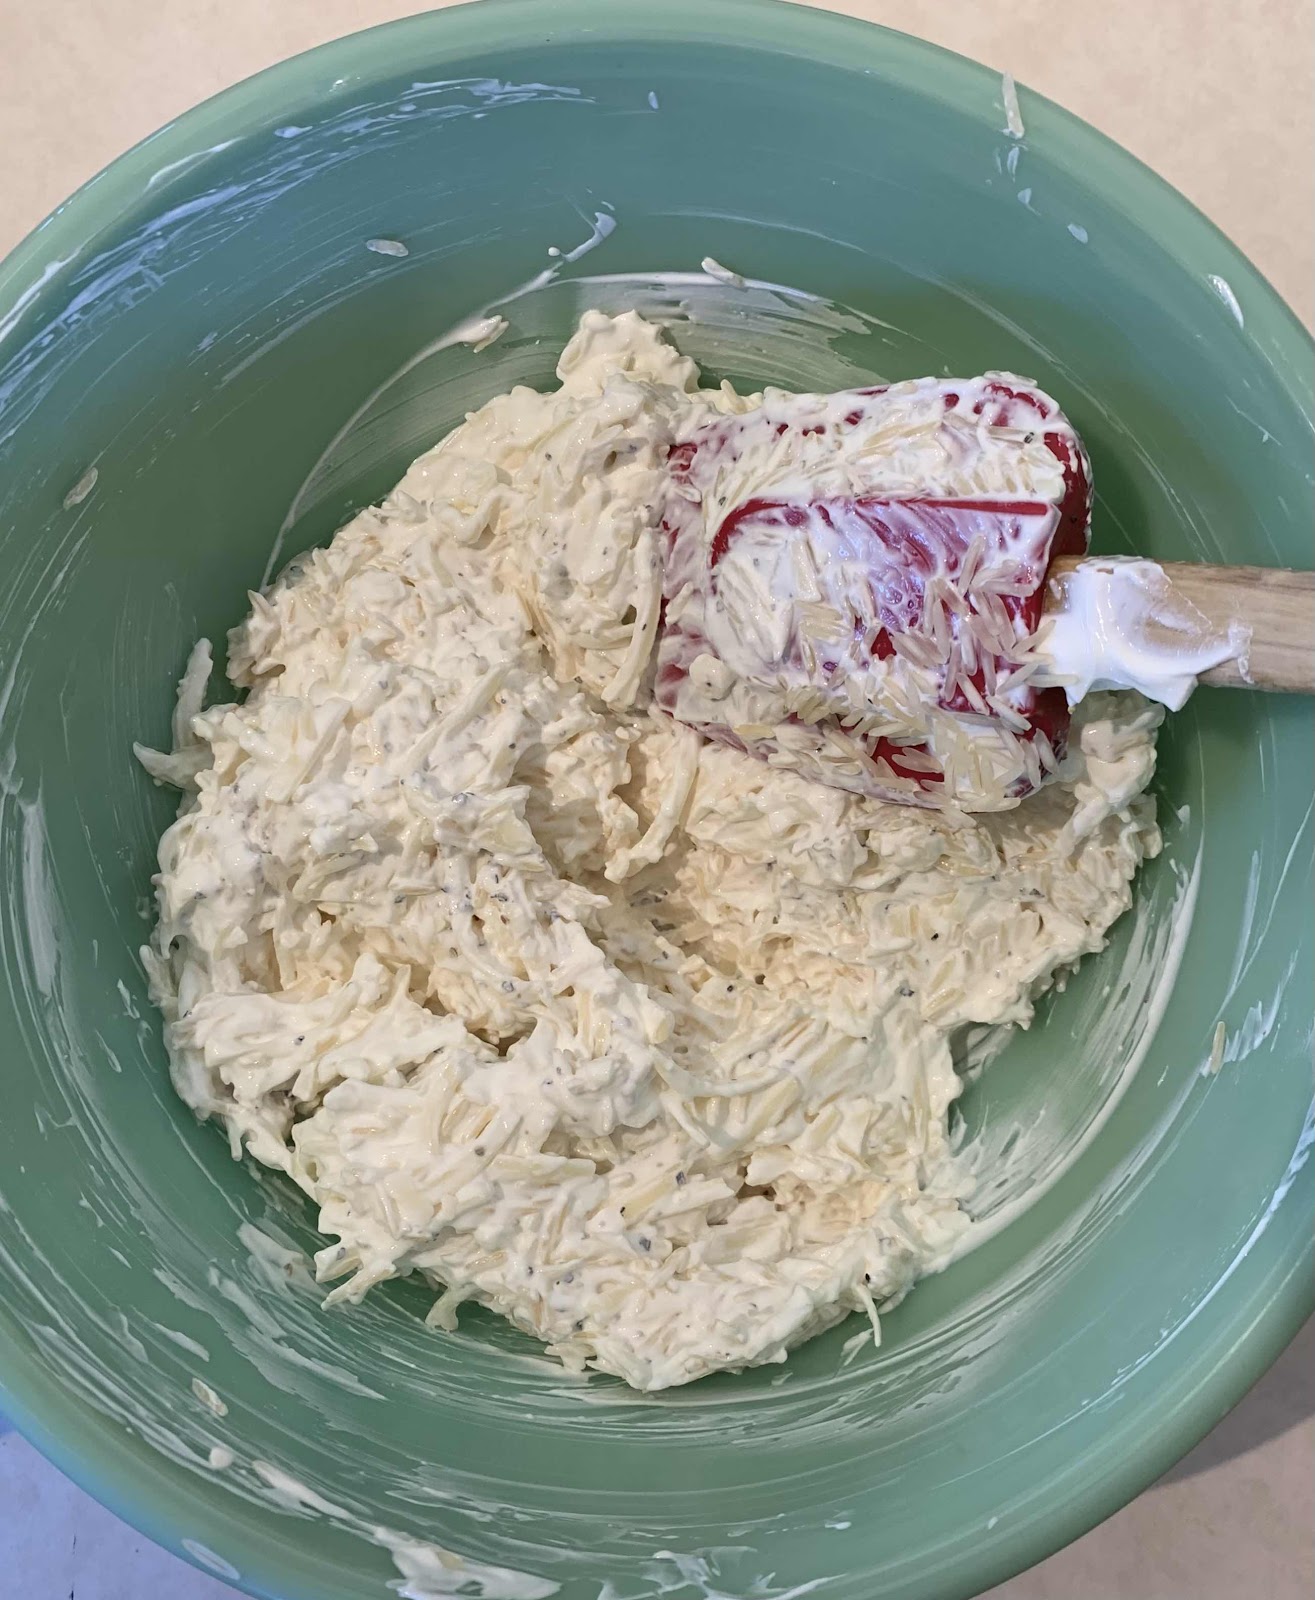
3. Add rice, sour cream, salt and pepper, and cheese.  Mix until combined.  
4. Top with more cheese.  
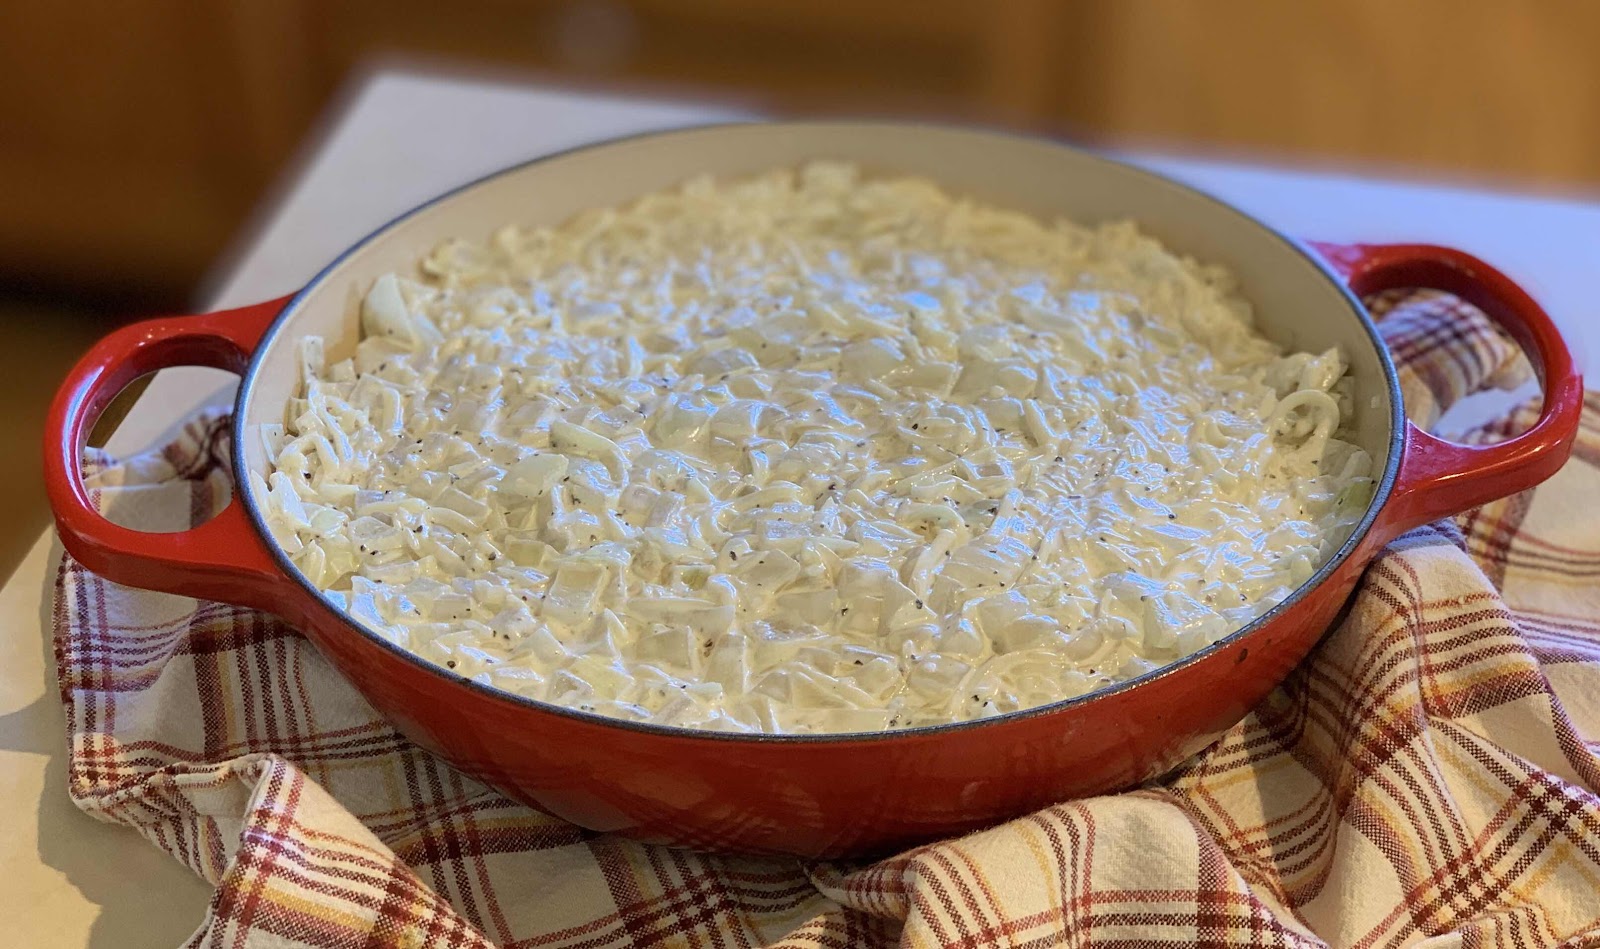
5. Bake 30-40 minutes, or until golden and bubbly.