Showing posts with label Asian. Show all posts

Saturday, July 3, 2021

Firecracker Tofu

Ok, I know you all might not be a fan of tofu, but have you actually even tried it. Honestly?  My guess is a firm no. However it is pretty amazing in this dish (ok you can sub in chicken, but….boring!!)


A little history about the tofu I used. Craig and I were watching Top Chef Portland, and they did an episode on Ota Tofu, a local, (and the oldest) tofu company here in Portland. We both said we need to try that. Fast forward to a few weeks later snd some really good friends were in town and we went to dinner, unknowingly we parked in front of Ota. I was just giddy. However they were not open. The next week I found some in an Asian market and decided on this dish. Which is PERFECT for a 4th of July celebration!  Maybe just cause it’s called “firecracker”?!?!
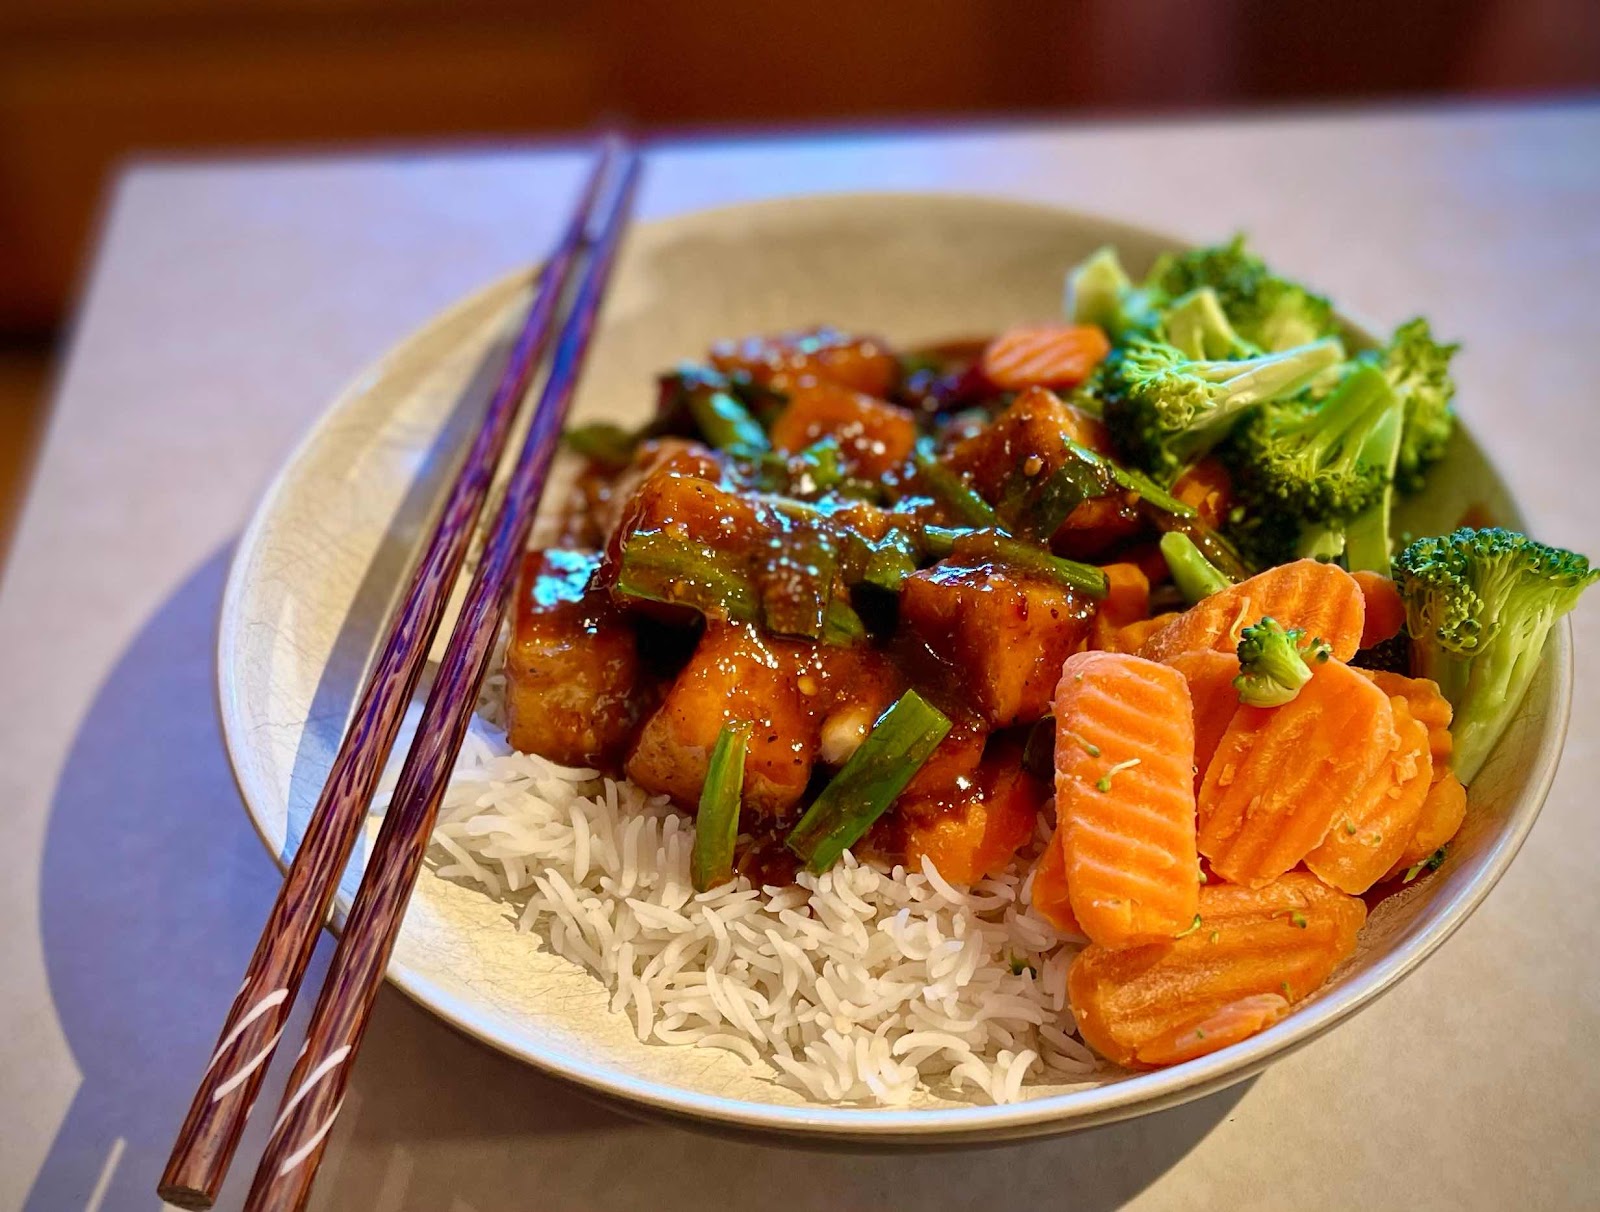


Firecracker Tofu

Ingredients

  • 1 Package Extra Firm Tofu - 14 oz package
  • 1/4 Cup Cornstarch
  • 1/4 Cup Sesame Oil 

For the Sweet-Spicy Sauce:

  • 2 Tbsp Karo Syrup
  • 2 Tbsp Soy Sauce
  • 1/2 Cup Hot Sauce 
  • 1 tbsp White Vinegar
  • 4 Tbsp Water
  • 1/4 Tsp Garlic Powder
  • 1 Tsp Red Pepper Flakes
  • 1/8 Tsp Black Pepper
  • 1/4 Tsp Salt
  • 2-3 Green Onion Stalks - cut into 1 inch pieces

Topping (optional):

  • 1 Tsp Sesame Seeds
  • 2-3 Green Onion Stalks - chopped thinly

Instructions

Making the Crispy Tofu.

  1. Start by cutting the tofu into bite-size pieces or about 1-inch size.
  2. Then pour the cornstarch on a large plate.
  3. Add the sliced tofu pieces in the cornstarch and toss to coat them evenly.
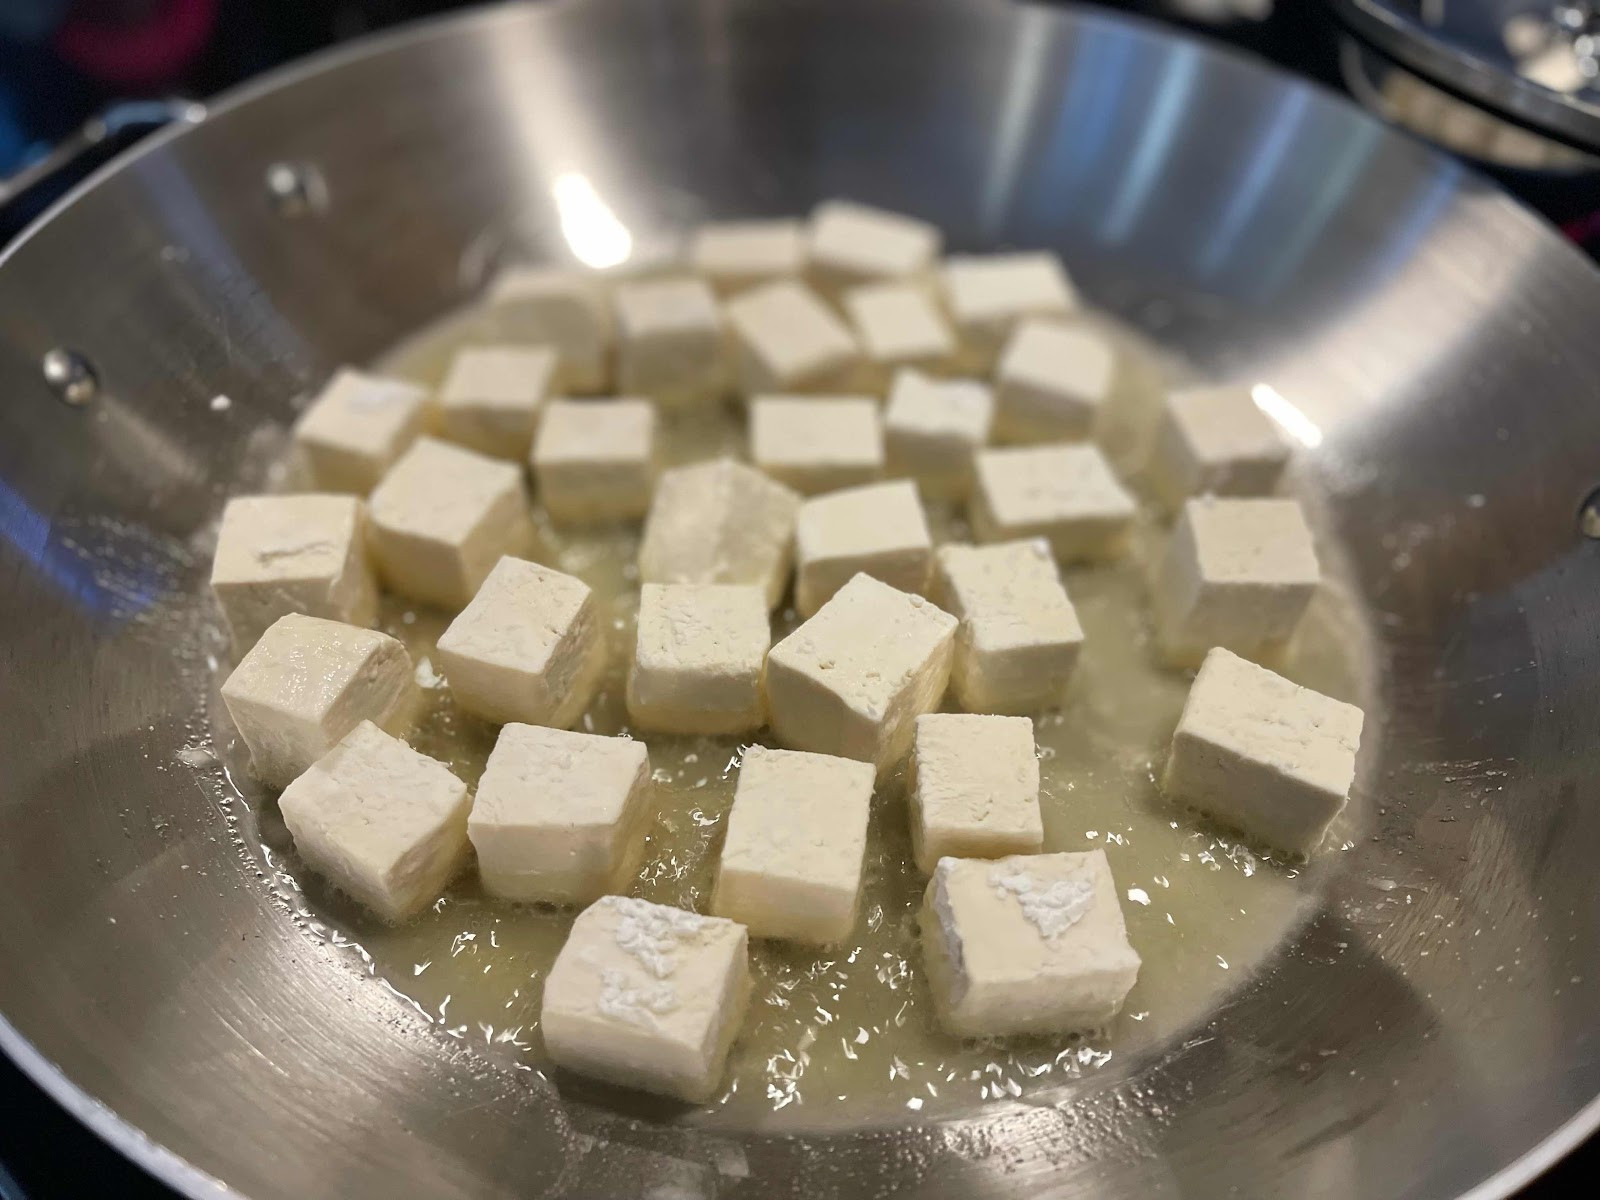
  4. Heat 1/2 the sesame oil in a non-stick pan/wok.
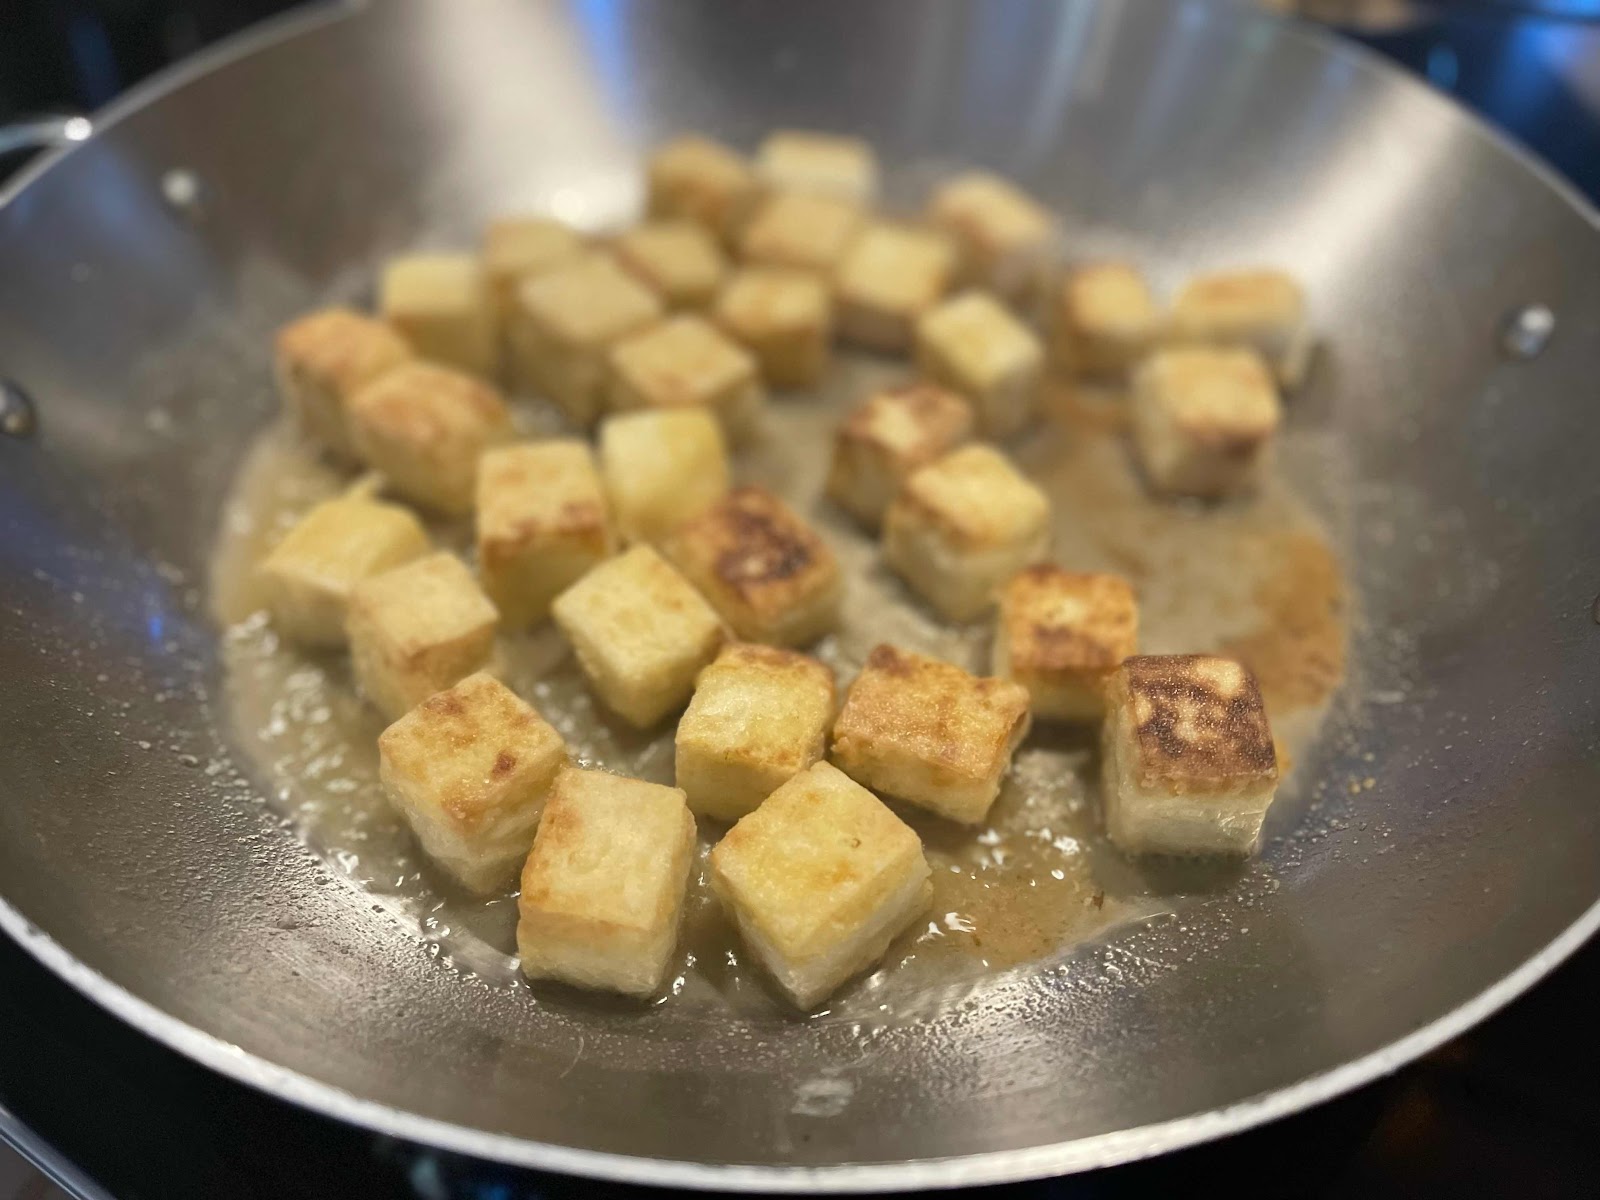
  5. Add 8-10 coated tofu pieces and shallow fry for 3-4 minutes (turn sides and cook tofu evenly until light golden brown).
  6. Remove the cooked tofu and repeat the step until all leftover tofu is cooked.

Making the Sweet-Spicy Sauce:

  1. Take a large bowl and add all the sauce ingredients in it. Whisk to mix everything evenly.
  2. In the same non-stick pan/wok and add the whisked sauce ingredients from the bowl.
  3. Saute the sauce and let this simmer on low heat for a minute.
  4. Add larger green onion pieces. 
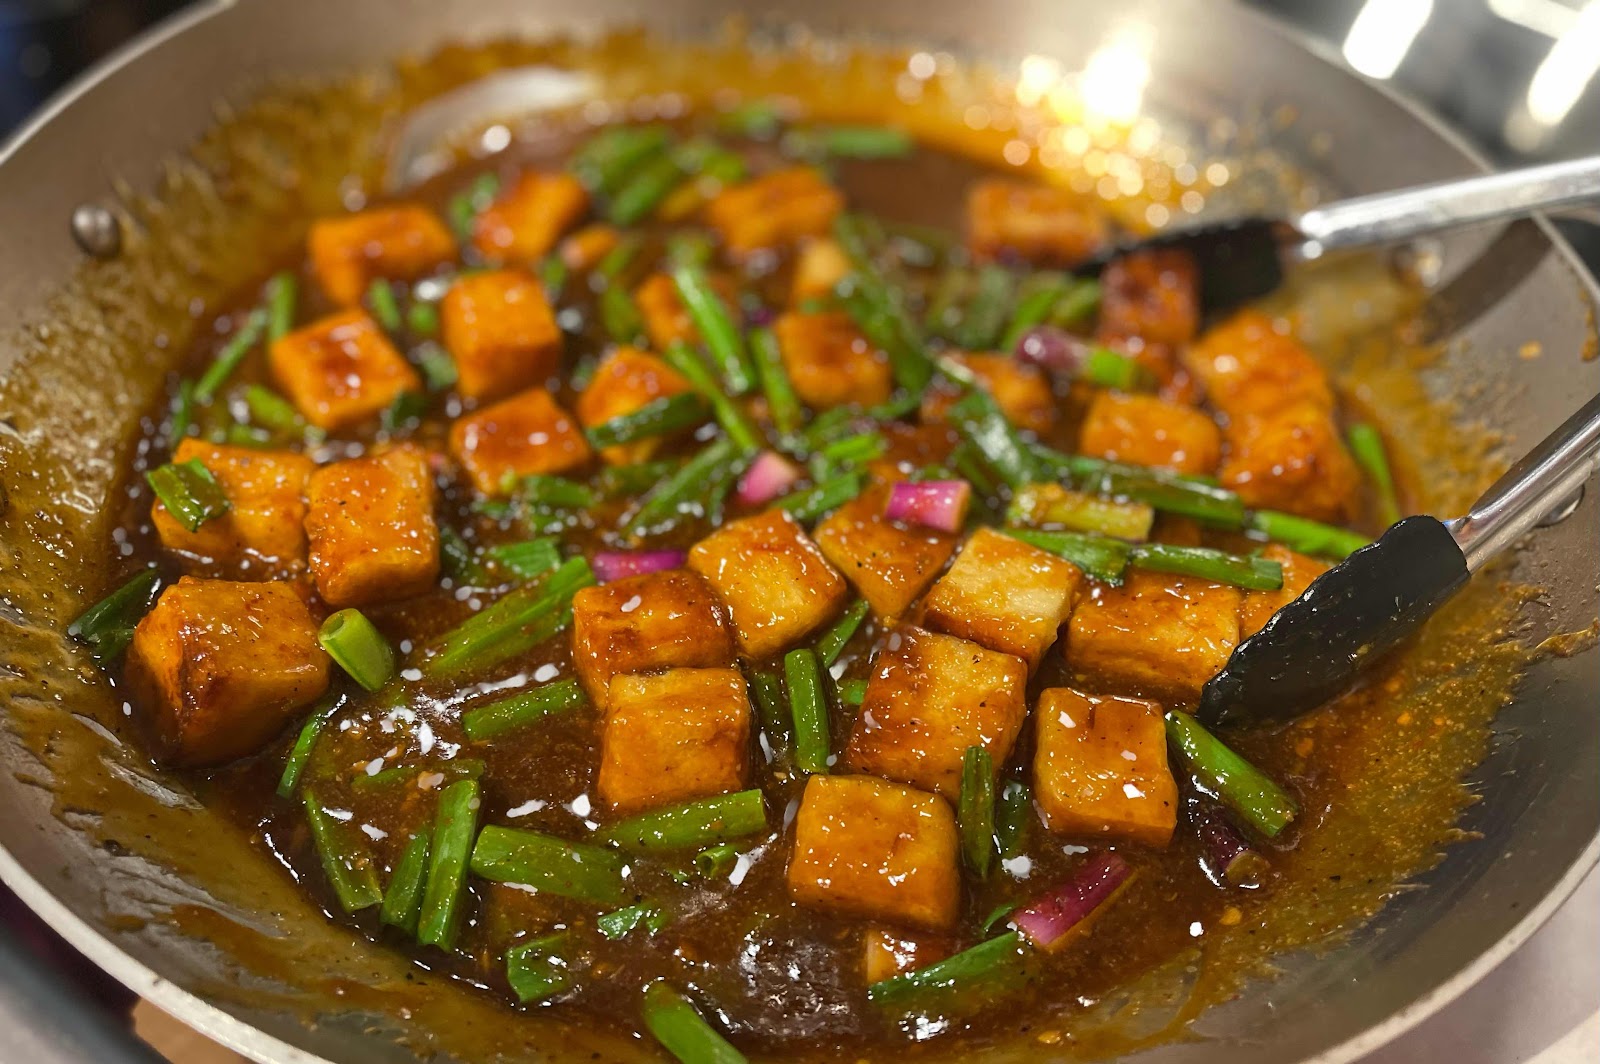
  5. After a minute, add the crispy tofu and stir to mix everything.
  6. Make sure the sauce evenly coats each side of crispy tofu.
  7. Let this cook for another 2-3 minutes and then turn off the heat.
  8. Transfer the Firecracker Tofu to a serving bowl.
  9. Sprinkle sesame seeds and sliced green onions. 
  10. Serve hot with choice of side.



Thursday, July 1, 2021

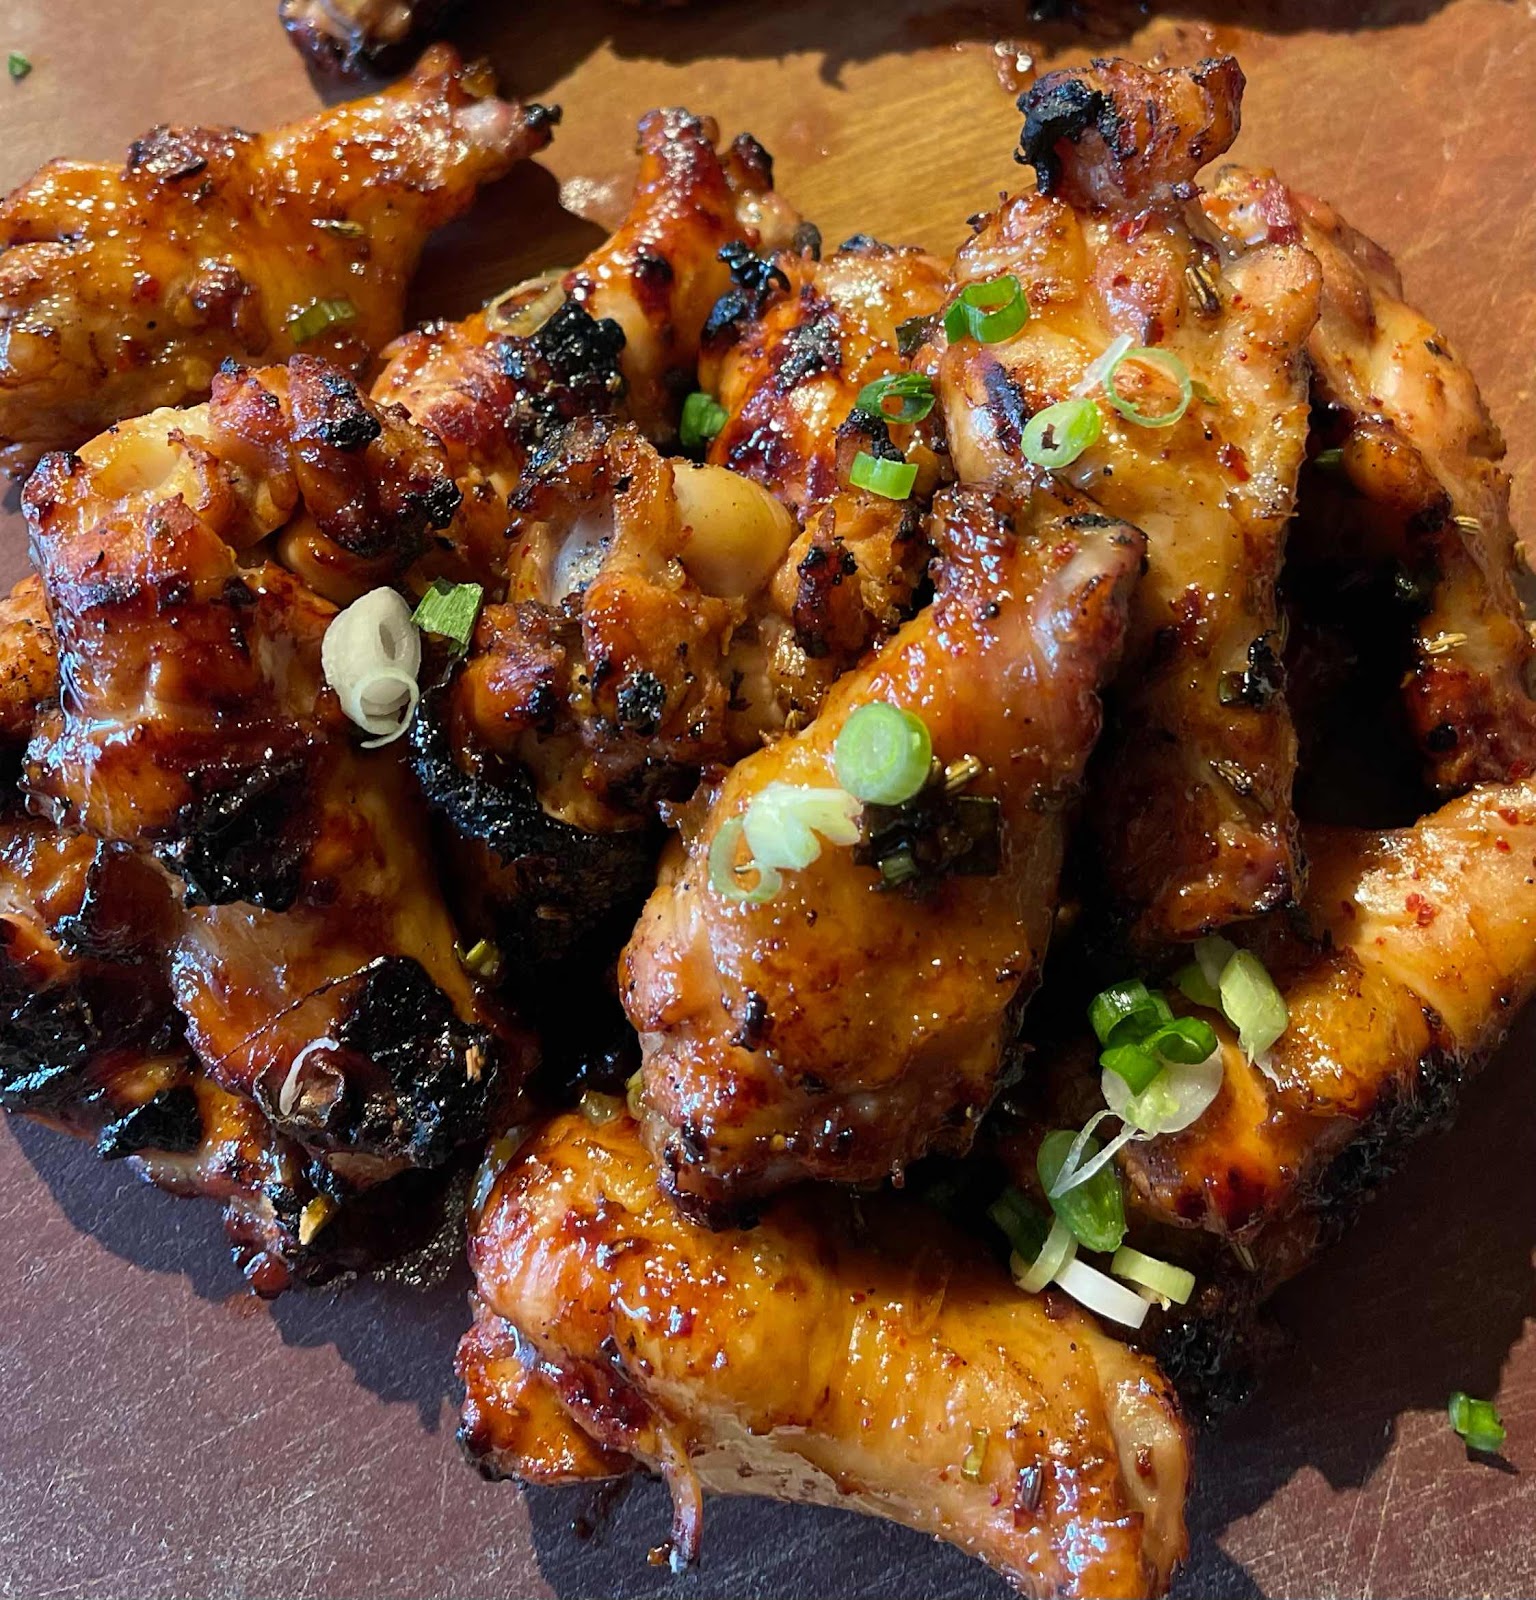
Sesame-Hoisin Chicken Wings

(Warning…sappy love story before the recipe.) As you hopefully all know, I am in love with my husband. I have been since we met on 9.9.99! I had always said, I will end up with someone that can hold up their end of the conversation, but not be a know it all. He’s all that, and a bag of plain Lays (there’s a story in that too!).


That being said, I have been cooking almost every night of our relationship (21 years strong) and I’m not complaining!  However, my one gripe is this…his food rating system! It’s either “it’s ok” or “nah”. Occasionally it might be “would you rather a turkey sandwich”. Otherwise, he’s my best critic. He grounds me and I know what he likes.


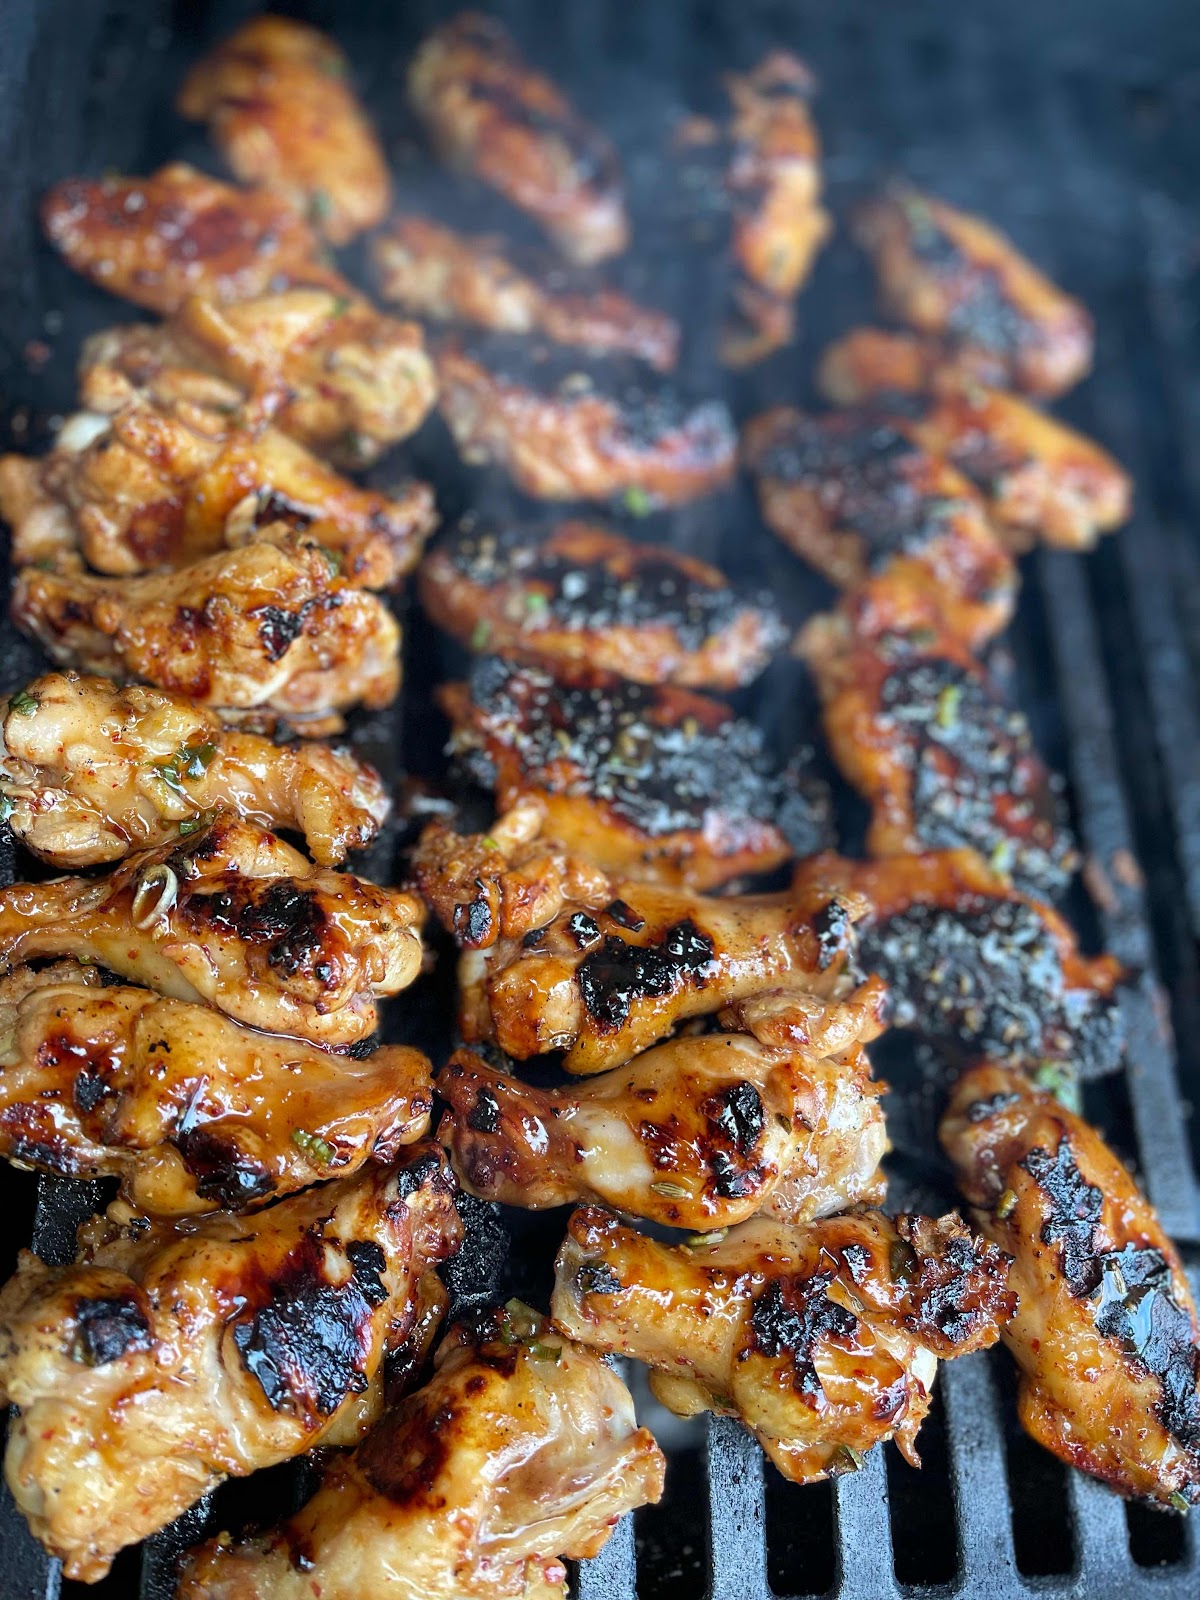
The other night I decided to make grilled wings. Now, we make Buffalo wings ONLY on Super Bowl Sunday It’s our tradition! So, it was risky trying a one off, or two off wing dinner. While on vacation, I came across this amazing recipe for Sesame-Hoisin Chicken Wings and I was like, this is it!  I found fresh wings at my local grocery and was very excited. This time I followed the recipe, as there were many steps and  I didn’t want another biryani incident. Needless to say, they turned out great. Since this was a trial, I didn’t make too many, so there was only one container of leftovers. 


A couple days later Craig was off work and I said, “why don’t you air fry those wings”. I got an “ah, sure, We’ll see”. Which means, no. The next day he says, “those wings”….and I braced myself “were amazing air fried”.  SCORE!!!


Sesame-Hoisin Chicken Wings

Ingredients 

  • 1∕2 cup Soy-Balsamic Sauce
  • 1/2 cup green onion, thinly sliced
  • 1∕4 cup hoisin sauce
  • 1∕4 cup Magic Paste (recipe follows)
  • 3 lb. chicken wings, separated into flats and drumettes
  • Gochugaru (Korean-style red pepper), optional

Directions 

  1. In a large bowl, whisk the Soy-Balsamic Sauce, scallions, hoisin, and Magic Paste. Set 1∕2 cup sauce aside in a small bowl for basting the wings. Add the wings to the large bowl. Toss until coated. Cover the wings and reserved sauce separately; refrigerate for 1 hour.
  2. Prepare the grill for medium heat. If using charcoal, when the coals are gray, pile them on 1 side of the grill. If using a gas grill, light 1 part of the grill and leave the other unlit.
  3. Place the wings on the cooler side of the grill in a single layer, spacing them evenly apart. Close the grill and cook for 5 minutes. Turn the wings over; baste with the reserved sauce. Close the grill and cook for 5 minutes more. Transfer the wings to the hot side of the grill; baste with some of the sauce. Cook, turning once or twice, until cooked through, 10 to 20 minutes more; move the wings to the cooler side of the grill if the skin begins to burn. Top with gochugaru for a little more heat, if desired.

Soy-Balsamic Sauce

Ingredients 
  • 1 1∕4 tsp. cornstarch
  • 1∕4 cup plus 1 tbsp. brown sugar 
  • 1∕2 cup plus 2 tbsp. balsamic vinegar
  • 1∕2 cup plus 2 tbsp. soy sauce
Directions
  1. In a small bowl, stir the cornstarch and 2 tbsp. plus 11∕2 tsp. water. In a small saucepan, bring the sugar, vinegar, and soy sauce to a boil over medium heat, stirring until the sugar dissolves.
  2. Stir in the cornstarch. Simmer until thick enough to coat the back of a spoon, about 3 minutes. 
  3. Let cool. Refrigerate in an airtight container for up to 3 months. Makes about 1 1∕4 cups.

Magic Paste


Ingredients 
  • 1-inch piece of fresh ginger, peeled and sliced
  • 5 cloves garlic, peeled
  • 2 tbsp. fennel seeds
  • 1∕2 cup fish sauce
  • 1∕4 cup gochugaru (Korean- style red pepper)
  • 1∕4 cup toasted sesame oil
Directions
  1. In a food processor, pulse the ginger, garlic, and fennel seeds until finely chopped. 
  2. Add the fish sauce, gochugaru, and oil. 
  3. Process until almost smooth, about 30 seconds. 
  4. Refrigerate in an airtight container for up to 2 weeks or freeze for up to 2 months. 
  5. Makes about 1 cup.


Tuesday, June 8, 2021

Chicken Bahn Mi Burgers

On our recent trip to Hawaii, we were very fortunate to stay with some good friends in their Kona home. Ok to be honest we stayed mainly on their lenai and in the pool, but we actually had a room. 


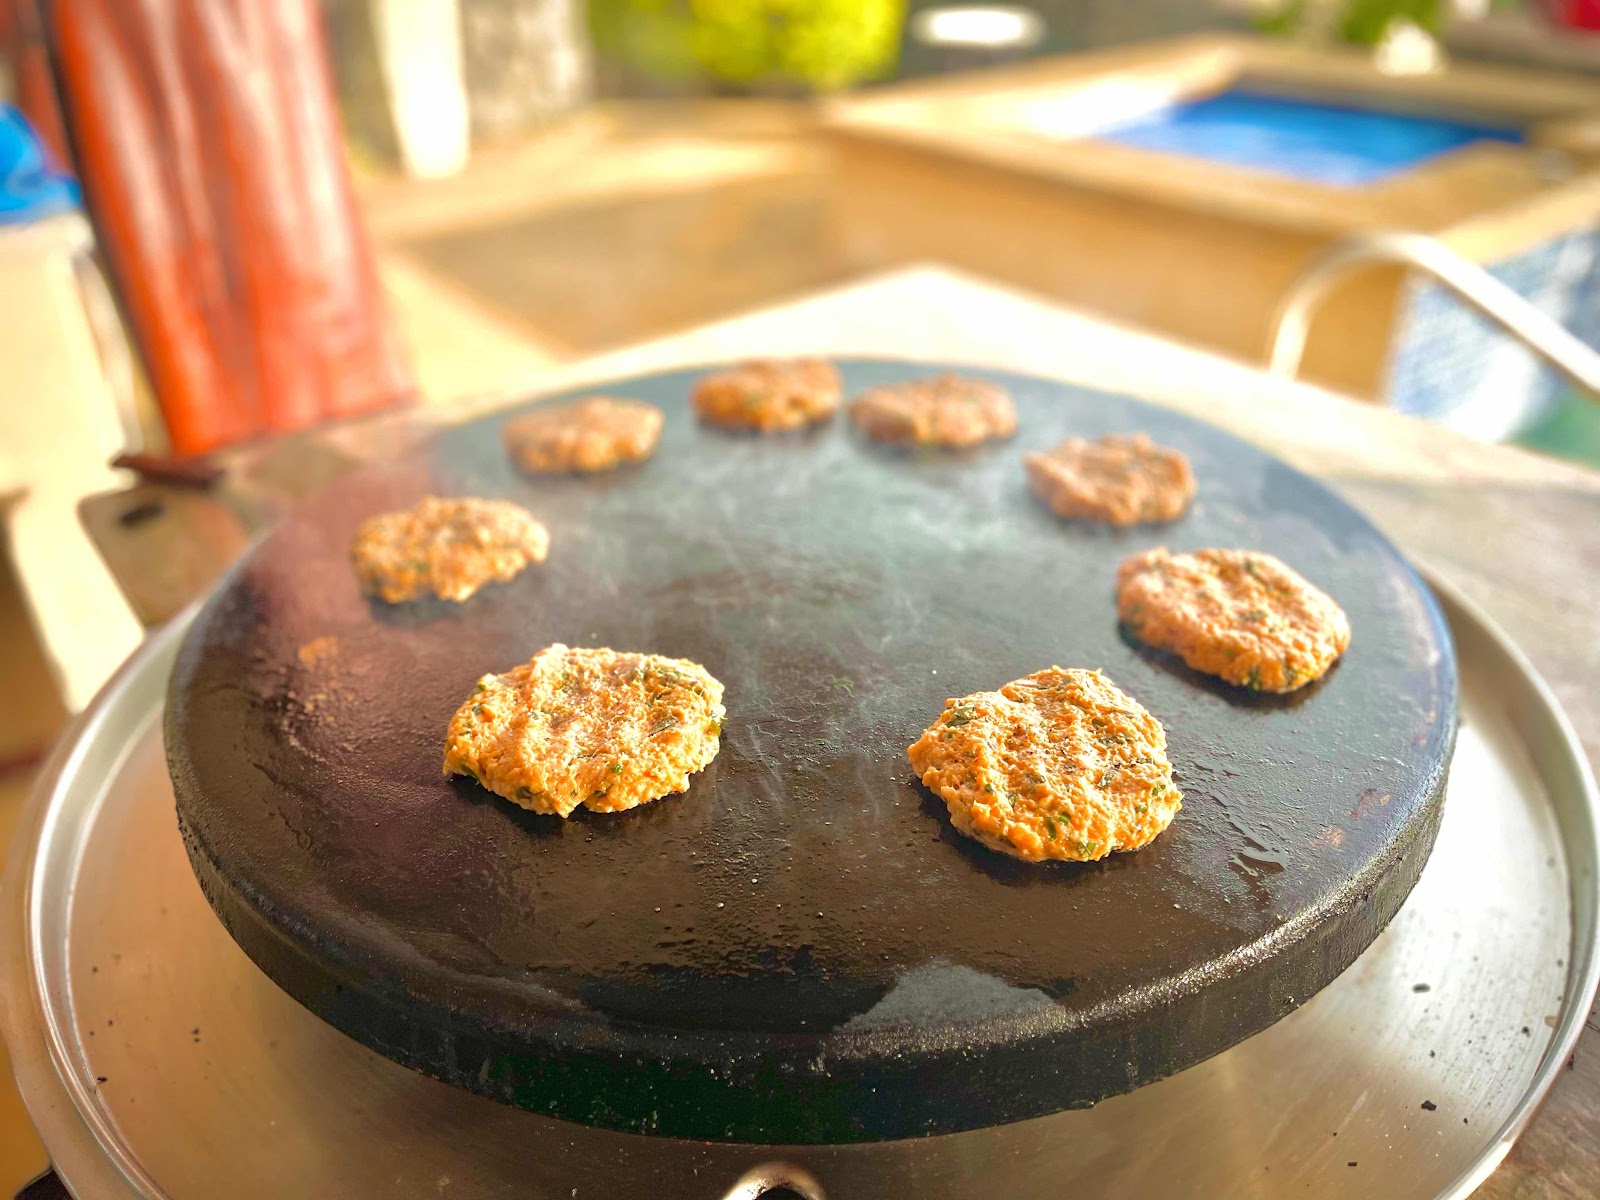
Not only did they have an amazing kitchen, the also had an outdoor flat top range. I think we cooked every dinner out there. We had a great time. 


This night was the last evening another set of good friend were spending with us. They are some great food adventurists as well. (When Phil and I get together, it’s all about great food). So we decided to make Bahn Mi Burgers. 


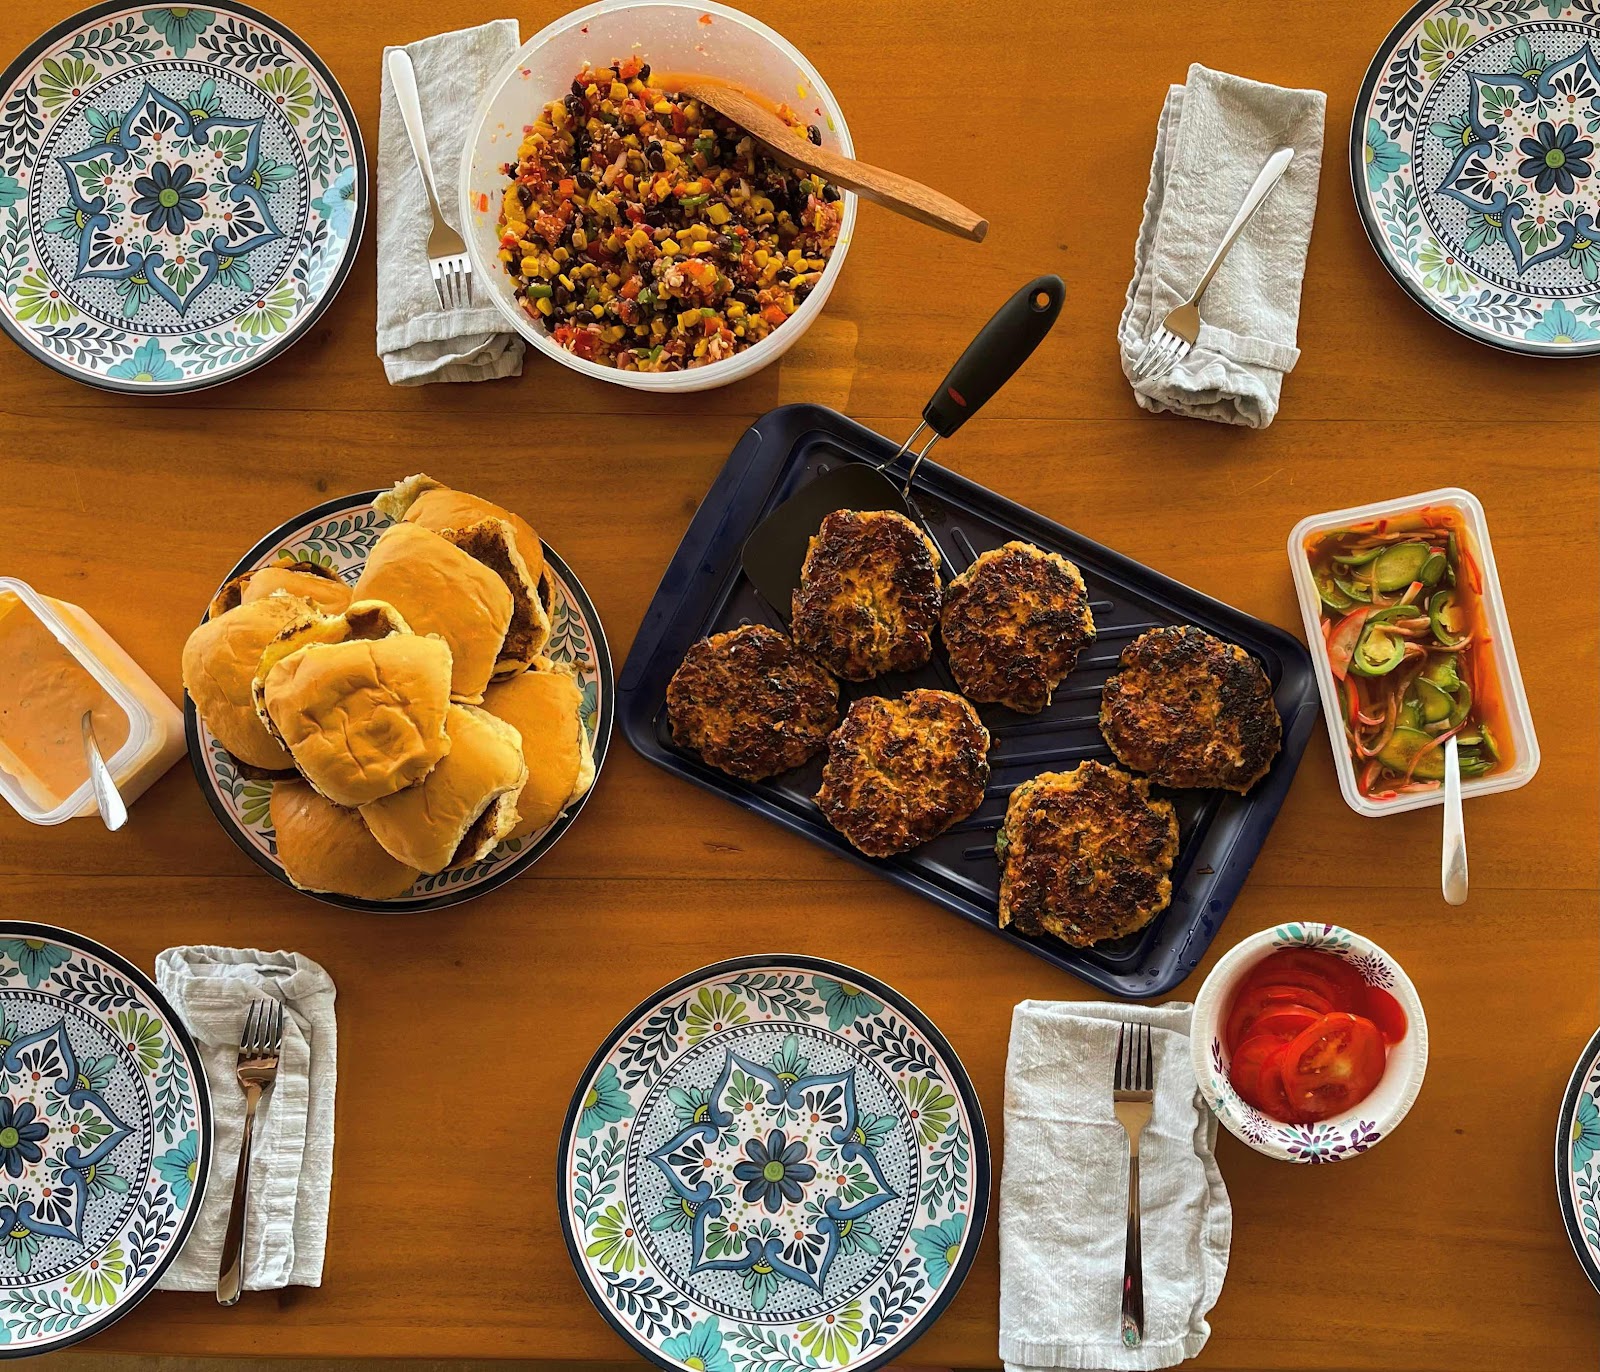
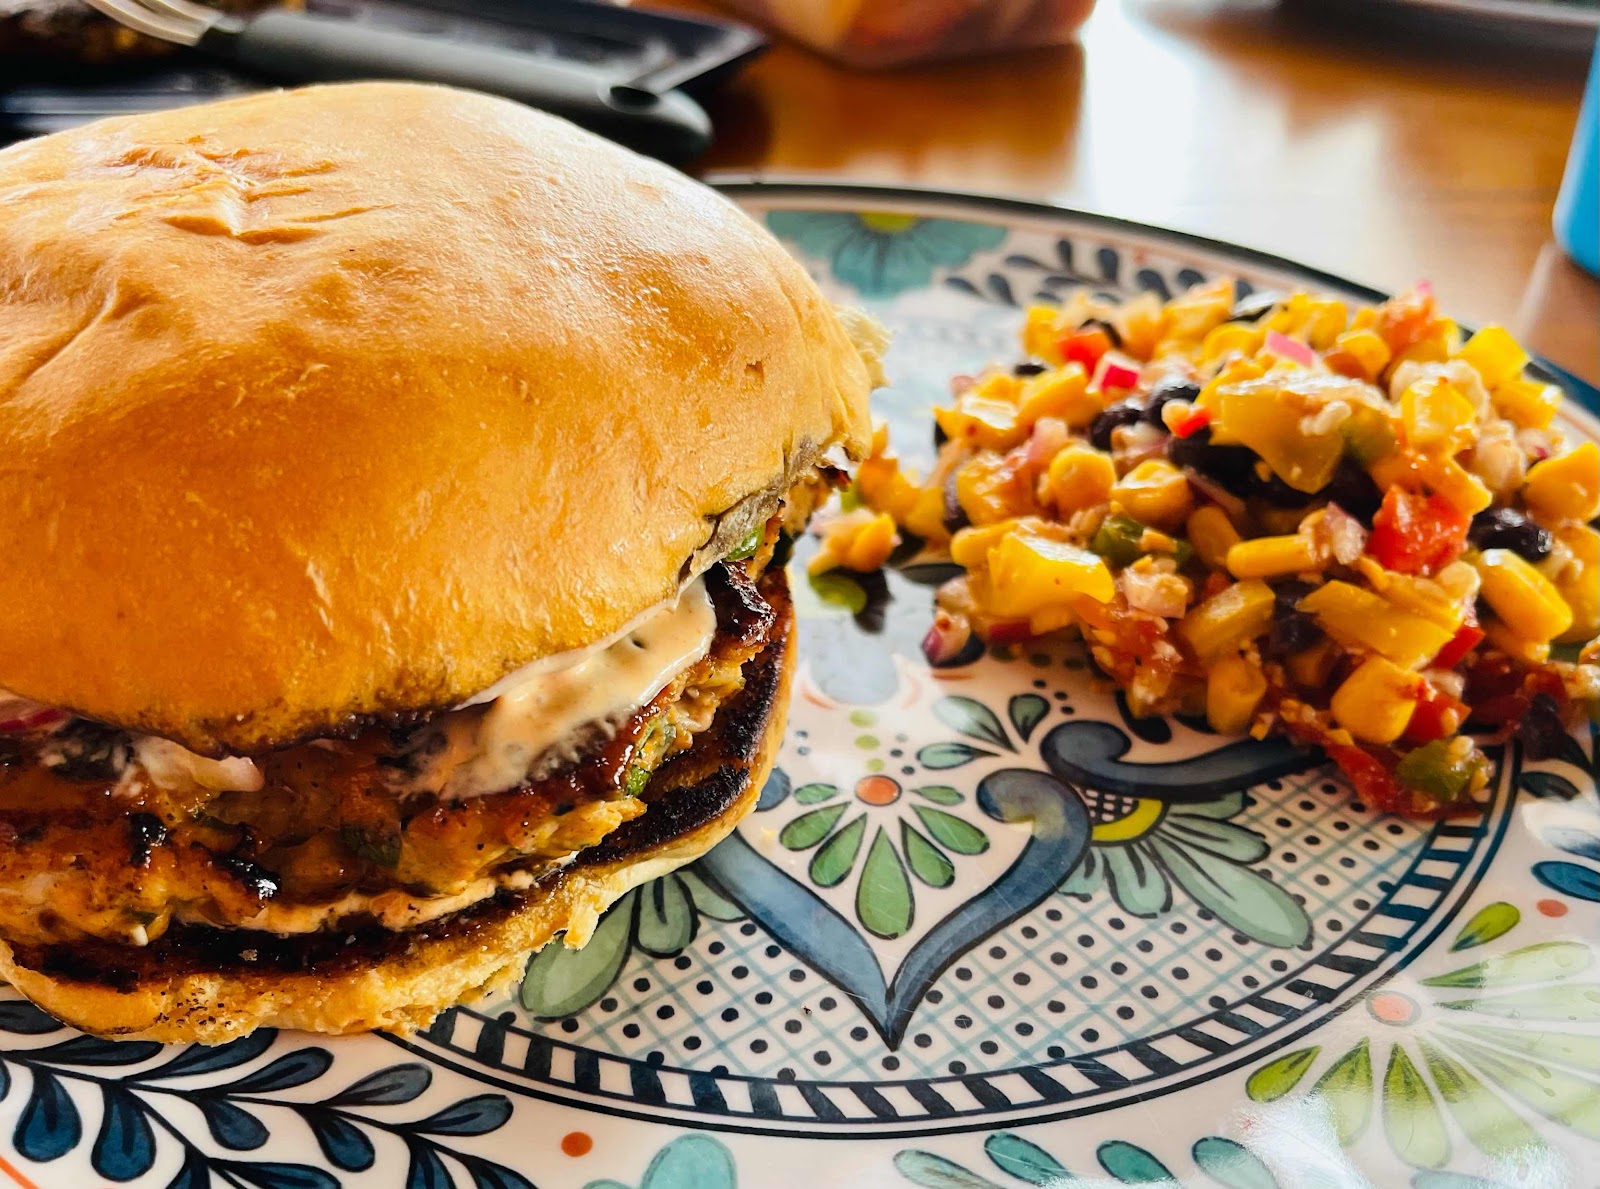
These flavorful and spicy patties were just the thing to make you sweat after a day of sitting around in 82° weather. I served the Bahn Mi Burgers with some spicy pickled vegetables on locally made egg buns we found at the farmers market, sriracha crema and a SW corn and pepper salad. This ones definitely on repeat. (By the way, the original recipe called for ground pork, but because we had several chicken only eaters, I opted to switch the pork with chicken. You couldn’t even tell a difference!!)


Chicken Banh Mi Burger

Ingredients

Burgers Patty

  • 1 lb Ground chicken
  • 1/4 cup Finely chopped fresh basil
  • 4 Garlic cloves, minced
  • 3 Green onions, finely chopped
  • 1 tbsp Fish sauce
  • 1 tbsp Sriracha
  • 1 tbsp Sugar
  • 2 tsp Cornstarch
  • 1 tsp Freshly ground black pepper
  • 1 tsp Kosher salt

Sriracha Mayo

  • 1 cup Mayonnaise
  • 3 Green onions, finely chopped
  • 2 tbsp Sriracha
  • 4 Brioche buns
  • Sesame oil
  • Sriracha mayo
  • Favorite Vietnamese pickled veggies (recipe below)
  • Cilantro
  • Cucumbers
  • JalapeƱos (optional)

Method

  1. In a large bowl combine all ingredients for patties until fully combine and separate into 4 equal parts. Using your hands, carefully form each patty until even in thickness all the way around is achieved and set aside. You want it about ⅓” thick. (Chill in fridge, until ready to grill)
  2. In a small bowl combine ingredients for sriracha mayo and whisk until smooth. Can be made ahead and stored for up to a week.
  3. Preheat grill to medium/high heat. Add patties to the grill and allow to cook without moving for 5 minutes. Flip the patties and repeat with the other side. If the meat isn't cooked through, flip every few minutes until cooked to avoid burning. If you don't have a grill heat a large cast iron skillet over medium/high heat and coat lightly with sesame oil. Insert a cooking thermometer to ensure you have cooked to an internal temperature of 165°.
  4. To prepare the burgers toast the brioche buns On the grill. Add sriracha mayo to both sides of the bun and top with the patty, cucumbers, jalapeƱos, cilantro and plenty of pickled vegetables. Serve immediately.

To make pickled vegetables:

Quick Pickled Vegetables 

  • 1 cup rice wine vinegar
  • 2 Tbsp fish sauce
  • 2 Tbsp soy sauce 
  • 2 Tbsp Sambal Oleck 
  • 1 Tbsp sugar 
  • 1 cucumber, thinly sliced
  • 1-2 radishes, thinly sliced
  • 1/4 lb Dikon radish, thinly sliced
  • 1 carrot, jullianed 
  • 4 thinly sliced red onion 
  • 1 large jalapeƱo, thinly sliced

Directions 

  1. Mix together first 5 ingredients. 
  2. Prepare all the vegetables and place in pickling brine. 
  3. Seal container, shake and place in refrigerator for 30 minutes to an hour. 
RECIPE NOTES: 
As with any of my recipes, you can trade up or switch out and ingredients. 
* We ran out of cilantro, but had plenty of Thai basil so we used that. 
* We had left over cilantro crema from Ono tacos the night before, so I added sriracha and made it the “Sriracha Mayo”
* We had a couple of non pork eaters, so I switched out to chicken
* We ran out of carrots, so I just added more cucumber. 


Monday, May 24, 2021

Thai Chicken Wraps

I love the flavors in Asian cooking.  So when I am motivated to make something quick and easy, and levitate towards cooking Asian faire.  


This is a dish I made on a hot summer day, that I knew we needed something flavorful and light.  


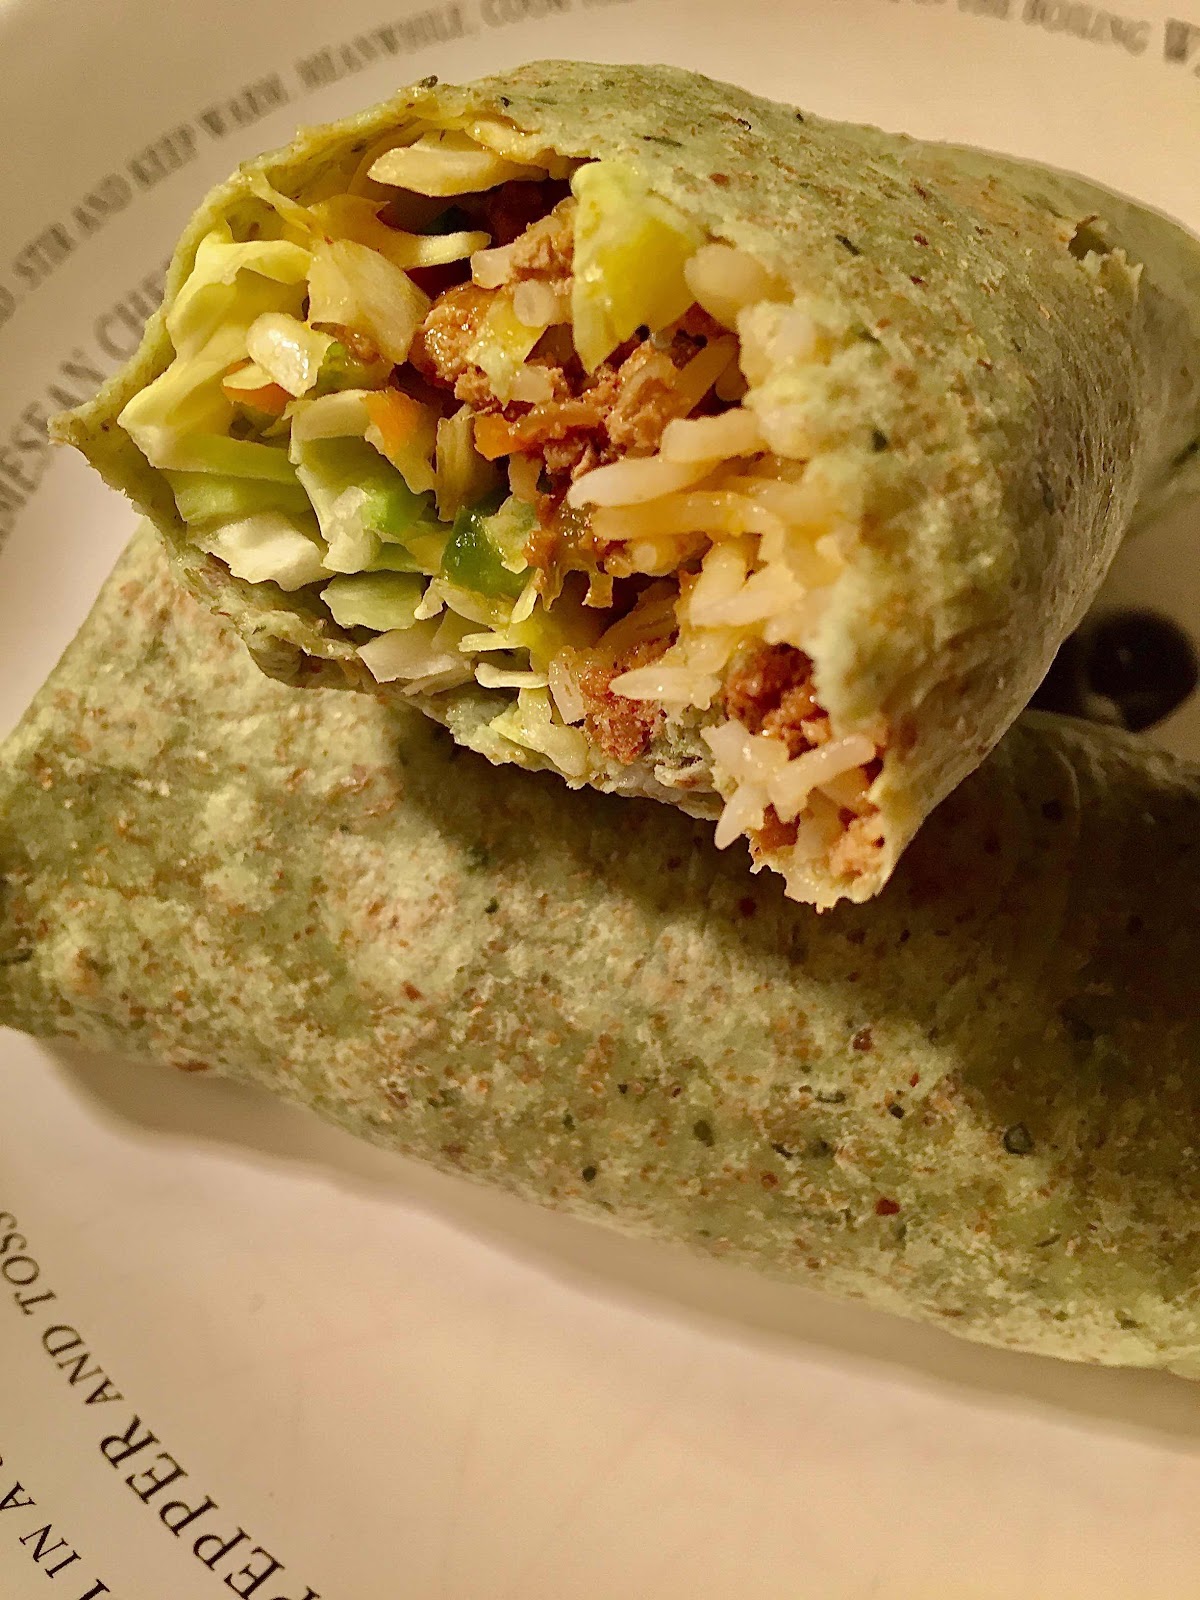
Typically this would be served in lettuce cups, but I opted to switch it up to a tortilla wrap.


Thai Chicken Wraps


Ingredients

  • 1 lb ground chicken
  • 1 tbsp olive oil
  • 2 tbsp red curry paste
  • 1 tbsp ginger, minced
  • 4 cloves garlic, minced
  • 1 red bell pepper, sliced thinly
  • 4 green onions chopped
  • 1 cup cabbage shredded or coleslaw mix
  • 1/4 cup hoisin sauce
  • 1/4 tsp salt (to taste)
  • 1/4 tsp pepper (to taste)
  • 5 leaves basil, chopped
  • 4-6 tortillas


Instructions

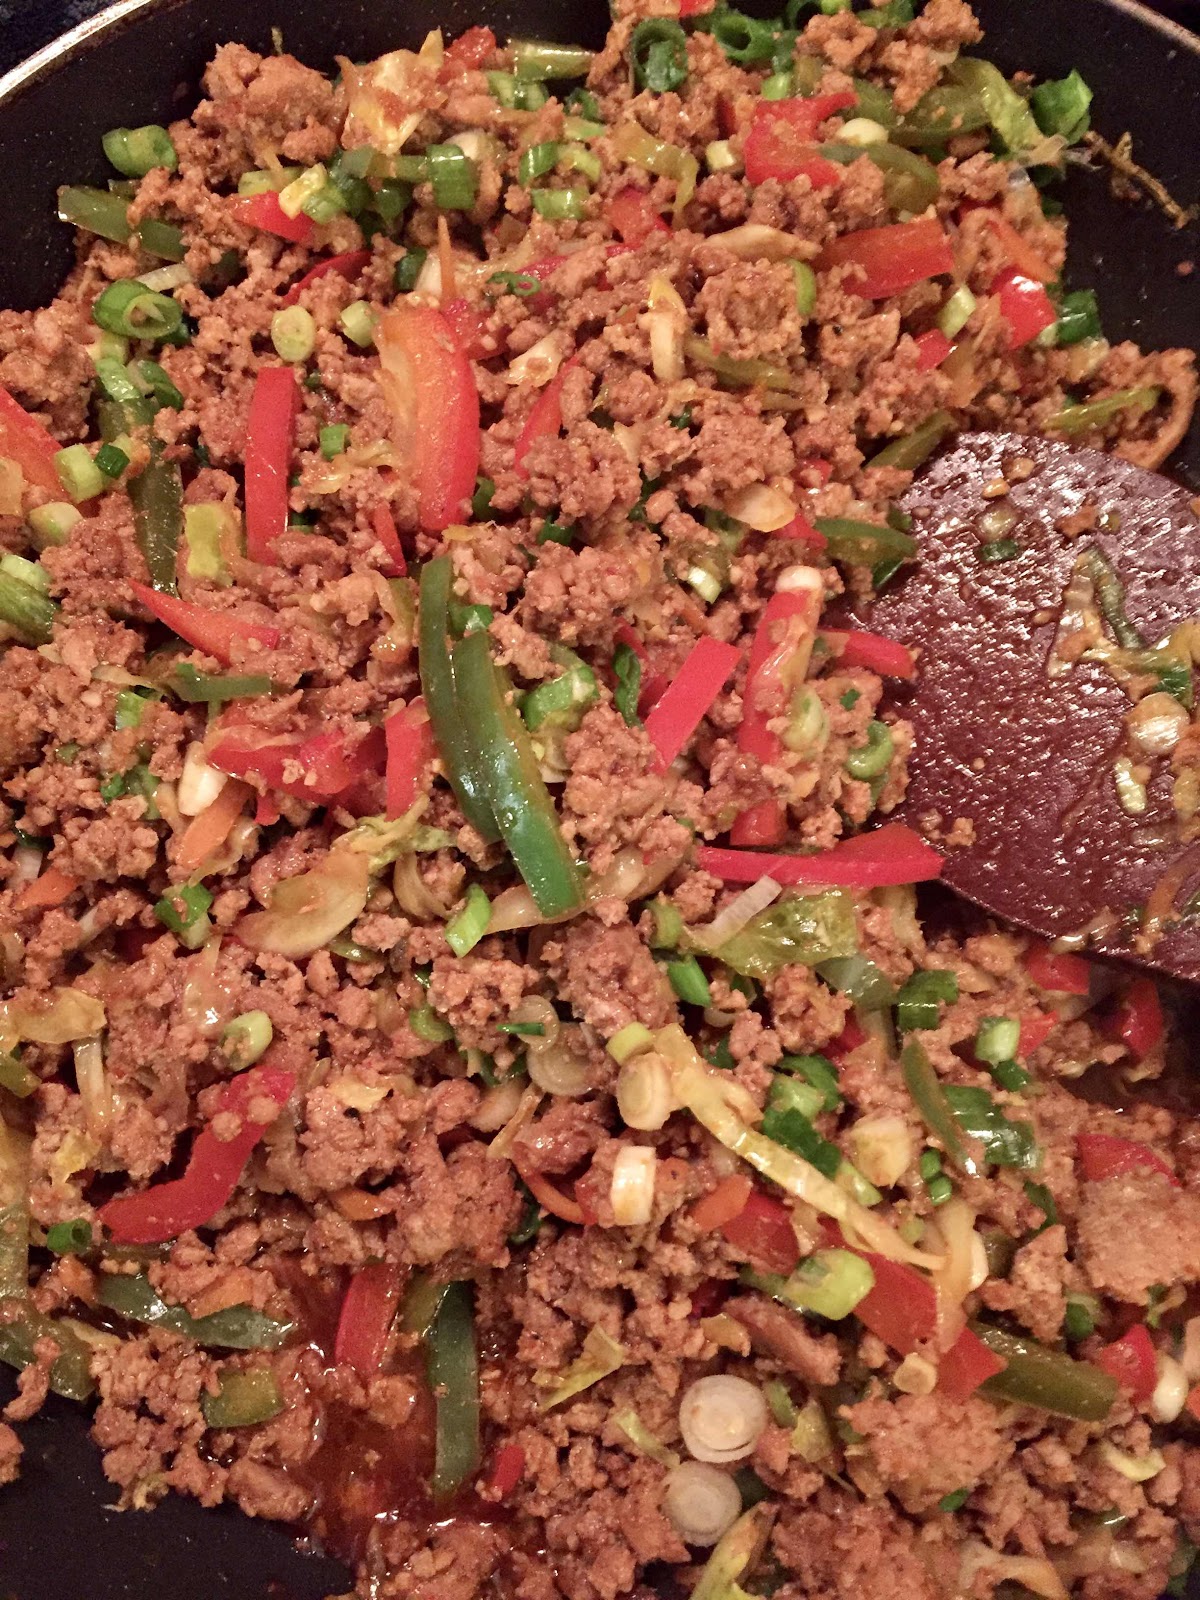
  1. Add olive oil to a large skillet and heat until oil is very hot. Add ground chicken and cook until no longer pink and starts to brown, break it up with a wooden spoon as necessary. Should take about 3 minutes.
  2. Add red curry paste, ginger, garlic, peppers, coleslaw mix, and stir-fry for another 3 minutes. Add hoisin sauce and green onions, and toss. Remove from heat then add basil and toss.Transfer cooked chicken to a bowl.
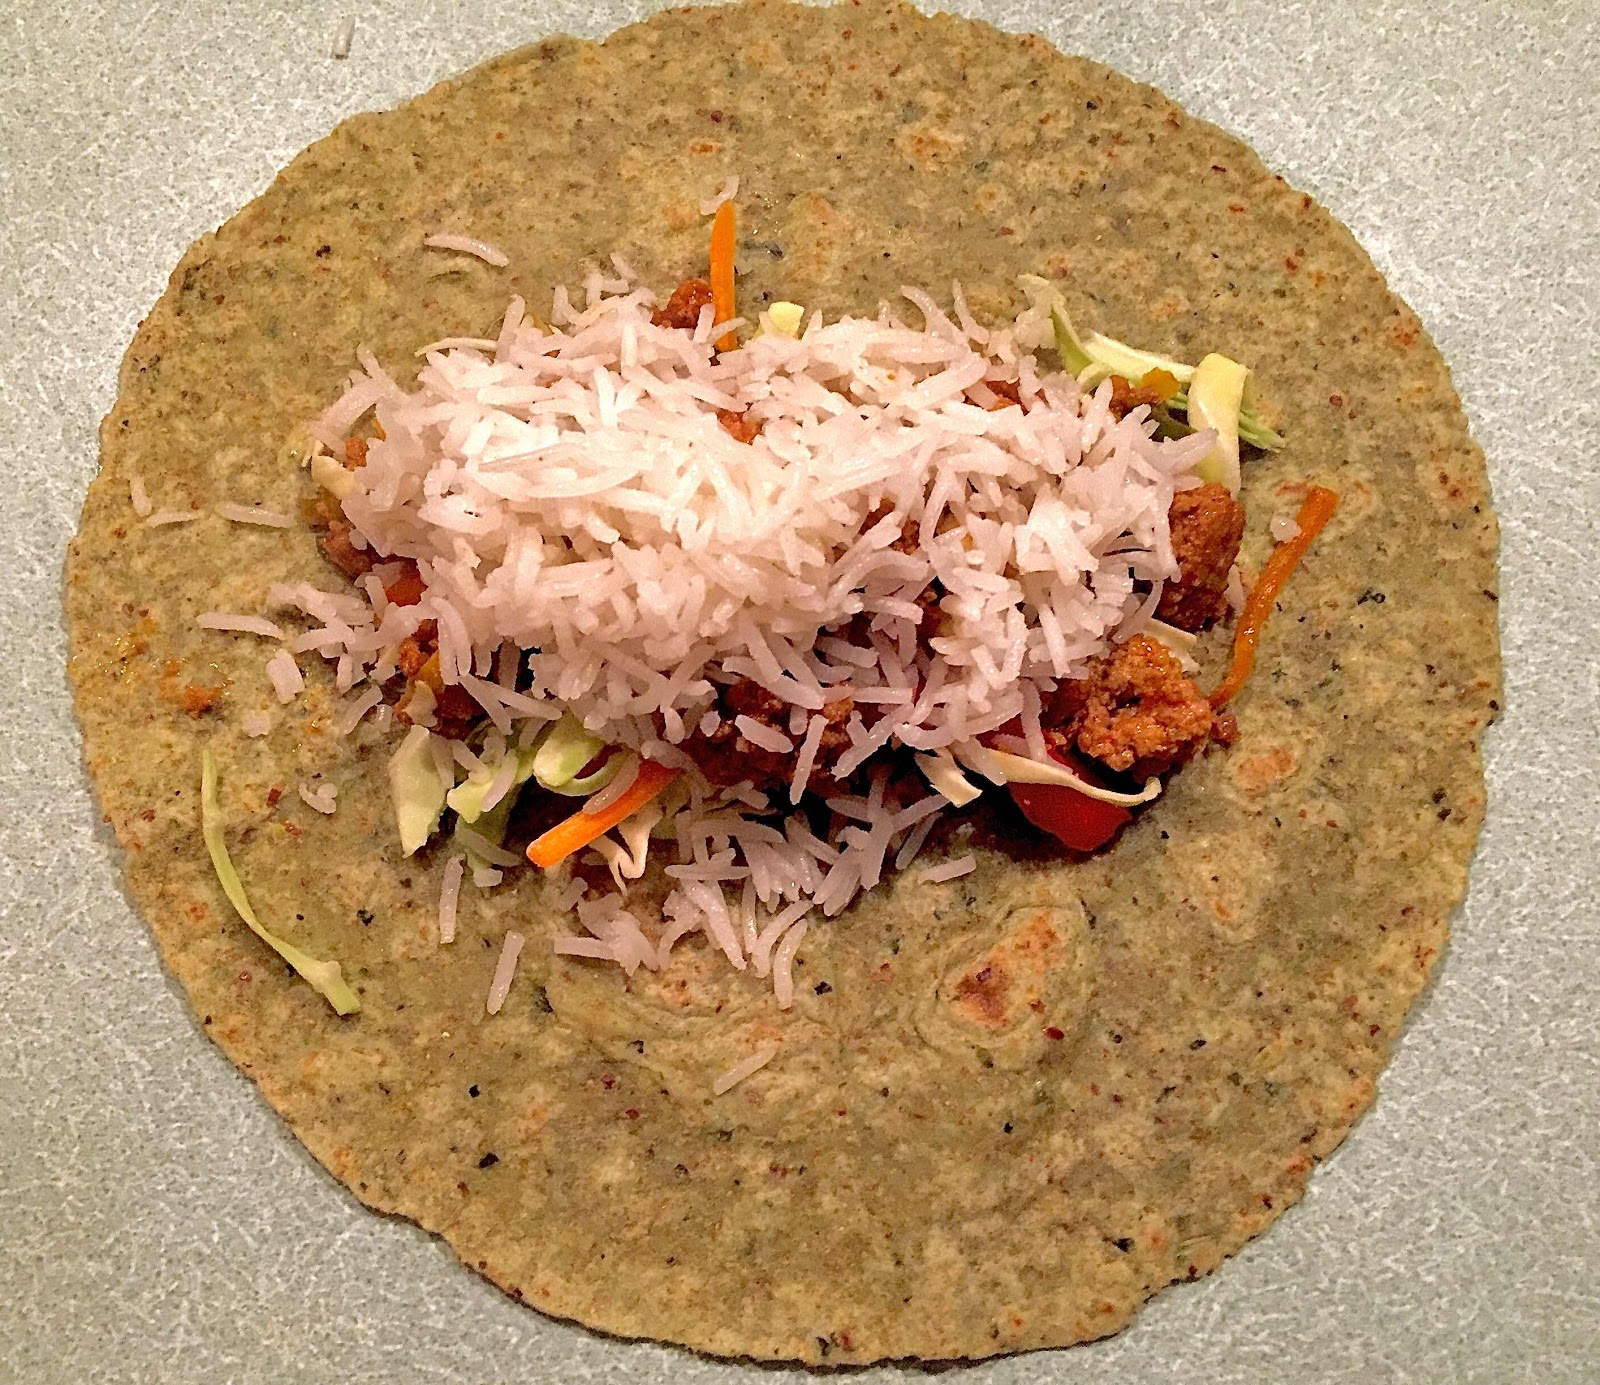
  3. Alternatively, place a tortilla on a cutting surface, place a cup or so of the mixture in the center of the tortilla, and fold both ends in, and roll to make a burrito style wrap.  We also added a small about of rice.  Cut in half, and serve


Thursday, May 20, 2021

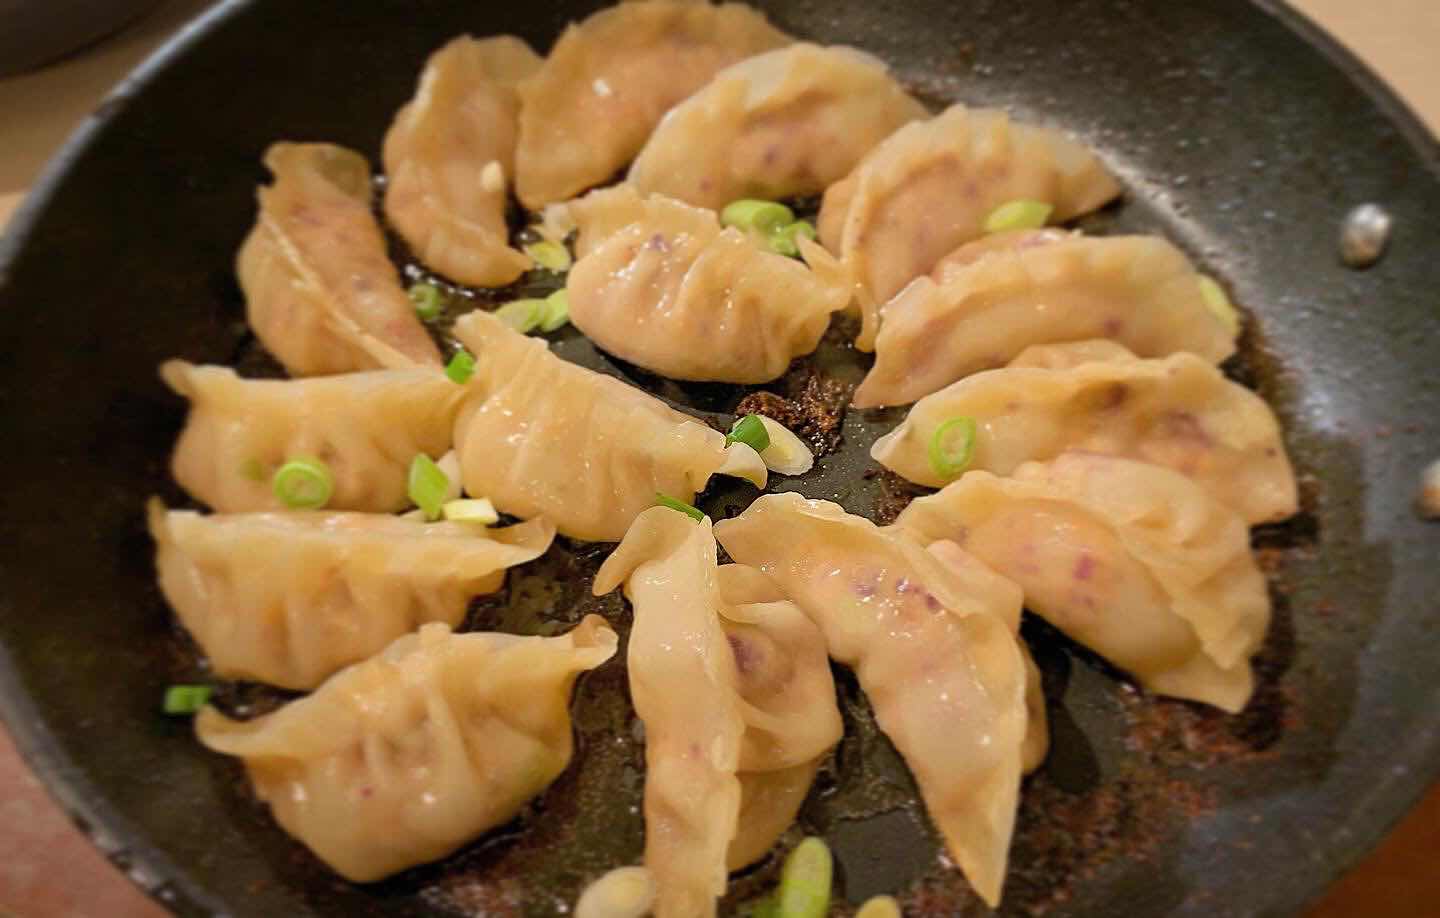
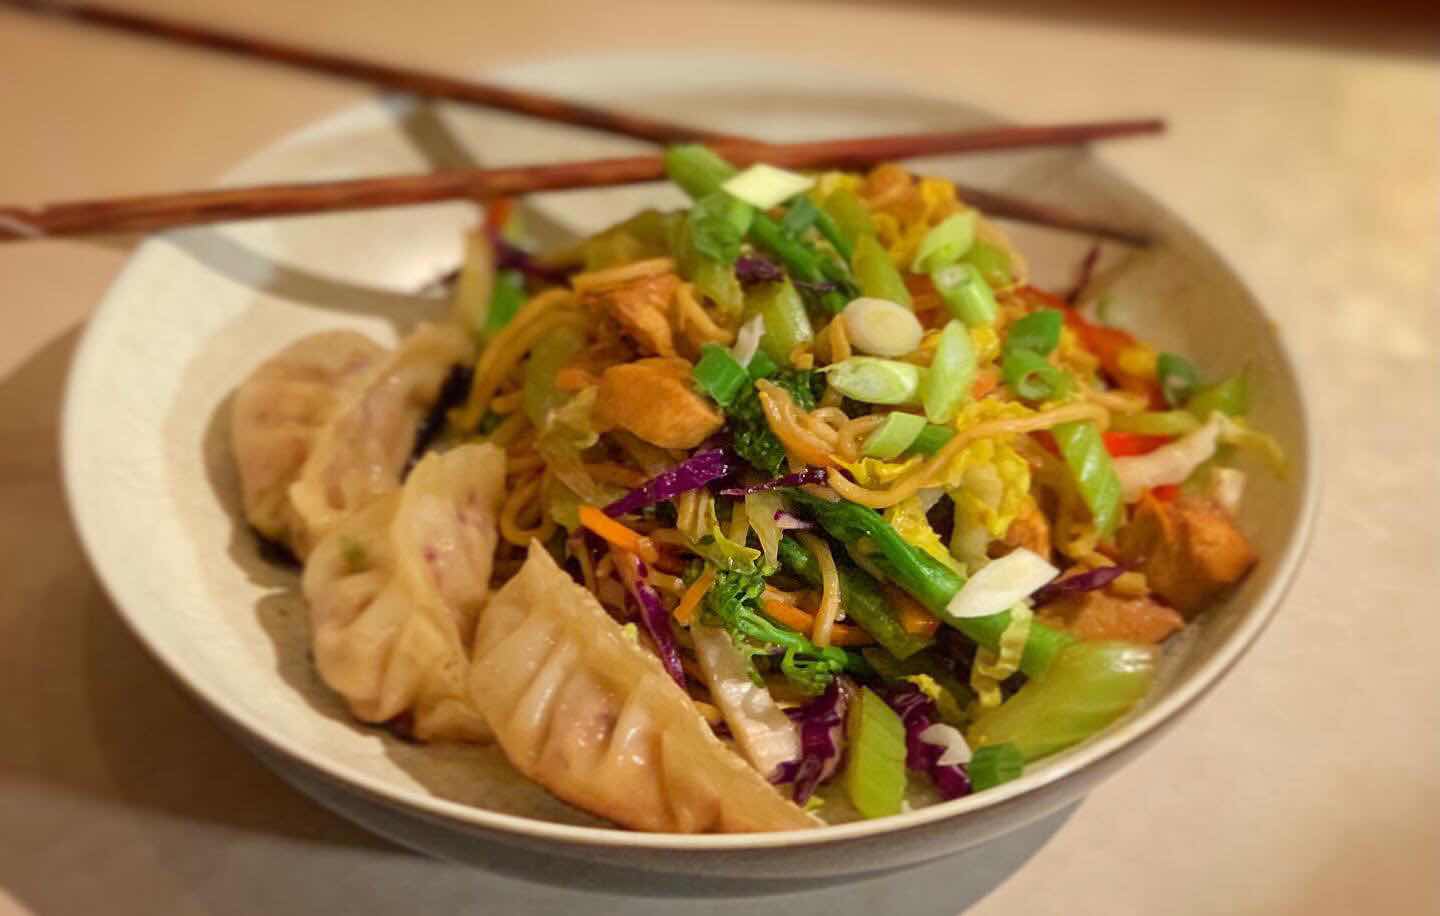
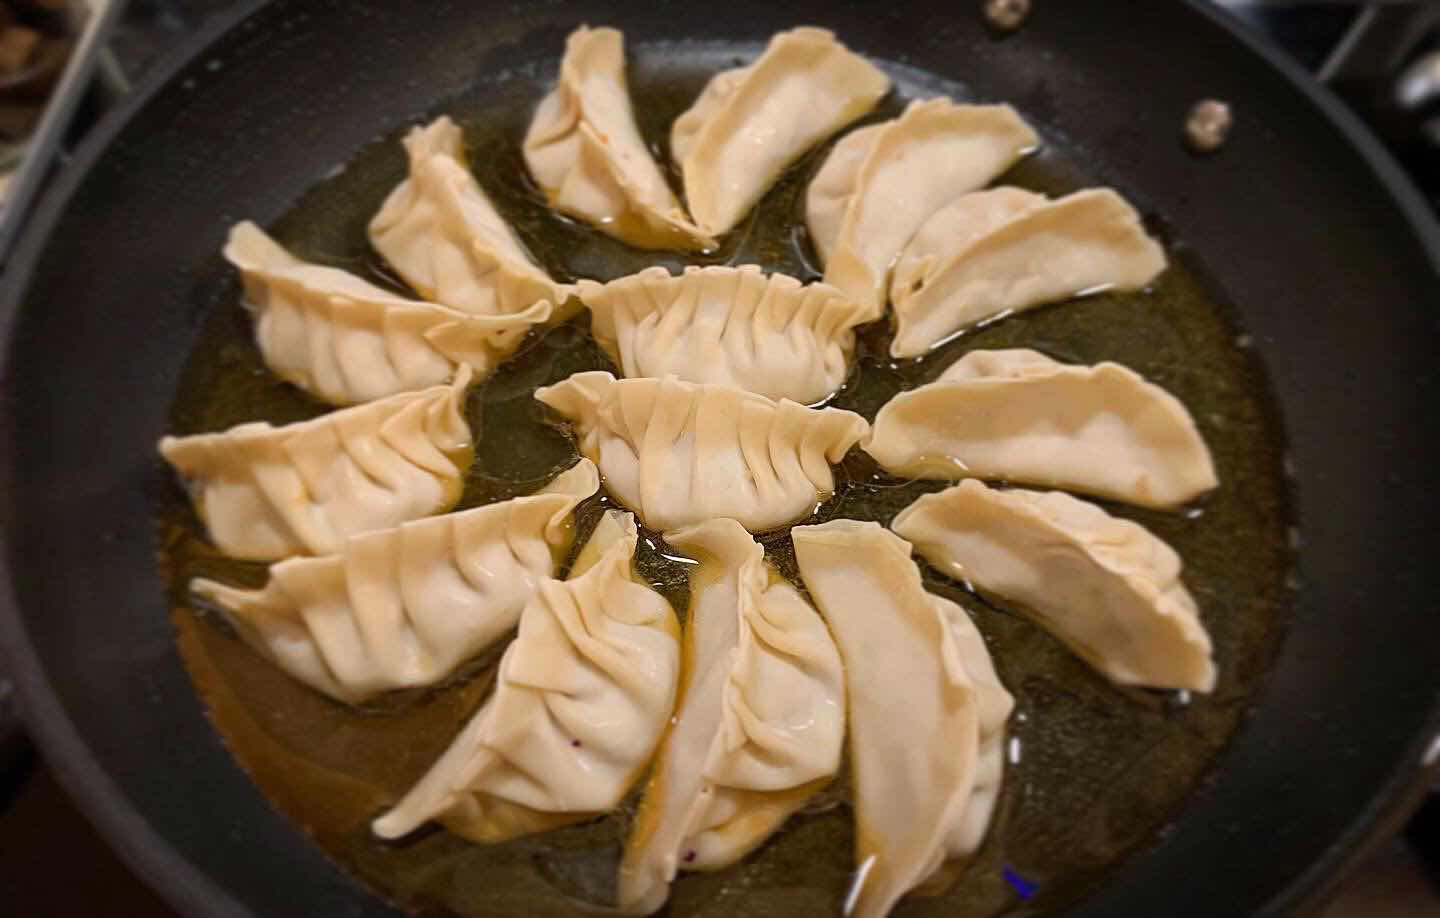
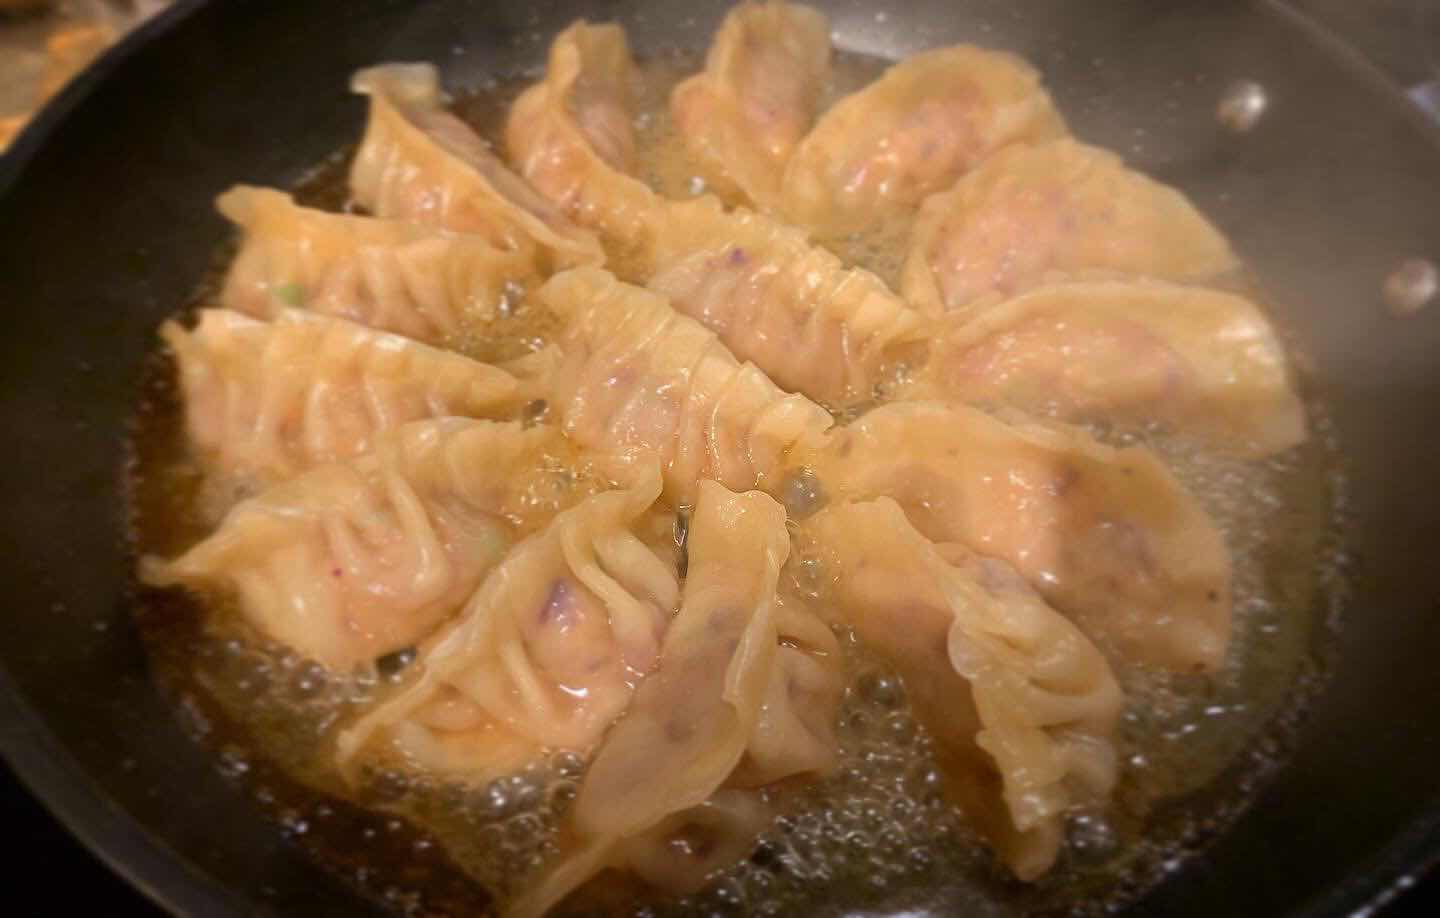
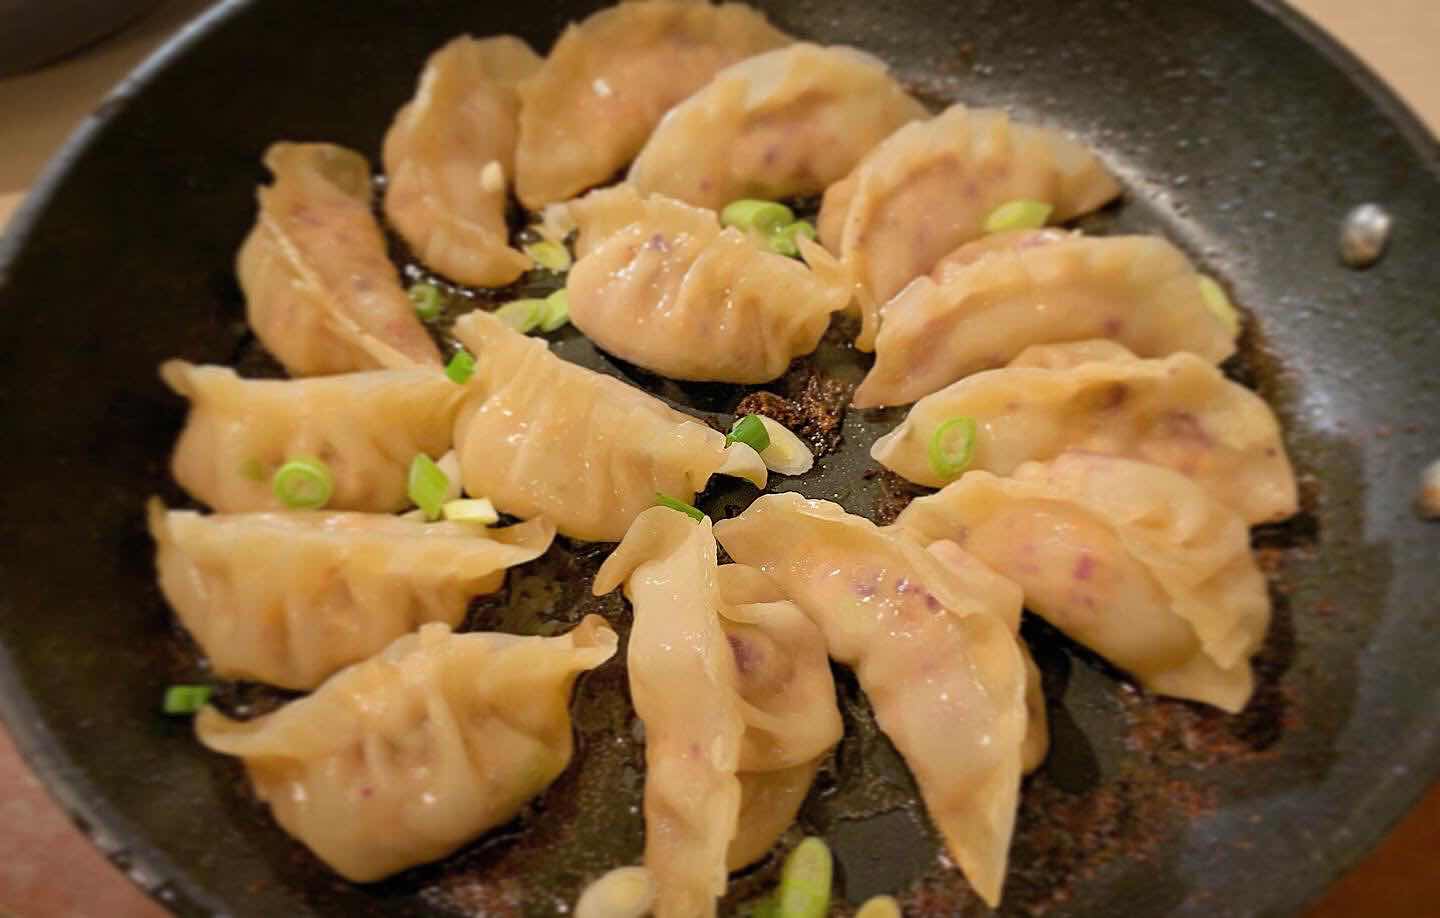
Chicken Mushroom Pot Stickers

When you love to cook, you often get asked “what’s your favorite thing to Cook”.  That a hard questions.  I have so many favorites, but I usually reply, “a challenge”.  Making something that you love to eat, but not necessarily can/will make. This time, for me it was Potstickers.


Now, knowing that Craig likes Asian dishes, but doesn’t necessarily care for pot stickers. (I think it base on many having pork. But if they are homemade, I can put anything in them!!). I would say that the biggest challenge in making these was the time, not the folding, the prep work, or even the final cooking.


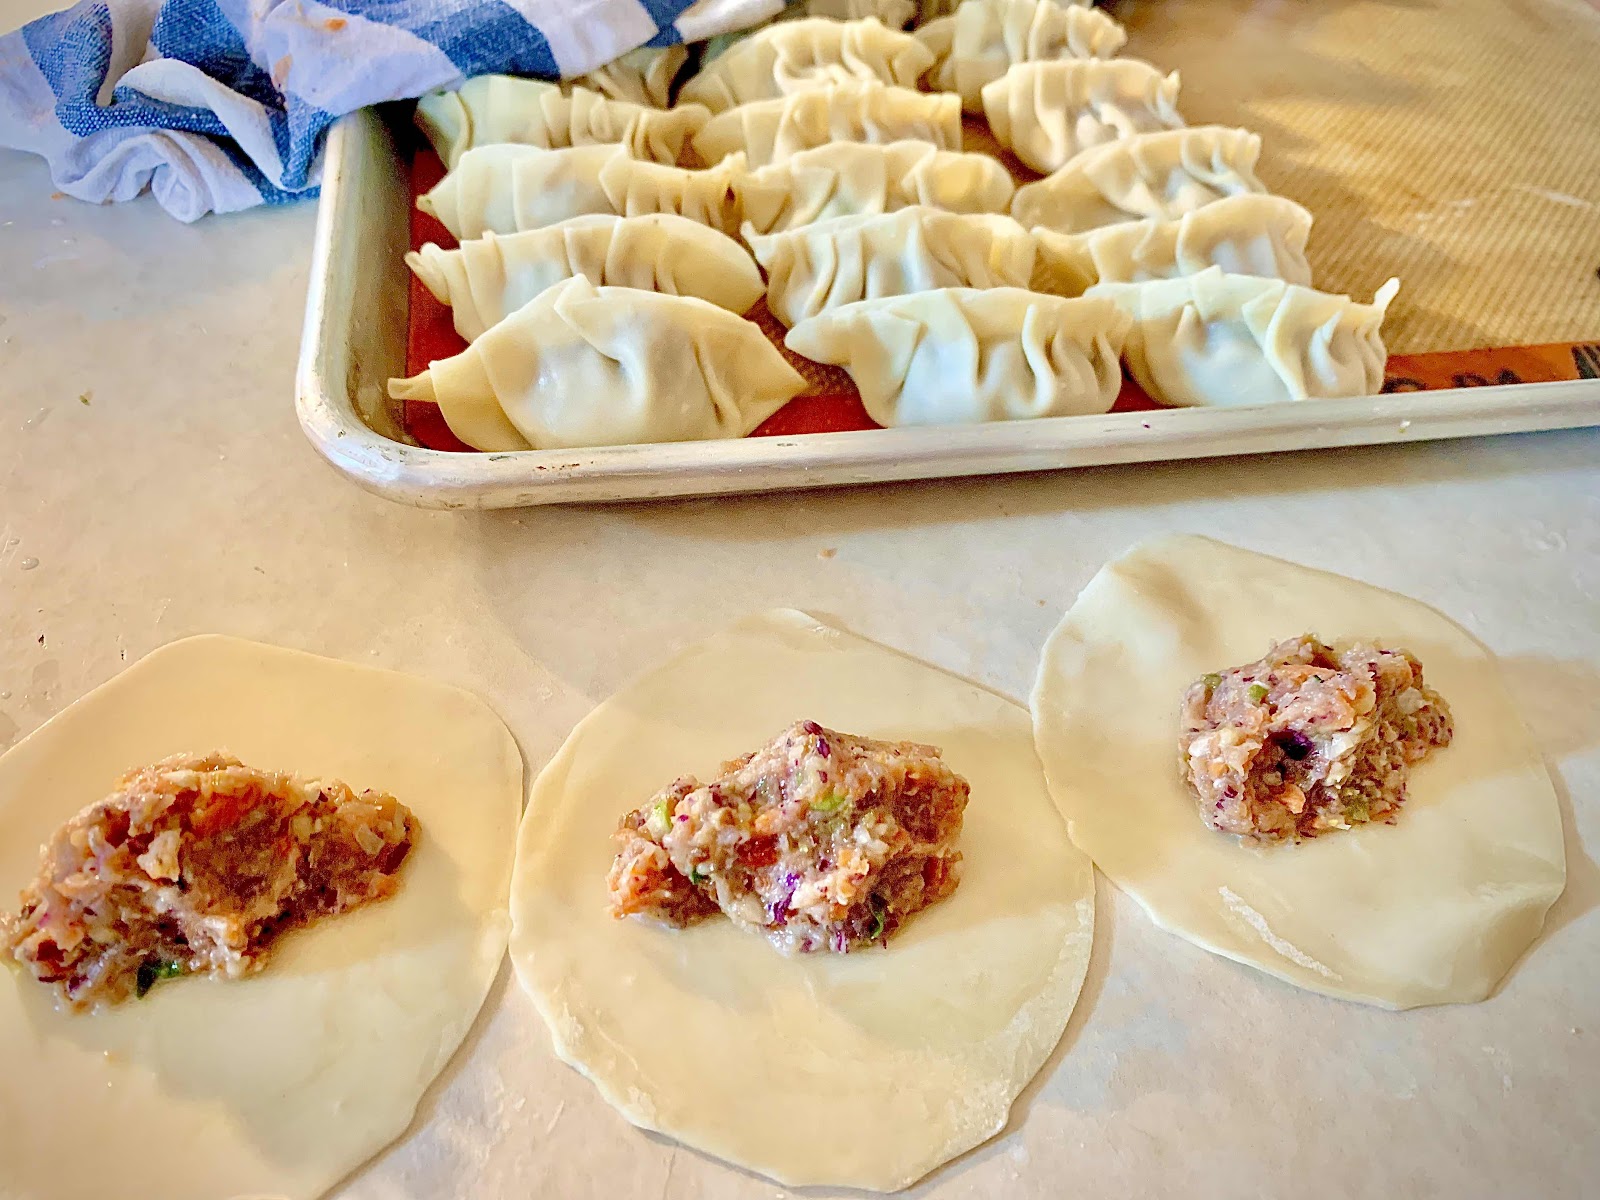
Over the time it takes to make these, you develop a sense of how to fold.  The first few will come out wonky, but after one or two, you’ll “get it”.  Just plan on pulling up a stool, and laying out wrappers, scooping, folding, repeating, 8,000 times.  When I stopped, I think I had make about 140, with 1/3 of the filling mixture left.  So I froze it to utilize some other way….maybe in Drunken Noodles???


Chicken Mushroom Potstickers


Ingredients

  • 35-40 ROUND Asian dumpling wrappers (about 3 1/2″ diameter)
  • 1 cup low sodium chicken broth, divided
  • Neutral oil (I used Avocado)

Filling

  • 1/2 head Napa cabbage(5 oz.), chunked to fit in food processor
  • 1/2 teaspoon salt
  • 3.5oz. pkg. shiitake mushrooms
  • 4 green onions, cut into 1 inch pieces
  • 1″ peeled ginger, peeled & chopped
  • 2 garlic cloves peeled
  • 1 large egg yolk
  • 12oz. ground chicken (or turkey)
  • 1 tablespoon reduced sodium soy sauce
  • 1 teaspoon rice wine vinegar
  • 1 teaspoon rice wine
  • 2 teaspoons toasted sesame oil
  • 1 teaspoon Sambal Oleck
  • 1/4 teaspoon pepper

Dipping Sauce (optional)

  • 3 tablespoons low sodium soy sauce
  • 1 1/2 tablespoons rice vinegar
  • 1 1/2 tablespoons rice wine
  • Chili paste to taste optional
  • Juice of 1/2 lemon

Instructions

Filling

  1. Add cabbage to food processor and process until fine. Add diced cabbage to a fine mesh sieve and toss with 1/2 teaspoon salt. Place over a bowl and let sit for 20-30 minutes then press cabbage down with a rubber spatula quite a few times to squeeze out any excess moisture. Set aside. (You can do part of this step in advance and leave the cabbage in the sieve in the refrigerator for as long as you like.)
  2. Add mushrooms, green onions, ginger and garlic to food processor (you don’t need to clean it out) and pulse until finely chopped. Add mixture to one side of a large bowl. To the other side of the bowl add egg yolk and whisk. Add cabbage, ground turkey and all remaining filling ingredients and mix with your hands until thoroughly combined. Cover with plastic and either freeze for 15 minutes or refrigerate at least 30 minutes (or up to 24 hours) to chill mixture.

Dumplings

  1. Line a baking tray with parchment paper and prepare some damp paper towels or a damp cloth (to cover assembled pot stickers and keep them from drying out). Keep all wrappers covered in plastic wrap when you are not using them. Fill a small bowl with water.
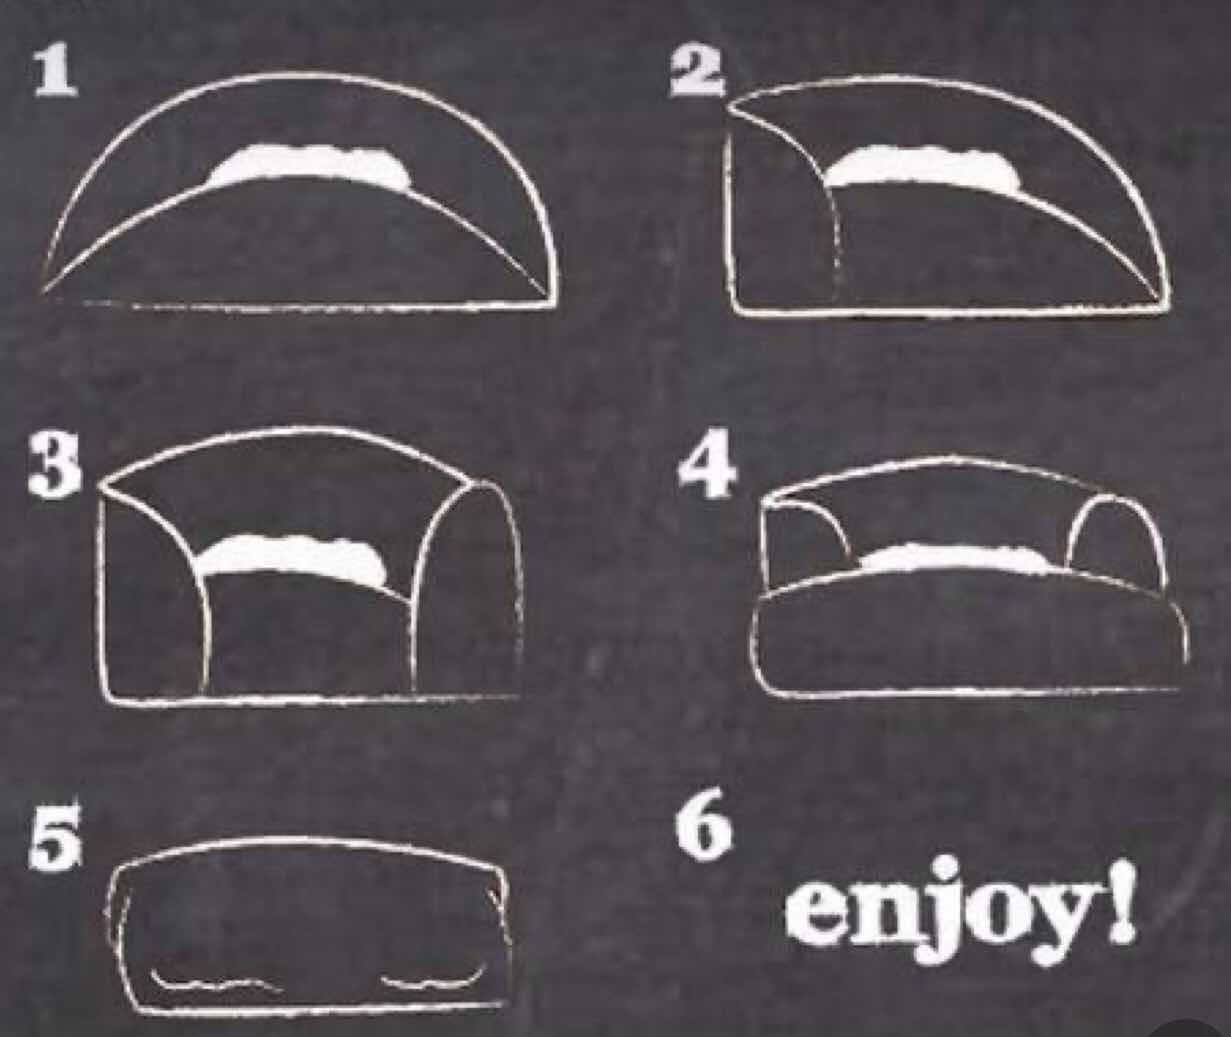
  2. Working with 2-4 wrappers at a time (depending on how fast you are), add 1 tablespoon filling to the middle of each wrapper. Do not overfill. Dip your finger in water and run it around the edge of HALF the wrapper. At this point you can either 1) Fold wrapper over in half to create a half-moon shape, pinch the edges firmly together to seal and create 4 pleats (see next step below).
  3. To create pleats: keep the back, moistened wrapper flat, and work with the front moistened wrapper (you are pleating just ONE side of the wrapper). Start with one side and work across to the other side. First, create one pleat with the front ummoistened wrapper by taking a small portion of dough, making a little fold and tucking it back. Firmly press completed pleat into back of wrapper to seal edges. Repeat for 4 pleats. 
  4. Place filled wrappers on prepared baking tray and cover with damp paper towels/cloth. Repeat with remaining wrappers.

Cook

  1. Place paper towels on a baking tray to place cooked potstickers. Heat 1 tablespoon oil in a large NONSTICK skillet (that has a lid) over medium-high heat.
  2. Add about 12 dumplings to skillet flat side down, enough that will comfortably fit. Cook without touching until the underside is lightly golden, approx. 2 minutes. Watch closely so they don’t burn! – check the bottom of a potsticker occasionally and adjust heat if needed.
  3. Turn heat to LOW. Stand back and use one hand holding the lid as a shield, as you pour 1/3 cup chicken broth around the dumplings then quickly place the lid on. You can even remove skillet from heat for 30 seconds if this will make you more comfortable against splattering.
  4. Cook until chicken broth has completely evaporated. Remove lid, increase heat to medium and cook 1-2 additional minutes to crisp up bottoms. Transfer potstickers to a paper towel lined baking tray. Repeat until all potstickers are cooked. Best served warm with Dipping Sauce.

Dipping Sauce

  1. Whisk together Dipping Sauce ingredients. Add chili sauce to taste if desired.


Recipe Notes

Wrappers

  • Most grocery store carries them, they will be located in the refrigerated section, sometimes in produce.  If you don’t see them, make sure you ask someone before you give up.  If your grocery store doesn’t carry them, then you can find them at an Asian market or use wonton wrappers (info on that below).
  • You can substitute round dumpling wrappers with square wonton wrappers and cut them into an approximate 3.5” rounds using a cookie cutter or place an object measuring 3.5” on wrappers and cut around with a pizza cutter.
    • If you are cutting the wonton wrappers, cut multiple at a time so it goes more quickly.  When cutting, immediately place cut wrappers back in a sealed bag or cover with a damp cloth/paper towel and only remove wrappers as needed so the rest stay covered in the package otherwise they will dry out.
    • You can also leave the wonton wrappers square and then fold in half to create a triangle. You may need to adjust the amount of filling and broth used as wonton wrappers are thinner.

How to Prevent Potstickers from Tearing

Cover wrappers: 

  • Keep the dumpling wrappers covered in their packaging when not using or else they will dry out and tear easily.
  • Remove liquid from filling: Salt cabbage and push out as much liquid from the cabbage as possible. Excess liquid will cause the wrappers to get moist and tear easily.

Remove air: 

  • As you are folding and pleating your potstickers, push out any excess air otherwise they can tear as they cook.

Tight pleats: 

  • The pleats should be pinched tight without any holes or else the potstickers with suck up to much moisture when steaming and tear.

Cover potstickers: 

  • Assembled potstickers should be placed on parchment paper and covered with a clean damp towel to keep them moist and fry drying out.

Nonstick Skillet: 

  • Potstickers will stick to your skillet and tear when you try and move them unless you use a nonstick skillet.

Notes for a Perfect Potsticker:

  • DO NOT rinse mushrooms or else they will suck up water and make the Potsticker filling wet and your Potstickers soggy.  Instead, brush off any dirt with a damp paper towel if needed.
  • Don’t overfill potstickers: depending on the size of your dumpling and your folding method, you may fit less filling – that is perfectly fine – you want to generously fill your potsticker but not to the point it can’t close filling.  Use less filling if you are having a problem easily sealing your potsticker.
  • Don’t overcrowd your pan – the dumplings will expand as they cook and you don’t want them to expand into each other and stick. You also want to give them space so the full surface of the bottom of the potsticker is touching the pan so it can crisp up.
  • Check for golden bottoms: Don’t be afraid to peak underneath your dumplings to see if they need a little more time, are properly golden or are cooking too quickly.  Adjust cooking time or temperature accordingly.

Check a few dumplings: 

  • Sometimes your pan can cook unevenly, so check a few dumplings for doneness.

Check for doneness: 

  • After the chicken broth is evaporated, you can check a dumpling to ensure the pork is cooked through.  If not, add a few more tablespoons broth, cover, and cook on.  The amount of chicken broth can vary depending on the thickness of the wrapper.

Don’t rush the crisping: 

  • While the dumpling will brown in the first step, they will only get crispy when all the chicken broth is evaporated. If the bottoms aren’t browning to your liking, then drizzle in a little more vegetable oil and shake th pan back and forth to evenly distribute the oil.

How to Freeze Potstickers

  • Assemble the potstickers according to directions up to refrigerating.
  • Place uncooked dumplings on a parchment lined baking tray so they are not touching.
  • Wrap the tray tightly with plastic wrap, and freeze for 1-2 hours (until potstickers are solid), transfer potstickers to a freezer bag to save space.
  • Freeze for up to 3 months.
  • When ready to cook, DO NOT THAW before cooking.  Take care when you add the potstickers to the pan because ice crystals may cause the oil to splatter.
  • Cook dumplings according to recipe directions except add 2 extra tablespoons of chicken broth.
  • After the chicken broth evaporates, check a dumpling for doneness, if it not cooked through add another tablespoon or of chicken broth to the pan and cook an additional minute then check again.


Sunday, February 14, 2021

Sambal Oleck Turkey Lettuce Cups

Sambal Oleck Turkey Lettuce Cups


A number of years ago, Craig and I were in Arizona and tried a new restaurant to us called PF Chang‘s. We had their Asian lettuce wraps, this was before the whole lettuce wrap craze. Well, we fell in love then learned how to make them at home, and…… make them on a pretty regular basis. 


The other day I found a recipe for Sambal Oleck lettuce wraps. Now Sambal Oleck is one of my favorite Asian sauces, which is odd, as I don’t like spicy things. It’s a red chili and garlic paste that you can add to many different dishes to amp up the spice, if you like. Below is the recipe that I made last night for dinner. 


Sambal Oleck Turkey Lettuce Cups

with Mushrooms, Pepper & Sunflower Seeds

INGREDIENTS

  • 16 oz  Ground Turkey
  • 8 oz  Mushrooms, chopped 
  • 4 cloves Garlic, chopped
  • 1 head  Butter Lettuce
  • 1 Tbsp Soy Sauce
  • 1 Tbsp  Sesame Oil
  • 2 Tbsp Sambal Oelek
  • 1  Piece Ginger, grated
  • 1 Tbsp Honey
  • 1 Tbsp Rice Wine Vinegar
  • 2 Tbsps Roasted Sunflower Seeds
  • 1  Red, Yellow, Or Orange Bell Pepper, Julianed 

INSTRUCTIONS

  1. Combine the chopped garlic and chopped ginger in a bowl. 
  2. Cut off and discard the root end of the lettuce; separate the leaves. 
  3. In a bowl, whisk together the soy sauce, honey, vinegar, sesame oil, and as much of the sambal oelek as you’d like, depending on how spicy you’d like the dish to be.
  4. In a medium pan, heat 2 teaspoons of olive oil on medium-high until hot. Add the turkey; season with salt and pepper. Cook, stirring frequently and breaking the meat apart with a spoon, 4 to 5 minutes, or until lightly browned. Add half the sauce (carefully, as the liquid may splatter). Cook, stirring frequently, 1 to 2 minutes, or until the turkey is coated and cooked through. Leaving any browned bits (or fond) in the pan, transfer to a large bowl. 
  5. In the pan of reserved fond, heat 2 teaspoons of olive oil on medium-high until hot. Add the mushroom pieces in an even layer. Cook, without stirring, 3 to 4 minutes, or until lightly browned. 
  6. Add the chopped garlic and ginger; season with salt and pepper (if the pan seems dry, add a drizzle of olive oil). Cook, stirring frequently, 1 to 2 minutes, or until slightly softened. Add the sliced pepper; season with salt and pepper. Cook, stirring occasionally, 2 to 3 minutes, or until softened. Turn off the heat. 
  7. Add the cooked cooked turkey; stir to combine. Taste, then season with salt and pepper if desired. 
  8. Serve the lettuce leaves, filling, remaining sauce, and sunflower seeds separately. 
  9. Assemble each cup using 2 lettuce leaves.
  10. I usually serve this with some cooked rice. 

Friday, January 17, 2020

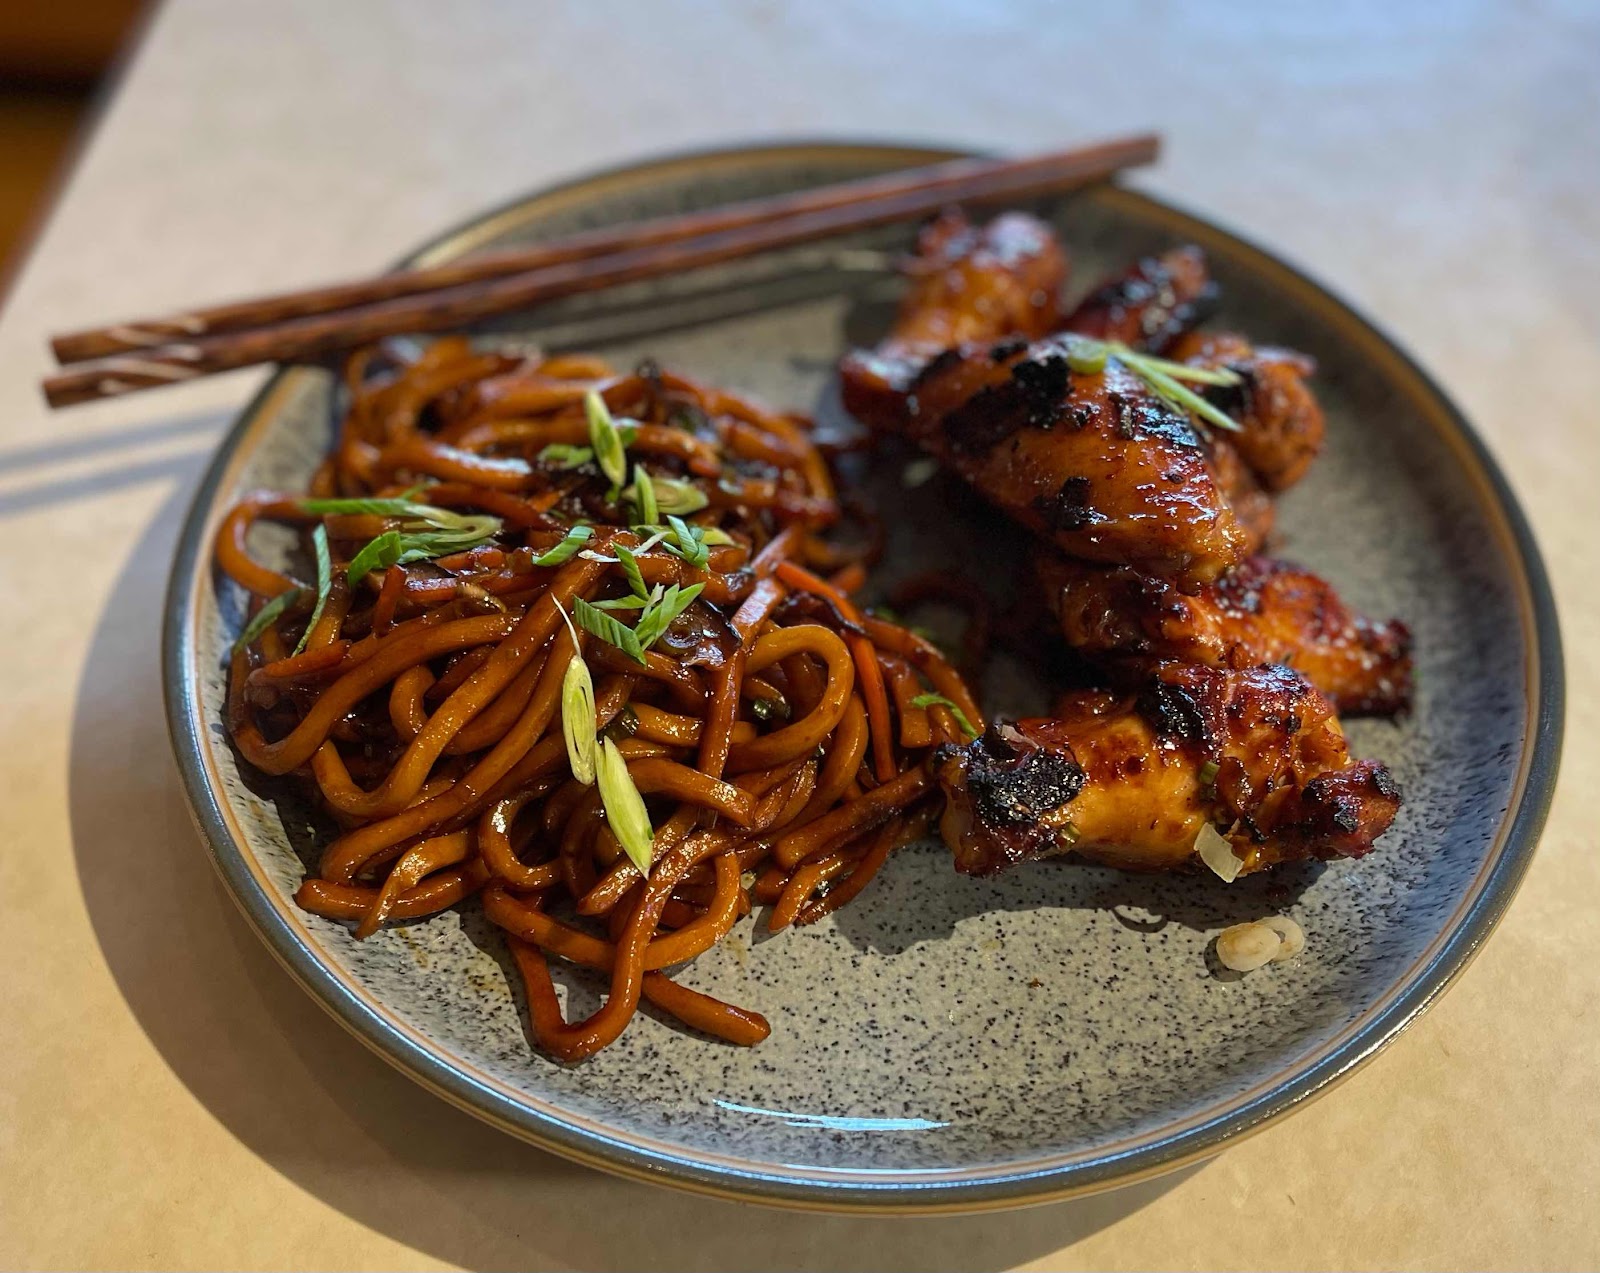
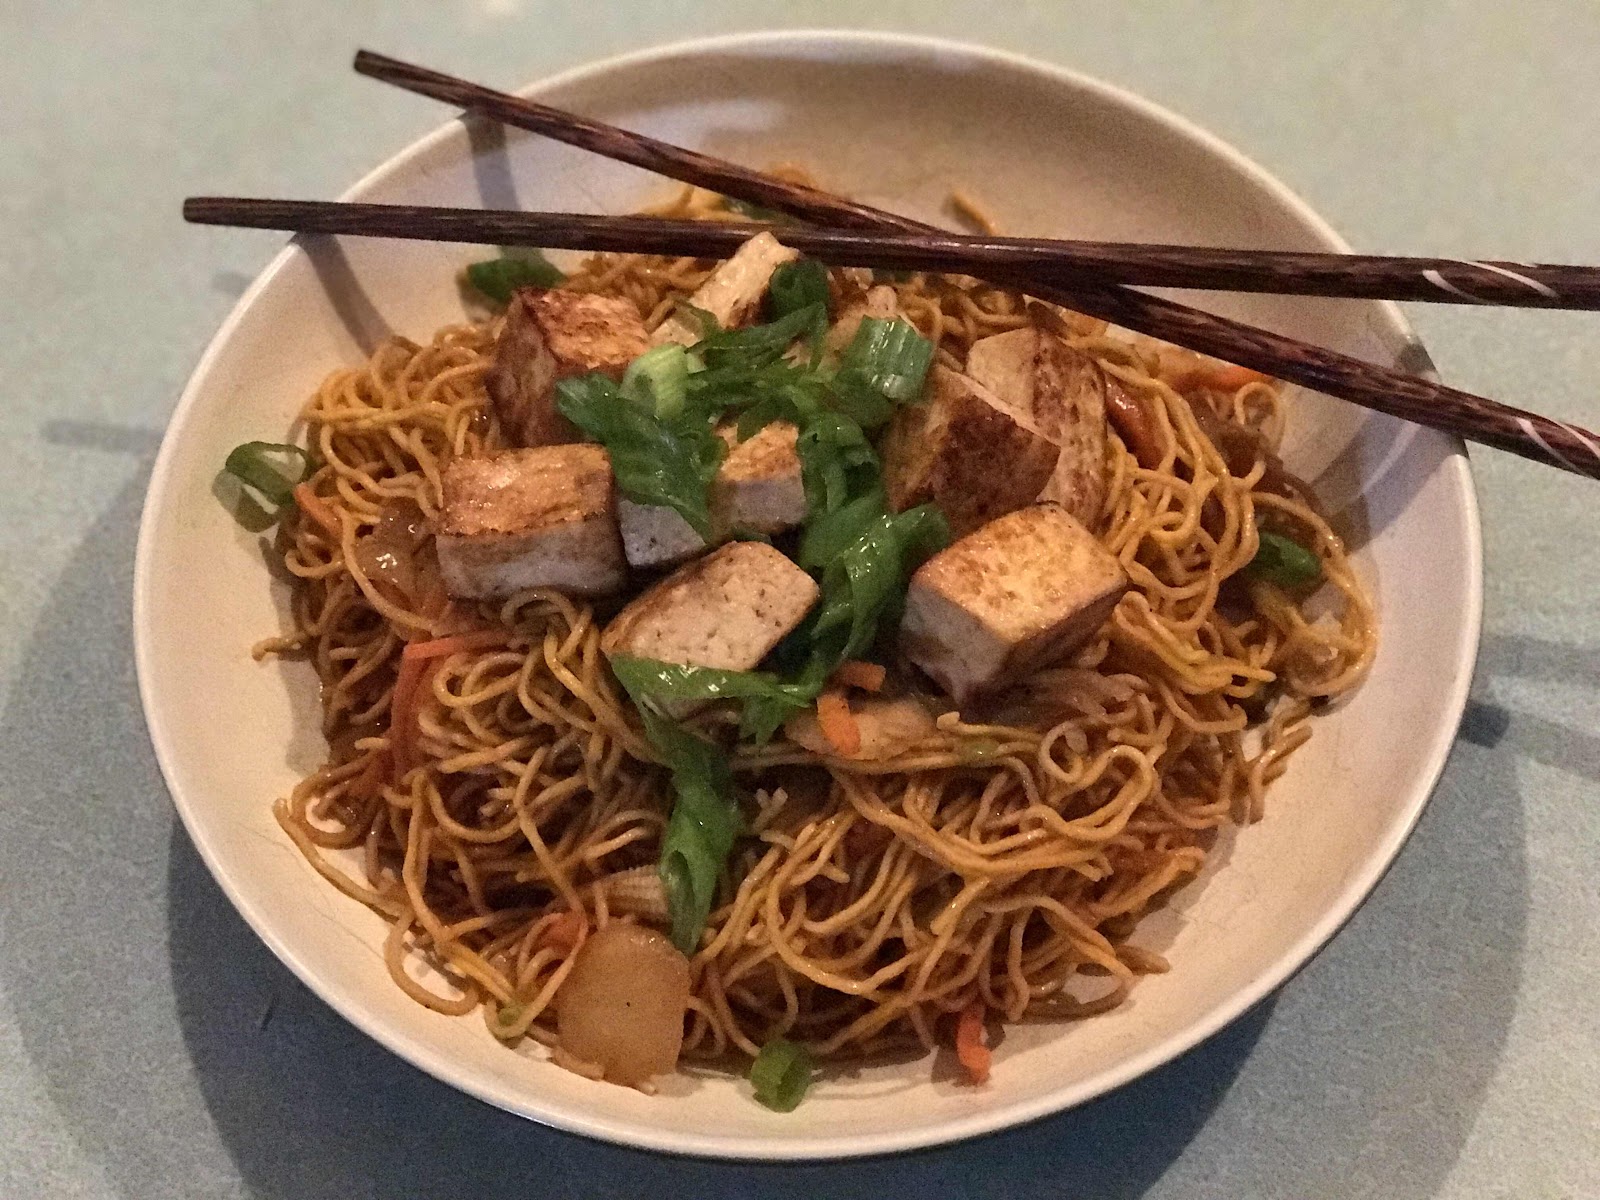
Chicken Chow Mein

I’m a huge fan of Asian cooking. All my life we’ve eaten Chinese Food, as I have gotten older, I’ve developed a fondness for Japanese food, Vietnamese and Thai.  Only recently have I tried Pho for the first time. I know, strange huh? And I LOVED it!

Anyhow, I always like to go back to what I would consider “the basics”. While I don’t usually follow a recipe, as I get a feel for the flavors I want and just go from their. Craig always asks me to write down what I do, or change in case he really likes it and wants me to make it again. So here is my version of Chow Mein.  

made with Tofu

Chicken Chow Mein 

Ingredients

Sauce and Marinade

2 tablespoons oyster sauce oyster sauce
3-4 tablespoons light soy sauce (not low sodium)
1-2 teaspoon honey
1 tablespoon corn starch
2 teaspoons sesame oil
1 teaspoon low/no sodium rice wine vinegar 
1/8 teaspoon ground schewan pepper
1-2 tablespoons sambal Oleck
1 tablespoon water or more as needed to thin out sauce

For the noodles
6-8 ounces fresh chow mein or egg noodles
One boneless skinless chicken breast or thighs about 1/3 lb., cut into 1” chunks
2 tablespoons cooking oil
2 garlic cloves minced
½ teaspoon minced fresh ginger
1 cup shredded Napa cabbage mixed cabbage slaw, bok choy or snap peas would work as well
1/3 cup shredded or julienned carrots
2 green onions cut into 2-inch length
1 can sliced Waterchestnuts, drained
1 can baby corn, cut
Sesame seeds for garnish

Instructions

In a medium bowl, whisk together all the ingredients for the sauce. Measure out 1 tablespoon and drizzle over chicken in a separate bowl. Meanwhile, prepare noodles according to package instructions and set aside.

Heat oil in a non-stick pan or wok over medium high heat. Add chicken and stir-fry for 4-5 minutes or until lightly brown. Add garlic and ginger and sautƩ for about 1 minute. Add cabbage and carrots and cook for 1-2 minutes or until wilted but still slightly crispy.

Add the noodles into the pan; give the reserved sauce a quick stir then pour over noodles. Use tongs to toss noodles to coat with sauce. Season with more salt, pepper or Sriracha and add more water to thin out sauce, as needed.

Stir in green onions, stirring for 30 seconds to combine then dish out and serve hot topped with sesame seeds.

For meal prep - divide into even portions in containers and store in fridge for up to 4 days. Reheat any leftovers in microwave or on stovetop.

Recipe Notes

*Chicken can be swapped out for turkey, beef or tofu.

*Broccoli, spinach, snap peas or bok choy can be used instead of cabbage

Monday, June 4, 2018

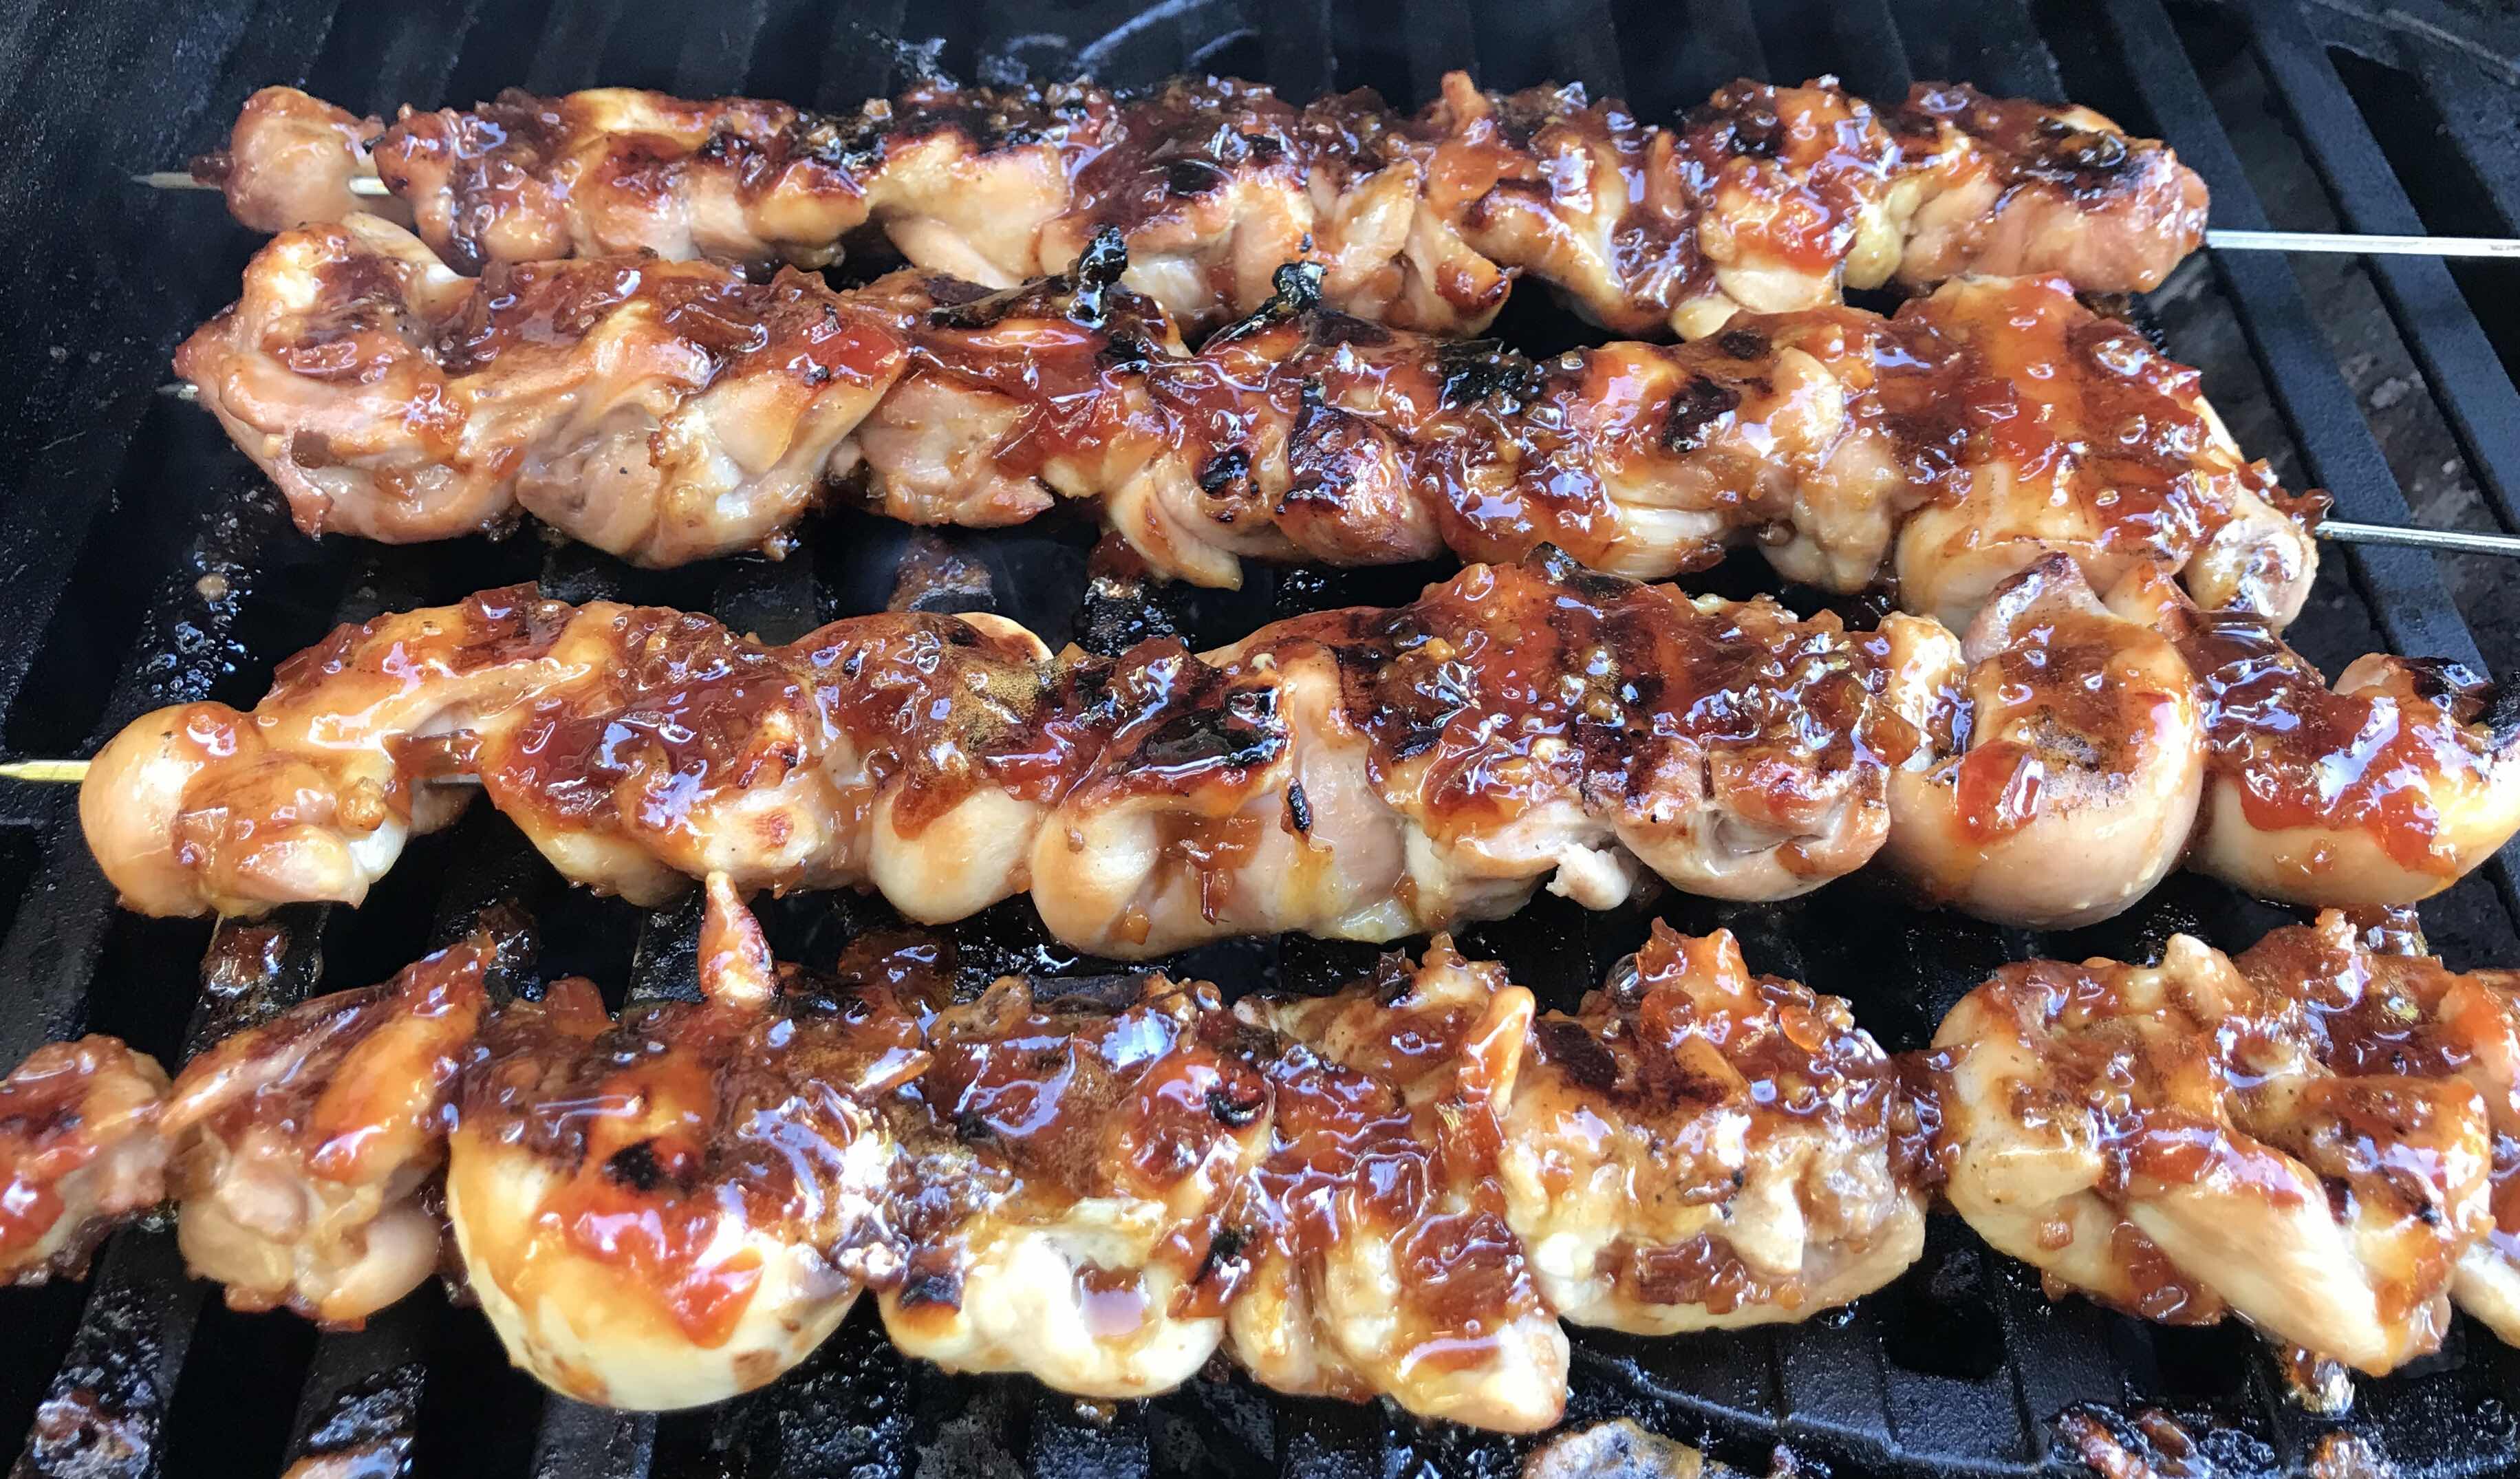
Crispy Caramel Chicken Skewers

I make teriyaki chicken all the time. Once I figured out how to make the sauce to the flavor profile I like, it became a weekly (or so) rotation. When I came across this recipe, I noticed a couple changes from the teriyaki I usually make. First off, it uses fish sauce. Which I’m never opposed to!  And there is a lack of soy sauce. Otherwise most of the ingredients are close to my version of teriyaki. 

One big difference for me is that you simmer the sauce into a glaze. I served a this over rice. 

Crispy Caramel Chicken Skewers

Crispy Caramel Chicken Skewers

Ingredients
For the Marinated Chicken:
2 1/2 pounds boneless, skinless chicken thighs, cut into 1-inch chunks
2 tablespoons Asian fish sauce
1 tablespoon light brown sugar
1 tablespoon orange juice

For the Caramel Glaze:
2/3 cup packed light brown sugar
1/3 cup Asian fish sauce (Red Boat)
1/3 cup orange juice
1/3 cup rice vinegar
2 tablespoons honey
4 medium cloves garlic, minced
2 medium shallots, chopped
1 (1-inch) piece peeled fresh ginger, minced
2 scallions, white and light green parts only, thinly sliced on a bias

Directions
For the Marinated Chicken: In a large zipper-lock bag or bowl, combine fish sauce, brown sugar, and orange juice. Mix well. Add the chicken chunks, shake well to coat. Refrigerate for at least 2 hours or  overnight.

For the Caramel Glaze: In a medium saucepan, combine the brown sugar, fish sauce, orange juice, rice vinegar, and honey over medium heat. Stir until sugar dissolves. Add garlic, shallots, and ginger and continue to cook, stirring occasionally, until glaze becomes thick and sticky and easily coats the back of a spoon. Remove from heat and set aside.

Grilling : Light one chimney full of charcoal. When all the charcoal is lit and covered with gray ash, pour out and spread the coals evenly over half of coal grate. Alternatively, set all the burners of a gas grill to high heat. Set cooking grate in place, cover grill, and allow to preheat for 5 minutes. Clean and oil the grilling grate. (I used a gas grill, on high heat until the chicken skewers went on. Then turned to low to cook throughly. Then back on high for a final seat)

Thread the chicken on 6 bamboo skewers. Transfer to the grill and cook over direct heat, turning and brushing with the glaze every 5 minutes until chicken is cooked through and crisp, about 8 minutes.
Remove from heat, garnish with scallions, and serve.

Chicken Skewers

Crispy Caramel Chicken Skewers with glaze

Crispy Caramel Chicken Skewers finished


Crispy Caramel Chicken Skewers on rice