Sunday, July 28, 2013

Gazpacho


For those of you who know me, know that tomatoes are not exactly my favorite food.  I have tried and tried to like fresh tomatoes, but there’s just something about them that I just don’t care for.  

That being said, I love tomato products, and a cooked tomato is in my opinion a great basic ingredient! 

So when a friend of our invited us to her house, a few years ago, to tour her garden and have an afternoon lunch, what I remember the most about the meal was the delicious Gazpacho Soup, a cold tomato based soup, packed full of garden fresh vegetable.

This is a great recipe for those of you who have a garden or like to visit farmers markets which are “in season” right now.  It's late July and in the Northwest we'd normally be 20 days into summer, and with the warm weather we are experiencing, this is a great cool down dinner.  The longer it sits the better it gets.


Gazpacho

      2 chopped tomatoes (I used purple heirloom cherry tomatoes)
      1 chopped green pepper
      1 chopped red pepper
      4 chopped celery stalks, with leaves
      1/2 of a English cucumber, chopped
      1 cup chopped onion (I used red onion)
      1/2 cup chopped green onion (only the green part)
      3 minced garlic cloves
      1/2 of a sprig of cilantro, chopped
      2 tbsp parsley
      3 tbsp red wine vinegar
      2 tbsp olive oil
      1  tsp Worcestershire
      1 tsp tabasco
      2 cups tomato juice
      pepper

Place all chopped vegetables in large bowl. Wisk together vinegar, oil, worcestershire, tabasco, pepper and tomato juice and pour over vegetables.  Let sit overnight in fridge and adjust seasoning in morning.

I like to add additional Worcestershire and tabasco for a bit more spice.

Chef's note: I DON'T measure, so the amount are the original amounts, I altered, as using 1/2 a cucumber, just doesn't work for me, I used the whole one!
Oh, and yeah I served it with our California Grilled Chicken Sandwich.  YUMMY!

Sunday, July 14, 2013

Greek Spiced Chicken Burgers

Some people don’t like to cook during any heat, well for me, I just love to cook.  You find me in my kitchen making a coconut cake on a 95°F day. (BTW we don’t have A/C, so imagine making a cake in a 350°F with just a fan!)
Last week, I was on Pinterest looking for ideas, and came across a recipe from aapplemint.com, and was inspired to revamp this recipe from is Euro roots.  Even Craig liked it…..
 
Greek  Spiced Chicken Burgers
     with Dilled Greek Lemon Yogurt
 
1 ½lb  Ground Chicken
3 Red Chilies' (Anaheim) seeds removed (leave em' in if you like heat!!)
3 cloves Garlic, Chopped
1 Red Onion, Finely chopped
Handful Cilantro, Chopped
1 tsp Red Chili powder
2 tsp Cumin powder
2 tsp Kabob spice
Salt to taste
 
½ English  cucumber sliced with skin on
8 oz Greek Yogurt
Juice of ½ lemon
1/2 small cucumber, thinly sliced and chopped
1 tablespoon of fresh garlic
Dill weed, Chopped

Slices of fresh tomato
Few leaves of fresh crunchy lettuce
 
For making the Chicken burger, bring together in a mixing bowl, the chicken, spices, cilantro, chilies, garlic and onion. Mix it well with your hand and form flat patties, chill until ready to grill. Grill, until completely cooked. (180°F)
 
Meanwhile whip together the Greek yogurt, Dill, Lemon juice and some salt. Warm the pita bread slightly. Spread inside of pita with Greek yogurt, place the lettuce right at the bottom, then place the burger and top it up with a few slices of the cucumber or tomato. Enjoy!


Tuesday, July 9, 2013

Skinny Chicken Chow Mein

If you’ve been following for a while you’ll know that my family came for a visit a few months ago. When they were here I made a few things that made my sister think of me when she found a few websites, mainly skinnykitchen.com, where I found “Skinny Chow Mein”.  From there, I developed the following recipe.  When I first made it, we only had enough for Craig and my lunch the next day. We both said WOW, this was amazing, and even better the next day.  So I made it again, and this time….even better.

Skinny Chicken Chow Mein 


Ingredients:
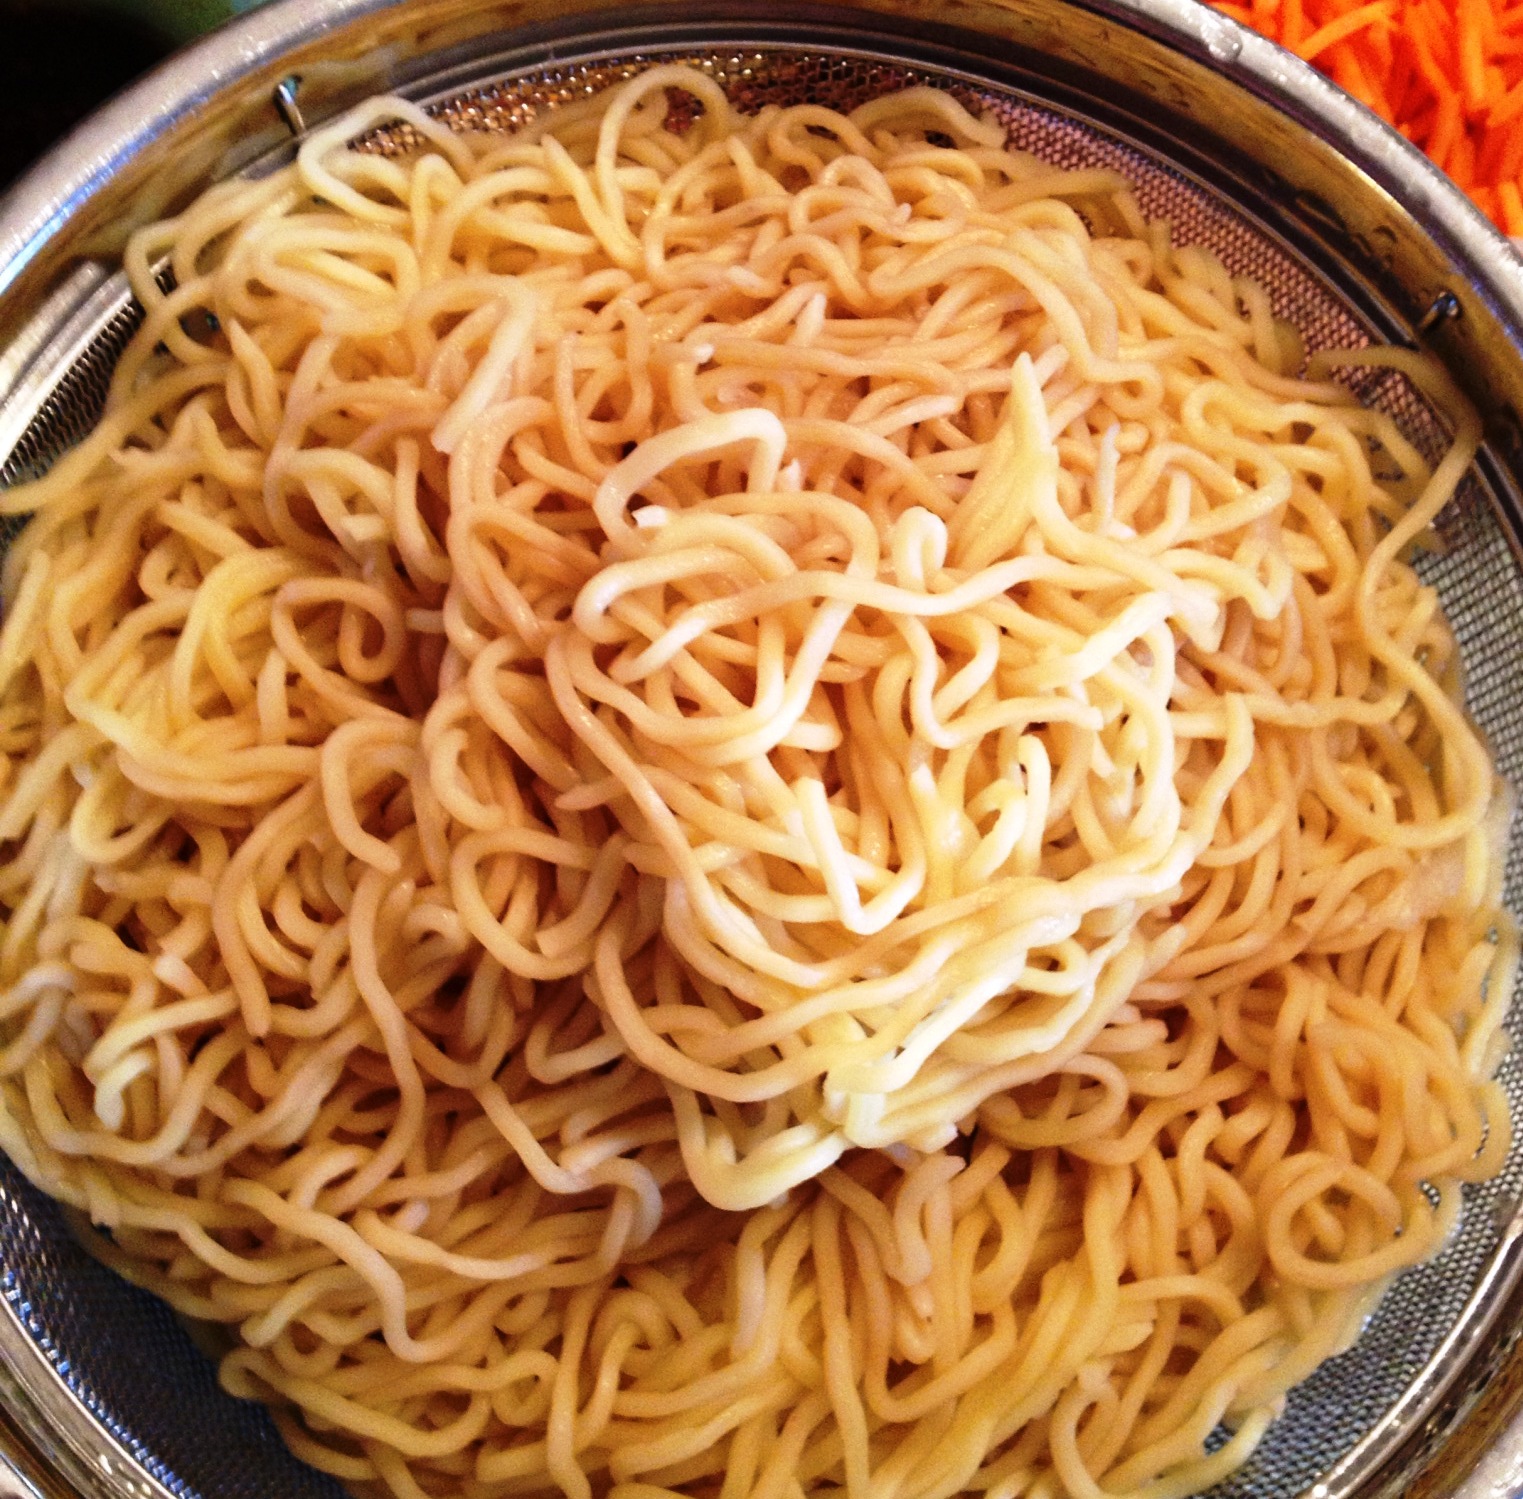
16 ounces refrigerated yakisoba
2 cups celery, sliced on the diagonally
2 cups onion, diced
5 cups cabbage, shredded
8 oz Shredded Carrots
5 oz Snow Peas, chopped
1½ cups cooked chicken breast, diced
Cooking spray
2 teaspoons vegetable oil

Ingredients for Sauce:


⅓ cup plus 1 tablespoon reduced-sodium soy sauce  (6 tablespoons)
2 tablespoons brown sugar
2 tablespoons sesame oil
2 tablespoons garlic chili sauce
2 tablespoons water
2 cloves garlic, mined
2 teaspoons ginger (from a jar),
Fresh ground black pepper, to taste

Instructions
1. Cook the noodles  for about 2-3 minutes just until soft. Do not over cook.
2. In the meantime, prep all vegetables and dice the chicken. Set aside.


3. In a small bowl, add all sauce ingredients and mix until well blended. Set aside.


4. Coat a large nonstick wok or pan with cooking spray. Heat 2 teaspoons of oil in pan.
Add celery and onions and sauté over medium-high heat for several minutes until onions become soft. Add cabbage, carrots and peas and chicken. 

Sauté another few minutes until soft.  Turn down to medium heat, add noodles and soy sauce mixture.  Stir-fry for about 2 minutes or until noodles are heated through. Stir constantly to blend everything.


Store any leftovers in the fridge for a few days.


Makes 5 servings (each serving, 1½ cups)

Wednesday, June 26, 2013

Gouda & Gruyere Macaroni & Cheese

Most of you know, my day job is a Cheese Monger and a local grocery store, ok my official tital is Cheese Master, but I don’t like to throw that around. (I worked 23 years to earn the title of master, I’m keeping it!)  So throughout the day, I am recommending different cheese to people, from Cheese plate to recipes.  I was motivated to make a macaroni and cheese, with some of our great cheeses.

A little more about the cheese I used:

Murray’s Brand Boerenkass Gouda-(Boar-en-Kaux) Boer means 'farmer' and kaas means 'cheese', in Dutch. The curds are made from raw milk and then rinsed of the acidic, watery whey before getting pressed into large, flat spherical wheels. This special treatment cuts out sharpness and allows butterscotch and cashew flavors to prevail over an 18-24 month aging period.


Cave Aged Gruyere-(Gree-Air) Gruyère is sweet but slightly salty, with a flavor that varies widely with age. It is often described as creamy and nutty when young, becoming with age more assertive, earthy and complex. When fully aged (five months to a year) it tends to have small cracks which impart a slightly grainy texture.


Craig’s not a fan of elbow noodles, so I used Penne, but use what you like!


Now let me tell you….I don’t think I could have made a better Mac & Cheese if I tried!


Gouda & Gruyere

  Macaroni & Cheese

Ingredients

 1 stick Butter
       ¼ cup Flour ( I didn’t measure)
       1 box (32oz?) Chicken Broth
        1 pint of cream (you can use regular milk, again I didn’t measure, so add a little at a time until you get the consistency you like)
        ½ teaspoon Ground Nutmeg
        Salt, to taste
        Pepper, to taste
        16 oz Penne, (or another pasta you prefer)
        12 oz Gruyere, shredded ( I used Cave Aged), reserve ¼ cup for topping
        12 oz Gouda, shredded ( I used Murray’s Boerenkass) , reserve ¼ cup for topping
        1 cup pasta water, as needed.

While your preparing the pasta, melt the butter, and add the pepper and nutmeg.  Whisk in the flour, cooking it until it is no longer pasty tasting.  Add in ½-3/4 of the chicken broth, and whisk until the broth is smooth and thick.  Add in the cream to increase the creaminess of the sauce.  If the sauce is too think, add more broth.  Slowly add in the cheese, stirring constantly to ensure it is melted thoroughly.  Drain pasta, reserving some of the water, in case you need to thin out the cheese sauce. Mix together with pasta, and sprinkle with shredded cheese.  At this point, you could bake the mac and cheese, but I didn’t, to preserve the moisture.

Serve and Enjoy!


Thursday, June 13, 2013

Tandoori Chicken & Indian Rice

While I was recently on vacation I was checking out Pinterest, and came across several great recipes, one in particular was Tandoori Chicken.  Now Craig and I have discovered Indian & Persian food a few years back, and we both SO love the flavors, so I knew this would be an easy sell….But I had no idea how easy!  In addition to this I came across a recipe for Indian Rice.  So of late I haven’t been blogging, because, well the recipes I’ve been trying, just haven’t been trying.  I’ve been following them, taking pictures…and alas…reviews are, “don’t make this again!”.  So figuring that this, might or might not work, I decided to not take pictures.  Well that was a mistake. When dinner was served, there was a resounding “Can you put this on the regular rotation”?


Tandoori Chicken Recipe

Ingredients
3 Tbsp vegetable oil
1 teaspoon ground coriander
1 teaspoon ground cumin
1 teaspoon ground turmeric
1 teaspoon cayenne
1 Tbsp garam masala
1 Tbsp sweet (not hot) paprika
1 cup plain yogurt
2 Tbsp lemon juice
4 minced garlic cloves
2 Tbsp minced fresh ginger
1 teaspoon salt
4 whole chicken breasts

Method

1 Heat the oil in a small pan over medium heat, then cook the coriander, cumin, turmeric, cayenne, garam masala and paprika, stirring often, until fragrant (approximately 2-3 minutes). Let cool completely.

2 Whisk in the cooled spice-oil mixture into the yogurt, then mix in the lemon juice, garlic, salt and ginger.

3 Cut deep slashes in 3-4 places on the chicken pieces. Just make 2-3 cuts if you are using separate drumsticks and thighs. Coat the chicken in the marinade, cover and chill for at least an hour (preferably 6 hours), no more than 8 hours.

4 Prepare your grill so that one side is quite hot over direct heat, the other side cooler, not over direct heat. If using charcoal, leave one side of the grill without coals, so you have a hot side and a cooler side. If you are using a gas grill, just turn on one-half of the burners. Use tongs to wipe the grill grates with a paper towel soaked in vegetable oil. Take the chicken out of the marinade and shake off the excess. You want the chicken coated, but not gloppy. Put the chicken pieces on the hot side of the grill and cover. Cook 2-3 minutes before checking.

5 Turn the chicken so it is brown (even a little bit charred) on all sides, then move it to the cool side of the grill. Cover and cook for at least 20 minutes, up to 40 minutes (or longer) depending on the size of the chicken and the temperature of the grill. The chicken is done when its juices run clear, and it 160°-180°F.

Let it rest for at least 5 minutes before serving. It’s also great at room temperature or even cold the next day. 


Indian Style Rice Recipe

Ingredients

2 cups Basmati rice
8 cups water
2 teaspoons salt
2 cloves
2 cardamom pods
One 2-inch piece of cinnamon
3 Tbsp vegetable oil (or ghee if you have it)
1/2 teaspoon dark mustard seeds
1/2 teaspoon cumin seeds
1/4 teaspoon chile flakes
1 medium onion, chopped
3 chopped garlic cloves
1/4 teaspoon turmeric

Method

1 Place rice in a sieve and run cool water through it to rinse it until the water runs clear. Soak the rice in cool water for 30 minutes. Drain.

2 Using a spice basket (large tea ball), place the cloves, cardamom and cinnamon into the basket.  Bring 8 cups of water and the salt to a boil in a large pot, add the spice ball and simmer for 10 minutes. Add the rice and stir. Taste the rice, and test if it is done to your taste; rice can take more or less time to cook depending on how old it is. If still too firm, cook a few minutes longer.

3 When the rice is cooked to your liking, drain the rice into a colander and rinse with cold water to stop if from cooking. Remove the spice ball and discard the contents. Set the rice aside to drain.

4 In a pan large enough to hold the rice, heat the oil over medium-high heat. Add the mustard and cumin seeds and the chile flakes. Cook until the mustard seeds start popping, then add the onion. Sauté until the onion begins to brown, about 5-7 minutes.

5 Add the garlic and sauté another 2-3 minutes. Add the rice and mix well. Sprinkle the turmeric over the rice and mix well. Cook for another 3-4 minutes, stirring often.