Sunday, June 29, 2014

Grilled Quesadilla

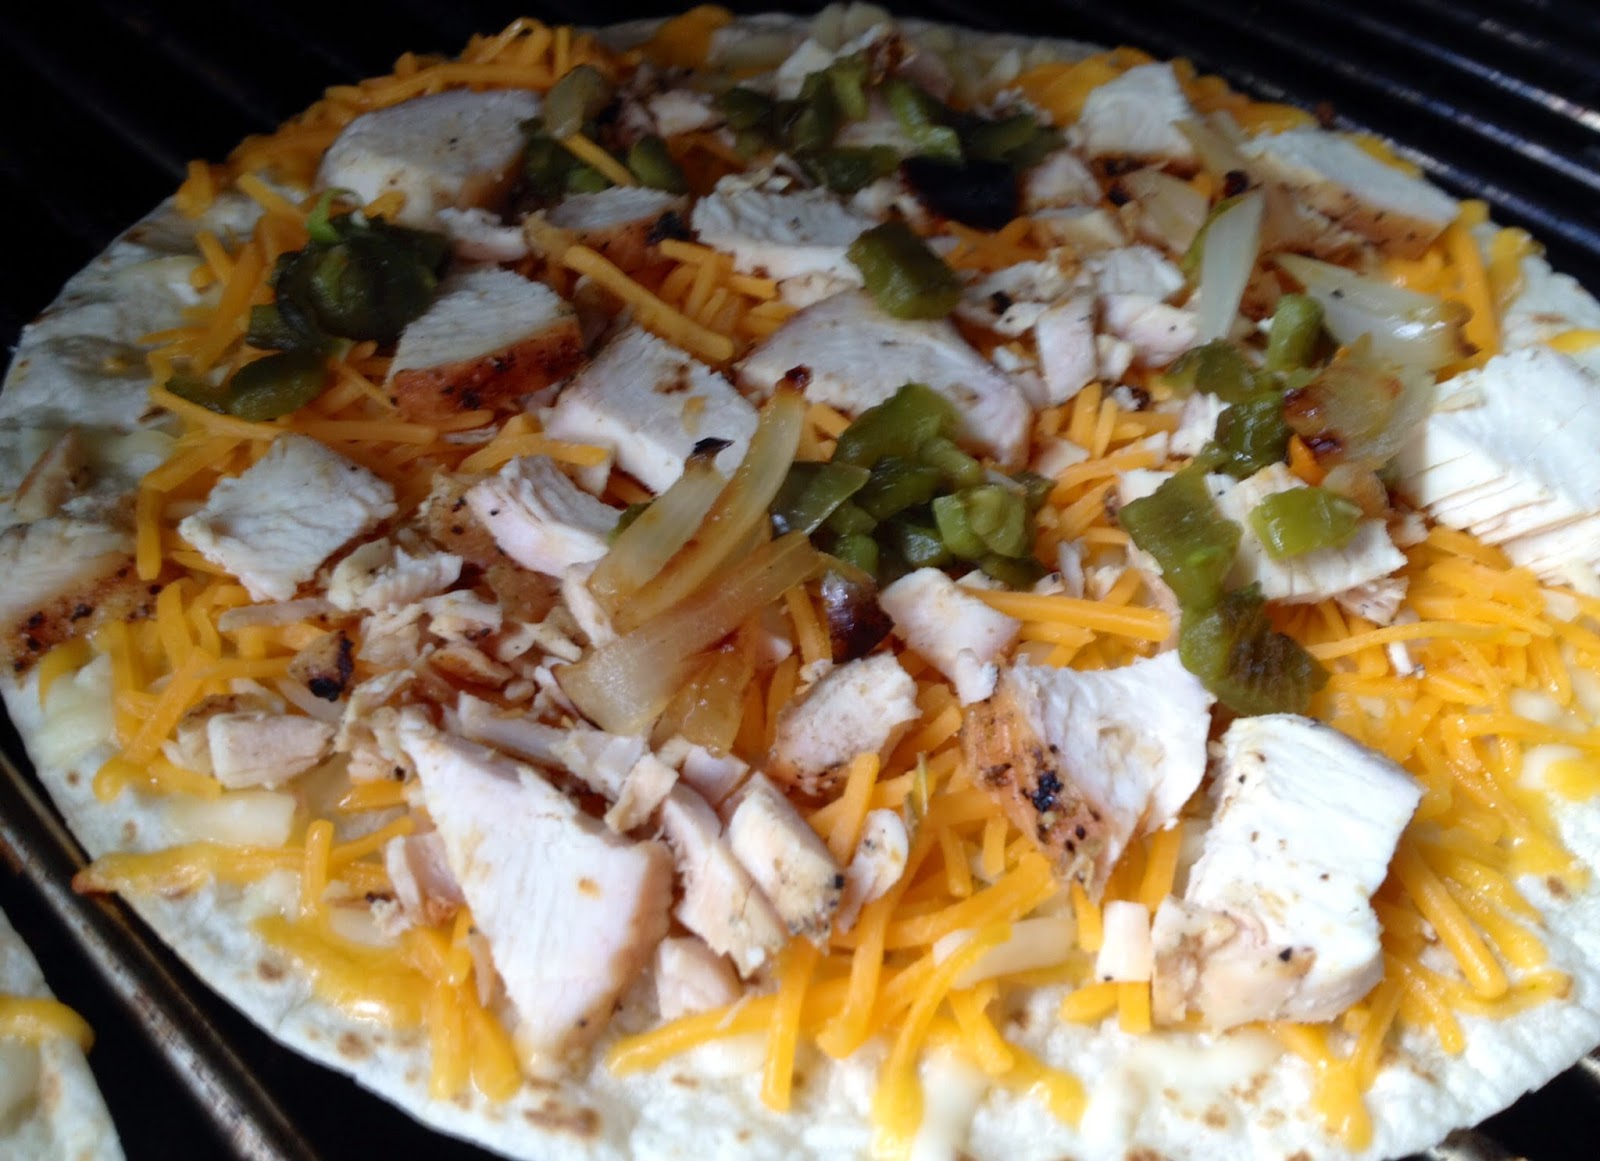
A few years ago, Craig and I were in Phoenix catering our good friend Glenda’s landmark Birthday celebration.  It was a complete surprise to her when we showed up. While we were there, we stayed with her daughter’s (Kelly) family, which has a huge treat for us.  One night for dinner Kelly made us an amazing dish…Grilled Quesadilla!  I was so amazed, I shot a few pictures, planning to reproduce these when we got home.  

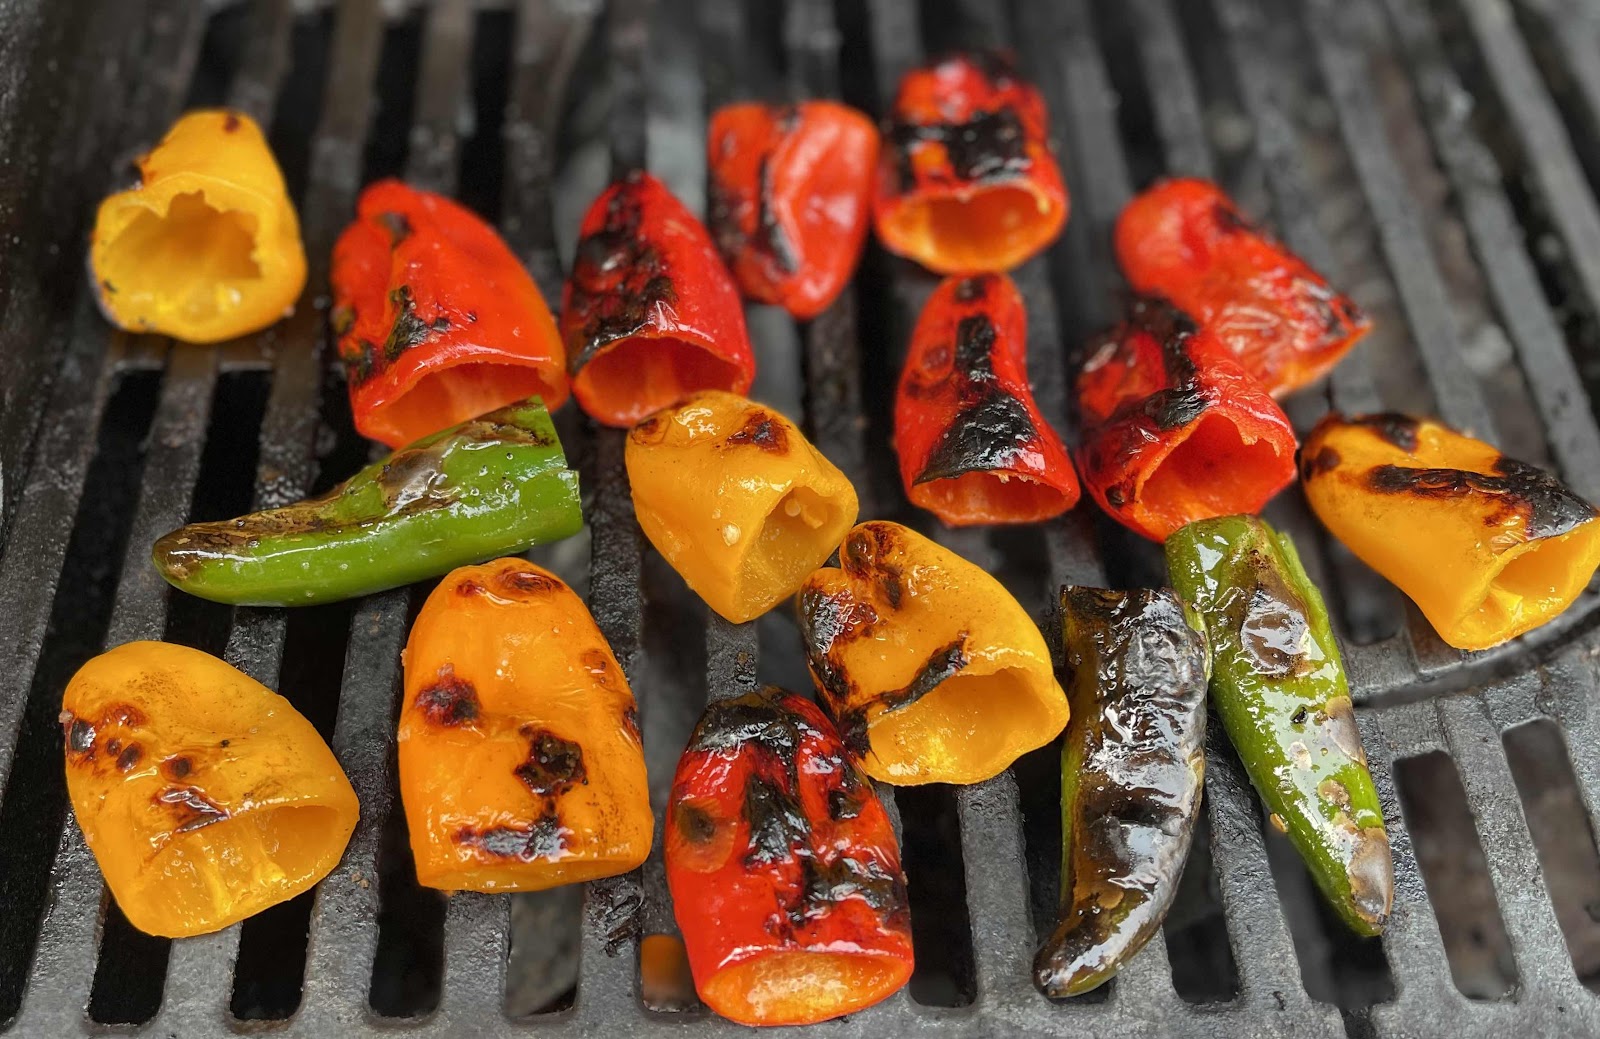
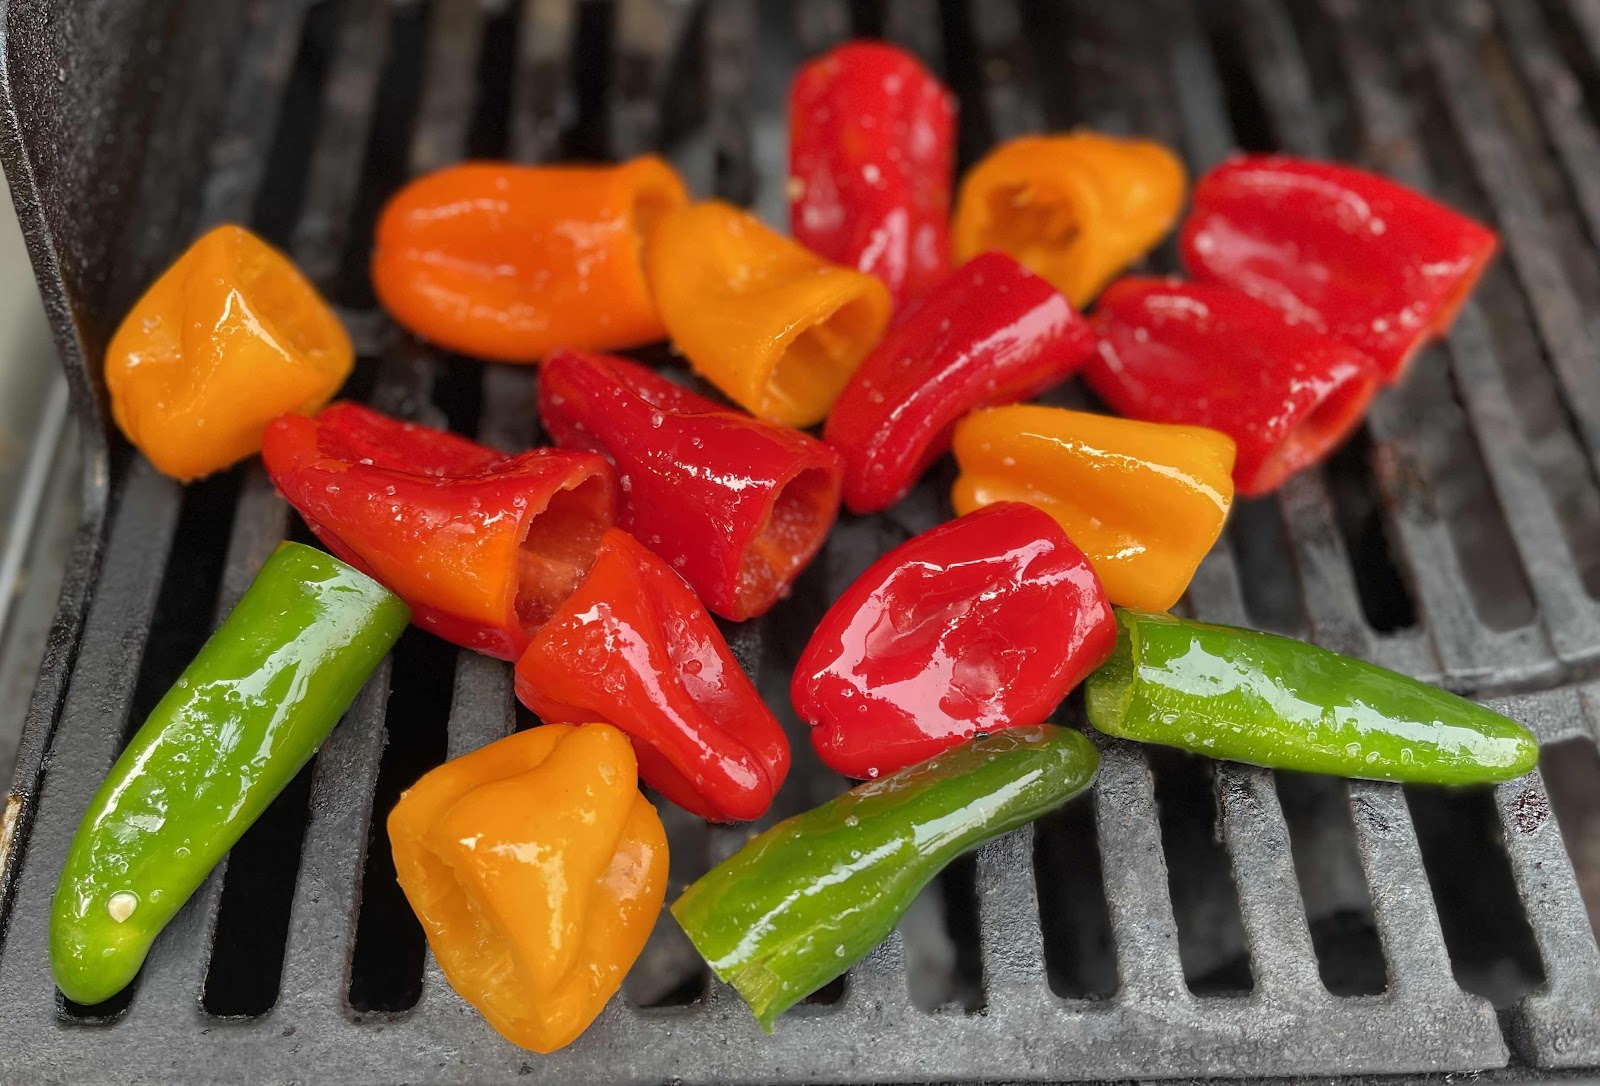
When the time came to make these, it was a team effort…Craig heated up the grill, charred the peppers, chicken and Jalapeño and when I got home from work, I chopped up the peppers, onion and diced the chicken.


Grilled Quesadilla
        8 tortillas
        4 cups Cheese (use a mixture of cheddar, hot pepper jack…or whatever you like!)
        15-20 small sweet peppers, grill then dice
        ½ Onion, grill, then slice
        1 Chicken breast, grilled and diced
        2 Jalapenos, grilled and diced
        *2 flat plates (use whatever you have, but Kelly used Corelle! And these worked GREAT!!!)

Grill all ingredients, Chicken peppers, onion and jalapenos.  Let cool, and dice all.
  
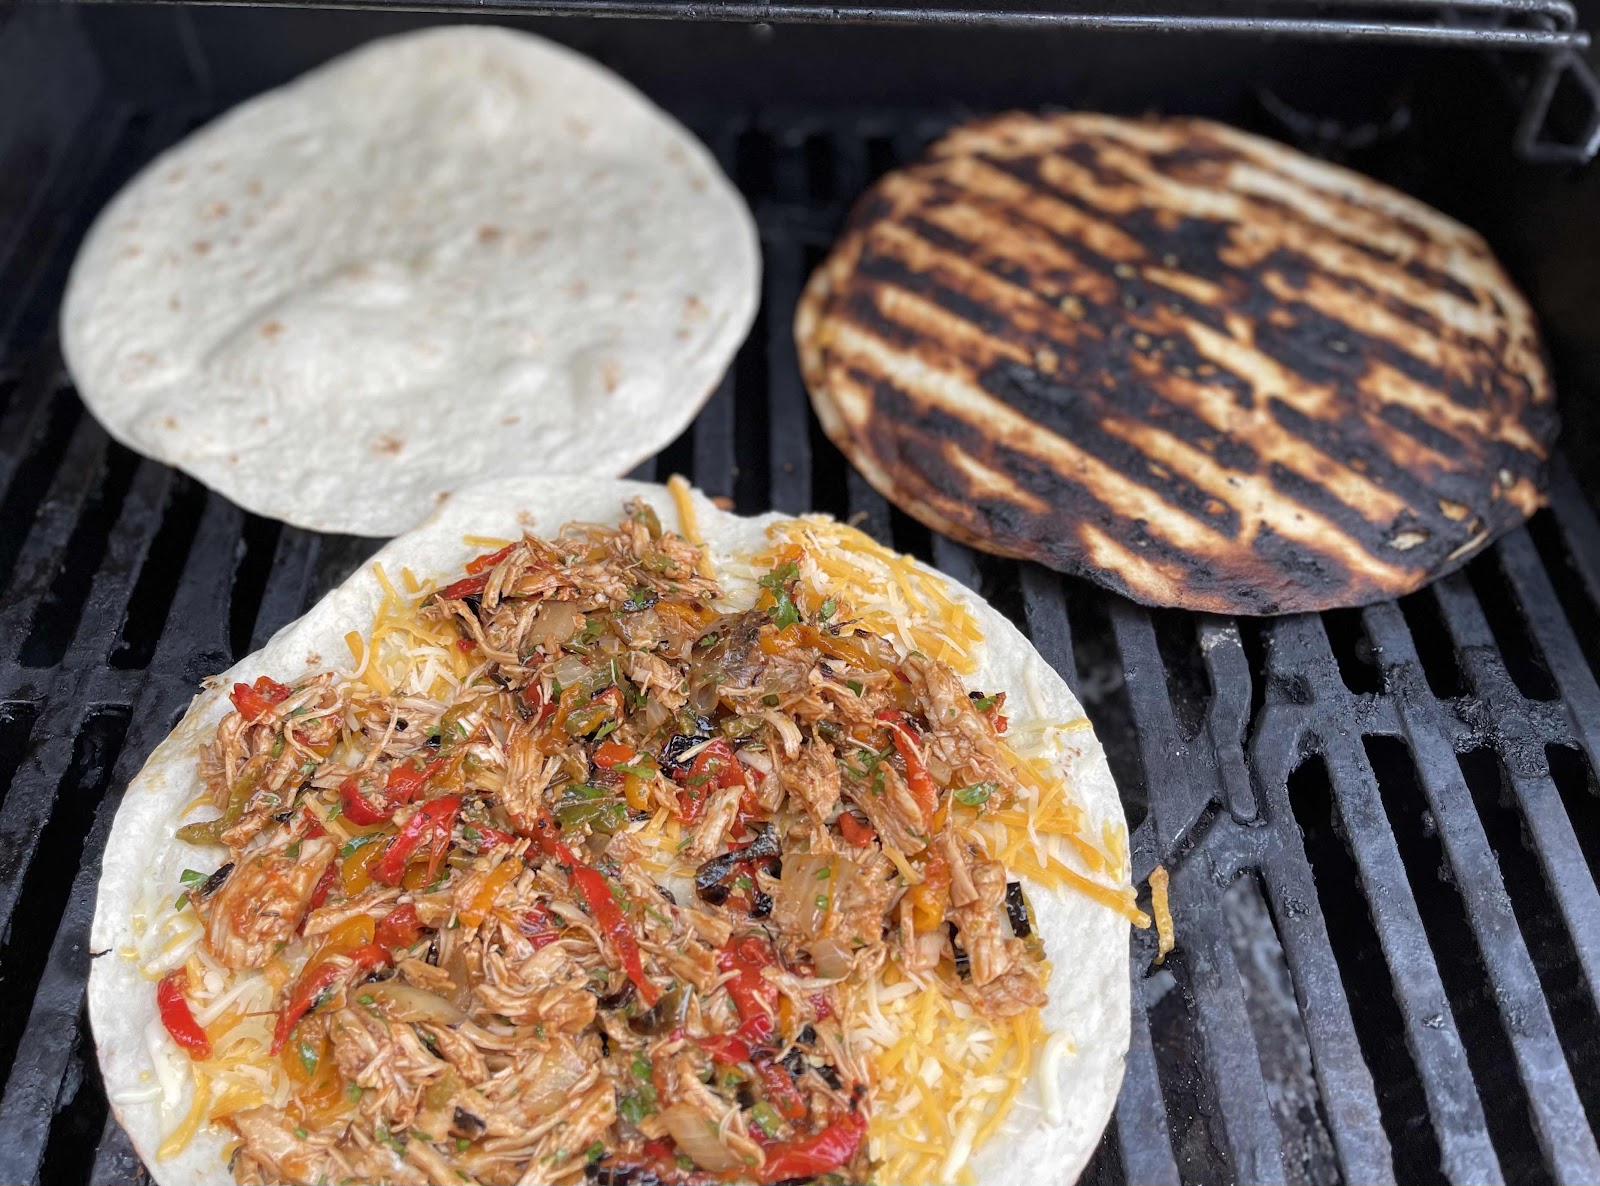
Gather all ingredients, and head to the grill.  
Place 2 tortillas on the preheated grill.  
Take a handful on cheese and evenly place over tortilla.  
Working quickly, sprinkle peppers, jalapenos, and chicken over cheese. 


Place another handful of cheese over the top, and cover with another tortilla. 
Keep an eye on the bottom tortilla, when it’s crispy, 

take a plate and scoop up the quesadilla, place another plate on top, then flip, and place the quesadilla back on the grill.  Grill the new bottom, until it matches the crispyness of the top, which will also allow for the melted cheese.  When ready, pull quesadillas, repeat as needed with additional tortillas. 

Cut into 6-8 pieces, and serve with salsa and sour cream. Perfectly easy to cut with a pizza cutter!!

----------------

Grilled Chicken Quesadilla

Ingredients:  

  • 8 tortillas
  • 4 cups cheese (use a mixture of cheddar, hot pepper jack…or whatever you like!)
  • 15-20 small sweet peppers, grill then dice
  • ½ onion, grill, then slice
  • 1 chicken breast, grilled and diced
  • 2 jalapenos, grilled and diced
  • 2 flat plates (use whatever you have, but Kelly used Corelle and these worked GREAT!!!)

Directions:

  1. Preheat grill.
  2. Grill chicken, peppers, onion and jalapeños. Let cool, and dice.
  3. Place 2 tortillas on the grill.  
  4. Working quickly, place a handful of cheese evenly over each tortilla. 
  5. Then spread peppers, jalapeños, and chicken on top of the cheese.  
  6. Next place another handful of cheese over the chicken and vegetables and cover with another tortilla.
  7. Keep an eye on the bottom tortilla. When it appears crispy and the cheese has melted, slide the quesadilla onto a plate. Place a second plate on top of the quesadilla and flip. Slide the flipped quesadilla back on the grill. 
  8. Grill the second side of the quesadilla until it matches the crispyness of the top. Slide the quesadilla back on to the plate.  
  9. Use a pizza cutter to cut the quesadilla into 6-8 pie shaped pieces and serve with salsa and sour cream.  


Friday, June 20, 2014

Almond-Stuffed Chicken

A few weeks ago I came across a recipe for almond stuffed chicken.  This sounded so great I had to include it in a future menu, but with my caterings and vacation, I had to put it on hold. Well, last night I finally made it.  In addition to the almond stuffed chicken, I made skewered grilled green beans and brown basmati rice.  Such a great dinner....  Try it for yourself, you'll love it.

Almond-Stuffed Chicken


Ingredients
1/3 cup light garlic-and-herbs spreadable cheese (such as Boursin light)
1/4 cup slivered almonds, toasted, coarsely chopped, and divided
3 tablespoons chopped fresh parsley, divided
4 (6-ounce) skinless, boneless chicken breast halves
1/2 teaspoon salt
1/4 teaspoon freshly ground black pepper
1 1/2 teaspoons butter


Preparation
1. Combine spreadable cheese, 3 tablespoons almonds, and 2 tablespoons chopped fresh parsley in a small bowl. Set aside.

2. Cut a horizontal slit through thickest portion of each breast half to form a pocket. Stuff 1 1/2 tablespoons almond mixture into each pocket; secure each pocket with a wooden pick. Sprinkle chicken with salt and pepper.

3. Bake in oven at 375° for 30-40 minutes, or until internal temp is 175°.  


Friday, May 30, 2014

Pineapple Cucumber Salsa Chicken & Rice


This is just an easy fun recipe….enjoy!


Pineapple Cucumber Salsa Chicken & Rice

½ Pineapple, outside removed, and sliced ½ inch thick
½ Large Cucumber, seeded and diced
2 Jalapenos, I used red peppers, deseeded and minced (increase if you need it hotter)
½ bunch cilantro, chopped
¼ sweet onion, diced
Drizzle of lime juice 
Salt and Pepper, to taste

2 chicken breasts, filleted
1 bottle teriyaki sauce
1 cup brown basmati rice
1 bunch green onion

Take the pineapple slices and BBQ them until they are slightly charred. Allow to cool to the touch, remove core and dice.  Mix together with cucumber, onion, jalapeno and cilantro.  Salt and pepper to taste.

Rinse Rice, and make according to this post.  When completely cooked, stir in green onion and serve.

Fillet chicken breasts, place in bowl to marinade in sauce. Allow to marinade for about an hour.  Grill until completely cooked.  Allow to rest then slice when ready to serve. 


Wednesday, May 28, 2014

Pizza Rustica

Sometimes in life you come across a recipe that you enjoy so much, you make over and over again, this ones mine. 

Updated with new pictures!


Years ago I worked at a well-known Italian Restaurant in Portland, well, it was actually a landmark.  Sylvia’s Italian Restaurant has long since closed, after being in business since 1957, Sylvia Passed away in 1992, leaving the restaurant to her daughters, who later sold the property to neighboring restaurant The Rhinelander. 

I joined the Sylvia’s team in 1987, and left in 1989.  During that time, I worked in the Dinner Theatre kitchen and occasionally the main kitchen, and learned a lot about the restaurant industry.  I also learned so much about Italian cooking, and how to pronounce Italian food words, or else Sylvia would have you repeating them, like you were writing lines on a chalkboard.  While I was only employed there a relative short time, there was so much about that job that impacted my life to this day.  Previously I posted a recipe for Rosemary Chicken.  Check it out if you haven’t already.  

For one of the Food Festivals Portland had, that Sylvia’s participated in, we made a quick rustic pizza, Sylvia referred to as Pizza Rustica. 

Now, sometimes I make pizza crust, but usually I take a short cut and use a premade dough.  When I have time, I do Sylvia proud, and make a homemade crust.  You can also use a Focaccia bread as well.

Now let’s talk about cheese…..use what you like, but I HIGHLY recommend a great Asiago.  Parmeggiano Reggiano is the standard of parmesan cheeses, but Asiago has such a brilliant forward flavor, that makes this pizza what it is.  For my pizza I use a Rosemary and Olive Oil rubbed Asiago, from Sartori Creamery.

Pizza Rustica


1 Premade Pizza Crust
2-3 Tomatoes, diced
¾ lb of Asiago, shredded
6 (or so) Garlic, chopped (go heavy on this!!!)
Oregano
Salt and Pepper, to taste
Olive Oil

Preheat the oven to 400°F.

Roll pizza crust on to pizza pan.  Press finger tips into dough to create divots.  Sprinkle the chopped garlic evenly over the crust and drizzle olive oil over crust.  With your hands (Yes, get your hands dirty, they are your best kitchen tool!) rub in the garlic and oil. 
Bake for about 5 minutes, or until the crust in solid, but NOT golden (par-baked). Remove from the oven.
Sprinkle diced tomatoes on top of the par-baked crust.  
Next sprinkle the salt, pepper and oregano.  
Lastly completely cover with the Asiago cheese.

Bake for about 15-20 minutes, until the cheese has melted.

Cut pizza however you choose, we like it in squares, how Sylvia would have cut it herself!

Funny side note, Sylvia's came to one of my cooking classes in high school (which is where I was offered the job she had open!), and during her speech she talked about how she found out what customers wanted, and how she would change to adapt so that customer could get what they were asking for. 
In the late 60's, I think it was, a customer came into her pizza shop and asked her for a Hawaiian Pizza.  Her first though was "what the hell was that?"  She asked the customer what was on a Hawaiian Pizza, and they explained the ingredients and told them that it would be ready shortly.  She ran in back and headed to the local store to get the Canadian bacon and pineapple, all the while thinking how horrible this pizza would be.  She made the pizza and a small one for her and her staff to try, and she admittedly hated it, yet continued to offer it to her customers, whenever they asked for it.
--------------------------------------------------------------------------------------------------------
Pizza Rustica

1 Premade Pizza Crust
2-3 Tomatoes, diced
¾ lb of Asiago, shredded
6 (or so) Garlic, chopped (go heavy on this!!!)
Oregano
Salt and Pepper, to taste
Olive Oil

Preheat the oven to 400°F.
Roll pizza crust on to pizza pan.  Press finger tips into dough to create divots.  Sprinkle the chopped garlic evenly over the crust and drizzle olive oil over crust.  With your hands (Yes, get your hands dirty, they are your best kitchen tool!) rub in the garlic and oil.
Bake for about 5 minutes, or until the crust in solid, but NOT golden (par-baked). Remove from the oven.
Sprinkle diced tomatoes on top of the par-baked crust.  Next sprinkle the salt, pepper and oregano.  Lastly completely cover with the Asiago cheese.
Bake for about 15-20 minutes, until the cheese has melted.

Cut pizza however you choose, we like it in squares, how Sylvia herself cut it!


Monday, May 12, 2014

Chopped Thai Chicken Salad Wrap

A few weeks ago, I came across a story about a guy living abroad, and being a foodie, all the troubles that he had with food throughout the asian country where he lived. He spoke about bleaching the vegetables, yes actually bleaching his vegetables to vid it of the “bad” bacteria that had made him sick when he hadn't “bleached”. 

Anyhow, the recipe below is a variation of the recipe he made in his blog.  When I saw the picture, all I could think of was putting it in a wrap.  Craig suggested it the future, maybe put it in a rice paper wrap.  The tortillas I put it in were a bit much, but it was my first attempt, and I’ll be making it again!!


Chopped Thai Chicken Salad Wrap 

Serves: 4-6 

Ingredients
 
Salad 
2 boneless skinless chicken breasts 
1 small head green or white cabbage (2 cups shredded) 
1 large carrot (1½ cups shredded) 
1 green papaya (1½ cups shredded) 
½ cup fresh cilantro 
½ cup green onions 
½ cup chopped peanuts

Dressing 
2 cloves garlic 
1 tablespoons garlic chili paste
2 tablespoons soy sauce 
2 tablespoons rice wine vinegar 
2 tablespoons sugar 
1 tablespoon fresh lime juice 
1 tablespoon sesame oil 
½ teaspoon fish sauce 
¼ cup peanut butter 


1 four tortilla for each wrap

Instruction:

Bring a large pot of water to boil. Add the chicken breasts, cover, and cook for 15-20 minutes. When the chicken is done, remove from heat, drain water, let cool, and shred with two forks.  (Or barbecue the chicken breasts and dice them)
Chop the cabbage into very thin pieces, like it would be for coleslaw. I did this by rolling up several leaves together and making thin vertical slices across the roll and then chopping them once horizontally. Peel and grate the carrots. Cut off the skin, remove the seeds, and grate the papaya. Roughly chop the cilantro and green onions. Toss the chicken and vegetables in a large bowl and keep chilled. Mince the garlic and chili peppers. Place garlic and peppers in a small mixing bowl with the soy sauce, vinegar, sugar, lime juice, oil, and fish sauce. Whisk until smooth. Add the peanut butter and water and whisk again until smooth and creamy. Toss the salad with the dressing. Add the crushed peanuts. Serve chilled. Leftovers can be stored in the fridge for up to one day. For best results, keep the leftover salad and dressing separate until ready to serve. Place about ¼ cup of the mixture in the tortilla, and wrap like a burrito.