Friday, January 10, 2020

Frittata Breakfast Sandwiches

I love a quick breakfast, well any meal for that matter. Traveling for work make me figure out alternatives to fast food breakfasts, and make something that can be microwaved. 


Recently while I was on the road, I tried a premade breakfast in a cup, you know where you just crack an egg. But I took and split it in two and made it a sandwich by adding an English muffin. PERFECT. I’m not so sure about healthy, but healthier than a sausage McMuffin for sure. 


Well, I got home, I was like, “I’m sure I can recreate this”!  So here is it is:
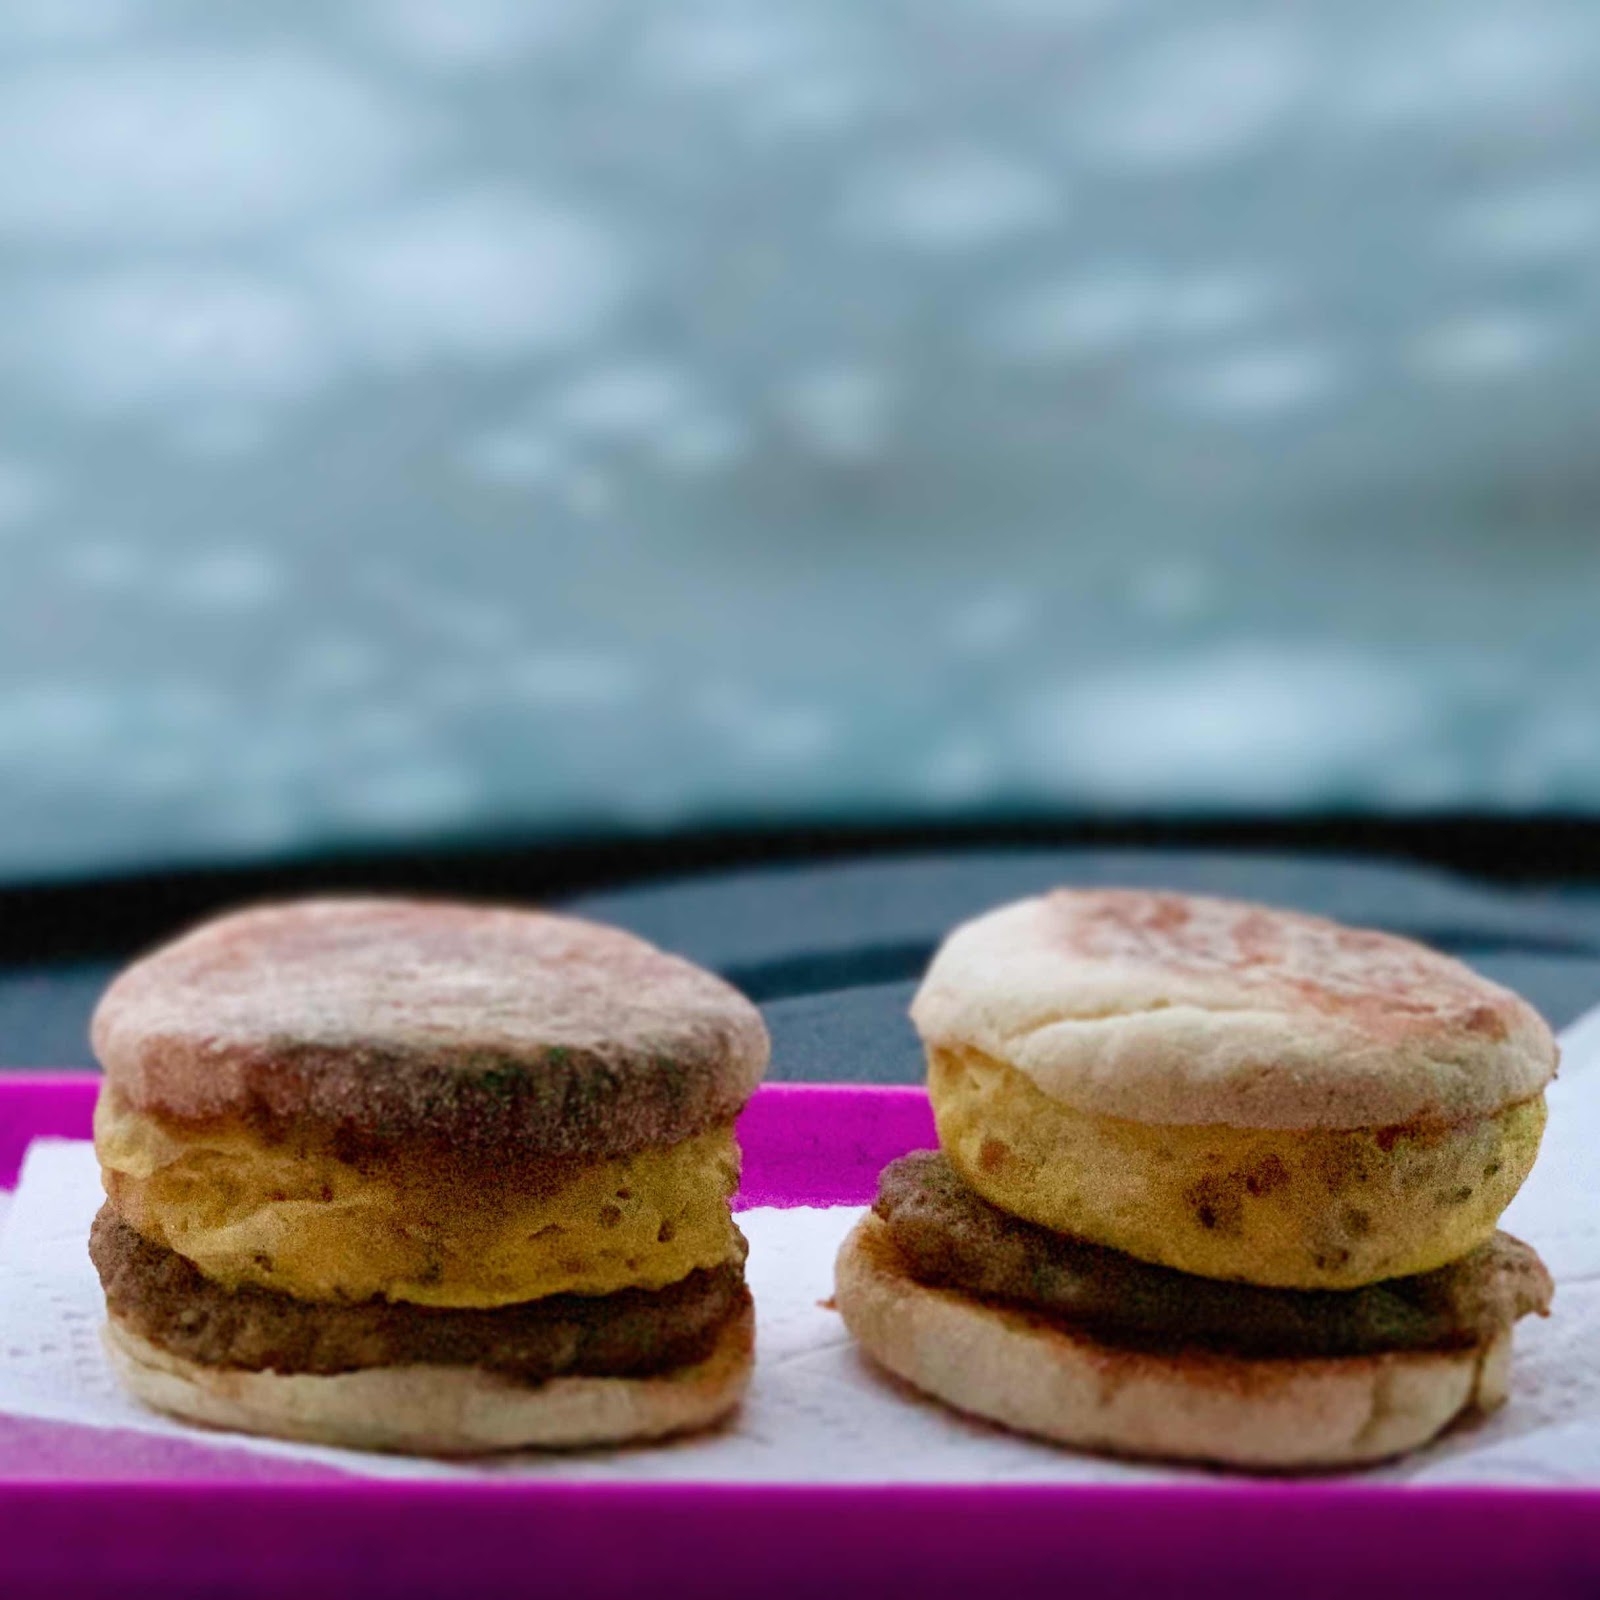


Frittata Breakfast Sandwiches

(Makes 2)

  • 2 eggs
  • 1 tablespoon frozen diced O’Brien hash browns (this has peppers and onions)
  • 1 tablespoon shredded cheese
  • 2 English Muffins, split and toasted 

Optional alternatives:

  • 1 tablespoon prediced onions and peppers, frozen. 
  • 1 tablespoon diced ham (prediced and frozen) or diced/crumbled bacon (you can omit if you are putting bacon or a sausage patty on the sandwich)
  • 4 strips of bacon (optional)
  • 2 sausage patties (optional)
  • 2 slices of cheese (optional)

Instructions:

  1. In a larger Ramekin, place hash browns and cheese and crack the eggs. Add salt and pepper as needed. (At this point you can add the additional optional items, if desired). 
  2. Microwave on high for 30-45 seconds. Remove and stir. Microwave again for 90 seconds. When complete, ramekin will be hot. Touch the top of the eggs, if firm remove. If not firm, microwave for another 30 seconds. 
  3. While eggs were cooking toast English Muffin and heat sausage patty, if adding. 
  4. Remove eggs from microwave and turn ramekin upside down on cutting board. Allow to cool slightly. 
  5. Split eggs in half sideways to make two egg patties. Place one on each half of English Muffin. Add sausage, bacon and or cheese if desired. 

Note:

  • On my sandwich I used a sausage patty and omitted the ham in the frittata. 
  • To make things quicker in the morning, pre-dice the optional items and freeze them in a ziplock baggie, flat. Once partially frozen break them up so you don’t have a block to deal with in the am. 

Wednesday, January 8, 2020

Sheet Pan Pizza

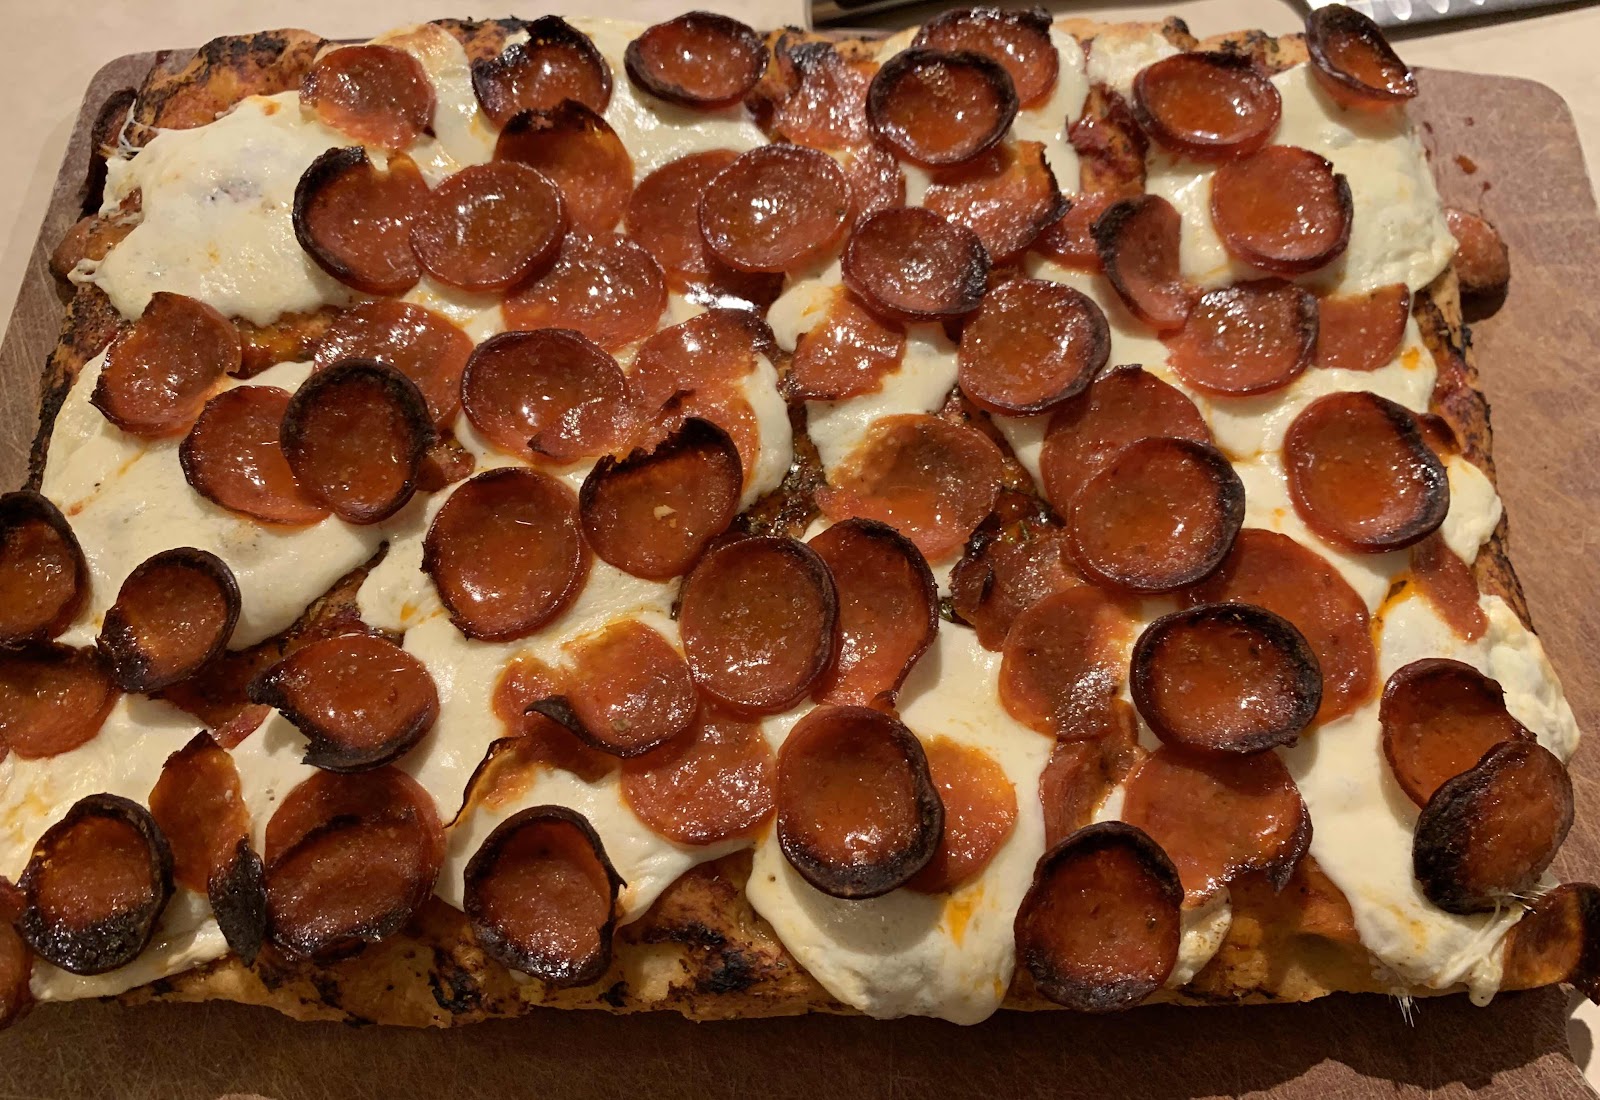
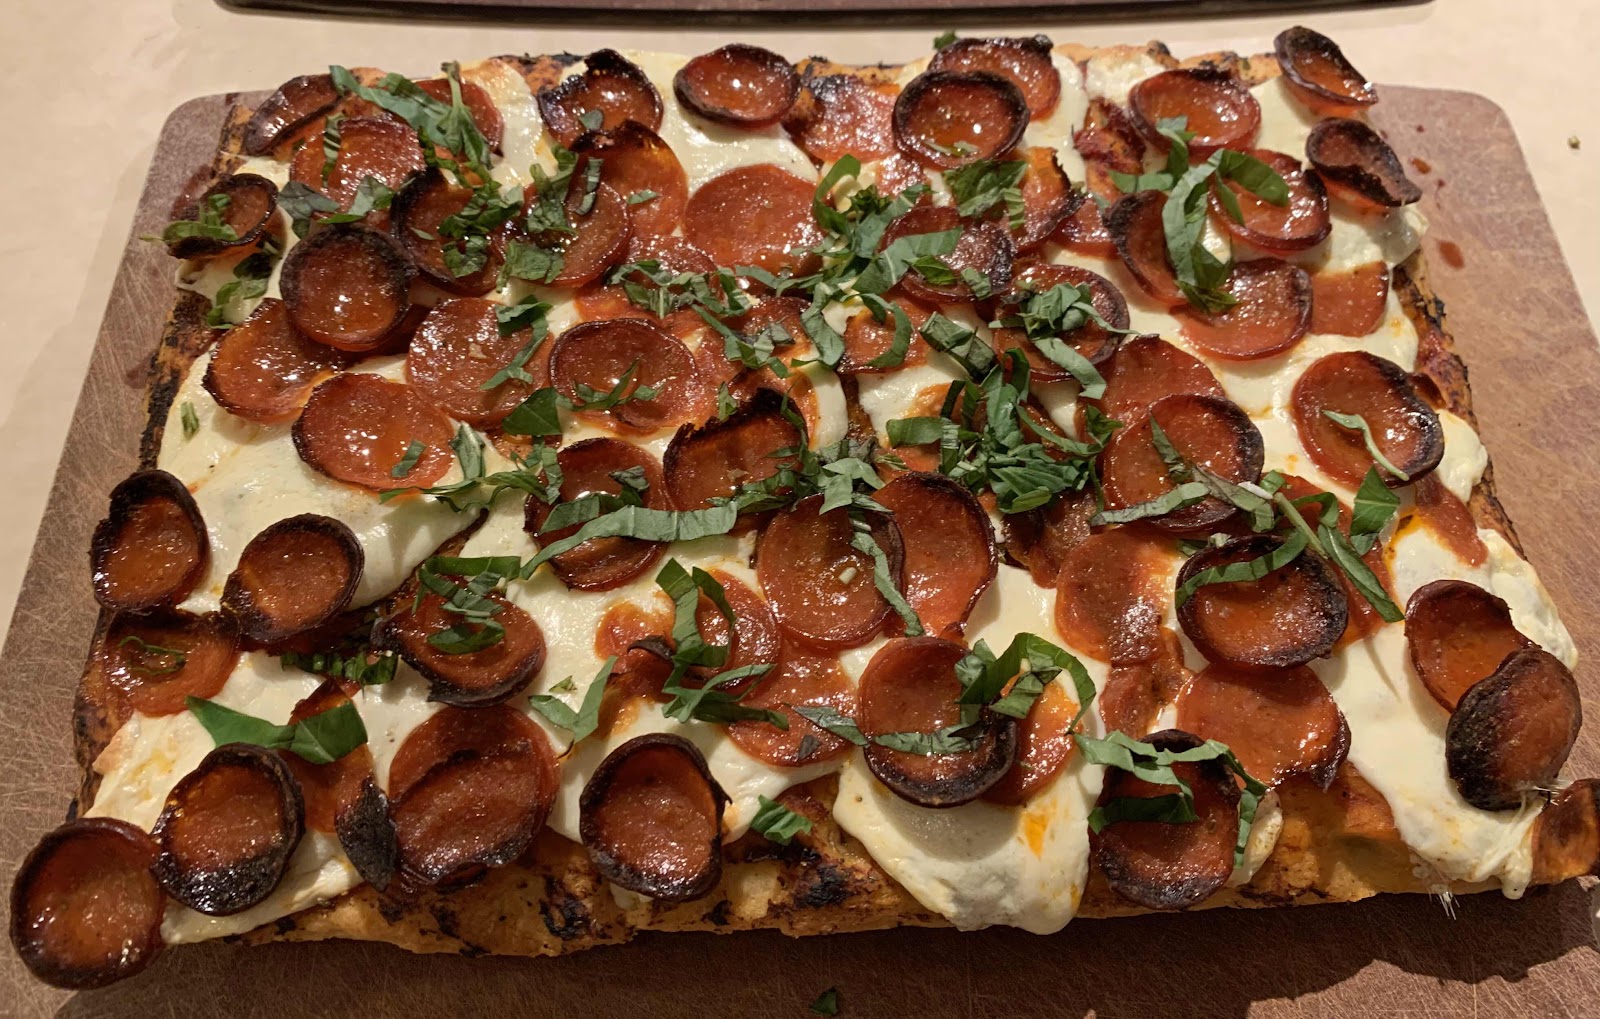
Recently I saw a pizza with curled up pepperoni, and was like.....that’s what I want for dinner!!

So I took my Focaccia recipe and made Sheet pan pizza, you know the kind (my mom) the lunch ladies would make at school?  

Now to get the pepperoni curled.....well, I didn’t want the thicker cut “pre-cut” pepperoni, and the deli counter pepperoni was to large, when I came across a long skinny pepperoni stick. Not the pepperoni sticks we all love to snack on...one that I could take home and cut on my mandolin. Craig doesn’t like meat, so I made Sheet Pan Margarita Pizza, for the boring one. Hahaha. 


Focaccia Sheet Pan Pizza


Ingredients

  • 1-3/4 cup warm water
  • 1 packet (2-1/4 teaspoons) active dry yeast (not instant active dry yeast or rapid rise yeast)
  • 1 tablespoon honey
  • 5 cups all purpose flour, plus more for kneading
  • 1 tablespoon + 3/4 teaspoon kosher salt, divided
  • 1/2 cup extra virgin olive oil for bread
  • 1/4 cup olive oil for pan, 
  • plus more oil for oiling the bowl
  • Tomato paste
  • Dried oregano 
  • 1 lb Fresh mozzarella, cut to torn into pieces
  • 1 stick (Boar’s Head) pepperoni, very thinly sliced
  • 1 heirloom tomato, thinly sliced
  • Basil, thinly sliced 

Instructions

  1. Combine the warm water, yeast and sugar in a small bowl; stir to dissolve the honey and yeast. Let sit about 10 minutes, until the mixture is foamy. (This is called proofing the yeast, or making sure it is active; if it doesn't foam, it's not fresh and won't work.)
  2. In the bowl of a mixer fitted with a dough hook, combine the flour and 1 tablespoon of kosher salt. Mix briefly on low speed to combine. Add the yeast mixture and 1/2 cup of olive oil; mix on low speed until the dough comes together, then turn the speed up to medium and continue to knead for 5 to 6 minutes, until the dough becomes smooth and soft. Sprinkle with a bit of flour if the dough is really sticky and tacky.
  3. Transfer the dough to a clean, very lightly floured surface. Knead by hand briefly until the dough comes together into a smooth ball.
  4. Clean the mixer bowl if necessary (sometimes the dough will come out entirely but sometimes a bit of dough might stick), then coat the inside of the bowl with about 1 teaspoon of olive oil. Return the dough to the bowl, flipping once so that both the top and bottom of dough are lightly slicked with oil. Cover the bowl with plastic wrap and put it in a warm, draft-free place until the dough has doubled in size, 1-2 hours. (Hint: the warmer the spot, the faster it will rise.)
  5. Coat a 12" x 16" rimmed baking sheet with 1/4 cup of olive oil. (It will seem like a lot, but that's what makes the bottom crispy.) Plop the dough onto the prepared pan and begin pressing it out with your hands to fit the size of the pan. Turn the dough over a few a times to coat both sides with olive oil. Continue to stretch the dough to fit the pan. Once the dough is stretched, spread your fingers out and make impressions almost all the way through the dough (don't poke holes, just press down to the bottom of the pan). Cover the pan with plastic wrap and place in the warm, draft-free spot until the dough has puffed up and doubled in size, about 1 hour.
  6. While the dough is rising a second time, preheat the oven to 425 degrees F. Set the oven rack in the middle position.
  7. Sprinkle the top of the focaccia with the remaining 3/4 teaspoon kosher salt then lightly drizzle 1-2 teaspoons of olive oil on top so it pools in the indentations. Bake until lightly golden brown, about 12 minutes. Remove the focaccia from the oven and let it cool in the pan on a wire rack for about 15 minutes. 
  8. At this point I cut the focaccia in half, so the meat side didn’t touch the Margarita side (you make accommodations, right?)
  9. Spread the potato paste, sprinkle with dried oregano, the top with torn mozzarella and pepperoni, or tomatoes.  Lightly salt and pepper the top of the tomatoes.
  10. Return to the oven and back for 8-10 minutes, until mozzarella is melted and pepperoni is CURLED!!!
  11. Transfer the focaccia to a cutting board, top with sliced basil and slice into squares.


Saturday, January 4, 2020

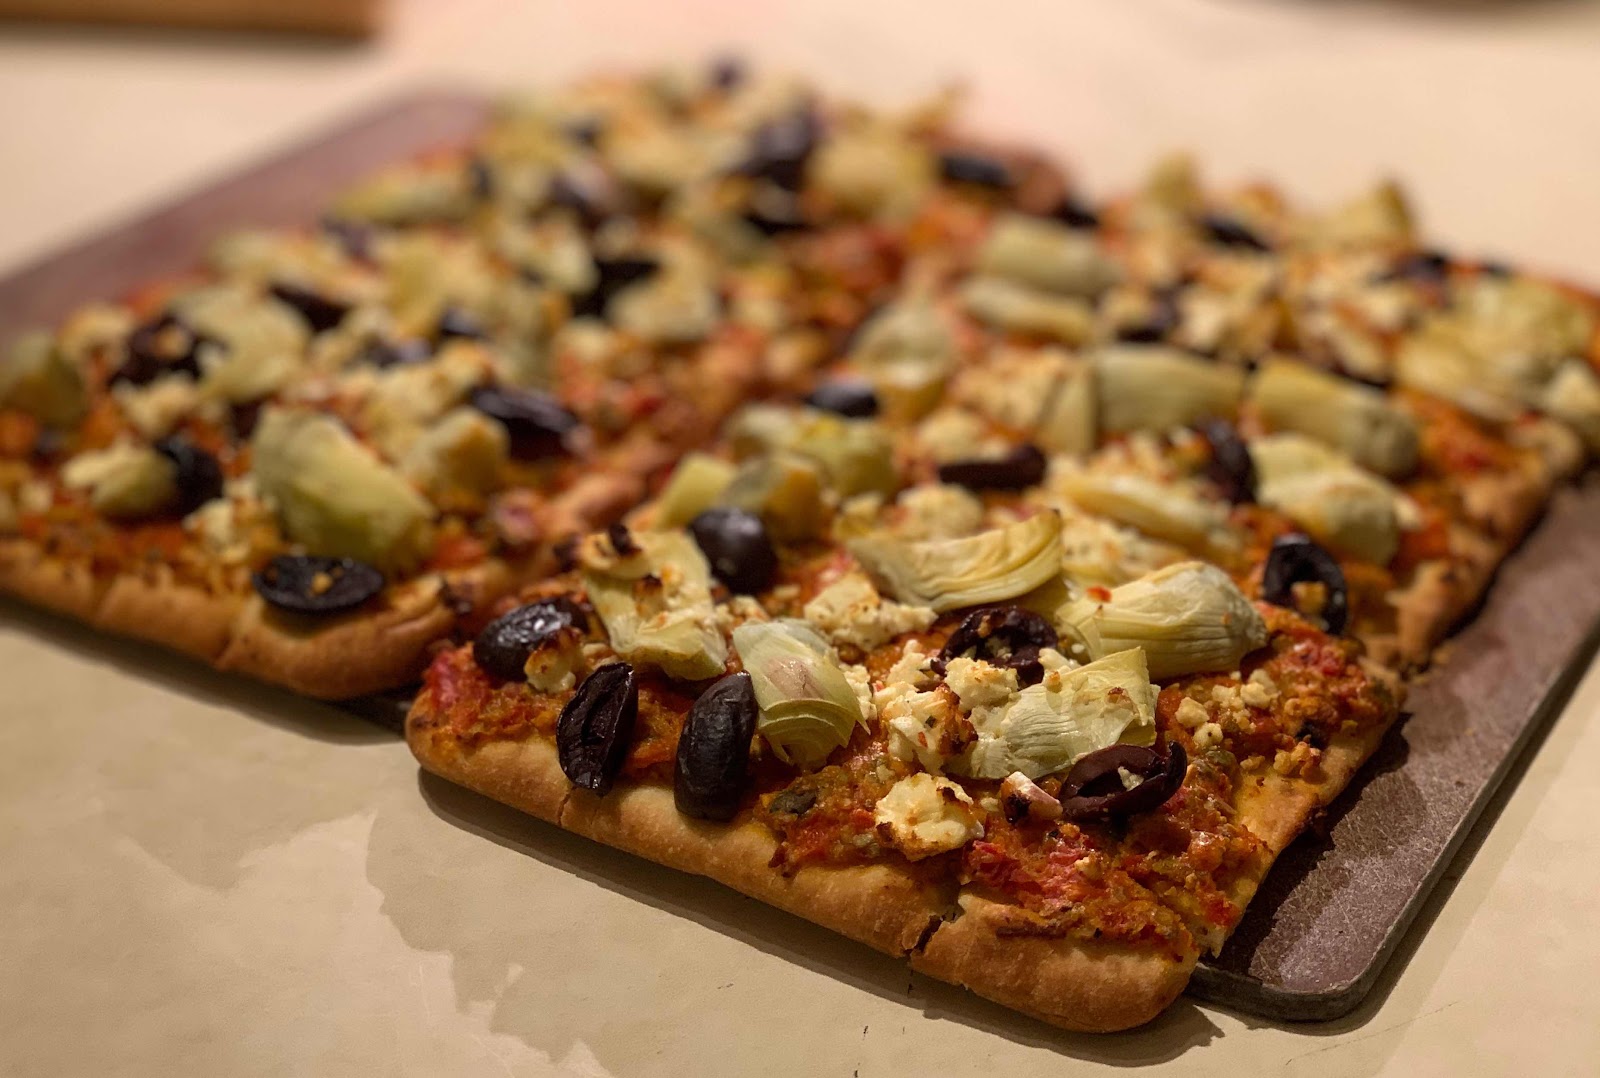
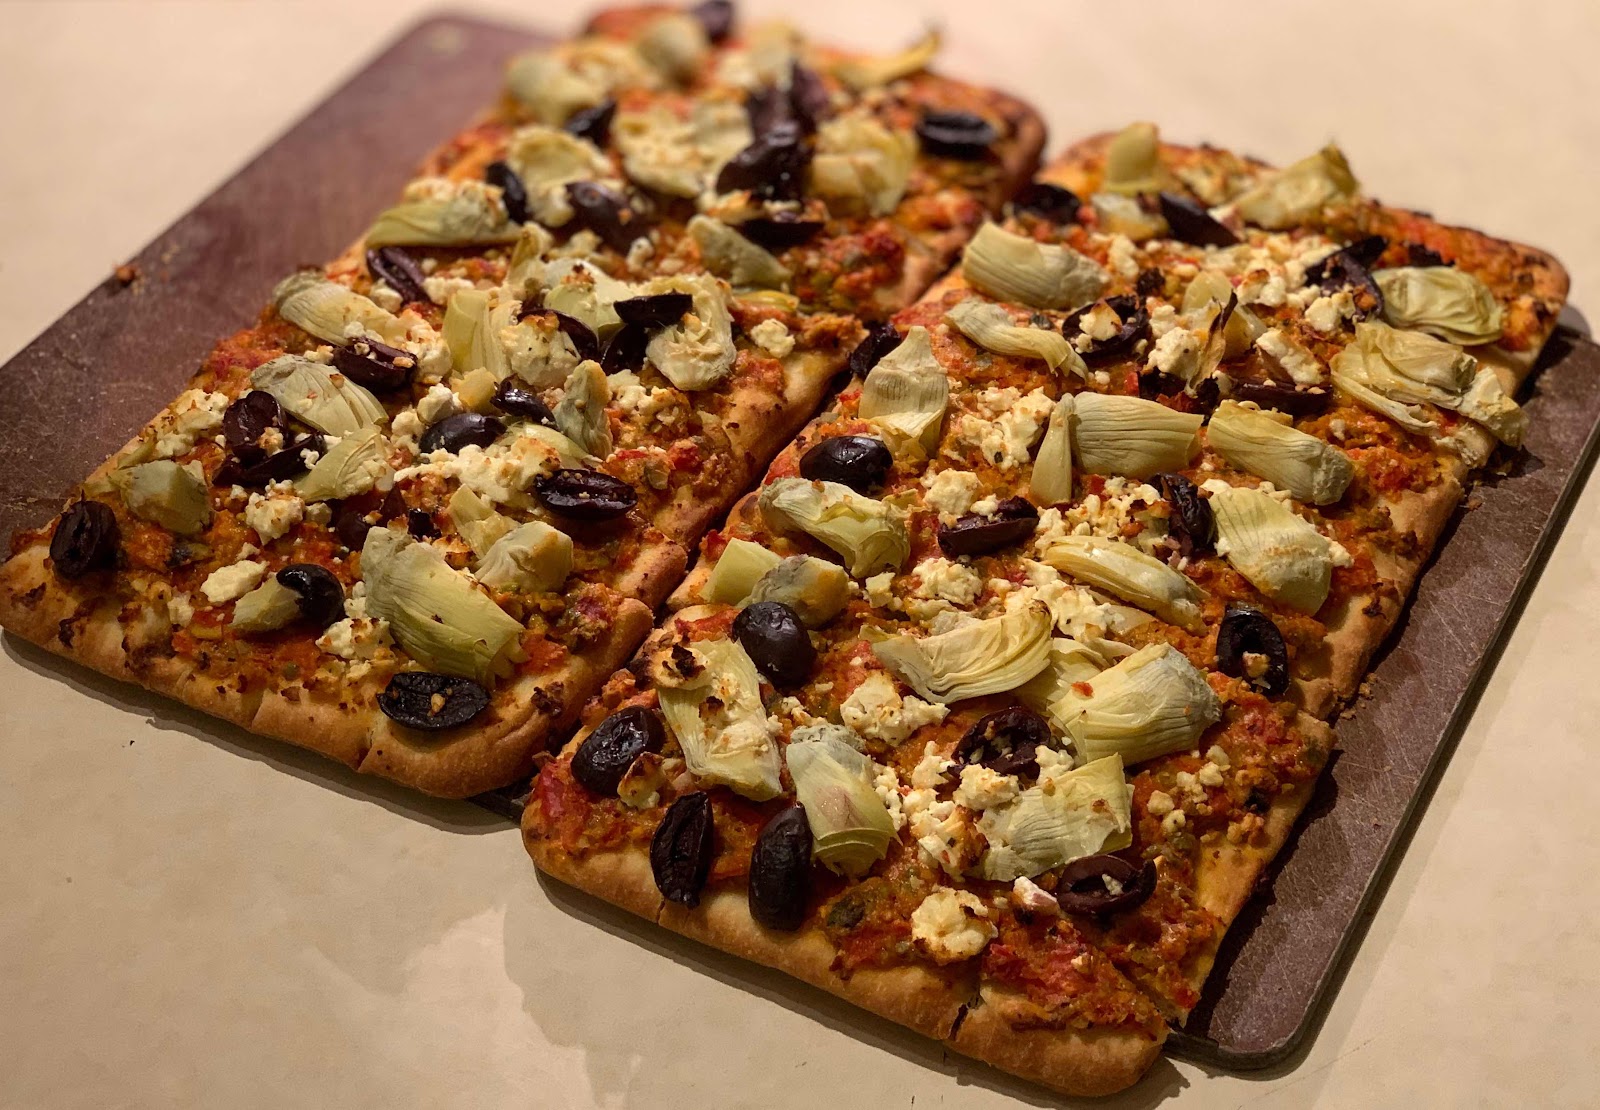
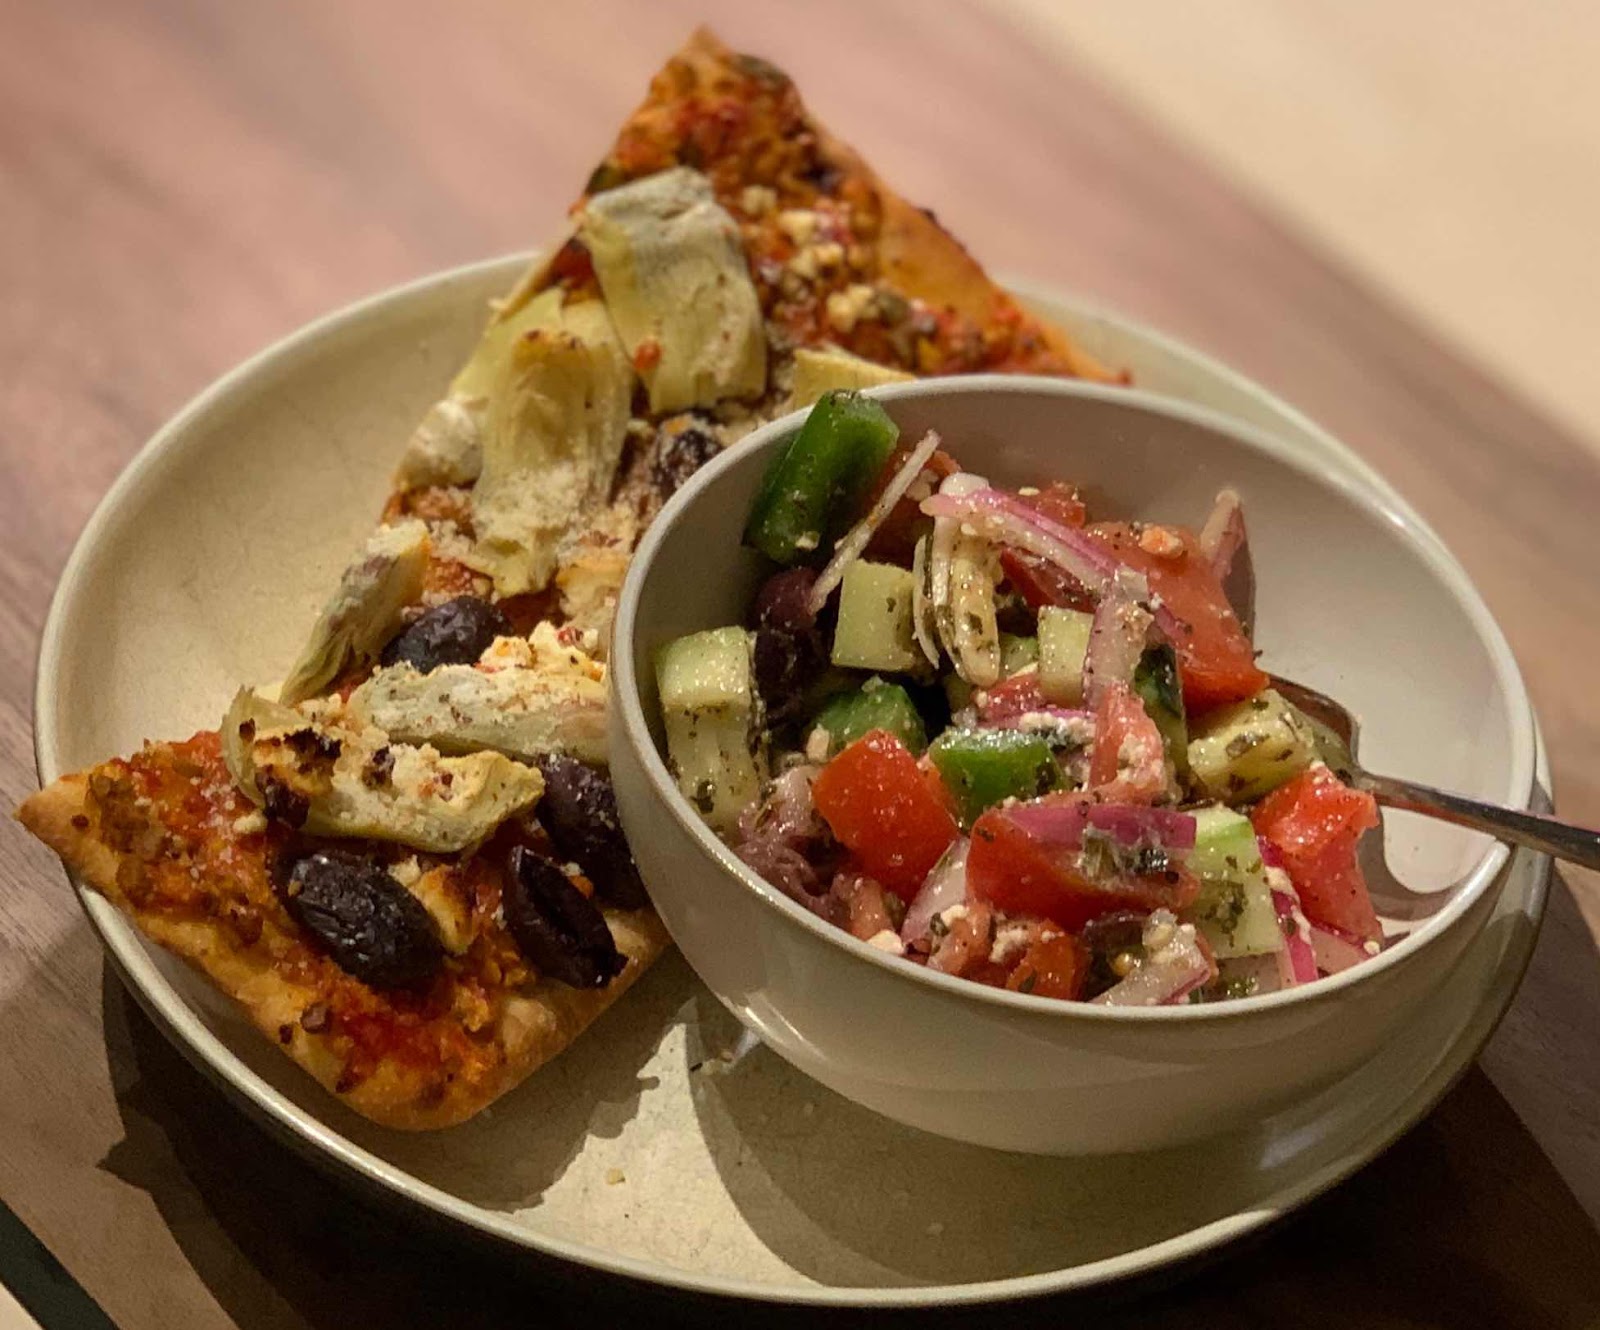
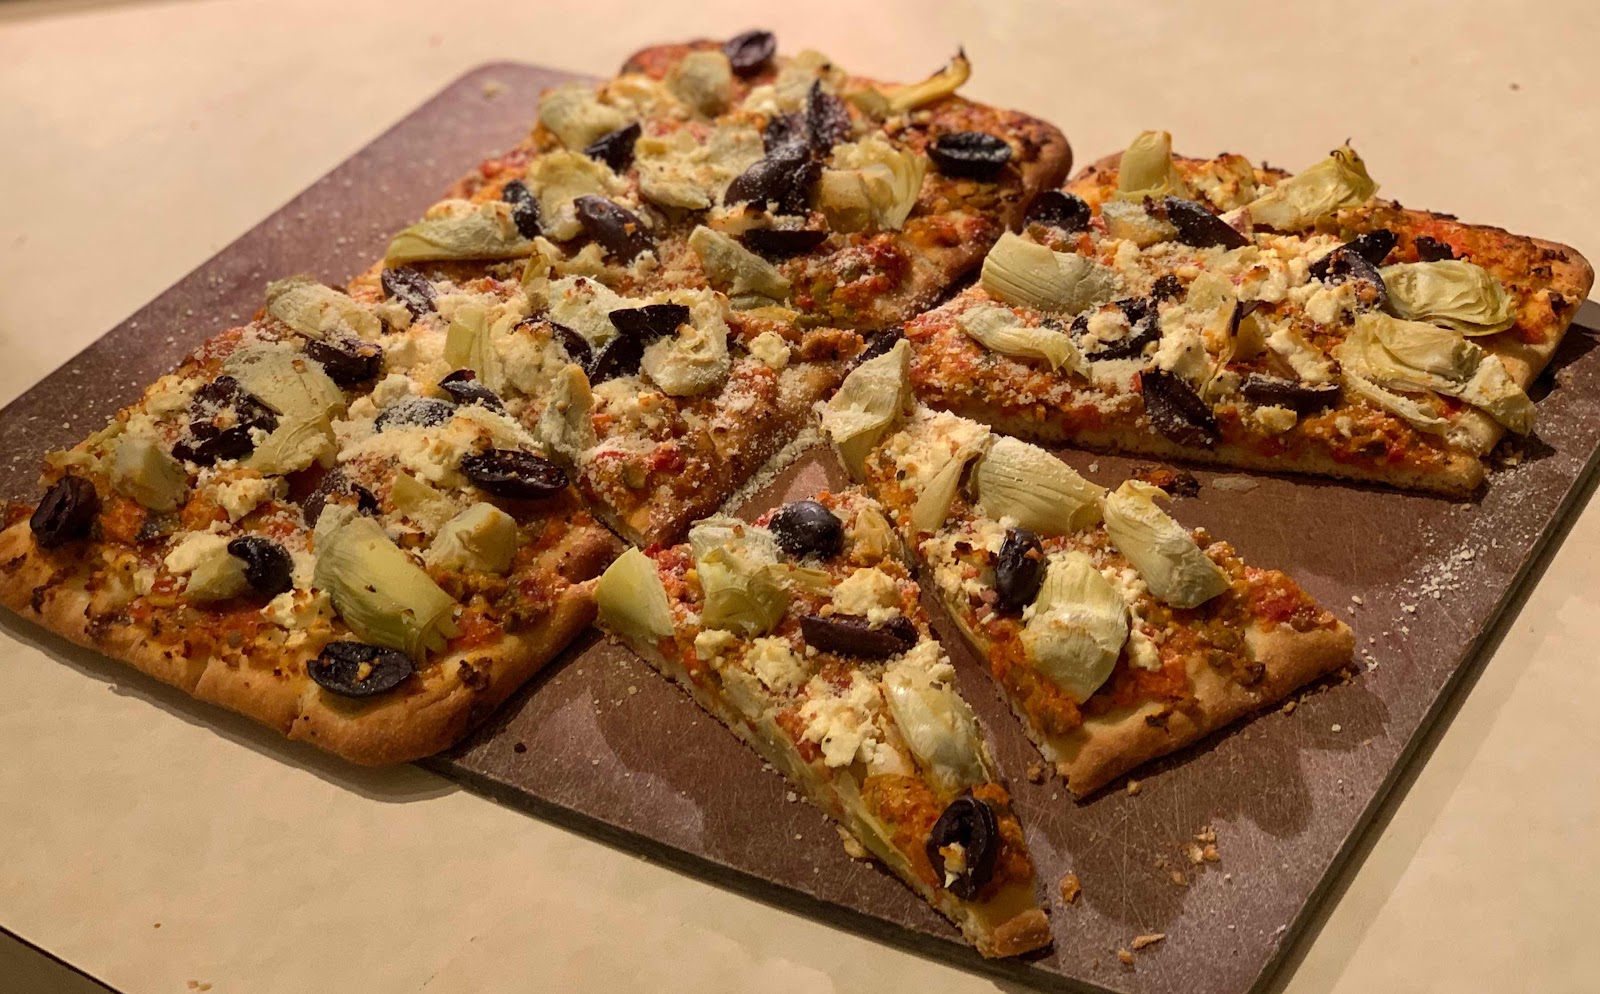
Roasted Red Pepper Pita Pizza

A few months ago my Husband came across this recipe and asked me to make it. I filed it in the “to be made” file. (Those who know me know that I have TONS of files in my notes section of my phone/iPad)  so this past week I was bored with the menu ideas and decided to search the to be made file and came across this recipe. I recent was given a couple Stonefire pizza crusts, so I decided to use those. Also I didn’t have pine nuts so I subbed pistachios. 


I served it with a delicious Greek Tomato Salad!


Roasted Red Pepper Pita Pizza

Ingredients

  • 1 jar (12 oz.) roasted red peppers, drained and patted dry
  • 1/4 cup grated Parmesan cheese
  • 1/4 cup toasted pine nuts (subbed pistachios)
  • 1 teaspoon minced garlic
  • 4 pita flatbreads (or 2 pack of pizza crusts)
  • 1 can (14 oz.) quartered artichokes hearts, drained
  • 1/4 cup Kalamata olives, pitted and halved 
  • 1 cup crumbled feta cheese
  • 3 tablespoons flat leaf parsley, chopped

Directions

  1. Place roasted red peppers, Parmesan cheese, nuts and garlic in the bowl of a food processor; process until well blended.
  2. Heat oven to 425°F. Place pita on baking sheet.
  3. Top each pita with red pepper pesto, artichokes, olives, feta and parsley.
  4. Bake 12-15 minutes until pita is crisp and cheese is softened. Refrigerate leftovers. 


Thursday, January 2, 2020

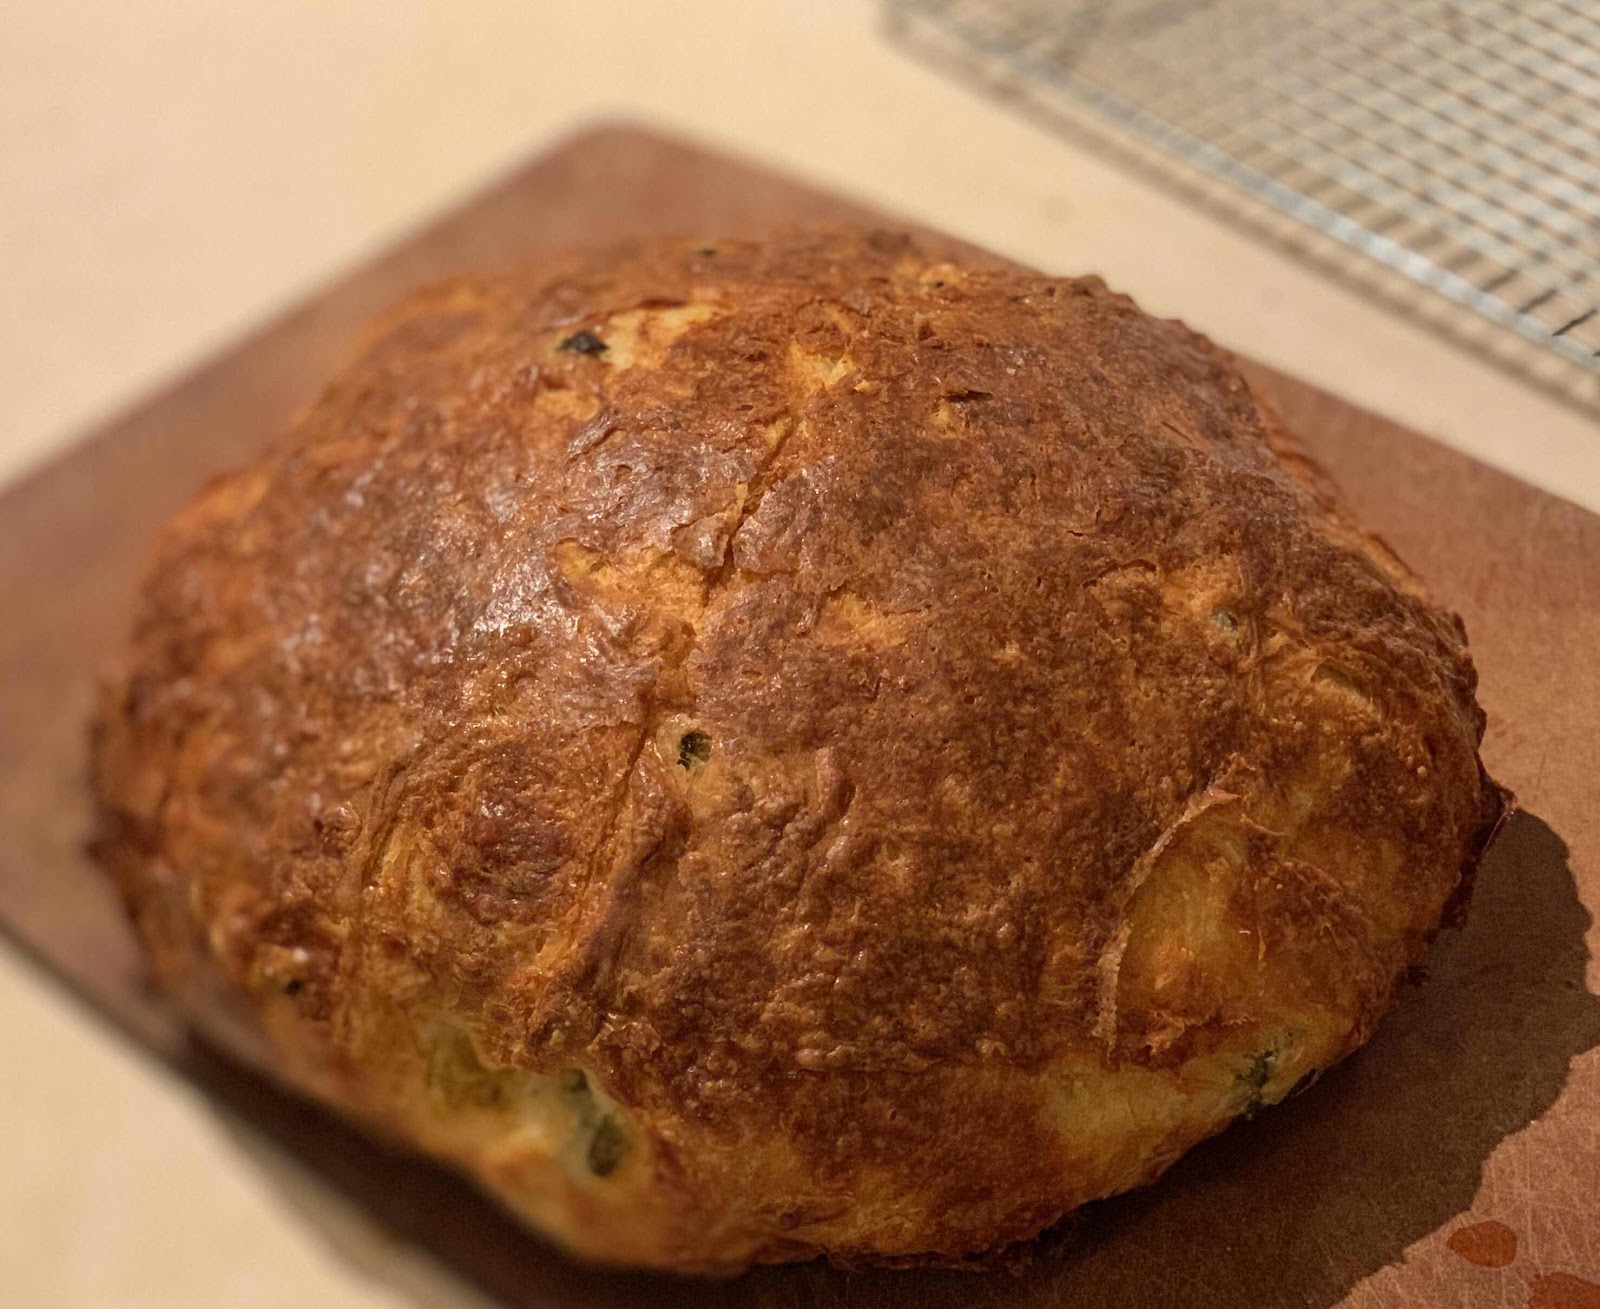
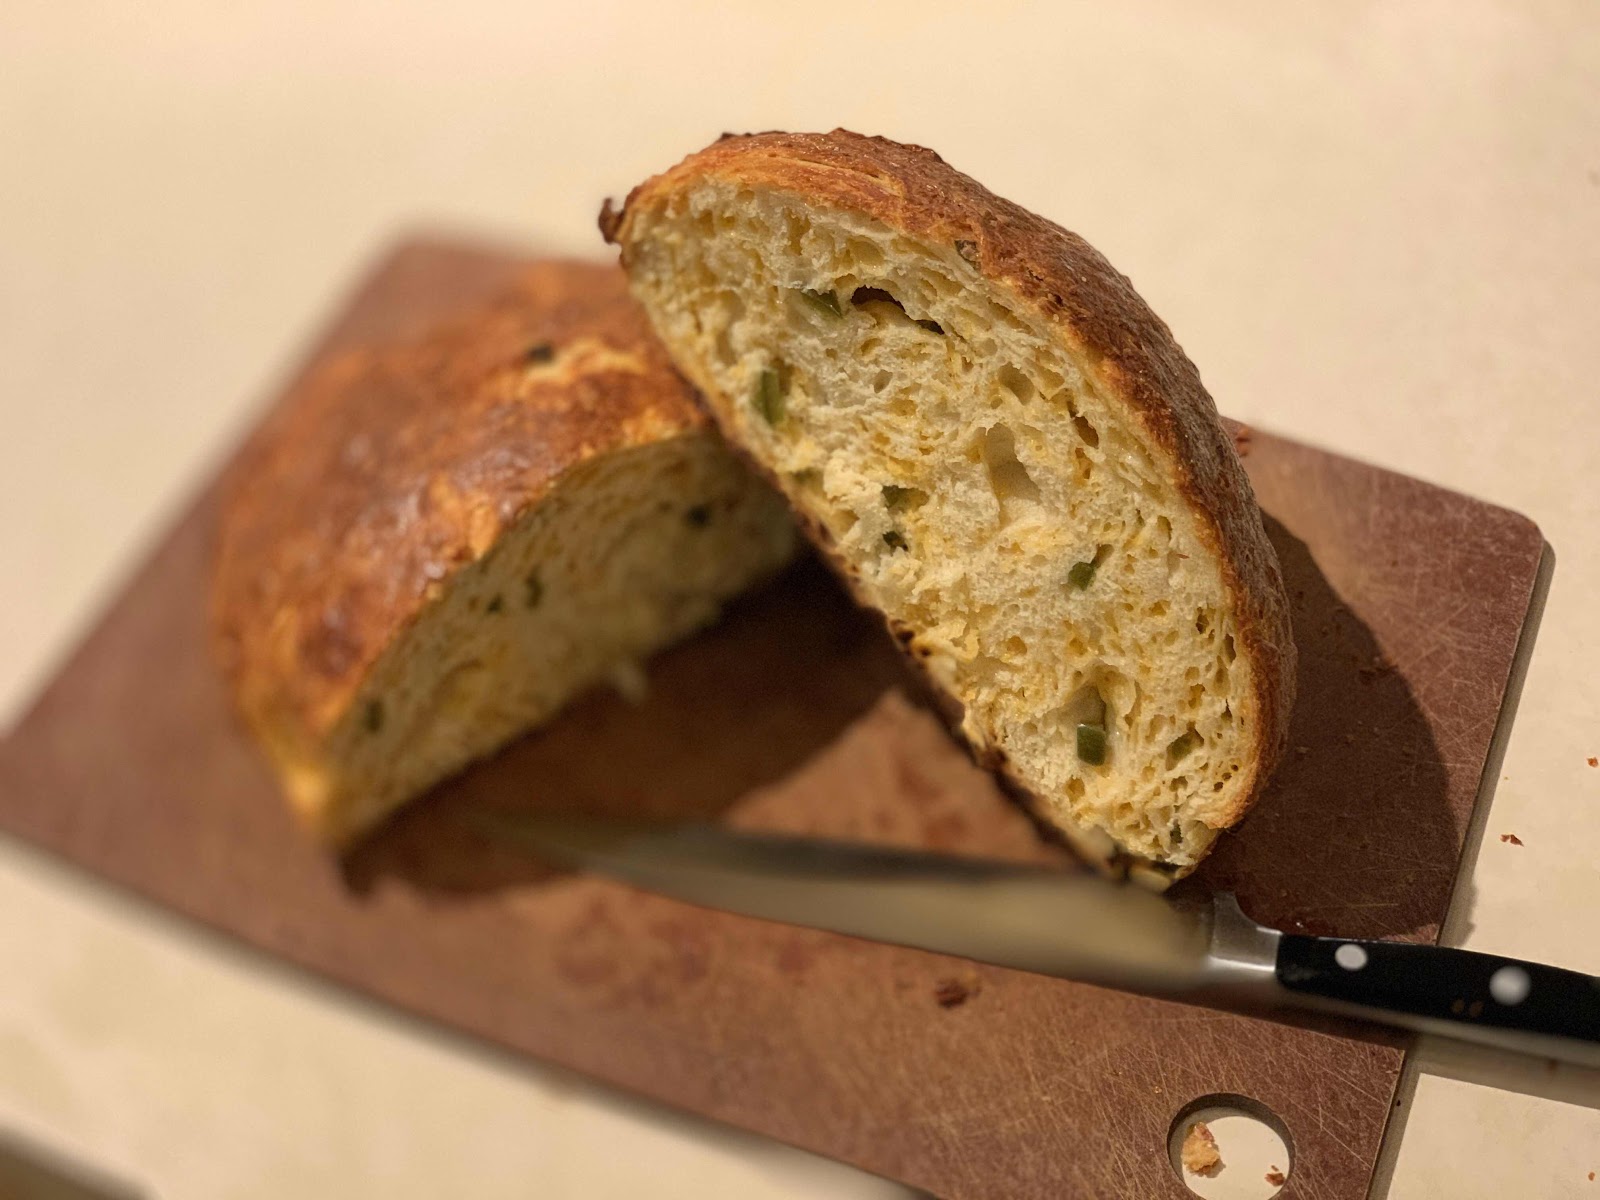
Le Creuset Crusty Jalapeño Cheddar Bread

Hey everyone!


It’s been a minute since I’ve posted anything….but don’t fret…I am still cooking.  As you know the holiday are WAY busy for us all, and I collect a ton of great pictures, and new recipes, as well as revamped the lighting in my kitchen (so the pictures should be better).  Working under a compact florescent is not the best lighting!!


Anyhow, last September Craig and I attended our first blogger conference, and I was a little blown away.  We have some work to do on the blog, so you’ll see some changes coming up, hopefully soon! (I also got to meet Kelsey Nixon-Kelsey’ Essentials) I think some of the greatest take a ways were the progression of my blog, from the humble starts (2007) on Facebook, then migrating to Blogger (Which was the “best” at the time), the process that my photographs have journeyed through, and the most interesting to me, was my most popular blog post….drum roll please…. Le Creuset Crusty bread  I had no idea it would be that popular….of course I make it all the times, so what was I thinking.  Right after Christmas, I re-worked that recipe, and now have this version of Jalapeño Cheddar Bread.  As usual, we had left over turkey from Christmas, so I also made my Turkey Salad (adapted from Rotisserie Chicken Salad) to go with it!


Enjoy!


 _


Le Creuset Dutch-Oven Jalapeño Cheddar Bread

Ingredients

• 3 ½ cups bread flour, plus more for dusting
• 2 ½ cups shredded sharp cheddar cheese, divided
• 3 jalapeñoes, seeded and coarsely chopped
• 1 jalapeño, thinly sliced into rings, divided
• 1 tablespoon kosher salt
• 2 cups warm water
• 2 ¼ teaspoons instant yeast
• 1 tablespoon honey
• 1 tablespoon olive oil


Preparation

1. In a large bowl, combine the bread flour, 2 cups of cheddar cheese, the chopped jalapeños, and salt. Stir well.
2. In a separate large bowl, combine the honey, warm water and yeast. Pour the flour mixture on top of the water and use a spatula to stir until the dough comes together.
3. With the spatula, fold the dough around the edges of the bowl toward the center, rotating the bowl each time and folding a total of 8 times. Cover with a kitchen towel and let rest in a warm place for 60 minutes, or until almost doubled in size.
4. Using the spatula, fold the dough toward the center again 8 more times. Cover with the towel and let rest for 30 minutes.
5. Place the Dutch oven and lid to the oven, and preheat to 450˚F for 30 minutes.
6. Lightly flour a clean work surface and your hands. Carefully peel the dough out of the bowl and onto the floured surface. Flip over and carefully brush away excess flour. Fold the edges of the dough towards the center 8 times, then flip over the dough and transfer to a piece of parchment paper.
7. Brush the top of the dough with the olive oil, so the cheese will stick. Sprinkle the remaining ½ cup (50 g) of cheese on top. Use a sharp knife to score the bread with an “X”, which will allow steam to escape. Arrange the jalapeño rings on top of the cheese.
8. Carefully remove the Dutch oven from the oven and use the parchment to lift the bread into the pot. Cover with the lid and bake for 40 minutes, then remove the lid and bake for 20 more minutes, until the bread is golden brown.
9. Carefully slide the bread out of the pot and onto a wire rack. Remove the parchment paper and let the bread cool for at least 1 hour before slicing.


Turkey Salad

Sunday, September 22, 2019

One Skillet Halibut Cacciatore

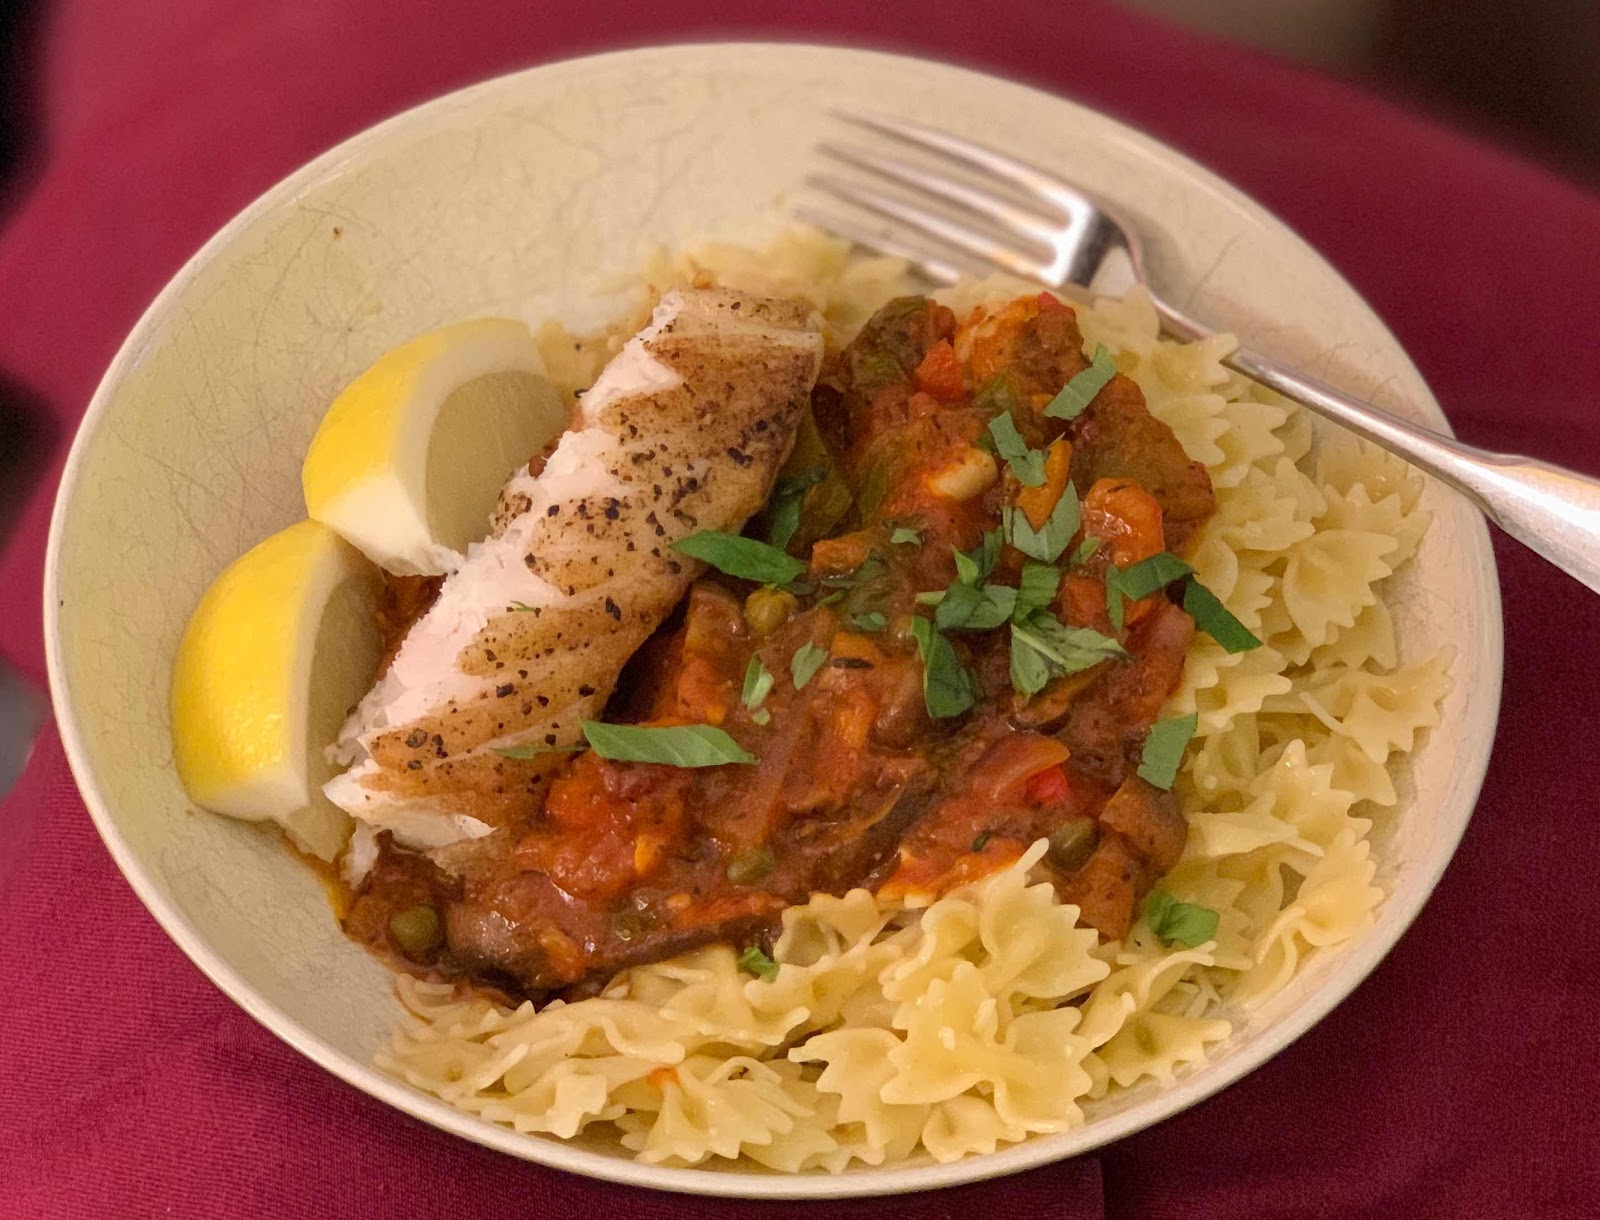
I have always loved a great pasta sauce. And cacciatore just fits the bill. Quick easy and simple. This is something I’ve wanted to make for quite a while. And it turned out AMAZING. 


One Skillet Halibut Cacciatore

INGREDIENTS

  • 3/4 lb Halibut
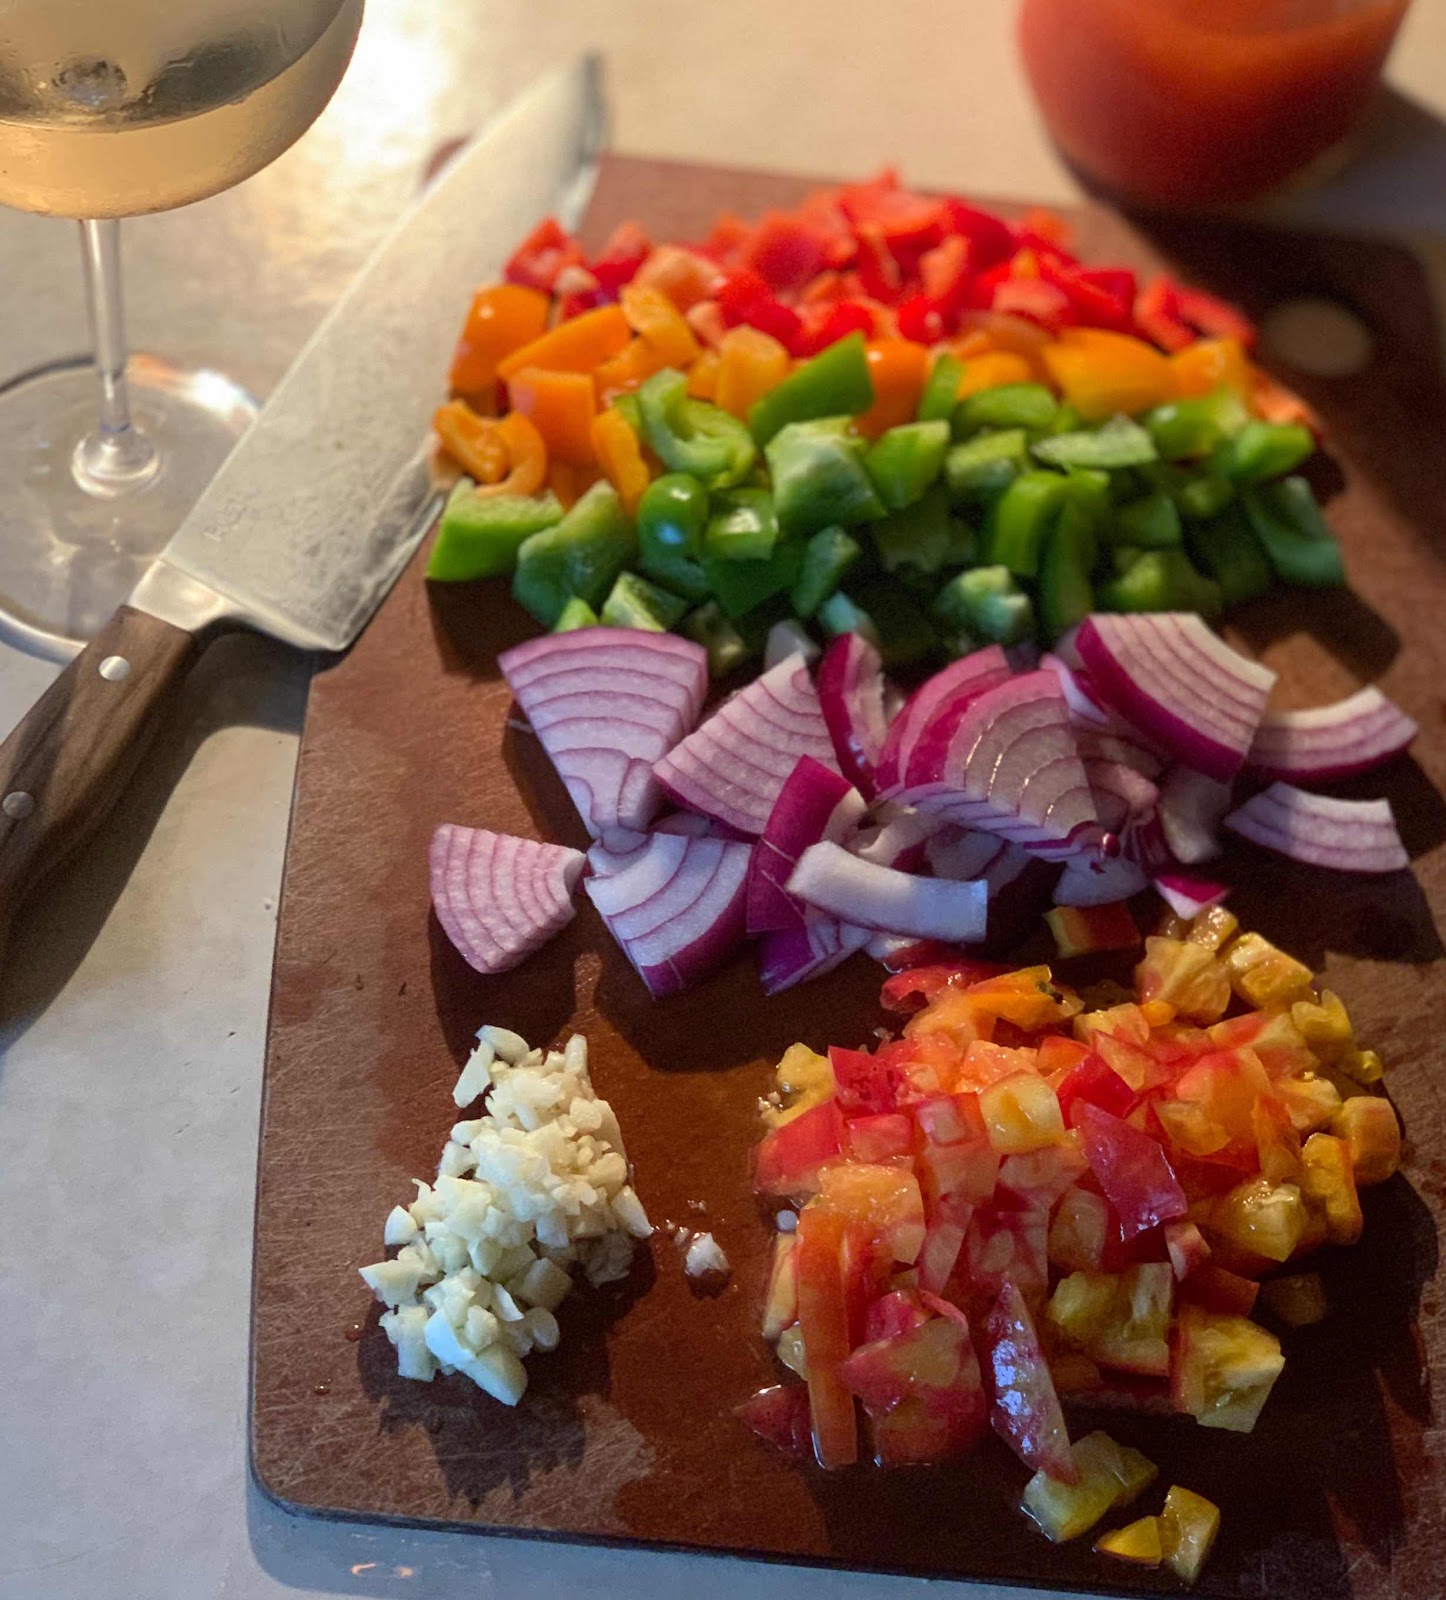
  • 1 cup red onion, coarsely sliced
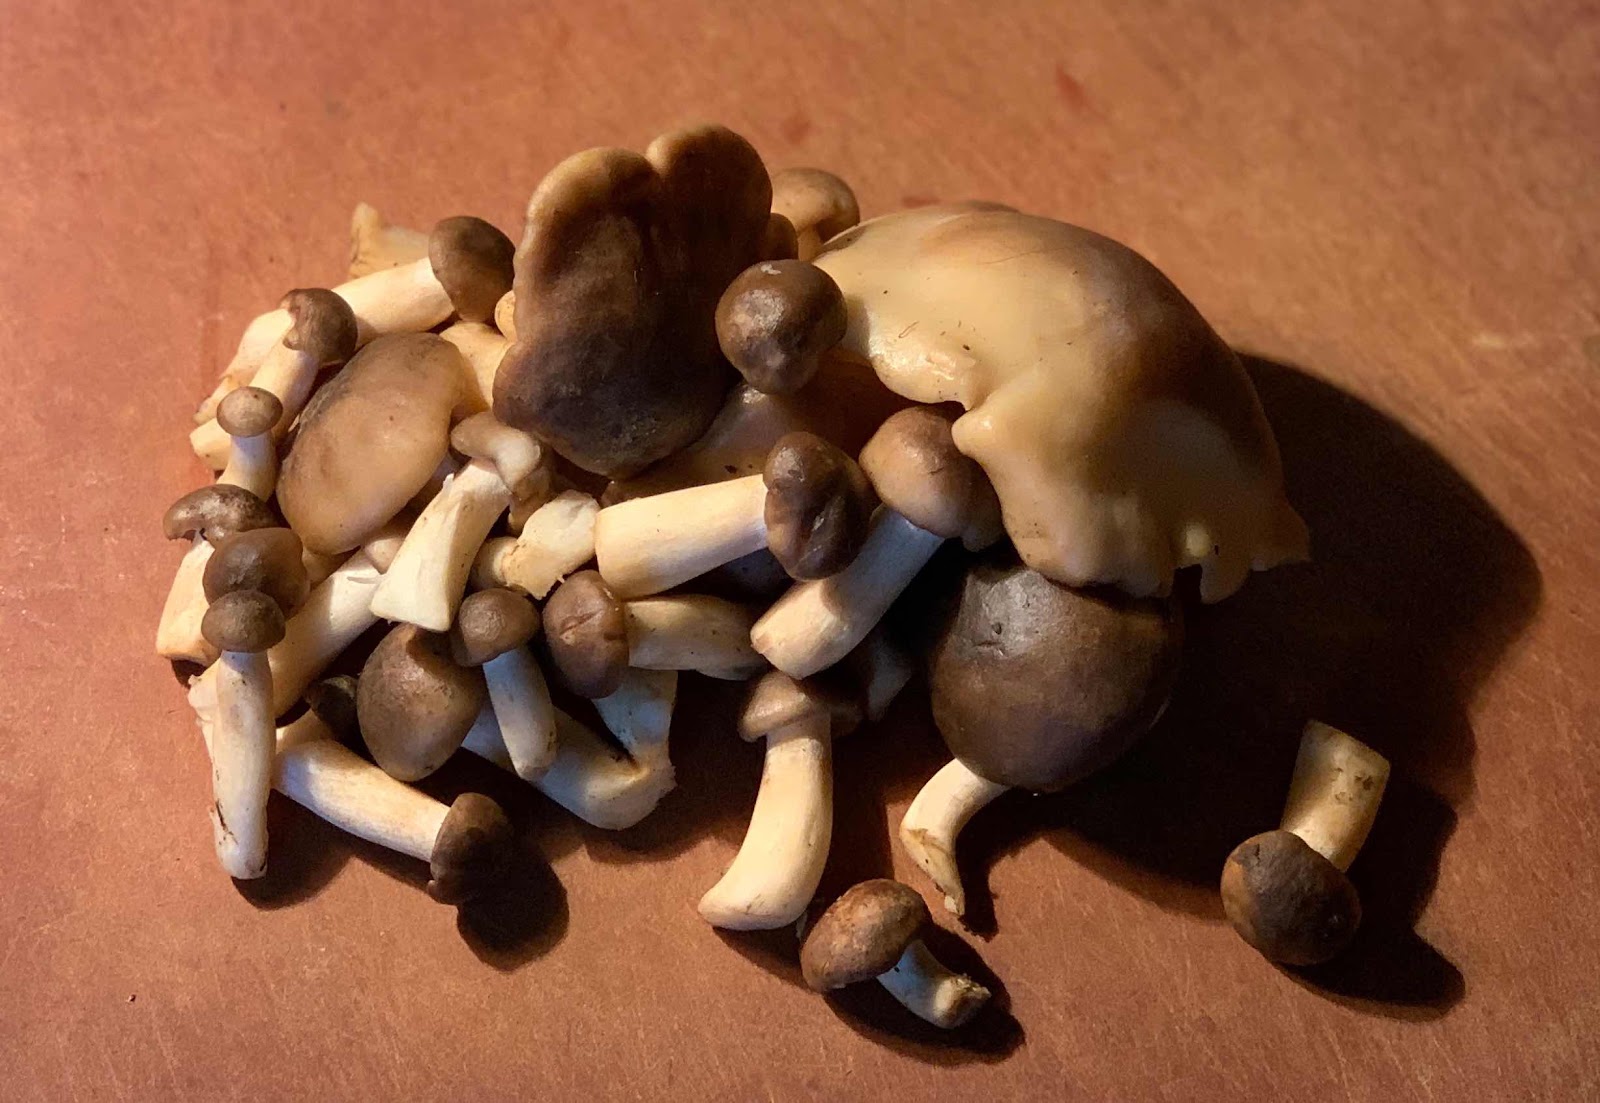
  • 8 ounces mushrooms, thickly sliced
  • 3 tablespoons extra virgin olive oil
  • 1/2 of each red, yellow & green bell pepper, sliced
  • 1 medium tomato, finely chopped
  • 3/4 cup Homemade Tomato  sauce
  • 1/2 cup white wine,
  • 3 medium cloves garlic, chopped
  • 1 teaspoon dry thyme
  • 2 teaspoons dry oregano
  • salt and pepper, to taste
  • basil leaves, chopped
  • Pasta, cooked according to package


INSTRUCTIONS

  1. Dry & Season Halibut with salt and freshly ground black pepper. Set aside until ready to serve pasta. Halibut take about 5 minutes to cook. 
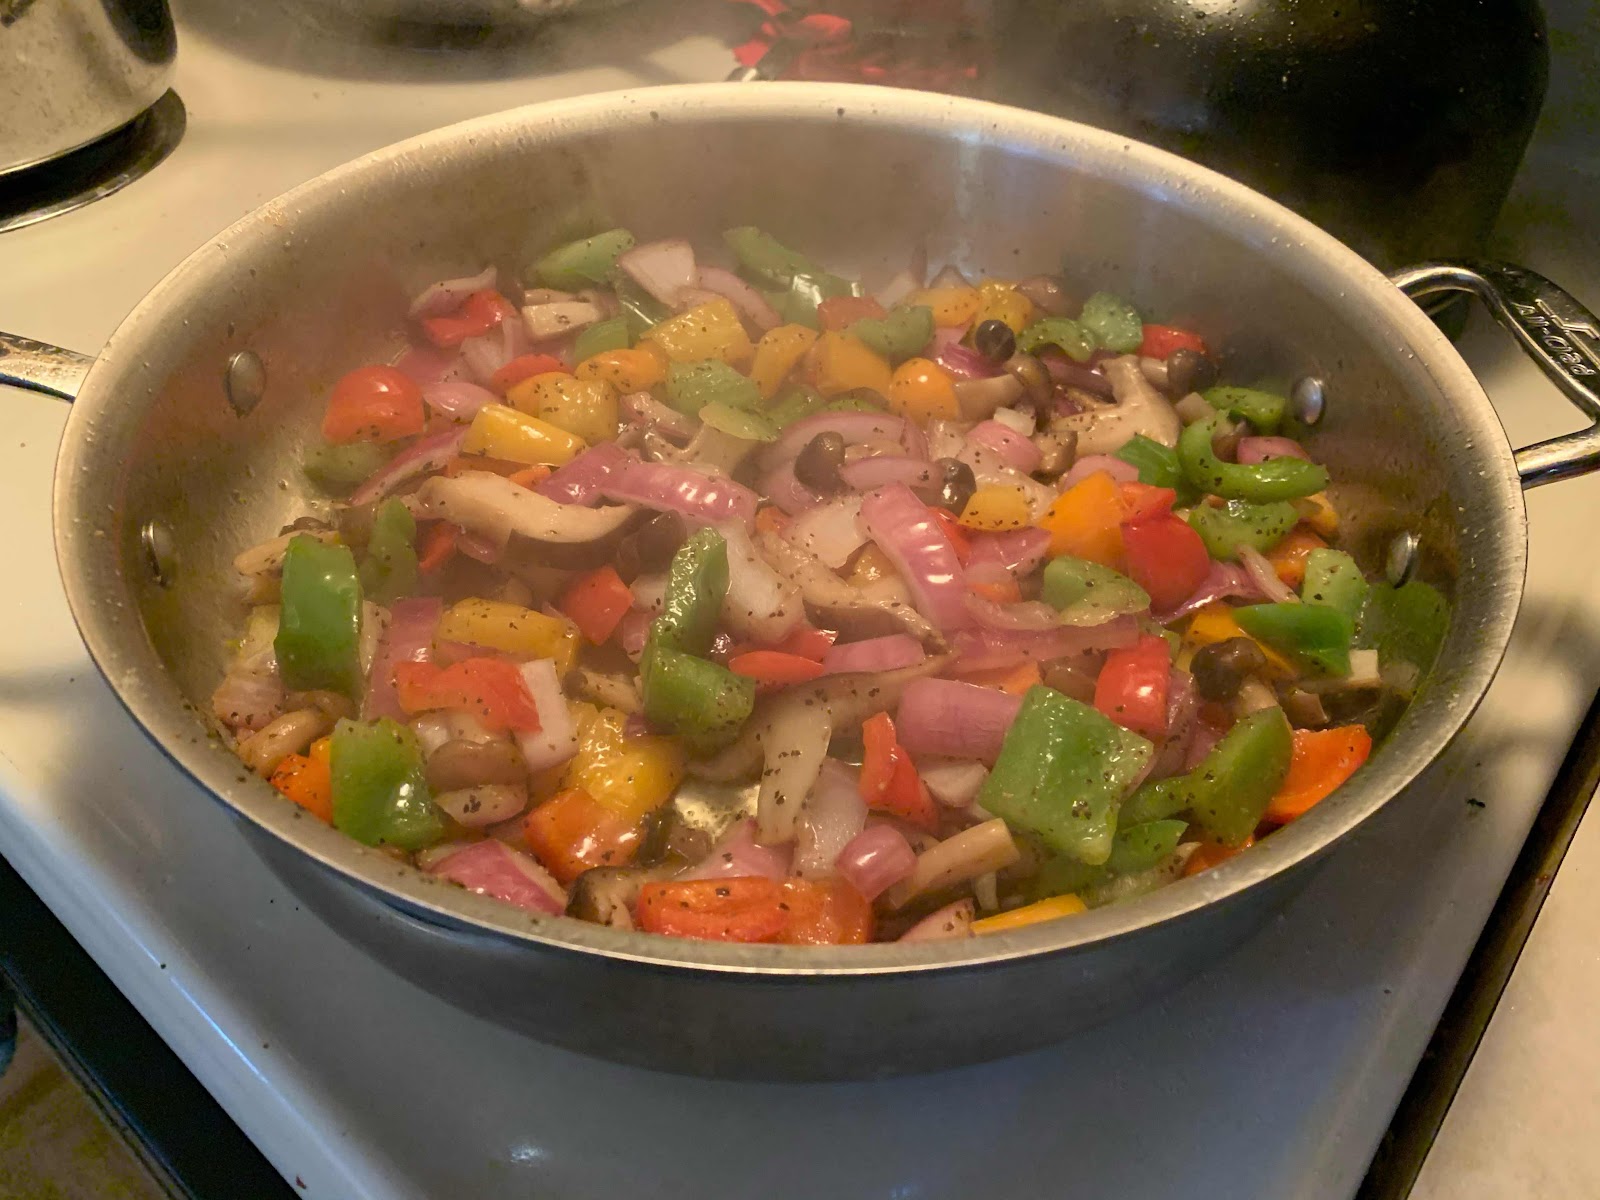
  2. Add remaining olive oil to the same skillet. Add chopped onion, peppers, mushrooms; sauté until onion is tender.
  3. Stir in chopped tomato, tomato sauce, white wine, garlic, thyme, oregano, salt, pepper, and chopped basil. Bring to a boil and cook over medium heat until liquid has evaporated & sauce has thickened.
  4. Add oil to pan and bring to very high heat. Add halibut and sear. Flip about 3 minute in and see that fish is seared to golden brown. 
  5. Plate pasta, top with sauce and add halibut. Sprinkle some chopped basil.